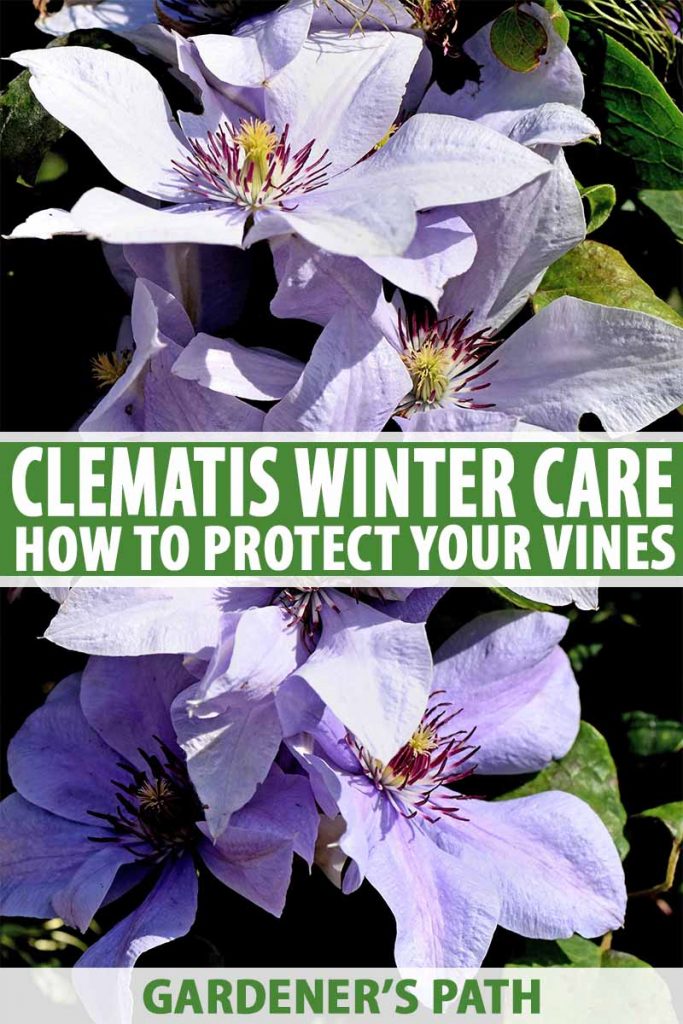
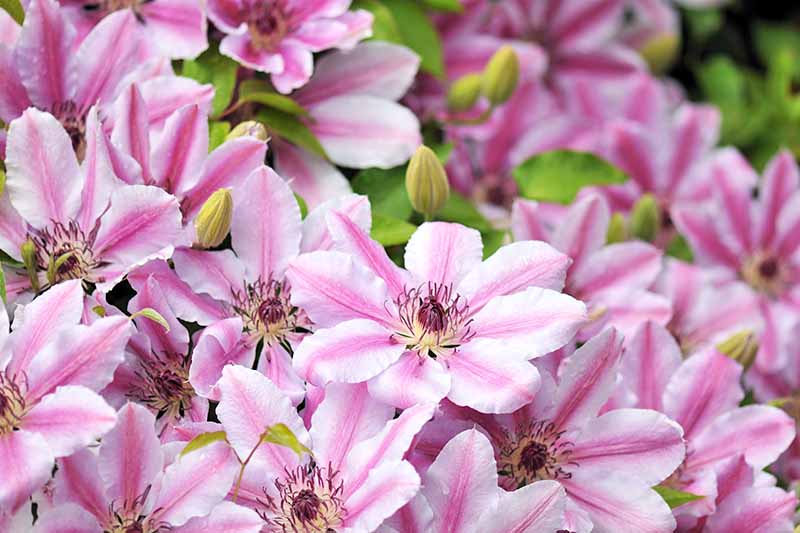
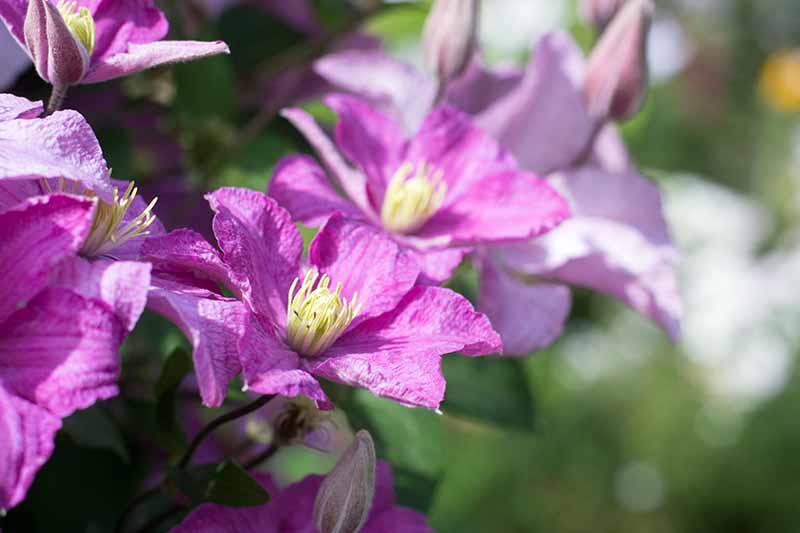
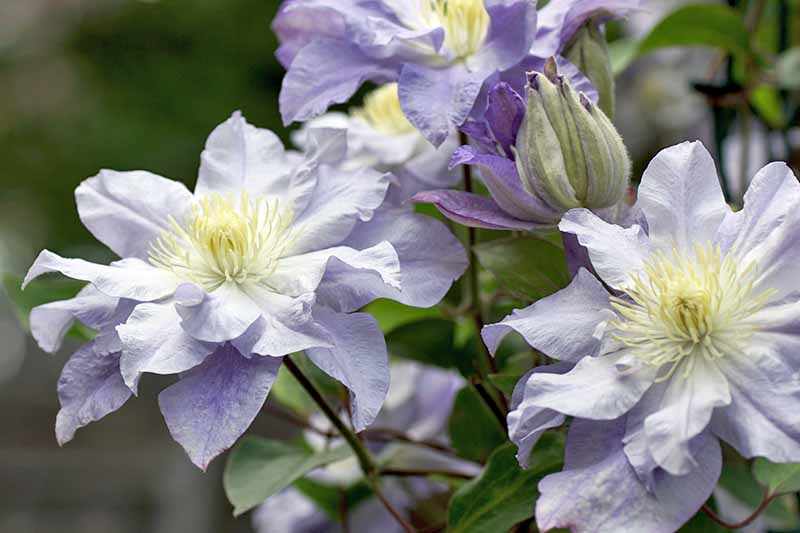
It happily scrambles up and over arbors, pergolas, and trellises, as well as through other plants, creating beautiful walls of rich color. A carefree perennial, the striking, star-like flowers bloom in shades of blue, pink, purple, red, white, and yellow from late winter into spring, summer, and early autumn. We link to vendors to help you find relevant products. If you buy from one of our links, we may earn a commission. Here’s what’s to come in our clematis winter care guide:
A Primer on Blooming, Hardiness, and Pruning Groups
As a perennial, clematis are vigorous vines that return yearly, growing from the same plant stock. Hardy in USDA Zones 3-9, there are some species that are even suitable for growing in chilly Zone 2.
However, there are both hardy and tender varieties available, and not all will survive extended freezing temperatures. For those living in colder regions, winter hardiness is an important characteristic to take into account when purchasing. Clematis have three distinct blooming periods that correspond to their pruning groups, known as Groups 1, 2, and 3 (a.k.a. Groups A, B, and C). Knowing what group your plants belong to is important before you start any winter pruning.
Group 1
Group 1 are the early bloomers that flower on old wood in winter and early spring, and they require no pruning. Some species in this group can survive Zones 3-5, although many won’t flower as profusely in these areas – air and soil temperatures usually don’t warm up enough to coincide with their early bloom periods. This group also includes evergreen varieties, which are the most susceptible to frost damage. Find our favorite Group 1 cultivar selections here.
Group 2
Group 2 varieties bloom vigorously in spring, with a lighter second flush in summer. Flowers grow on old and new wood respectively.
These plants get only a light trim in early spring, then a harder pruning in summer to encourage a second set of flowers on new growth. These plants can also underperform somewhat in cold zones, for the same reason as Group 1s – they need warm temperatures early in the year. Typically, Group 2s have two bloom periods, but in cold regions this is often reduced to just one set of flowers on old wood in early summer. Find our favorite Group 2 cultivar selections here.
Group 3
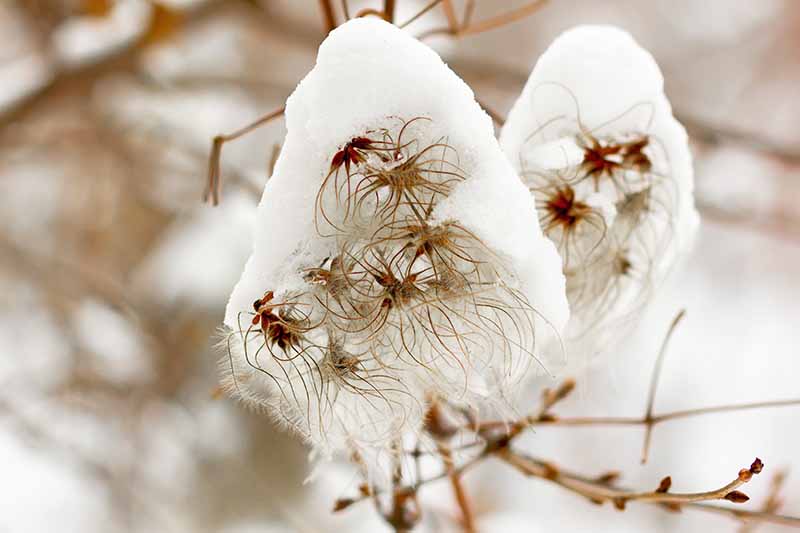
Group 3 plants flower in late spring, summer, and into autumn, with flowers blooming entirely on new wood. This group gets cut back hard in winter, so frost damage to stems is negligible – a bonus in cold zones.
Group 3s also have the most suitable bloom period for colder regions, with flowers blooming in the warmth of early summer right up until first frost. Here are a few tips if you have existing clematis plants and aren’t sure what group they belong to: Group 1s often develop thick, woody base stems measuring 2 to 6 inches across. They don’t get pruned, which allows them to grow larger than those in the other two groups. If you have plants like this and they bloom early, starting in late winter to mid-spring, they’re Group 1. To distinguish Group 2 from Group 3, cut stems back hard in late winter to 18 to 24 inches, then note when they bloom. If they flower in spring, rest, then flower again in late summer, they’re likely Group 2. If they have only one flush of flowers, they probably belong to Group 3. Find our favorite Group 3 cultivar selections here.
Deadheading and Cleanup
Begin your winter preparation by snipping off spent blooms using sharp, clean pruners or scissors.
Remove any damaged or dead vines. Clean up and dispose of cuttings as well as any vegetative debris around the base of the plants. Do this before the ground freezes, to prevent problematic bacteria and insects from overwintering there. Read more about deadheading here.
Provide Protective Mulch
For frigid winters, or if you experience the occasional cold snap, your clematis will appreciate a generous layer of mulch. This insulates the roots, providing protection from drying winds and extreme temperatures. After the ground freezes, lay down 4 to 6 inches of aged compost, evergreen boughs, grass clippings, hay, leaf mold, or rotted manure. Spread it in a 2-foot radius out from the stems, piling the mulch thickly around the base of the plant, making sure the crown is covered well. Once warmer temperatures arrive and the soil begins to thaw, gradually remove the mulch. Begin by removing half, leaving some in place to protect against a late cold snap. Remove the rest once any risk of frost has passed.
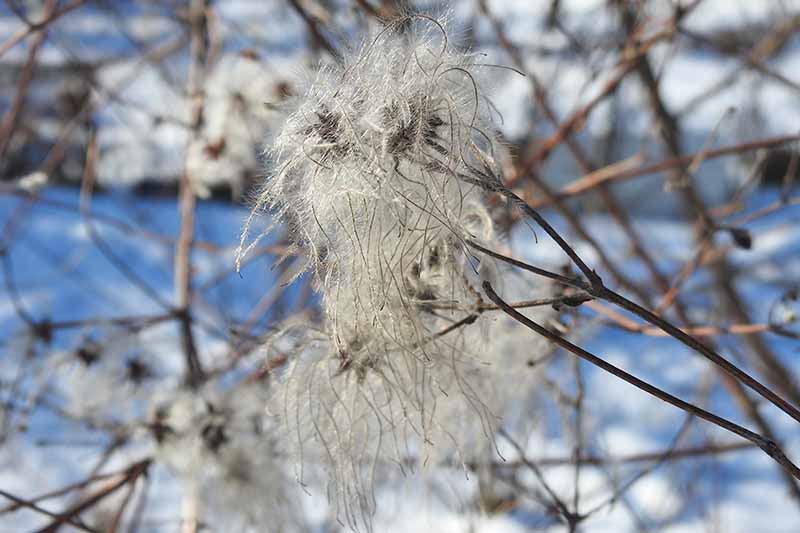
Build a Bird’s Nest
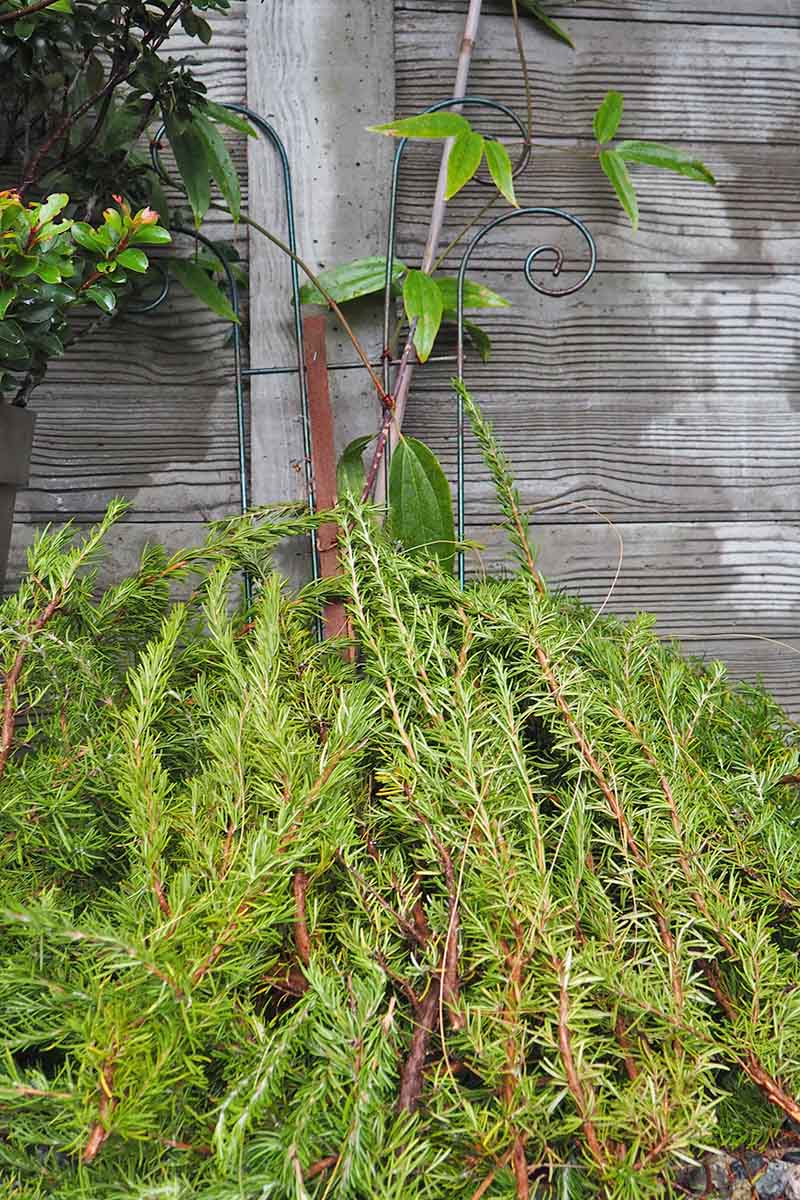
If your clematis belong to Group 3 and you live in a cold zone, you can provide extra insulation by building a “bird’s nest” over top of the crown with the dead vines. Here’s how to go about this:
After the ground freezes, cut the stems approximately 3 to 4 feet above the ground. This length allows plenty of room for buds to form in spring.
Pull down the dead stems from their supports, piling them at the base of the plant.
Compact the stems by hand into a dense nest and gently center the nest over the crown and remaining stems, until it resembles a large, upside-down bird’s nest. Extend the edges out 2 to 3 feet.
Once warm temperatures arrive, remove the nest and dispose of the stems. Do this before buds set in spring to prevent damage to new growth.
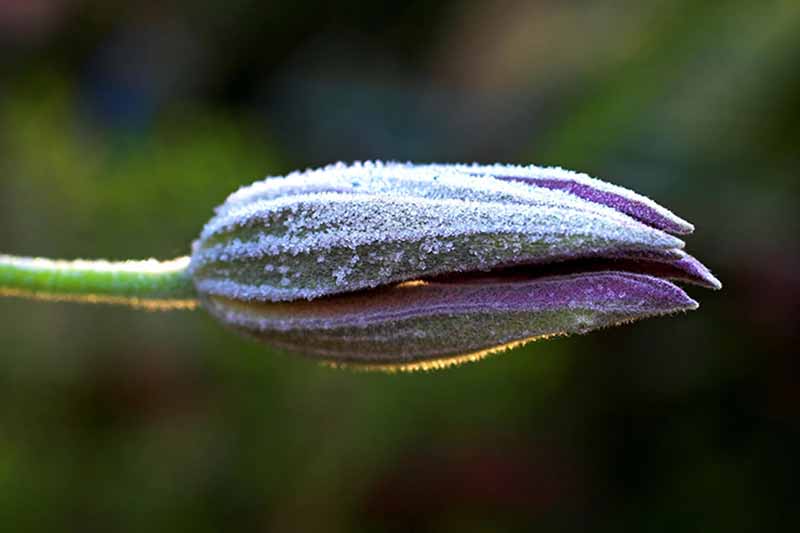
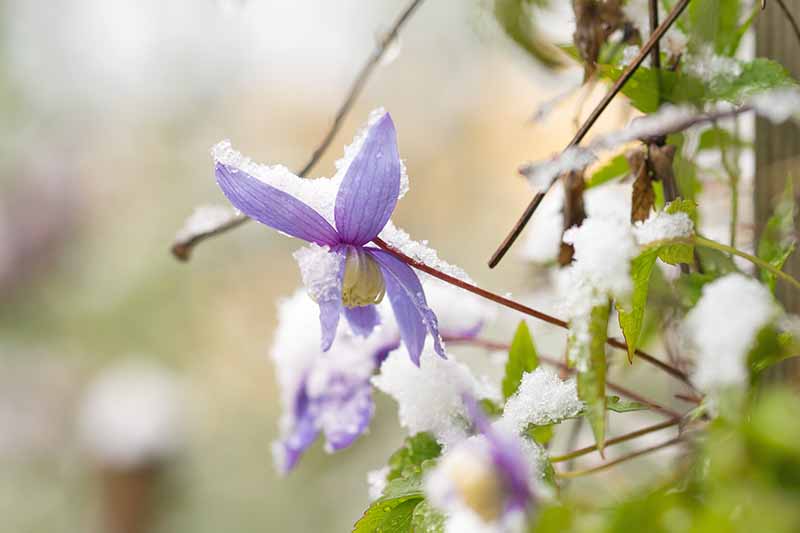
Frost Sensitive Plant Protection
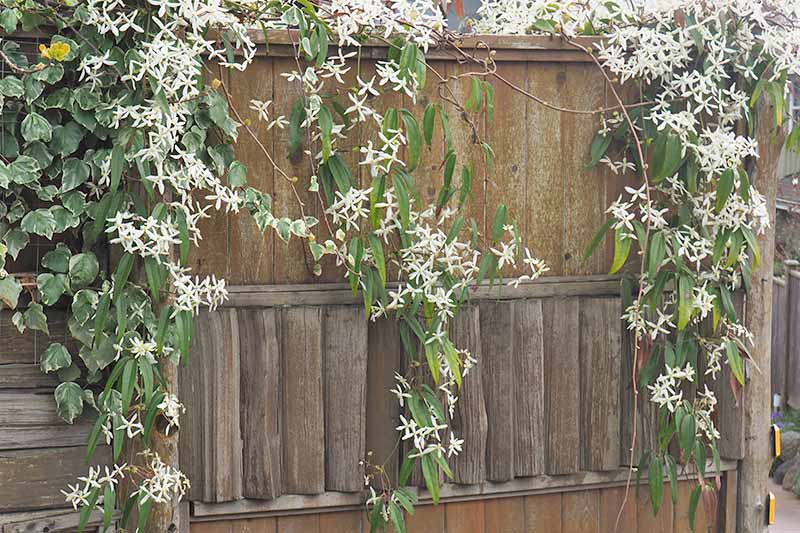
Evergreen species in Group 1, the C. armandii, C. cirrhosa or C. forsteri varieties, are typically hardy in Zones 6-9.
However, should freezing temperatures set in for extended periods, their frost-tender leaves and stems can suffer extensive dieback. If your region flirts with the occasional cold spell, it may be prudent to cover evergreens with burlap or a frost blanket. Or, you can try a citrus growers’ trick and wrap the plants in mini Christmas lights. They provide a little extra warmth until the danger of frost has passed, and add a twinkle to the winter garden! But this only works with old-fashioned lights – LEDs don’t emit any heat. Also, planting evergreen species in sheltered south- or west-facing locations where they’re protected from harsh winds can help them survive inclement weather.
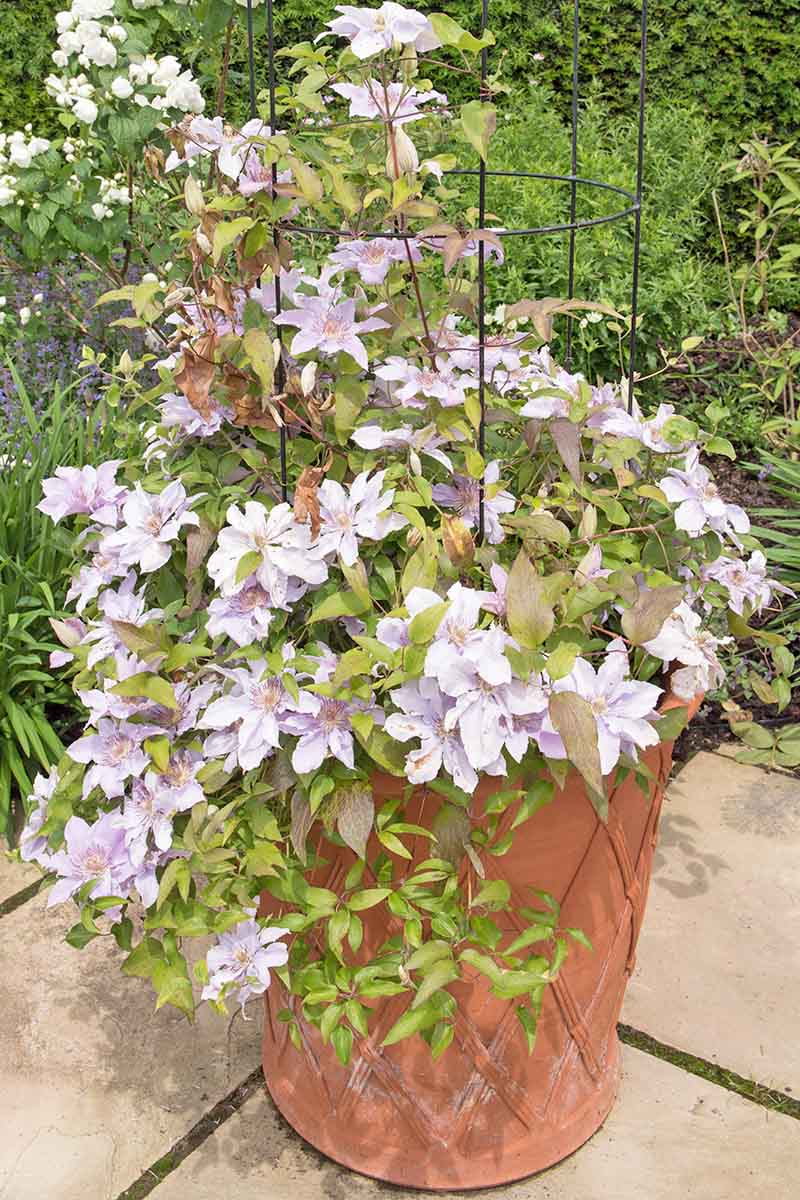
Container Care
Clematis can be overwintered in pots and containers, even in the coldest climates – providing they belong to the correct group for your zone, and your container is freeze-safe. Most wood, plastic, resin, metal, or fiberglass pots should tolerate an extended freeze. Containers that will not tolerate temperatures below 32°F, such as ceramic or terra cotta, need to be moved to a spot where they won’t freeze.
After the soil in the container freezes, mulch generously around the plant base, covering the entire surface with 4 to 6 inches of material. It’s important to wait for the soil to freeze before mulching, because freezing isn’t the real problem for roots – it’s the cycle of freezing, thawing, and freezing again that causes damage.
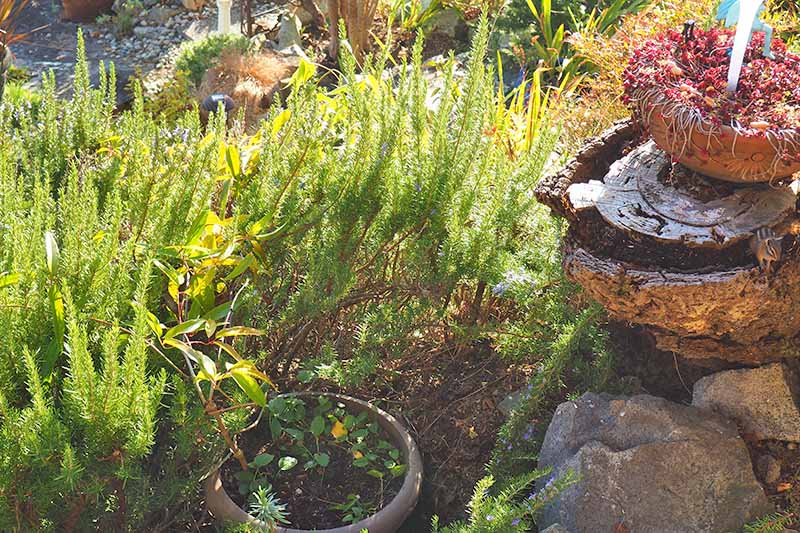
Give containers made of resin, wood, or other materials an extra layer of insulation against extreme cold. Stuff large landscape bags with leaves or another type of dry mulch, and wrap them around the containers. Secure with tape or twine. Bubble wrap also provides insulation and can be taped around containers. This is a great way to reuse packing materials! Or, lean evergreen boughs or straw into an insulating stook. A stook is made from bundles of long-stemmed grasses and grains or boughs that are secured close to the top, with the bottom fanning out into a cone shape. Use twine to secure the top over the container and fan the bottom portions around the container like a skirt. Placing pots against foundations, under evergreens, or tucked into evergreen shrubs provides light protection against frost, but not deep freezes. Remove any wraps after the soil thaws and temperatures warm. Read more about growing and caring for clematis in containers.
Brrr, It’s Cold Outside
Now that you know a little more about clematis winter care, will you be giving your vines some protection this year? Remember to check for winter hardiness when purchasing plants, and provide insulation for the crown and roots.
With just a bit of help during the cold months, these delightful climbers will return in the spring to fill your garden with color – even in the coldest zones! How are your clematis doing this winter? Let us know in the comments below. Want to dig further into clematis care? Read more:
The Complete Clematis Growing Guide Types of Clematis and How to Identify Your Vines 9 Reasons for Yellow Clematis Leaves
Photos by Lorna Kring © Ask the Experts, LLC. ALL RIGHTS RESERVED. See our TOS for more details. Uncredited photos: Shutterstock.