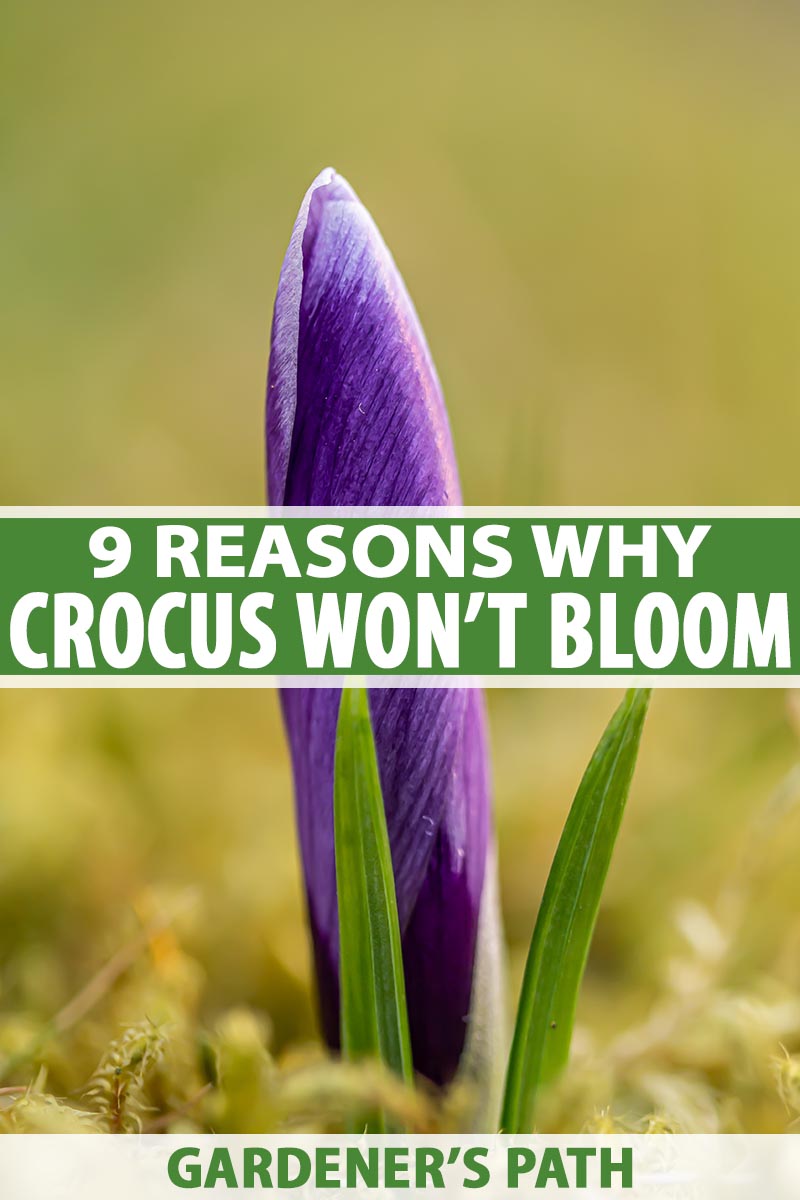
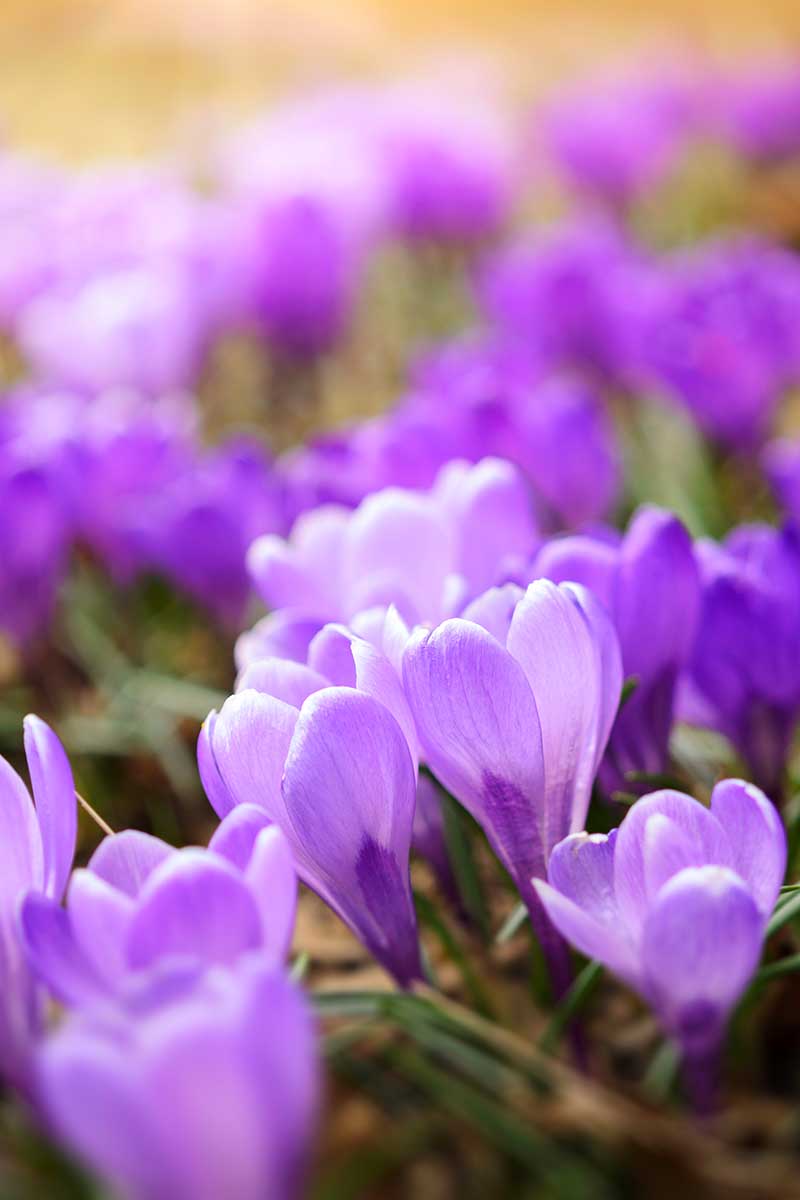
But what if you spend time planting crocuses in the fall and wait eagerly all winter… only to see a blank field staring back at you in February, March, April, and well into May? Or maybe your crocuses bloomed perfectly the first year, but now they’re struggling to bud and flower. Even worse, perhaps the corms pushed spiky green leaves out of the ground but buds never joined them. We link to vendors to help you find relevant products. If you buy from one of our links, we may earn a commission.
1. The Soil
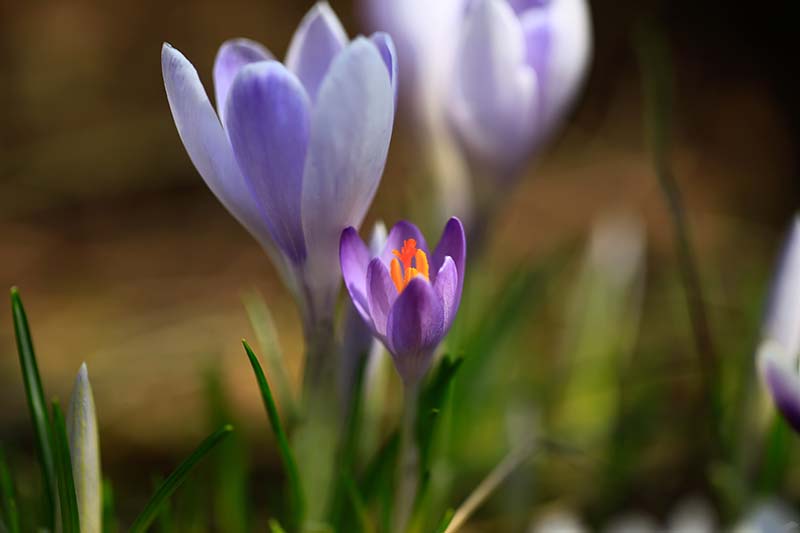
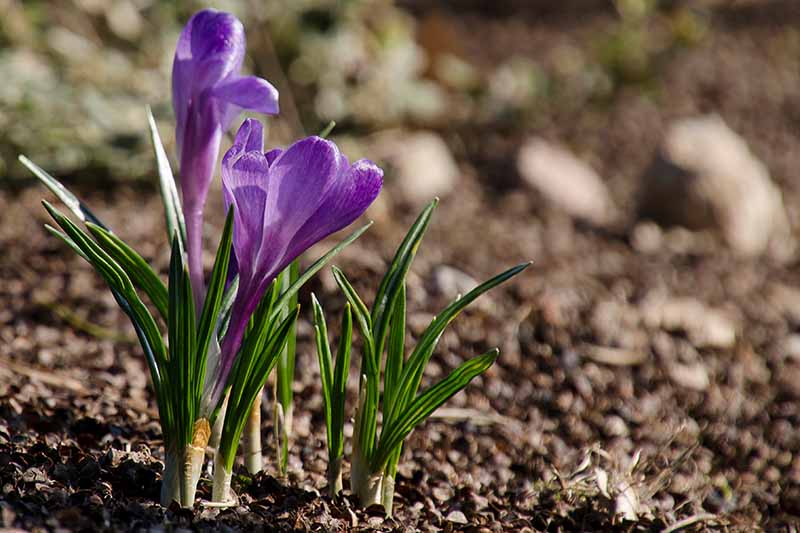
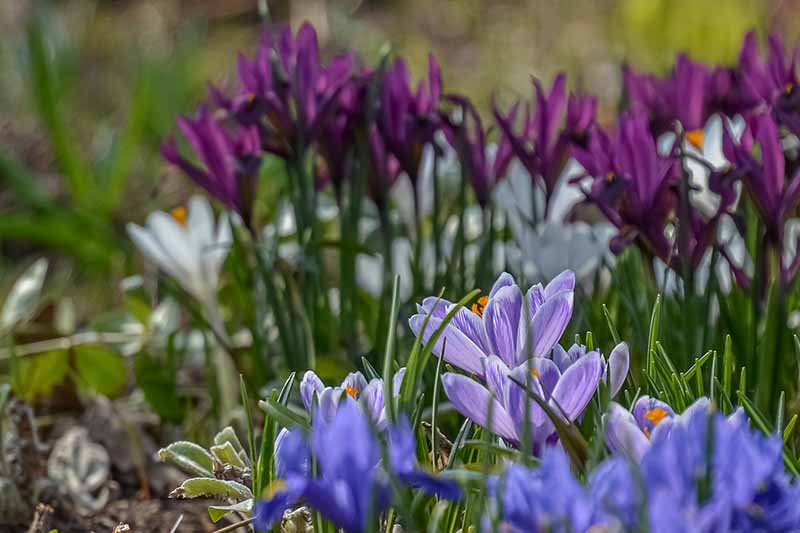
When you think about it, crocuses are pretty impressive. They muscle through newly thawed earth, poking leaves and buds into crisp late-winter air.
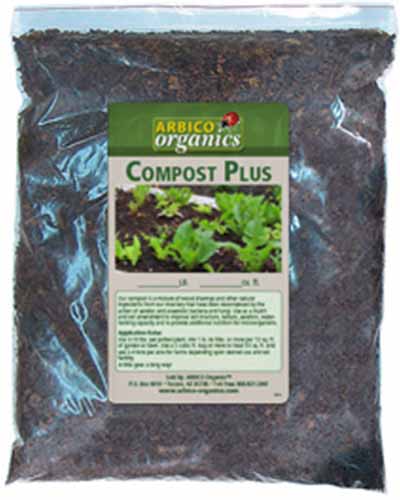
The thing is, the hardy bulbs need loose, well-draining soil in order to get through the three- to four-inch layer you planted them in last fall. It’s possible that you were so excited to plant the corms that you forgot to make sure the soil wasn’t too heavy and sandy, or too thick and clay-like. Or perhaps wet, heavy snows – or even something as simple as your dog’s favorite route through the lawn – has compacted the earth and your crocus leaves and buds are having a hard time poking through. Here’s how to help: In a bucket or other mid-sized container, mix a 50/50 blend of topsoil and compost from your composter, if you have one. Ideally, if you know your soil is heavy or compacted, you should work this mixture in when you plant the corms.
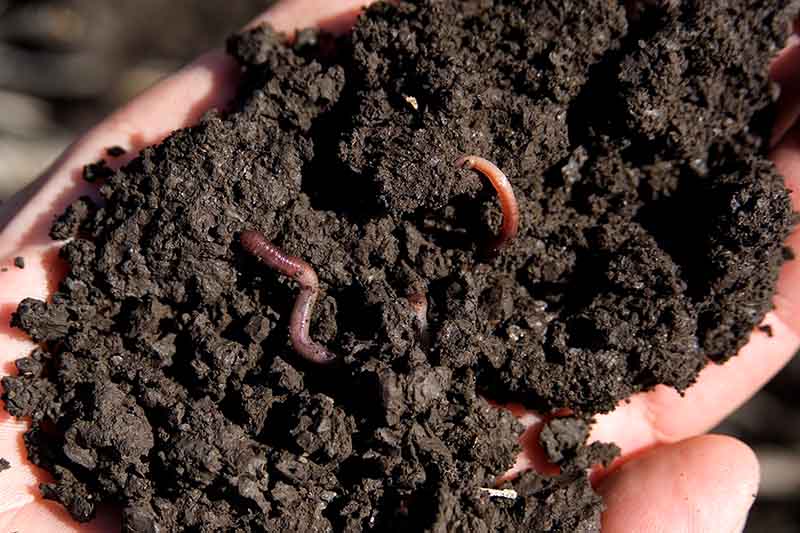
Worm Casting Compost But if you’ve long since planted the bulbs and are trying to help them push out of the ground, you’ll have to get your gardening gloves on.
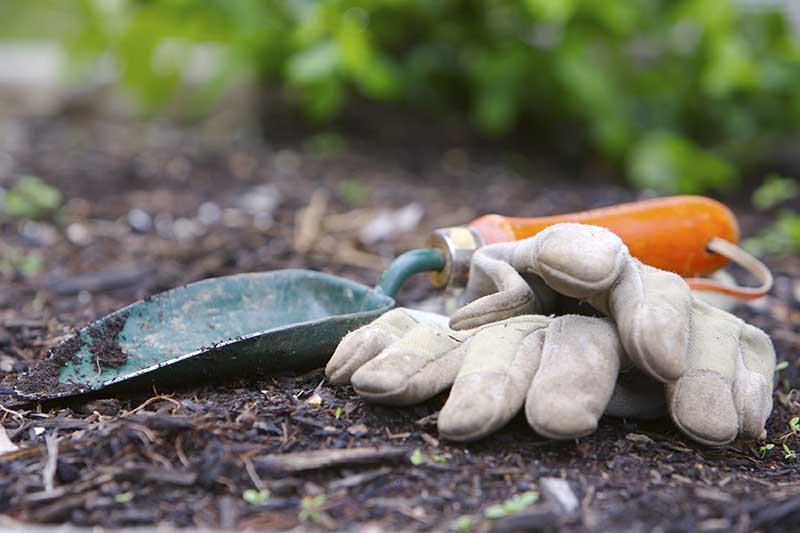
Hopefully you remember where you planted the corms. (To avoid potentially forgetting, make a rough drawing of your yard and sketch the areas you plant with crocuses and other bulbs. Your future self will thank you!) With a trowel or your fingers, carefully work the first two or three inches of earth above the bulbs. Try not to actually dig up the bulb itself. Work the topsoil and compost blend into the soil. You should end up with a looser soil that absorbs and drains water nicely. Give the area about 1/4 inch of water.
The spiky leaves should now be able to push through the earth and turn into vibrant flowers.
2. Bad Bulbs
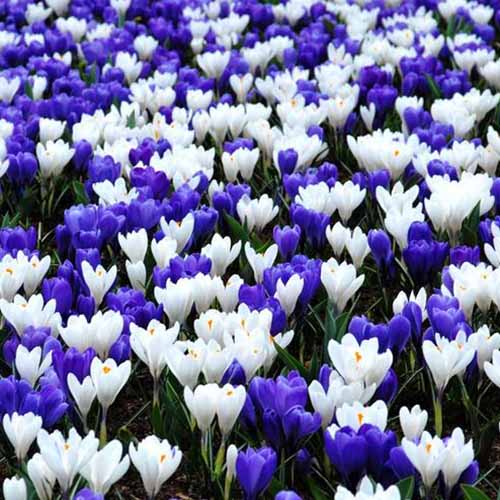
Sometimes, a dud bulb is the cause for your crocus troubles. Before planting, check your bulbs for signs of rot by pinching them between your thumb and forefinger. They should feel firm, not soft and squishy or dry and flaky. Bulbs that are bad from the moment you open your newly purchased bag need to go straight back to whoever sold them to you. You should always plant your bulbs as soon as you can after you buy them, which is why reputable gardening stores only sell spring-blooming bulbs in the fall, and fall-blooming bulbs in the spring and summer. Purple and White Mix Crocus Corms Find some reputable ones instead – like these from Eden Brothers. If you wait too long to plant them after buying, the bulbs can rot. They’re happiest inside their earthy homes.
3. Fusarium Rot
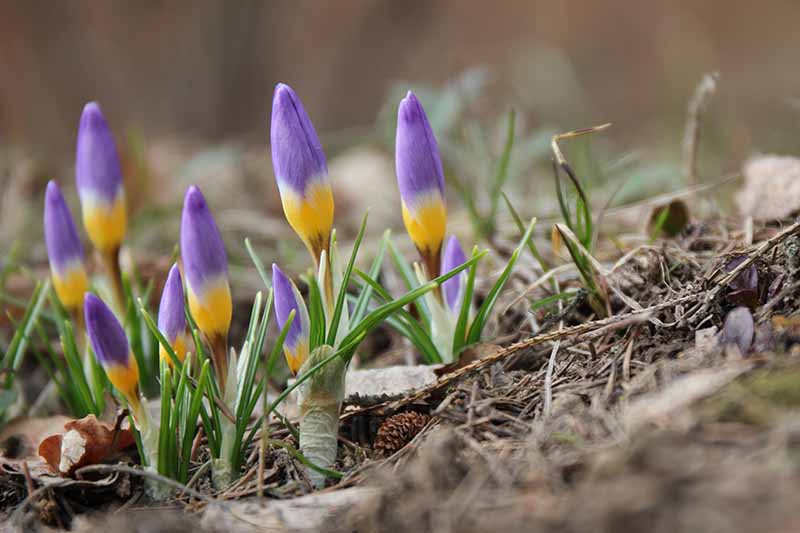
Say you had a beautiful crop of crocuses last year, but now you notice stunted yellow leaves growing out of the ground and no flowers in sight. Dig up a corm or two and check for fusarium rot, the most likely culprit, according to Janis Ruksans, author of “Crocuses: A Complete Guide to the Genus.” This disease isn’t likely to affect vernal crocuses once they’ve been planted, so long as you live in USDA Hardiness Zones 3-8. If you live in Zone 9, you can still plant crocuses but you need to chill the bulbs in the refrigerator for 12-15 weeks during the winter.
Otherwise, fusarium rot mainly affects warm weather loving saffron crocus. You’ll have to toss out infected bulbs and go easy on the fertilizer (or use none at all), as too much nitrogen can contribute to fusarium rot.
4. Gray Mold
If your area is having a very rainy year, check for gray mold. This causes black or brown spots on the corms and often rots the flower buds before they can emerge. The leaves will sometimes still break through the earth without the bud, only to succumb to the mold within a few days. Or, flowers may bloom only to become covered with a cottony gray film. To prevent the mold from spreading and killing more of your flowers, cut away all affected parts of the plant and spray what’s left with fungicide. You’ll then need to dig up the corms to check them for those blackish brown spots; if they’re infected, throw them out. Spray all the rest of your corms with fungicide to prevent further damage.
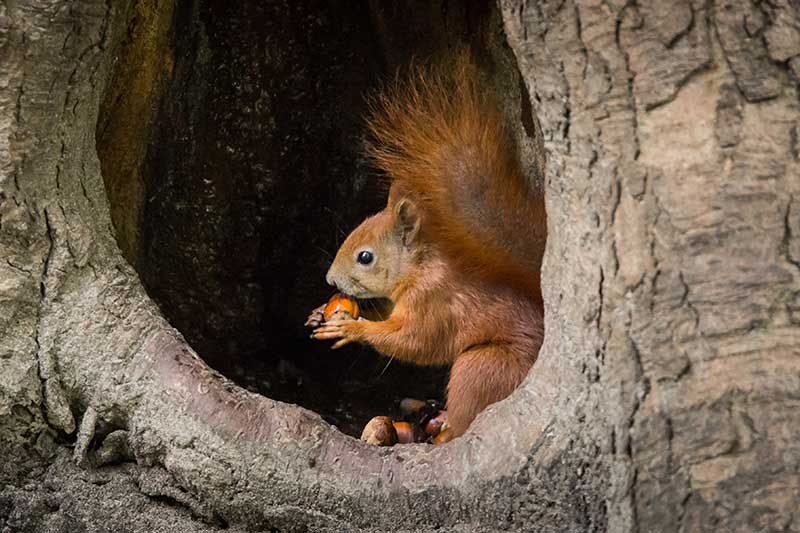
5. Critters
Maybe you keep trying to plant corms only to watch mice and squirrels dig them up the next day.
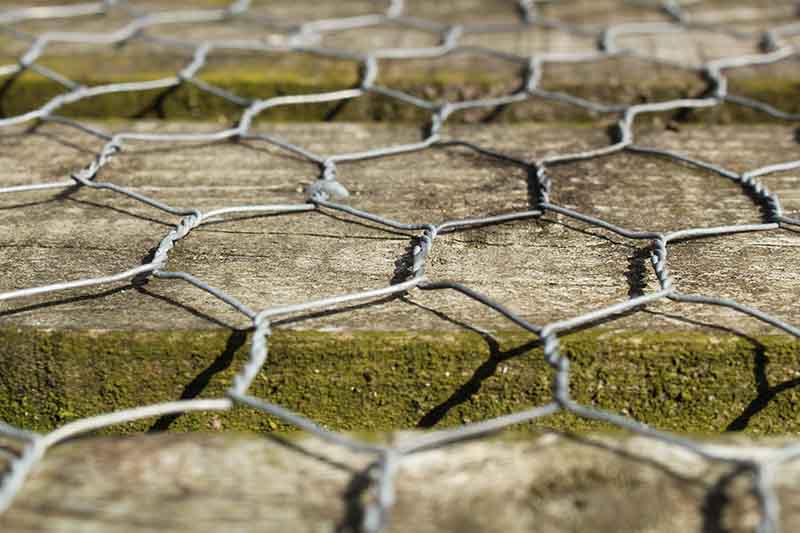
If this is you, I know your pain. I had a huge, gorgeous pecan tree in my backyard when I lived in Oklahoma. I never got to eat one single pecan from that tree. Our backyard hosted a colony of witty squirrels who’d sit on my outer kitchen windowsill so I could watch them eat my precious pecans while I washed the dishes. The tree was so tall, it was hard to keep the critters out. They’d leap from smaller trees into the large one and eat the nuts before they could fall. Thankfully for you, crocus corms are easier to protect. Here’s a useful method for you to try: This will keep the squirrels from accessing the earth around your precious bulbs. All you have to do is purchase a length of chicken wire and some metal stakes. The same day you plant your bulbs, cut a section of the fence with wire cutters. Make it about three feet wider in circumference than the area where you planted the crocuses. Lay it down flat over the planting area. Using a hammer and the stakes, affix the mesh to the ground.
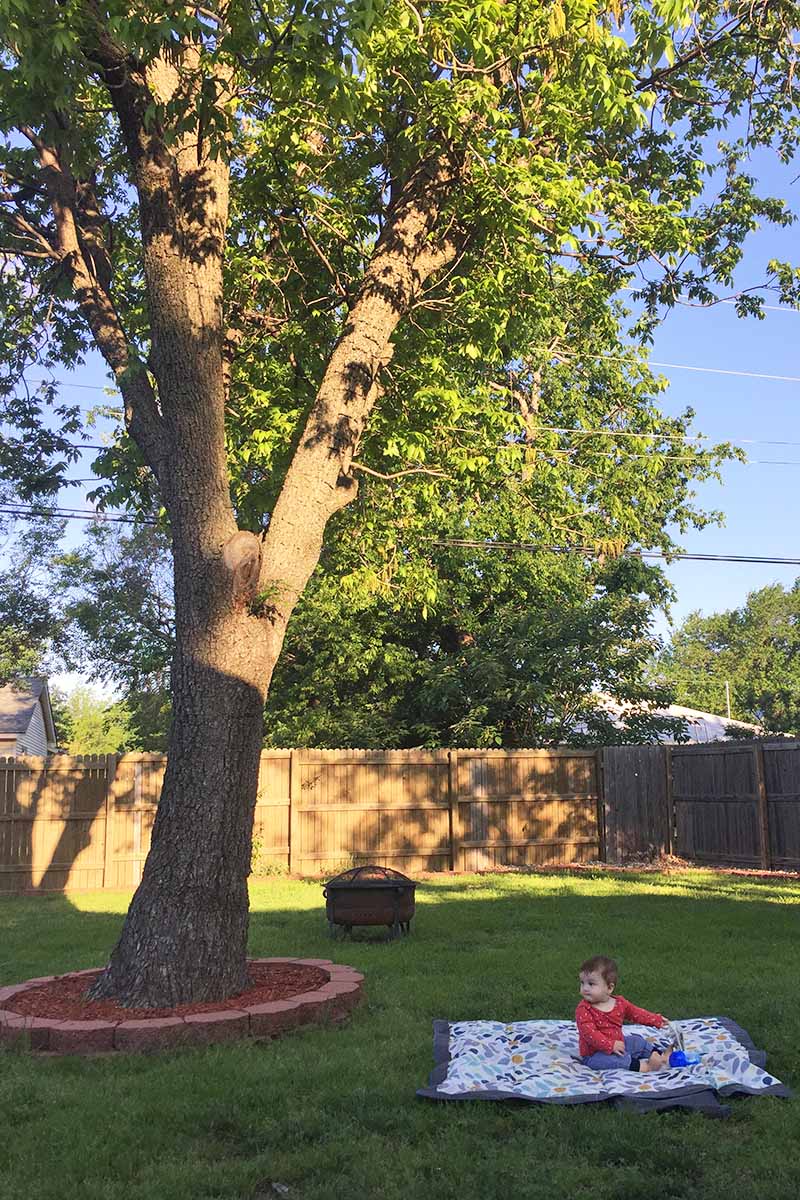
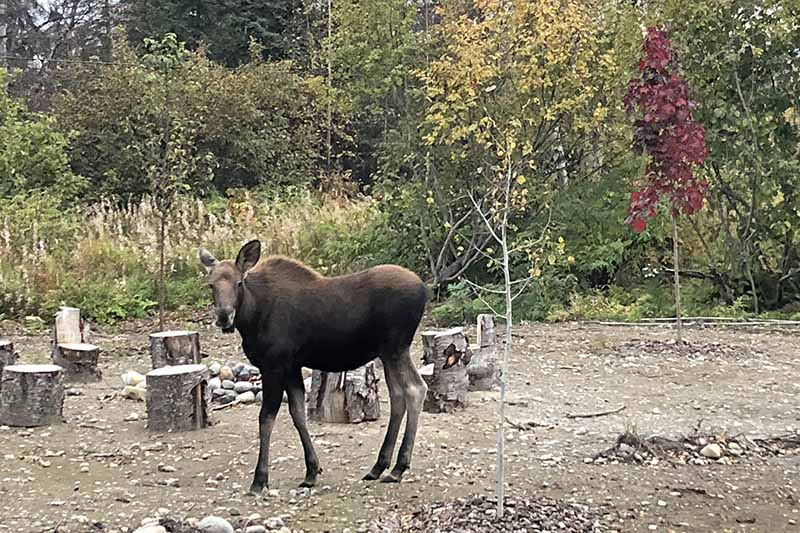
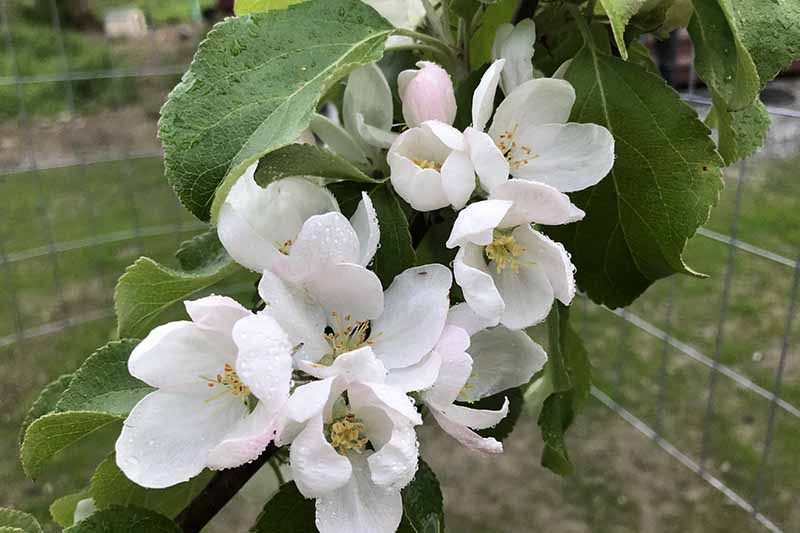
If you notice that the buds that came up so beautifully last year are coming up this year, too, but are then disappearing before they can bloom, you might have a larger offender on your hands. Like deer, if you live in the Lower 48. Or, if you’re like me and live in Alaska, moose. I had a hungry young garden-destroyer that ate all my cabbage one year, plus all the leaves off my apple, plum, and willow trees. I guess I hadn’t learned much from my squirrel fiasco in Oklahoma. The very same night the moose attacked my precious fruit trees, I went to the gardening store and bought supplies to build a moose-proof fence around each one. They’ve been safe ever since, as you can see in the photo of one of the apple trees’ first blooms post moose-pocalypse. Exhausted at the idea of building a fence around the entire area you planted with crocuses? Fear not! There’s a better way. (Two, actually.) Yuckily enough, Plantskydd is made with dried blood of the porcine and bovine variety. The smell alerts deer and other herbivores to the presence of potential predators, so they stay away. Plantskydd worked well on my herbs and carrot garden, which I harvested and enjoyed before planting that fated cabbage. It also worked on my trees – until I forgot to re-apply it to the new growth, as the bottle instructs you to do. Now I spray the areas where I have planted my bulbs and my non-fenced trees with Plantskydd when I remember, which isn’t often enough, because moose came along recently and chomped my little birch tree in half. Those rascals. If you have trouble remembering things like I do, try the second method: planting deer-resistant bulbs alongside your crocus corms.
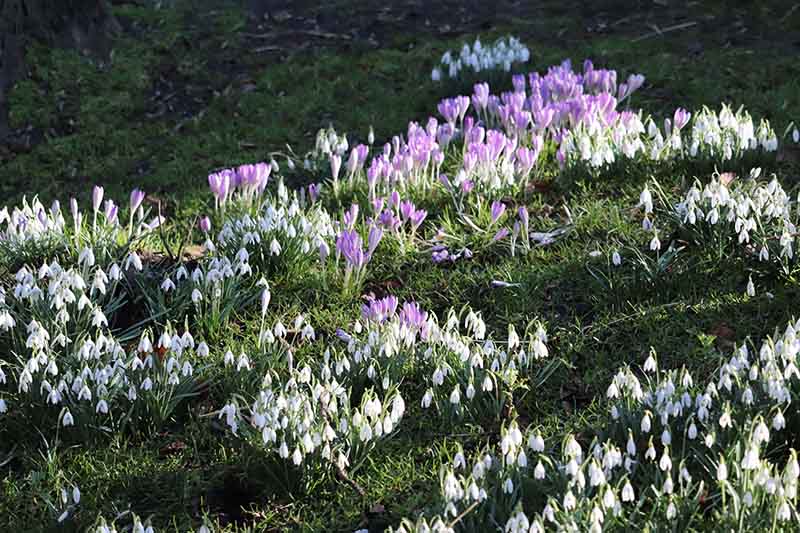
Daffodils, snowdrops, and hyacinths are all toxic to deer and moose. The bulbs, leaves, and blooms are all huge no-nos for these garden-munchers (and also squirrels!), so you can reap the benefits of their protection from the day you tuck them in alongside your crocus corms. Grape hyacinths and snowdrops are perfect for planting in the same trench as crocus corms, as all three have bulbs that need to be buried 3-4 inches deep.
6. Inadequate Planting Depth
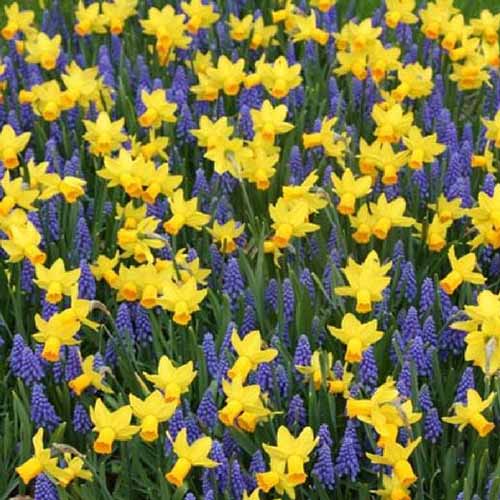
When you initially plant the bulbs, make sure to plant them three inches down, four max if you live in USDA Hardiness Zones 3 or 4. Grab a ruler and measure the depth of the hole or trench to be completely sure. Grape Hyacinth and Daffodils You can plant daffodil bulbs three inches below your crocus corms, where they won’t provide immediate protection (since they’re not side by side), but will help repel creatures once they all bloom in early spring.
Here’s why you have to be careful: a crocus bulb, or any bulb for that matter, might fail to produce buds if it’s planted too deep. This can cause bulbs to rot or to produce foliage but no blooms, as they have been busy putting energy into corm development. Or they may just be taking longer to emerge and you might need to be patient. You’ll also want to avoid planting bulbs too shallow. If you don’t plant your corms deep enough, they might be exposed to too much temperature fluctuation during wintertime, as they are not insulated by the soil. It also leaves them vulnerable to pests, as mentioned above.
7. Not Enough Sun
If the flowers you planted last fall aren’t blooming, check to make sure they’re getting enough sunshine.
Crocuses like full sunshine or part shade, so keep an eye on how much light they’re getting throughout the day. For crocuses that bloomed fine last year but aren’t blooming this year, sunlight isn’t likely to be the problem – unless you planted new shade trees right over your crocuses. (Don’t do that!)
8. Over-Fertilization
Did you fertilize your corms when you planted them, only to find that they’re not blooming in the spring? Some sources will tell you to fertilize the soil around the corm itself. Others say to wait to fertilize until after the flowers bloom. Still others recommend avoiding fertilizer completely because too much of it can burn or damage corms.
Here’s what you need to keep in mind when you’re thinking about fertilizer: If the soil you’re planting in is already well-draining, dark, and crumbly – signifying that it’s rich in organic matter – you really don’t need to fertilize the crocuses. The roots will draw all the nutrients needed from the healthy soil. An excess of nitrogen in the fertilizer can contribute to fusarium rot and may also cause foliage to appear without flowers.
For heavy or sandy soil, you still don’t need fertilizer – just compost and topsoil. If you do want to boost your blooms with fertilizer, it’s probably safest for your corms if you plant them as usual, lightly tamp down the earth above them, and scatter a cup of granular organic fertilizer, such as this one available from Home Depot over each square foot of planted soil.
This should prevent the fertilizer from damaging the corms while allowing it to spruce up your foliage and flowers.
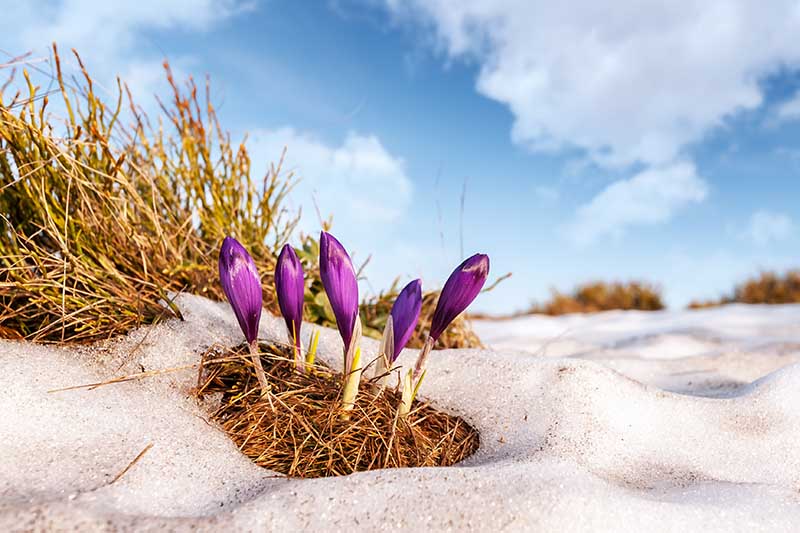
9. The Wrong Temperature
One final culprit? The weather. Here in Alaska, we often experience wildly varying winter temperatures. One winter can be mild, only dipping below zero for one or two days of the entire season, with spring arriving much earlier than usual – in March or April as opposed to May, while, we enjoy weeks of below-zero temperatures throughout other winters, pushing the springtime melt to late May or even June.
The reason your crocuses aren’t blooming yet could be as simple as a change in the weather from last year to this year. So, since they can survive in the cold and snow, have a little patience and keep looking out for those vibrant flowers to pop through the earth!
Do you have any tips, questions, or comments? Let us know below. And don’t miss these articles on growing spring bulbs:
When to Plant Crocus Bulbs Winter Blooms for Your Garden How to Force Spring Blossoms Inside 11 of the Best Crocus Varieties for Your Garden
Photos by Laura Melchor © Ask the Experts, LLC. ALL RIGHTS RESERVED. See our TOS for more details. Originally published on February 4, 2020. [lastupdated]. Product photos via: Arbico Organics, Eden Brothers, Timber Press, and Tree World. Uncredited photos: Shutterstock. With additional writing and editing by Clare Groom and Allison Sidhu.