Taller varieties make delightful bed anchors and foundation plantings, providing vertical foliar interest all summer long, before bursting with color come fall. Some are native, others are cultivated varieties, and they have a tendency to spread by self-sowing and through their vigorous root systems. We link to vendors to help you find relevant products. If you buy from one of our links, we may earn a commission.
Benefits of Division
Although asters happily self-propagate, filling a garden and beyond, they are healthier, prettier, and better behaved with periodic dividing.
It also allows you to easily propagate your own plants and increase their numbers in your garden, or share with friends. If you save the seeds of native species, they will produce plants true to the parent, however cultivated varieties will not. Dividing your asters periodically encourages more vigorous growth and prolific blooming. And reducing the density of clumps will increase airflow which can inhibit fungal growth, such as powdery mildew.
How to Divide Perennial Asters
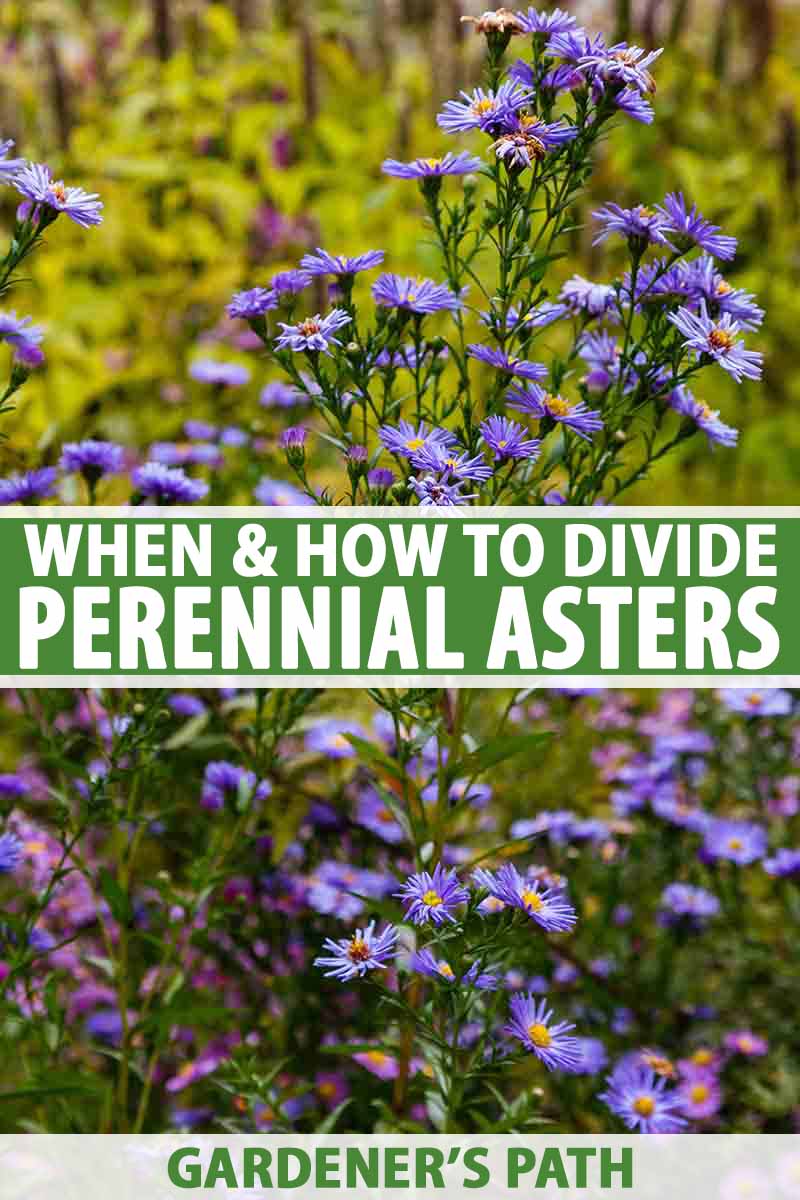
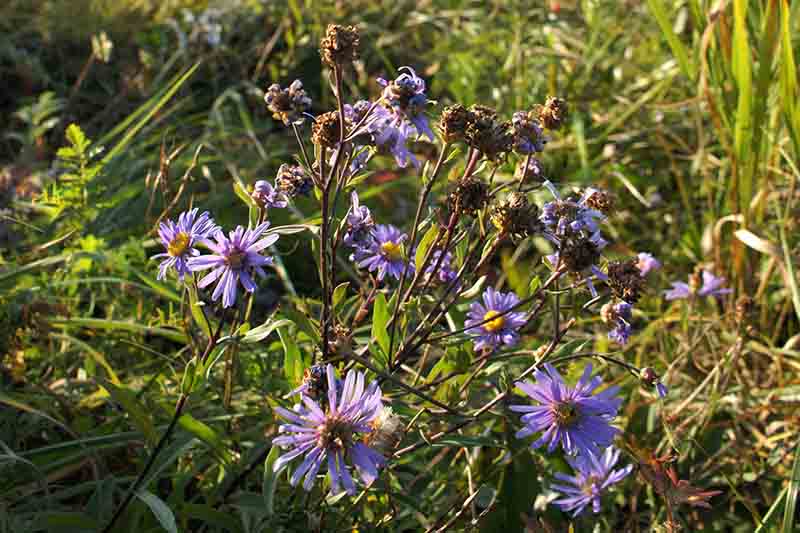
Asters are members of the Asteraceae family, and they grow in a clumping fashion. Whether yours are a petite six inches and contained in a pot, or behemoth seven-foot beauties roaming in a meadow, they stand to benefit from the rejuvenating effects of periodic dividing.
The best time to divide them is in early spring, when the new shoots start to sprout. This will give the new divisions time to establish over the summer. Once buds appear, it’s too late, and you’ll have to wait until next year. A healthy clump has uniform growth throughout. But one that’s in need of dividing will have patchy growth and possibly a center of bare earth with no evidence of new shoots. Asters grow from the inside of the clump, outward, so as a plant ages, the middle dies and new growth sprouts up around the perimeter.
You can divide your plant in one of two ways, either by cutting the plant through the roots in situ and digging up only a section, or by digging up the entire plant, and separating it. Then you can transplant the new divisions either into pots, or in a suitable location in the garden. Let’s take a look at both methods:
Cut and Separate
The first way to divide a clump is by cutting straight down through its roots one or multiple times. Here’s how:
- Take a sharp shovel and plunge it down into the center of the plant, severing the roots to separate it into two halves.
- The next step is to dig a trench around the cut portion of the clump, several inches out from the perimeter. Work your shovel under the cut piece until it comes loose and can be lifted from the soil.
- Crumble away any loose soil from the roots, letting it fall back into the hole. Fill the hole with additional soil, as needed.
- Examine the clump you have removed, and use sharp pruners to cut away any dead plant material. This should leave you with one – or several – new shoots with roots and some soil attached. This method is best done with young plants. With older ones, you may find that the portion remaining in the ground contains bare patches, resulting in a spotty, leggy appearance in fall.
Dig Up and Separate
The second method is to dig up the whole clump, and divide it into sections to replant.
- To unearth a plant, dig a trench a few inches out from the perimeter of new shoots, by forcing your shovel down into the ground using foot pressure. Gently nudge the shovel forward with each dig, to loosen the roots. With the last dig, you should be able to work the entire clump loose.
- Hold the plant over the hole and use your hands to remove loose soil from the roots.
- Work the perimeter shoots loose from the clump by teasing the roots apart. You may have individual ones, or clusters of several. Use sharp pruners if necessary, to separate the shoots or cluster of shoots from the plant.
- Continue around the perimeter, removing sections of the outermost shoots and roots. Discard the center of the plant, if it has no new shoots, as well as any dead leaves onto your compost heap. This method allows you to remove all dead material, for a more uniform, compact look at bloom time.
After you split a plant by one of the two techniques described, you can either pot up or transplant your clusters of tender shoots.
Pot Up or Transplant
You may wish to place your new plants into pots either for giving as gifts, or to keep them protected if there is still a danger of frost. To pot up the newly divided sections:
- Place each new plant into a pot of well-draining compost or potting medium.
- Keep pots in a sunny, sheltered area, and maintain even moisture.
- When the danger of frost has passed, transplant outdoors using the instructions below. To transplant directly into the garden:
- Plant new divisions at least 18 inches apart in a location with full sun to light shade and well-draining soil.
- If you are planting in the same place, refill the original hole with soil or compost, as it will be too deep for your new division. Or dig a hole slightly larger than the root you will be planting.
- Place your division into the hole and fill in with soil taking care not to cover any of the shoots. Water in well, and tamp down the soil. Maintain even moisture while plants become established. You can also add a layer of mulch around each new clump to help retain moisture and inhibit weed growth. Later in spring, you can apply a well-balanced, slow-release fertilizer, such as 10-10-10 (NPK) to encourage vigorous growth.
Time for the Task
Dividing old plants in spring gives new plants time to acclimate before summer temperatures heat up. It also gives them ample time to set buds for a fall bloom.
Divide and Conquer
If you’ve been hesitant to plant perennial asters because you’ve heard they can be hard to manage, worry no more!
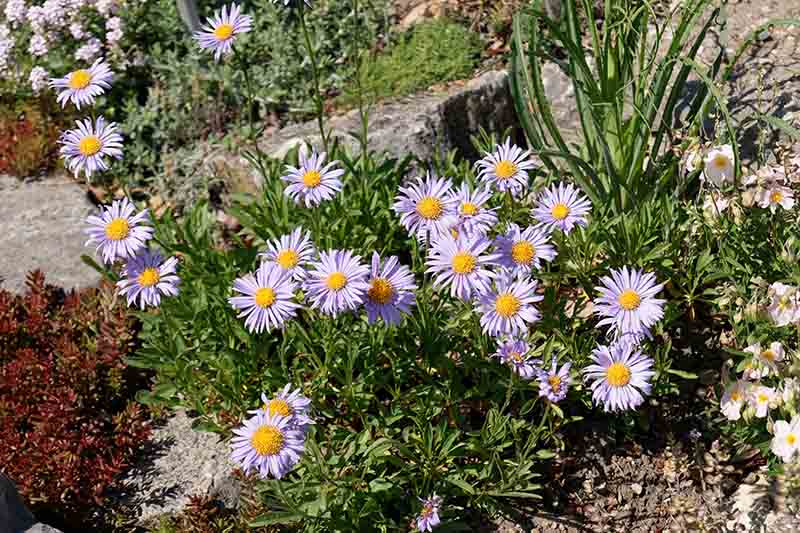
Once you’ve gained the upper hand and your flowers are compact and lush, instead of sprawling and scraggly, you’re sure to love the way they add interest to the outdoor landscape. As you get to know your asters, you’ll find that some seem to need dividing every year or two, while others may go for three or more without seeming crowded or showing dead patches. And here’s a bonus tip: prune the top third of the foliage off by Flag Day in June to encourage lateral branching and greater stability, so plants will stand tall and proud at bloom time. Have you tried dividing perennials or do you have any questions? Let us know in the comments below. To learn more about growing asters in your garden, you’ll need the following guides next:
11 of the Best Pink Aster Varieties How to Grow Tatarian Aster: a Dynamic Late-Season Bloomer How to Grow Sky Blue Aster How to Grow China Aster for Color in the Late Summer Garden
© Ask the Experts, LLC. ALL RIGHTS RESERVED. See our TOS for more details. Uncredited photos: Shutterstock.