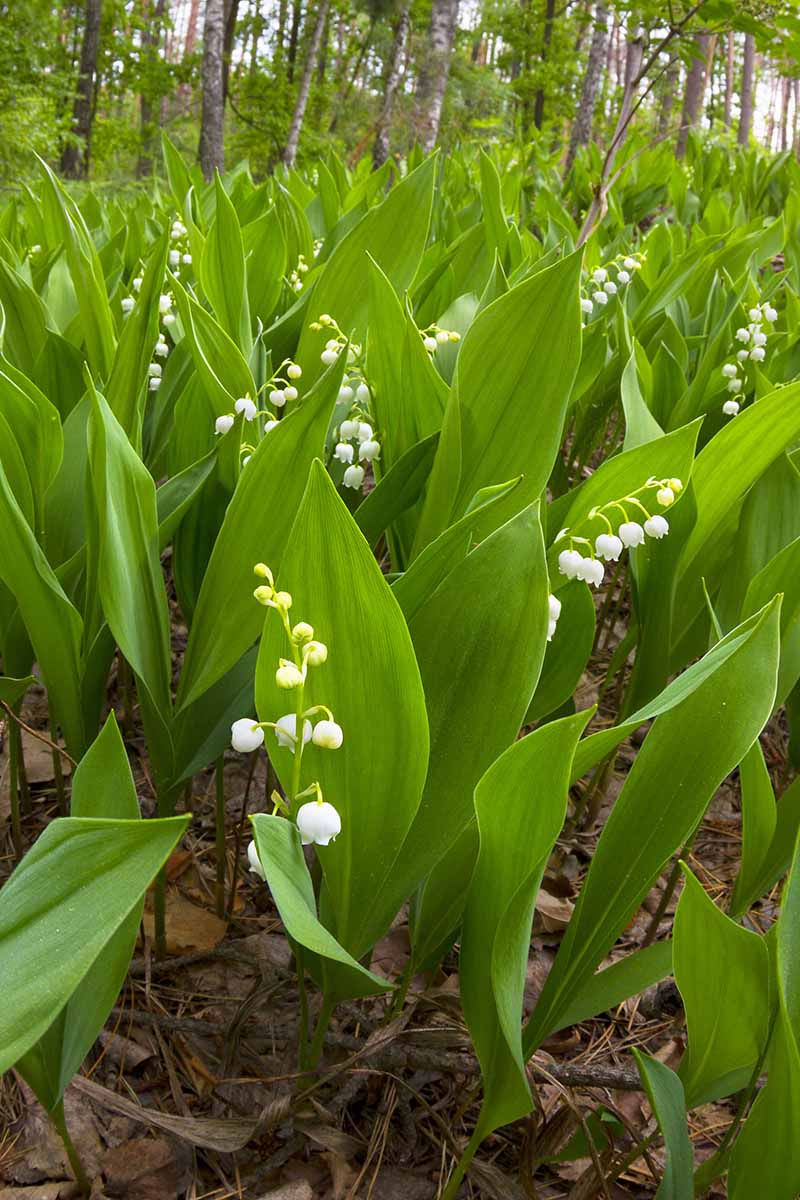
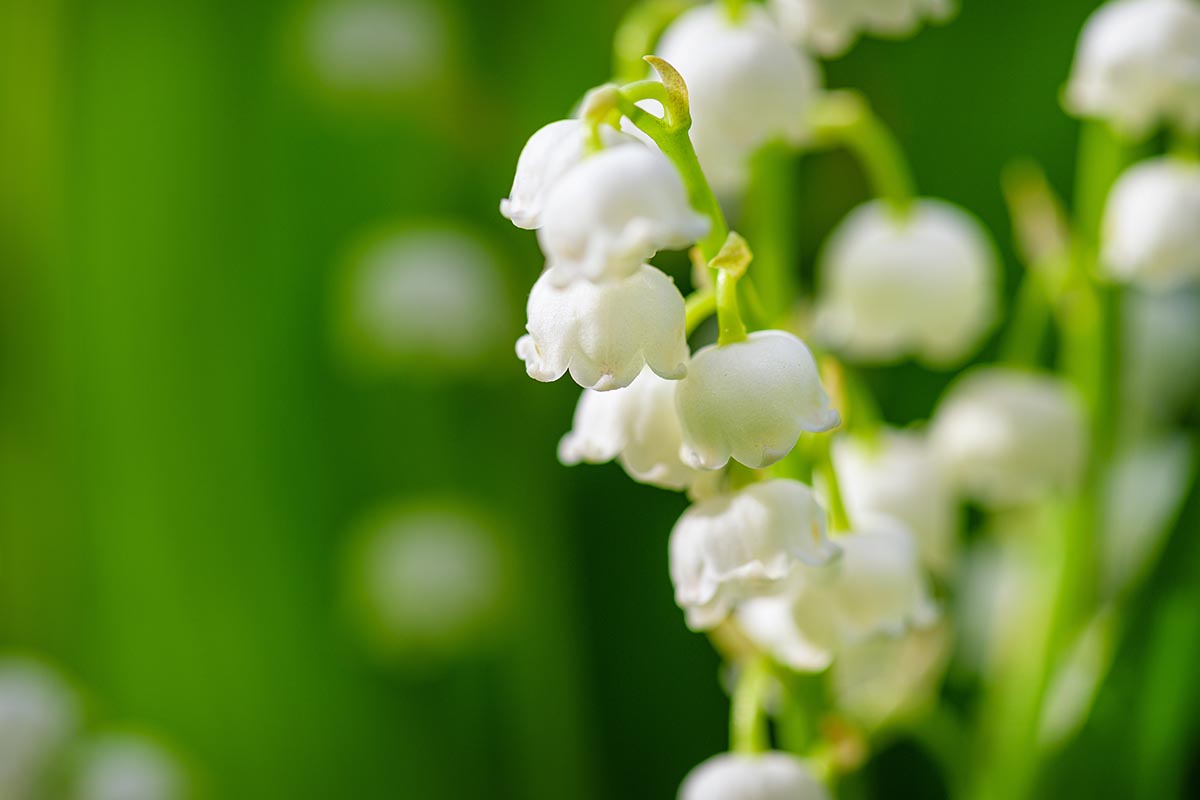
It grows from a rhizome and thrives in USDA Hardiness Zones 2 to 9. Native to Europe and Asia, its dainty bell-shaped pink or white blossoms are a fragrant delight in the spring garden. We link to vendors to help you find relevant products. If you buy from one of our links, we may earn a commission. Our guide to growing lily of the valley has all you need to know about cultivation. In this article, we talk about dividing plants to keep up with their aggressive growth. Here’s what we’ll cover: Let’s get started!
Why Divide Lily of the Valley?
With a fast-growing perennial that voraciously consumes garden real estate, the need to divide periodically, a process also known as splitting, is to be expected. Many folks take on this task every three to five years, but this is not a hard and fast rule. When lily of the valley begins to hop the garden border and cruise into the lawn, you’ll want to take action. In addition to removing plants that escape boundaries, overcrowded patches tend to bloom poorly. Thinning them out is rejuvenating and supports healthy new roots, foliage, and flowers. Let’s talk about the best time for splitting plants.
Act While They Are Sleeping
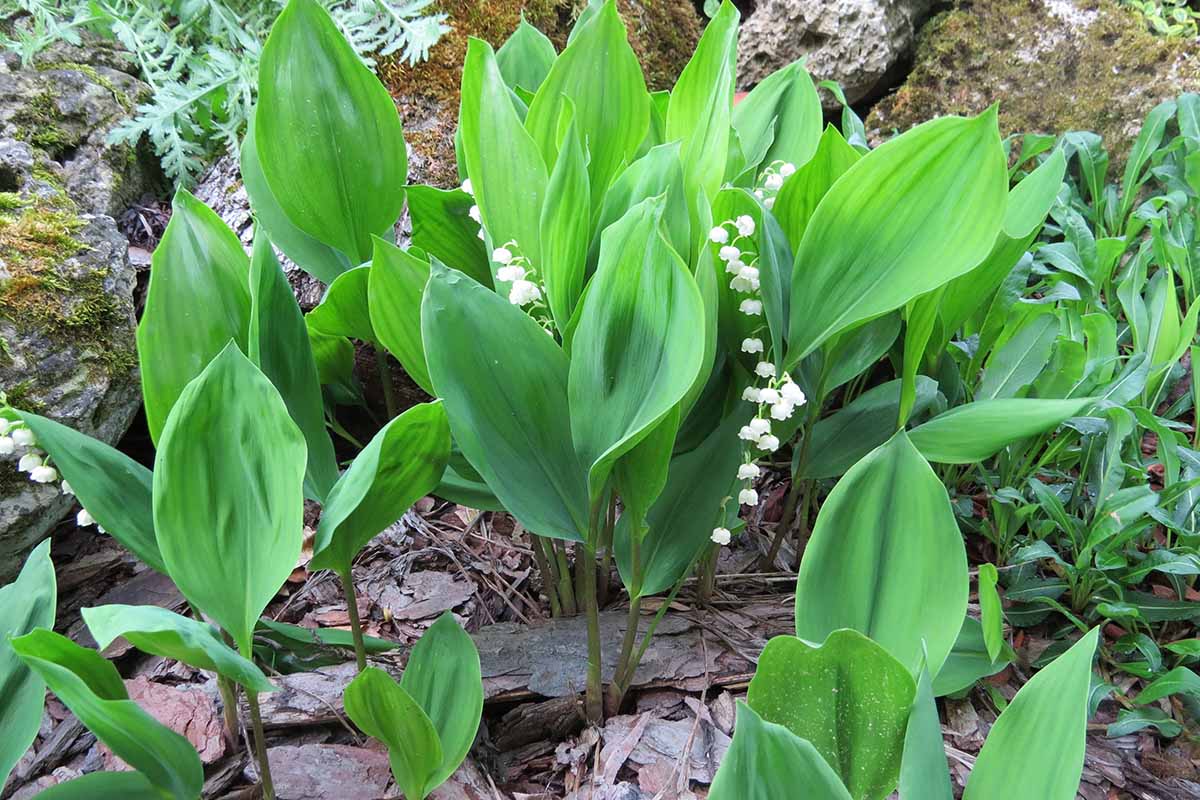
Lily of the valley foliage remains green from spring to fall, creating a lush ground cover in the shadiest portions of the landscape. As the growing season draws to a close, the green foliage shades to brown, and red fruits form, wither, and disperse seeds. These changes mark the beginning of dormancy, the period from fall to spring when a plant stops growing and rests. Dividing during dormancy causes the least disruption to the floral life cycle. To divide and transplant in the fall, it’s necessary to dig rhizomes up at least four weeks before the average first frost date for your region to give them a chance to become established before the ground freezes. Alternatively, you can unearth them in late winter to early spring, after the average last frost date for your growing zone has passed, to facilitate a smooth, frost-free transition. Be sure to mark their location or they may be hard to find! Now let’s find out how to divide.
How It’s Done
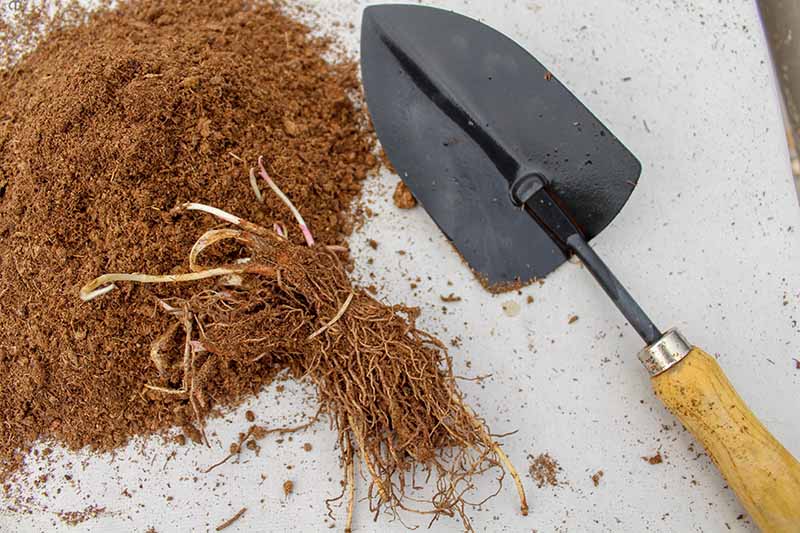
In the fall, when you can still see shriveled leaves and/or fruit-bearing racemes, get out your long-handled garden fork and a pair of gloves. All parts of C. majalis are toxic, so avoid handling it with bare hands. Insert the garden fork a few inches away from a patch of rhizomes. For very dense plantings, there may be some injury to the rhizomes when you dig. However, as we will discuss shortly, even broken ones may still be viable. Push your foot down on the fork and work your way around the patch, gently loosening and lifting as you go. Once you can release a mound, lift it from the ground. Now you have two options. One is to relocate the entire mound. Here’s how: Choose a location, and work the soil into a crumbly consistency to a depth of about 12 inches. Set the entire mound into the prepared soil at the same depth as the original location. Tamp the soil and water well. To transplant multiple mounds, leave 12 inches between each for growing room. Here is the second method: Brush as much soil from the mound as possible. Carefully separate the individual rhizomes. They are thick, and have thin roots that extend outward and downward. It’s okay to cut some roots off to separate the rhizomes. And it’s not a disaster if you accidentally cut a rhizome during digging or separating. Any rhizome with one or more “pips” can thrive. Pips are growing points that sprout shoots. They look like bumpy potato eyes. If you have a rhizome that does not have at least one pip, or that is discolored or mushy, discard it. Pips may be easier to recognize in early spring when they are just beginning to produce shoots. Don’t worry if you can’t distinguish them. Just keep each rhizome as intact as possible. To sow individual rhizomes, set them one inch deep in soil loosened to a depth of six to 12 inches. Leave four to six inches of growing space between each. Tamp the soil and water well. As mentioned, it’s best to divide during dormancy. If you have no choice but to move plants after they’ve broken dormancy and sprouted, know that they may not bloom until the following year. When you incorporate dividing into your garden regimen, you can rein in this dynamic perennial to keep it from spreading out of control, and also enjoy a few added benefits. Thinning out rejuvenates flora, resulting in better blooming and improved airflow that inhibits fungal development. Are you ready to give your plants the love they need? Please share your thoughts about this flower in the comments section below. If you found this guide informative and want to read about dividing other flowers, we recommend the following:
How to Divide and Transplant IrisesHow to Propagate Astilbe Flowers Through Division