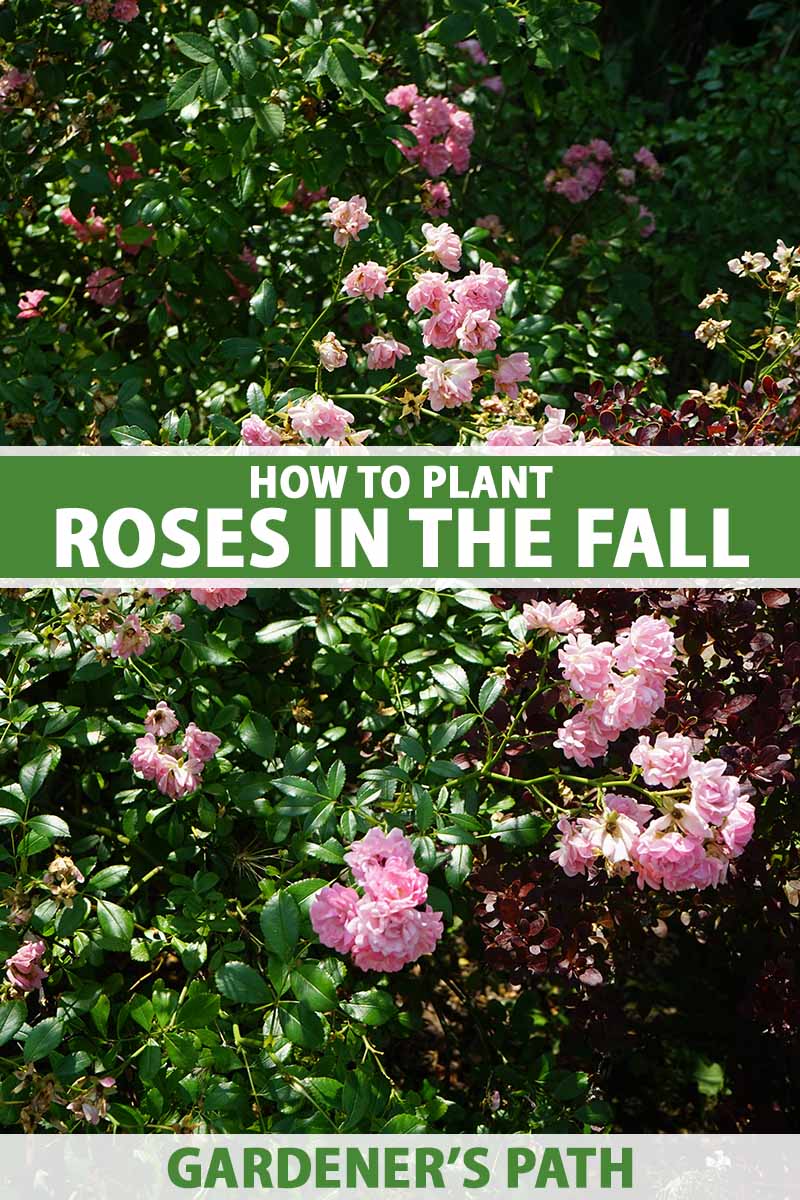
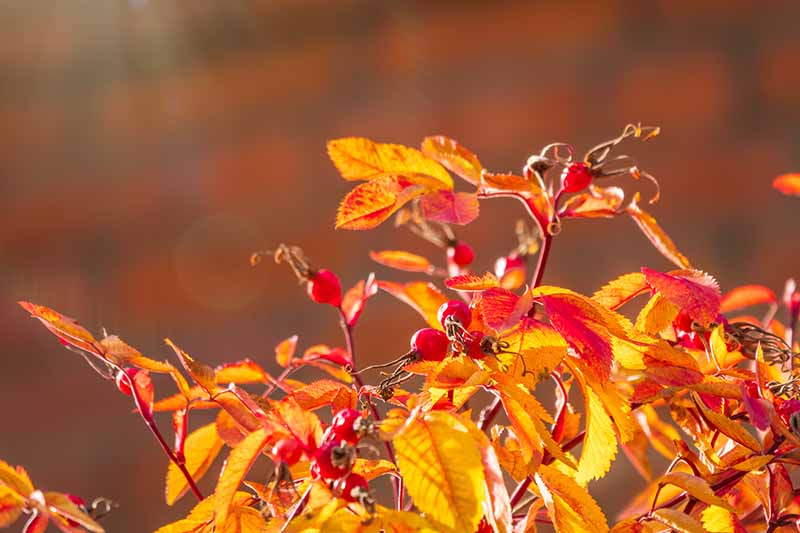
Okay, so it’s not exactly a secret, but even though it’s finally getting more recognition as a smart gardening practice, I’m surprised at how many people avoid it. Every time I sweep up piles of discounted plants during the autumn when nurseries are clearing out their inventory, gardeners ask me if it’s really a good time to plant. The answer is: yes! Roses are particularly well suited to fall planting. They tend to benefit immensely, and you can pay a quarter of the price for plants that you might be charged during the spring. We link to vendors to help you find relevant products. If you buy from one of our links, we may earn a commission. A lot of gardeners may assume that means that it’s not a good time of year to plant, so that’s why the stores are trying to get rid of their inventory. But that’s not true! For many perennials, fall is actually a perfect time to plant. The weather is mild, the plants get a head-start before the next growing season, and there’s usually more rain in the forecast. Are you convinced? Here’s what we’ll cover to help you make the most of the autumn rose-planting season: One quick note: because most roses sold in the fall are actively growing potted specimens rather than bare root plants, we’ll focus on planting container roses here. But you can use the following steps for bare roots, as well. If you’re ready to take advantage of those bargains and the lovely, mild weather, then let’s not wait any longer. Here we go!
Pros and Cons of Fall Planting
Planting in the spring can be a bit of a challenge. The soil might be soggy from all those spring showers, or you might have to wait until later in the season than is ideal because the earth is still frozen for a time after the winter season has passed. In the autumn, the soil is usually drier and warmer, so it’s easy to work. The weather is also milder, you typically see more rain than you would during the summer in many regions, and you (usually) don’t have to worry about a surprise heatwave toasting your rose bush. Another benefit is that you can often find certain varieties of plants at a lower price. The majority of people aren’t doing their garden shopping in the fall, and most nurseries offer an end-of-season discount. Roses that are put in the ground in the autumn will usually bloom earlier than those planted in the spring. When you put a rose in the ground in the spring, it takes a few months to become established and send out blossoms, whereas those planted in October or November have already had time to get settled and are ready to grow when spring arrives. On the negative side, if you have an unusually wet autumn or an early unexpected freeze, you might lose your plants. You will also typically find a smaller selection of plants to choose from. As a quick side note, you might opt to prep your garden bed in the fall and wait to plant in the spring if you can’t find the plant you want, or if you end up not being able to get your plants into the ground in time. That way, you still get some of the benefits of planting in the autumn.
When to Plant in the Fall
Don’t stick your plants in the ground mere days before the first expected frost. Your roses won’t have time to get settled in and become established before the harsh winter weather hits. The right time to plant is about six weeks before the first predicted frost date in the fall. This gives them time to establish roots so they have the best chance of surviving the winter and emerging in spring. Don’t plant too early, though. While there’s a good chance your rose will survive, you do run the risk of killing it if you plant in the heat of late summer.
Steps to Take for Fall Planting
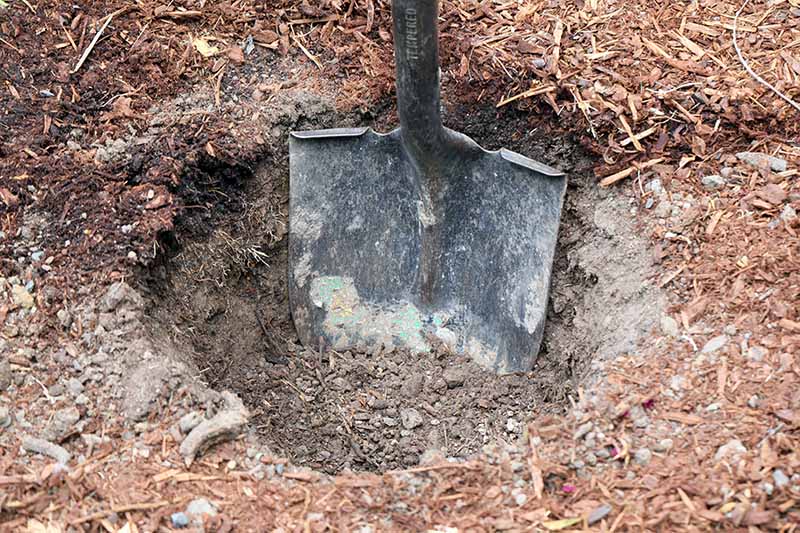
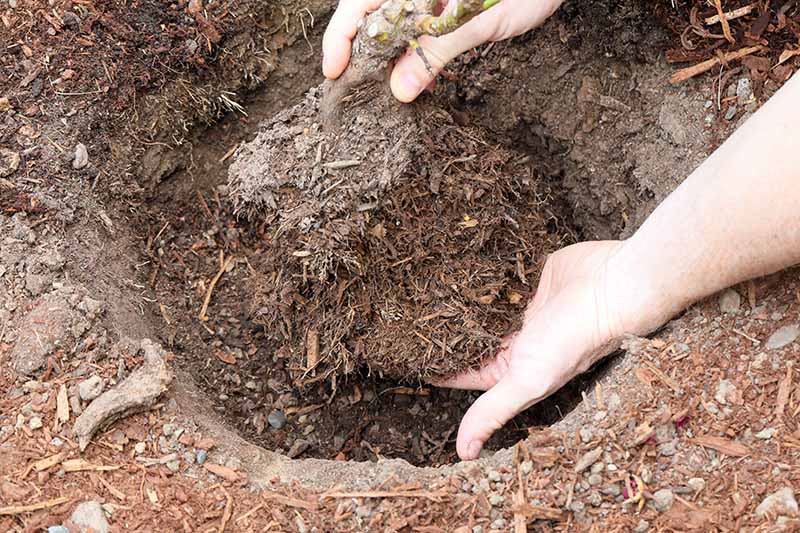
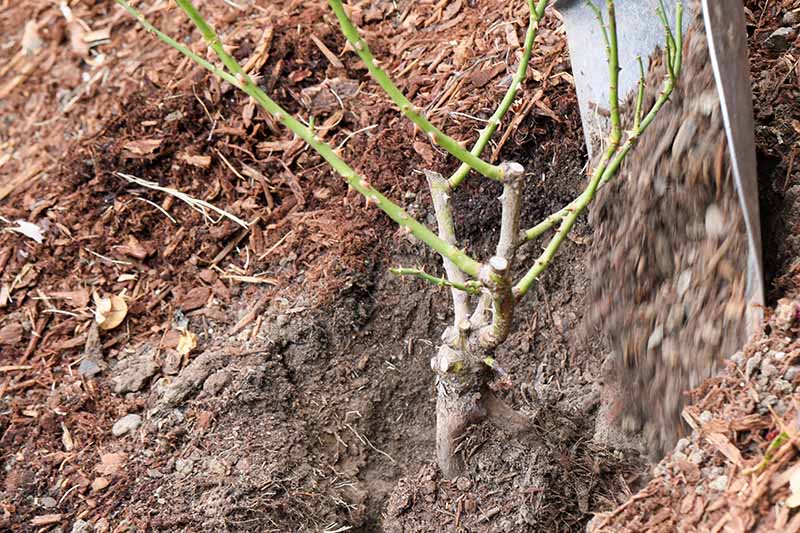
You can absolutely plant a live rose in the fall, but keep in mind that dormant bare root plants are a safer bet. They’re less shocked by the transition. That said, they can be difficult to find in the fall. With that in mind, here’s how to get the garden ready for your new rose: Prep the planting hole as you would in the spring. That means selecting the right spot before you do anything else. Keep in mind that the current light exposure in the spot you select might be different in the spring and summer than it is in the fall. For tips on picking the right spot, we have a helpful guide. Then, figure out if you need to do any work on your soil. If you have heavy clay or sandy soil, you’ll need to work in plenty of well-rotted compost to improve drainage or water retention. Once you’ve got the spot picked out and the soil amended, dig your hole about twice as wide and just a touch deeper than the container that your rose came in. Mix a bunch of well-rotted compost into the removed soil. Fill the hole with water and wait for it to drain. This should take about an hour or less. If there is still water in the hole, this means you have poorly draining soil. To fix it, either dig several feet down and work in even more well-rotted compost, or consider creating a raised bed. Place a little bit of the removed soil and compost mixture in the bottom of the hole so your plant will sit at the right height. In USDA Hardiness Zones 7 and up, that means placing the bud union or crown just above the soil level. In Zones 6 and below, position the crown or bud union an inch or two below the soil surface. Create a little cone at the bottom of the hole so that the roots have something to sit over, and to help guide root growth in the right direction. Spread the roots out gently and place the plant in the hole. Take care to spread the roots over the cone that you made so they will grow down rather than out. Fill in around the roots with the soil and compost mixture. Water to settle the soil, and add more soil if needed to level out the hole.
Care Tips
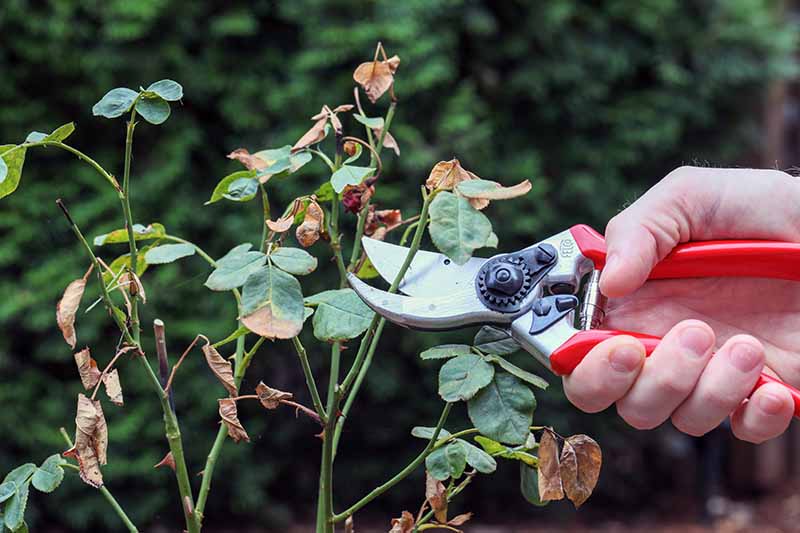
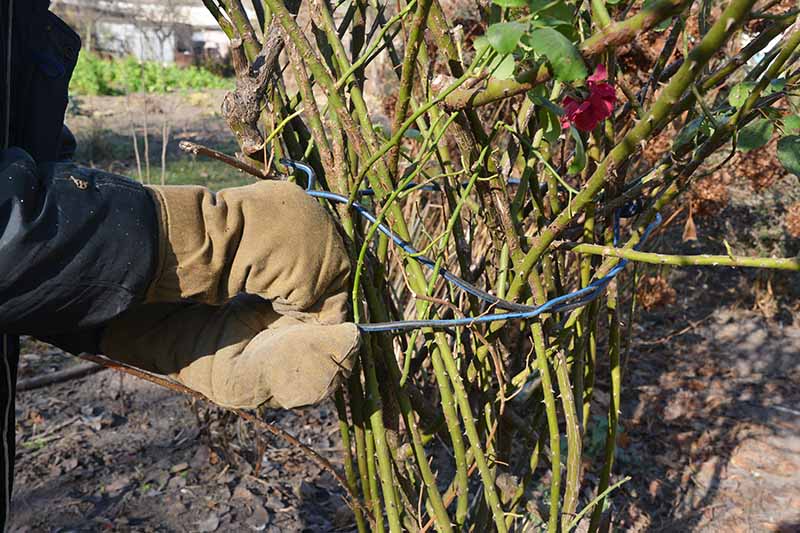
Prune the plant back by a third after you put it in the ground. You don’t want any flowers or hips taking up your plant’s energy. You should also prune away any dead or yellow foliage or stems. Plants that have been hanging out at a garden center all summer might have a few dead bits, but as long as the overall plant looks healthy, you don’t need to worry. While the fall is typically rainier than the summer in most regions, you still want to keep an eye on the moisture level of the soil. You don’t need to give them as much as you would in the summer, but you still don’t want your plants to dry out. That’s not a good way to set them up for success. If nature doesn’t step up, give your roses water whenever the top inch of the soil feels dry. Don’t fertilize your new plant. You don’t want to encourage it to start growing. Instead, you want it to hunker down, become established, and get ready to go dormant. Put a ton of mulch around your rose. This will help to protect it throughout the cold season ahead. Use several inches of a natural mulch such as straw, bark, or well-rotted manure, and heap it a third of the way up the canes. Remove it in the spring when the ground has warmed up. If the shrub you planted is particularly large or the canes are spaced far apart, you might want to tie some twine around the canes for support. Add to that the money you’ll be able to save, and why wouldn’t you take advantage of the autumn planting season? Be sure to come back and let us know in the comments section below how it all went. Pictures of your spring blossoms are especially welcome! And now that you’ve gotten your plants in the ground, read up on some of our other articles on growing roses to help you get a head start on the next growing season:
Growing Roses 101: Getting StartedHow and When to Deadhead RosesHow to Plan a Rose GardenHow to Transplant Rose Bushes
