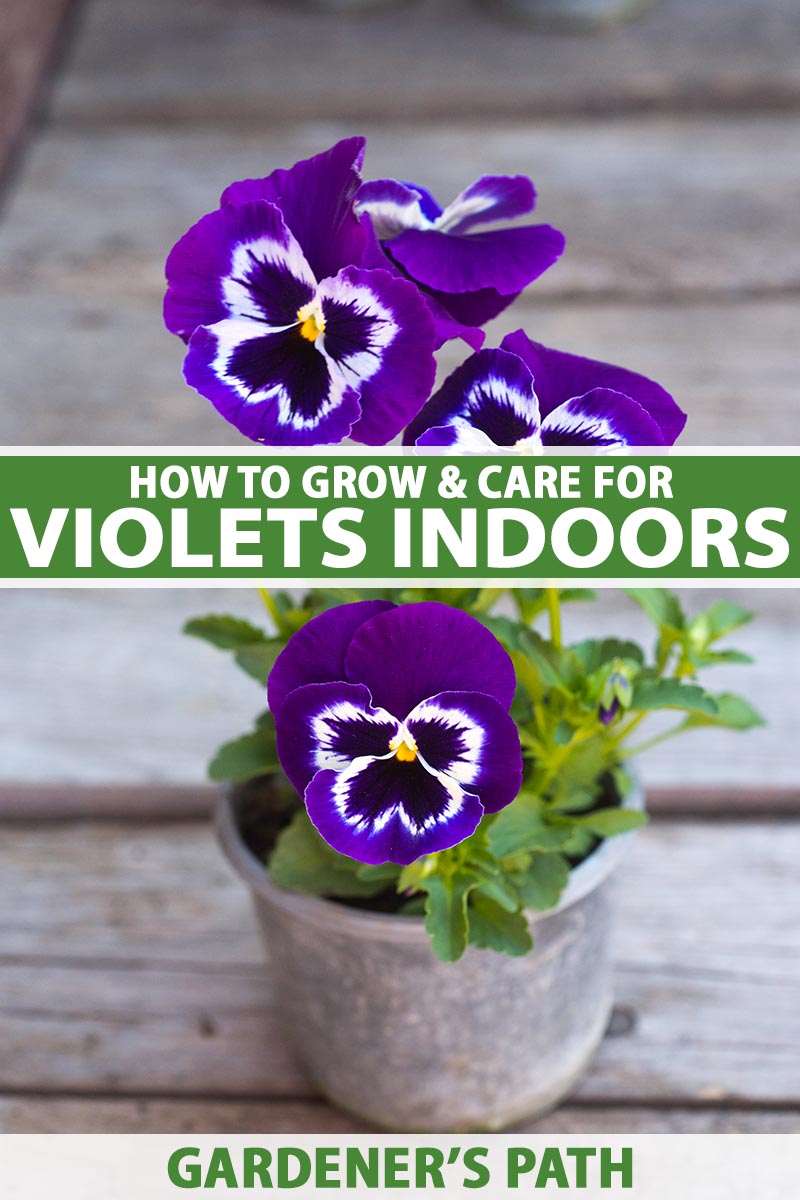
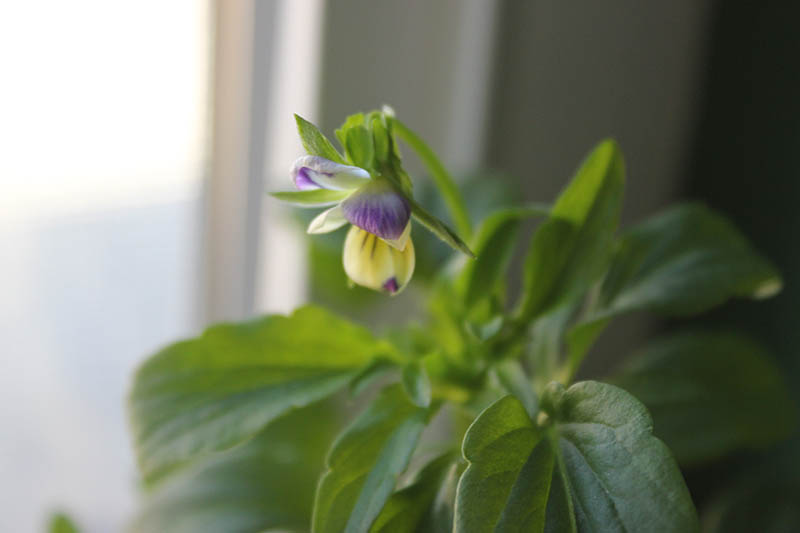
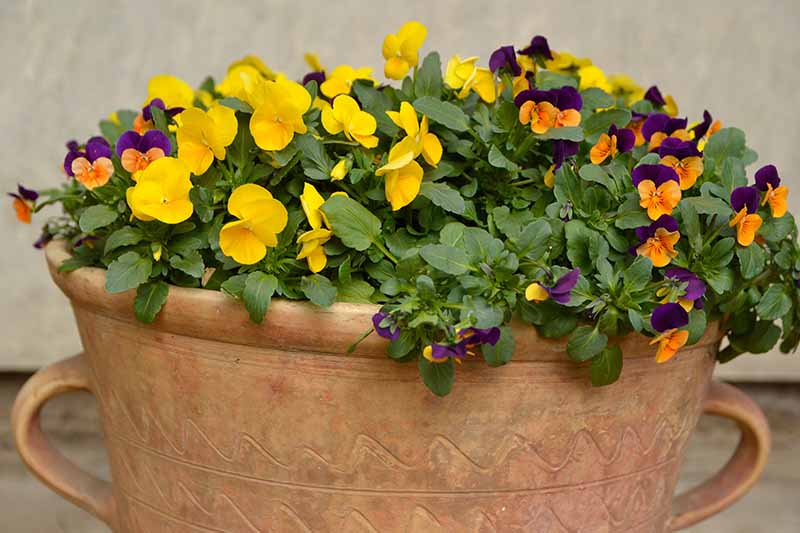
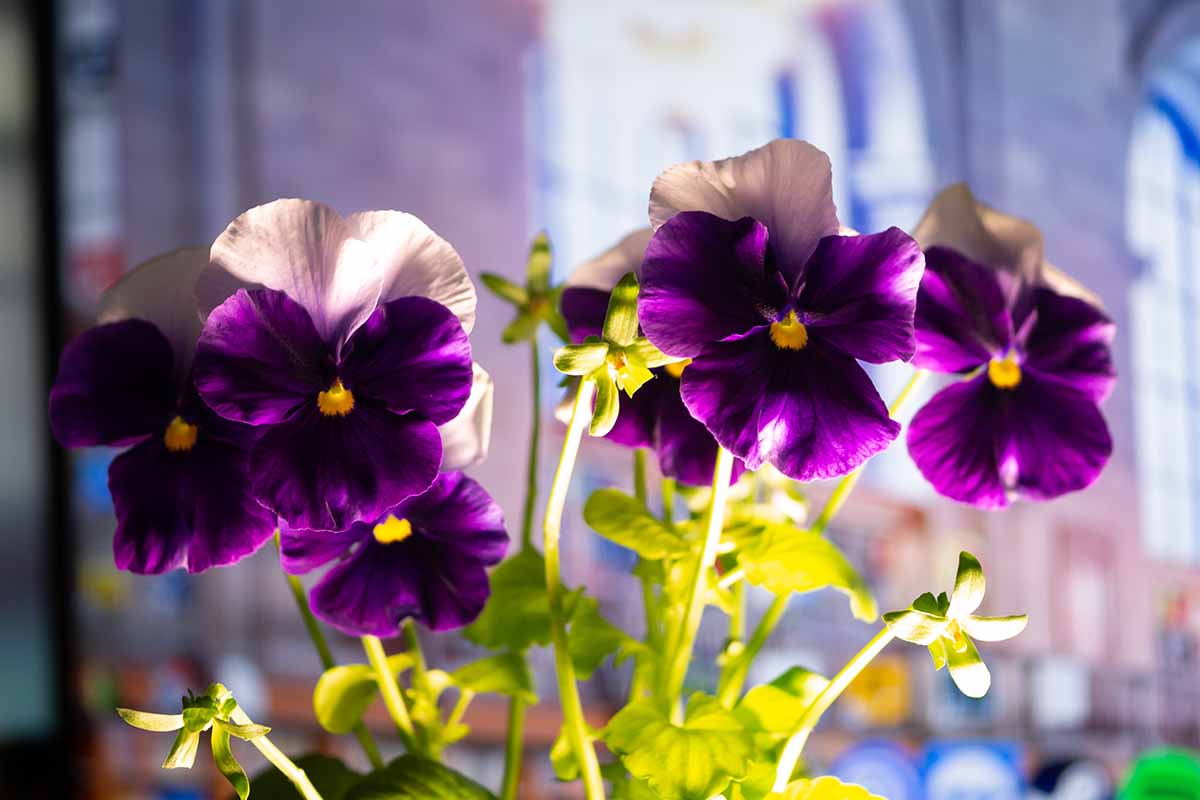
These charming members of the Viola genus possess one quality that I just adore in plants: forgiveness. They can bounce back from nearly anything. One fall, I accidentally left my violets outdoors through a hard frost that I was sure would kill them. But they shook off the cold and perked right back up, happy as ever. I knew they wouldn’t love the below-zero weather that would come in the winter, so I brought them indoors for some winter cheer. And they thrived! We link to vendors to help you find relevant products. If you buy from one of our links, we may earn a commission. In this guide, we’ll focus on helping your flowers to thrive indoors. Let’s get started!
Getting Started
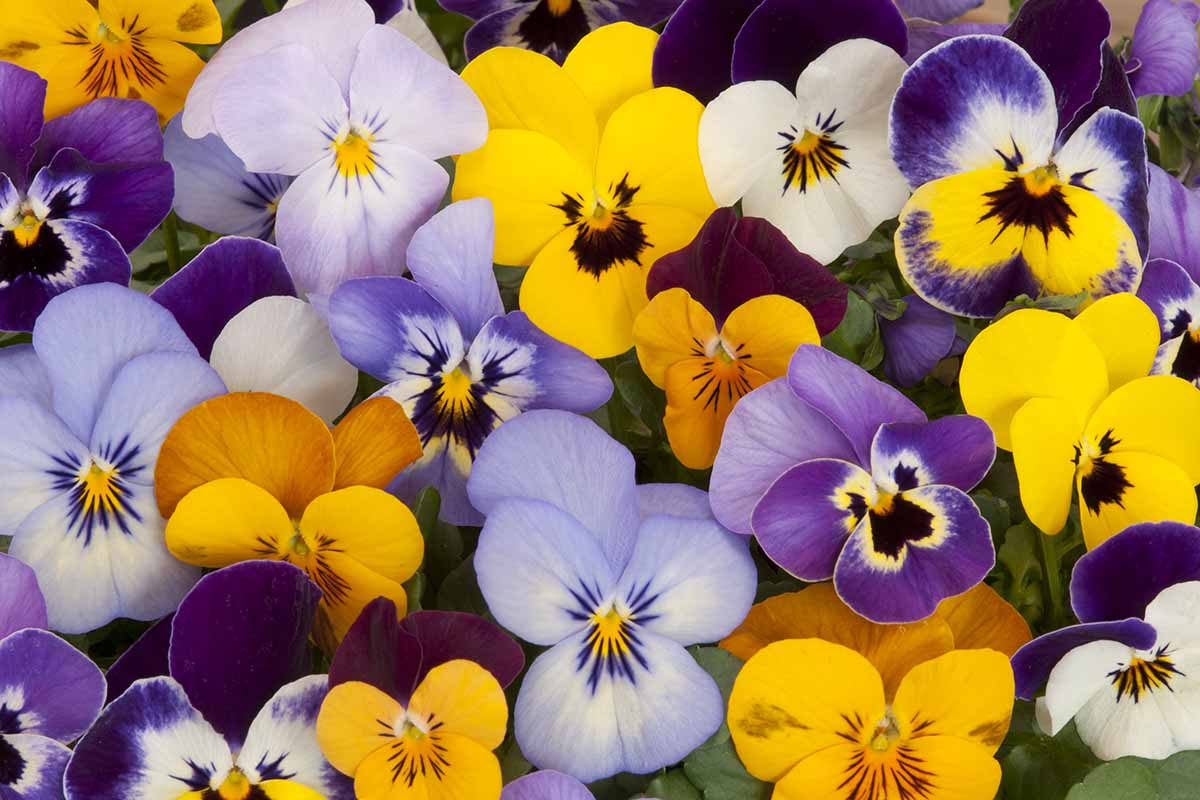
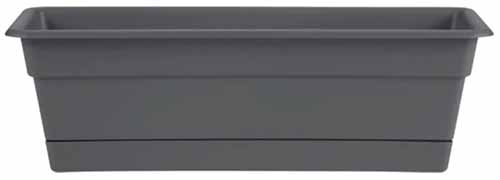
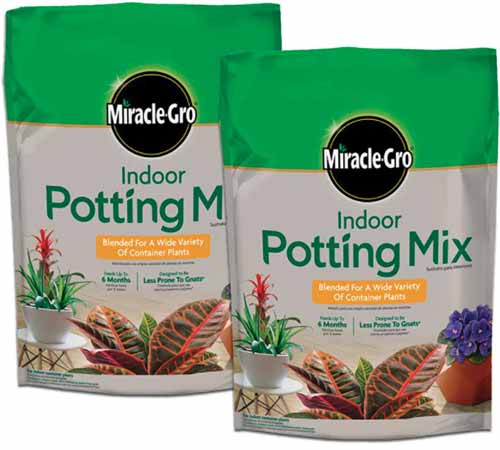
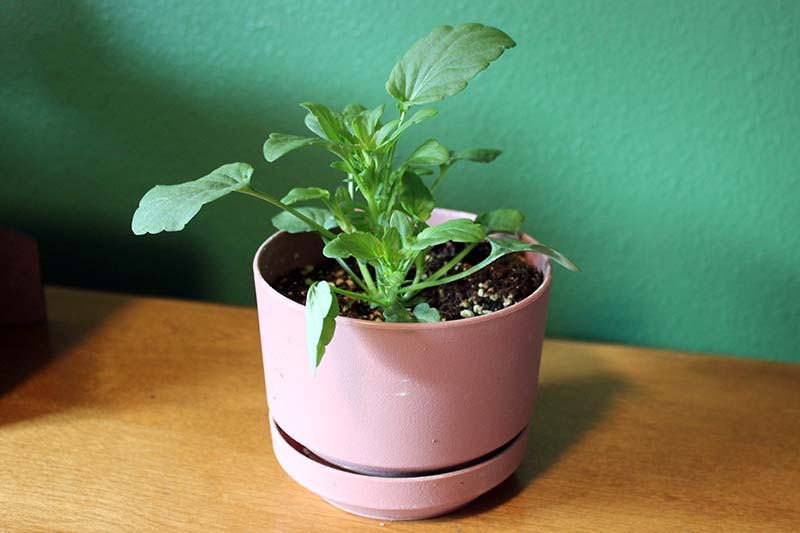
You can grow just about any member of the Viola genus indoors, including violets, violas, and pansies. For a breakdown on the differences between the three – plus a roundup of many recommended options – check out our guides: “39 of the Best Violet Varieties” and “19 of the Best Pansy Varieties to Grow at Home.” There are a couple of reasons why you may want to grow these popular flowers indoors. Maybe you’ve been growing them outdoors in the warmer seasons, and you want to bring them in for the winter. Or perhaps you’re starting seeds indoors for a summer transplant to the garden. Maybe you don’t have your own outdoor garden, and you wish to cultivate some colorful flowers year-round inside. Whatever the reason, it’s easy to grow violets inside with the right tools. Many species in the Viola genus are annuals, but they reseed so readily that they may as well be perennials. Because of this, you can grow them indoors all winter and keep your plants going for multiple seasons, as long as the flowers are pollinated and allowed to go to seed. To get started, choose a container that fits comfortably in your home that is at least six to eight inches in diameter, and four inches deep. This will comfortably fit one violet plant. If you wish to plant more than one, choose a container that allows each to have at least six inches of space on all sides. The mix will still give your indoor violets some nutrition for up to six months, and the added coconut coir provides the ideal triad of water retention, aeration, and drainage. The pot you select should also have drainage holes and a dish to place beneath it, to protect surfaces from water. Charcoal Plastic Window Box Planter with Tray I love these resin windowsill planters from Bloem that are available at the Home Depot. They’re the perfect size for about four Viola plants, and they fit nicely in a windowsill! Plus, each container comes with a detachable dish and pre-drilled drainage holes. Fill your container with fresh potting mix. I like to use this indoor potting mix from Miracle Gro, which is available at the Home Depot in six-quart container. Miracle Gro Indoor Potting Mix Designed to be less gnat-friendly than regular potting soil, the mix omits compost and bark, which can shelter fungus gnats.
Planting
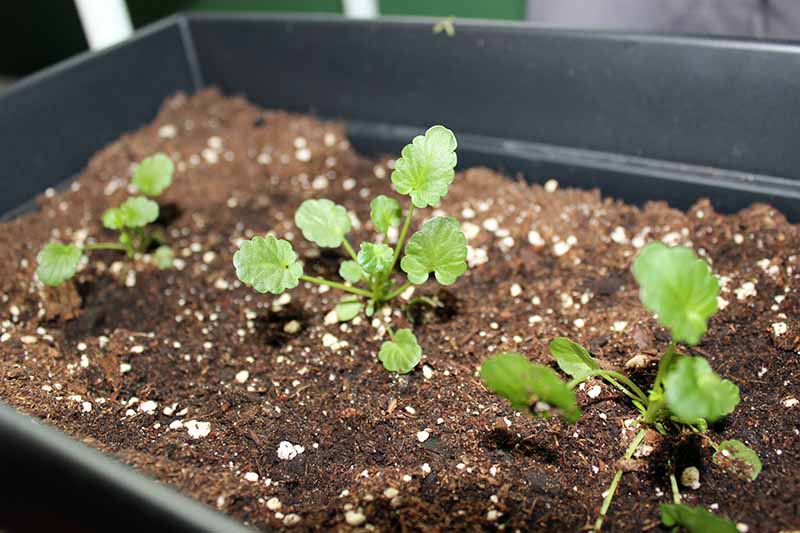
Do you have a violet, pansy, or viola growing outdoors that you’re itching to put in an indoor pot? Or perhaps a nursery start that you’re ready to transplant into its permanent home inside? Here’s how to transplant an established plant or a nursery start: First, make a hole in the potting mix you’ve just placed in the new container that’s the size of the root ball you’re about to remove from its nursery pot or outdoor location. Next, loosen the soil in the existing planter or the ground around the plant with a butter knife or gardening trowel. You can try my trick for smaller containers: slide your pointer and middle fingers on either side of the stems and use your other fingers to cradle the rest of the soil. Slowly tip the container over while holding the plant, and it should slide right out. Use your other hand to hold the base of the root ball, and then place the plant in the waiting hole. If you’re removing a larger plant from a bigger outdoor container or the ground, use a trowel to mark out a circle that’s at least four to six inches away from the central stem. Dig down about four inches on all sides and gently lift the root ball out. Set it in the waiting hole. After transplanting, fill the container in around the plant with soil and water thoroughly. Now it’s time to find a sunny spot in your home for your indoor violet! These flowers prefer at least six to eight hours of sunlight through a window every day. To sow new seeds, make quarter-inch divots in the soil, spaced six inches apart if you have a larger container, like a windowsill box. Drop a seed inside each divot. I’ve always found that pansies germinate readily, so one seed per divot should suffice, but feel free to drop two in there if you wish to improve your odds. Cover with just a thin layer of soil and water with a spray bottle. For quicker germination, place a heat mat under the container and a humidity dome over the top. Keep the potting mix moist until germination occurs, and then water every other day or whenever the top inch of soil feels dry. If you planted more than one seed, pinch off the smaller one a week or two after germination.
Caring for Your Plant
If you live in the north like I do, you know that sunlight gets pretty, um, nonexistent in the winter. Here in Alaska, we get maybe three decent hours of sunlight through a window in November and December. Like me, you may need to position a grow light over your plants to help them get the light they need, particularly at times of year when the available sunlight is scarce. Keep the grow light on for 12 to 14 hours a day, and make sure to position the bulbs about one to two inches away from the top of the plant, adjusting as it grows. Your pansies will thrive in temperatures between 60 and 75°F, so don’t turn that heater up too high. Give your pansies or violas a long, deep watering about once a week. Water again whenever you notice that the top inch of soil has dried out. To make sure you don’t deprive your plants of water, check the soil with your finger every two or three days. You can water them a little less in the winter months, when they’re not quite so focused on growing. If you have an older plant, hand-pollinating a few flowers and letting them go to seed while deadheading the rest can gift you with new plants at no cost. Outdoors, insects will pollinate the flowers, but inside, you must do it yourself! I love using this pansy fertilizer that’s from Dr. Earth that’s available at the Home Depot in one-pound packages. Dr. Earth Pansy Fertilizer Sprinkle a tablespoon of granular fertilizer around each plant, and scratch it into the soil surface. Mulch can help your violets to stay evenly moist, and I recommend it even for indoor plants. Instead of using bark, which can hide pesky gnats, try using small stones or sea glass instead. How pretty would that look? Assorted Mix Tumbled Sea Glass Weeds aren’t likely to spring up, since you’re growing your plants indoors in fresh potting soil, but if you do see any, pluck them out. After your violets begin to bloom, you’ll want to deadhead any spent flowers to encourage the plant to keep producing more blossoms. Use a cotton swab to take pollen from one flower and rub it on the stigma of another flower. Make sure you mark the pollinated flowers with a piece of gardening tape so you don’t accidentally remove them. Members of the Viola genus happily drop tiny new seeds in the soil, where they will spring up and take the place of older plants that aren’t producing like they used to. You can help them along by scraping the seeds out of their pods after they are mature and dry, gently pushing them about a quarter of an inch down into the potting mix.
Growing Tips
Select a container that’s at least four inches deep and six to eight inches widePlant in fresh potting mix that provides adequate drainageMulch with pebbles or sea glassProvide six to eight hours of daily sunlight through a window or use a grow lightWater when the top inch of soil dries outFertilize every other month with a 10-10-10 NPK fertilizerDeadhead to encourage continuous blooming
Managing Pests and Disease
When you’re growing violets indoors, you’re less likely to deal with pests and disease. Even outdoors, members of the Viola genus aren’t particularly prone to trouble, say the experts at the Clemson Cooperative Extension. Indoors, the conditions are more easily controlled, and there aren’t weeds and wilderness around to provide a breeding ground for pests. You may still end up with an infestation of fungus gnats or spider mites, especially if you choose to use bark mulch or potting soil that may harbor gnats. To treat gnat or mite infestations, use a neem-oil based solution according to package instructions. Bonide Neem Max Captain Jack’s Neem Max from Bonide, available from Arbico Organics, will do the trick. Gray mold, root rot, and crown rot can develop under soggy conditions, especially if water isn’t draining well. As long as you don’t overwater and make sure that your chosen container has drainage holes with a saucer, you should be able to avoid these issues. It’s also prudent to empty drainage dishes every time you water your plants.
Cheery Faces All Year Long
When summertime comes, if you have the space, you can bring your violets outside. Or, keep them indoors for continued beauty throughout the year inside your home! Have you ever tried growing violets indoors? Share your stories or questions in the comments below – we’d love to hear what you have to say! And remember to check out these articles on growing members of the Viola genus next:
How to Grow and Care for Johnny-Jump-UpsHow to Grow Pansies and Violas for Multi-Season ColorHow to Care for Pansies in WinterAre Pansy Flowers Edible? Tips for Harvest and Use
