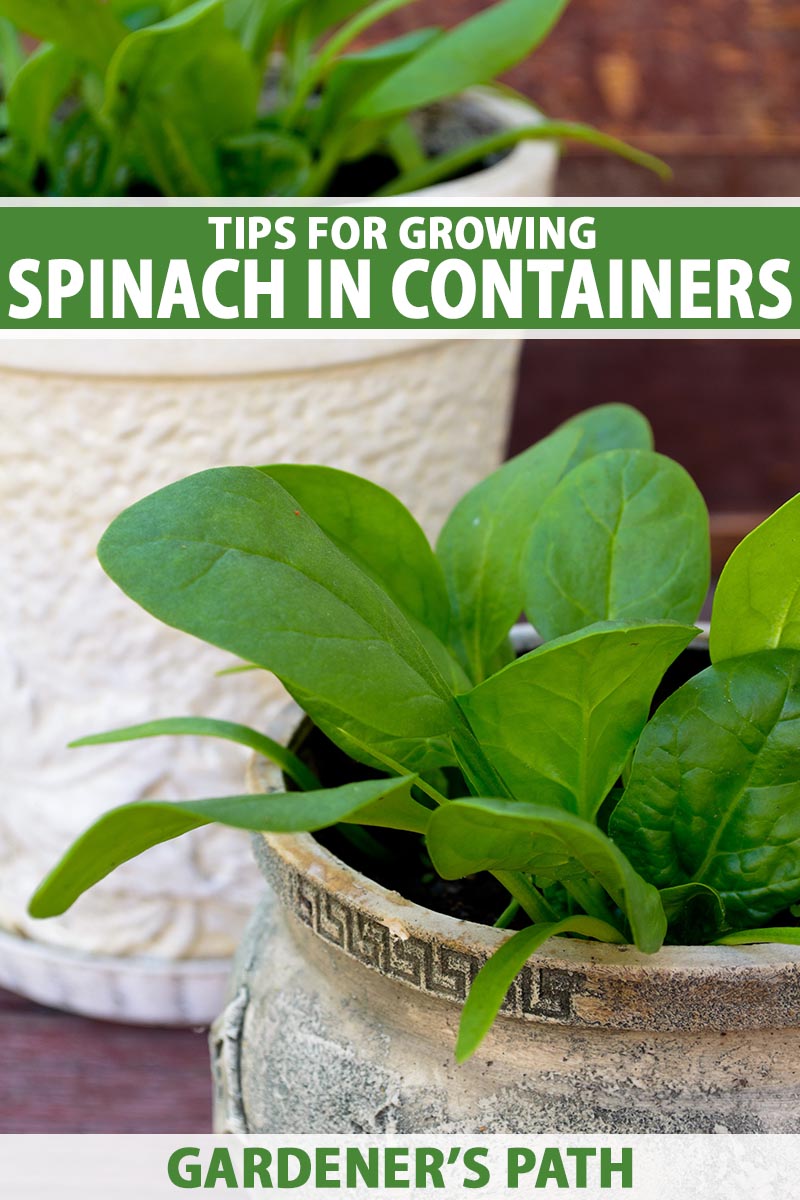
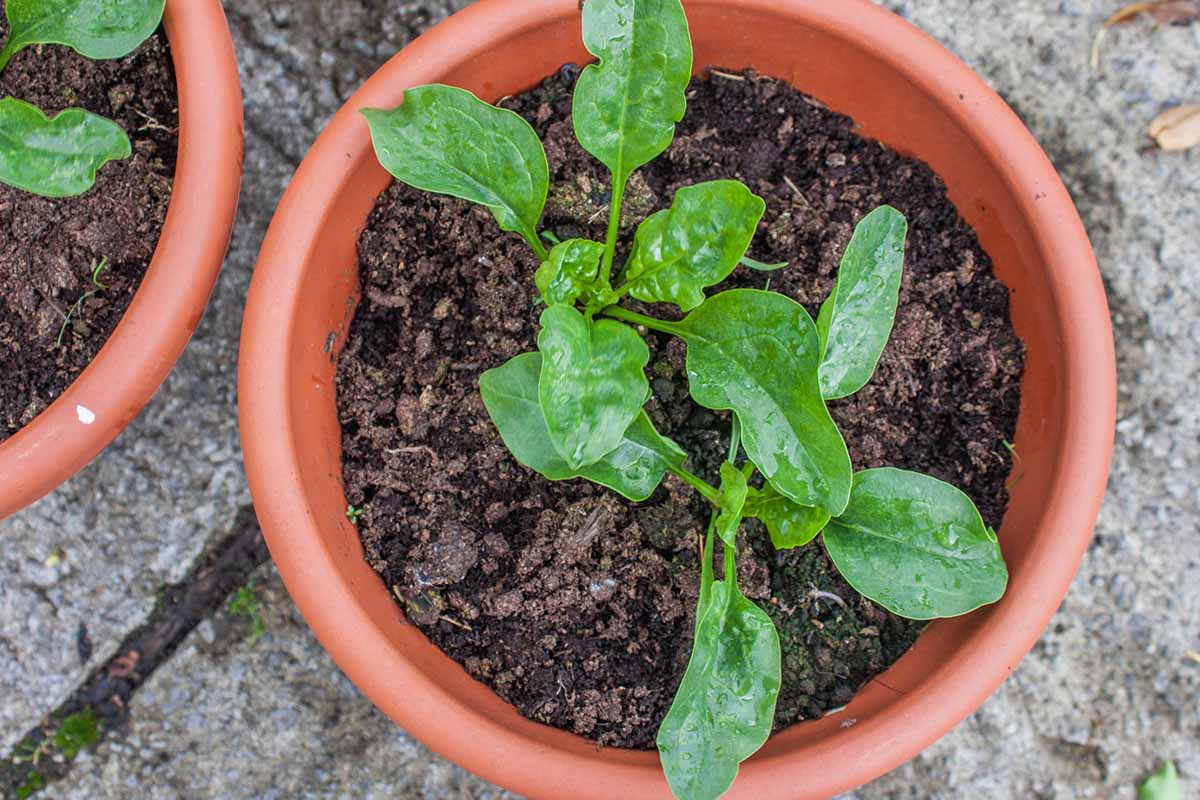
Okay, that’s a slight exaggeration – but we all know spinach loves to shrink, which means you need a lot of it if you want to serve it to more than a few people, or if you want to eat it regularly. And why wouldn’t you? Spinach (Spinacia oleracea) is a good source of manganese, folate, and Vitamin C, and it’s an excellent source of Vitamin K and Vitamin A. We link to vendors to help you find relevant products. If you buy from one of our links, we may earn a commission. Here’s my favorite solution to the age-old problem of shrinking spinach: grow it at home! You’ll have it on hand throughout the growing season, and if you grow several plants you won’t run out quickly, shrinking or not. But what if you don’t have space to grow it in your garden? Can you grow it in containers instead? Absolutely! By growing it in pots, you can enjoy homegrown spinach fresh or sauteed, even if you live in an apartment or a city home with a small yard. In this guide, we’ll cover everything you need to know about growing spinach in pots.
A Bit About Spinach
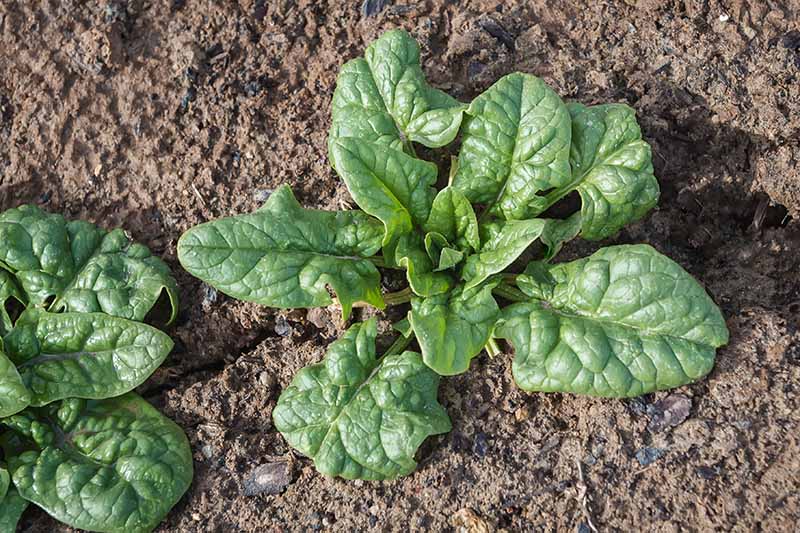
This nutritious green is a member of the amaranth family, Amaranthaceae, along with quinoa, globe amaranth, and love lies bleeding – I think it’s pretty amazing that humble-looking spinach is related to this stunning ornamental plant! Other garden favorites like beets and Swiss chard are also part of the same botanical family. S. oleracea is an annual that grows in a rosette pattern and sends up a central flower stalk if exposed to temperatures above 75°F. The plant is suited to USDA Hardiness Zones 2 through 9, and the ideal temperature range for growing this cool-weather crop is between 50 and 70°F. Some varieties have been bred to withstand higher temperatures, though, and we’ll share one of them with you below. The leaves are flat and smooth for some varieties, and on others, they are heavily crinkled, a characteristic that’s referred to as “savoyed.” If the leaf is only partially crinkled, it’s called semi-savoy spinach. Most cultivars grow six to 12 inches tall, with a similar width, and take around 40 to 50 days to mature. Spinach does well in full or partial sun and prefers rich, well-drained soil with a pH between 6.0 and 7.5. Young, tender leaves can be harvested as baby spinach for salads and sandwiches, and mature greens can be sauteed, steamed, or added to soups and stews.
Choosing the Right Container
Spinach has a deep taproot, so you’ll need a container that’s at least eight to 10 inches wide and deep, with drainage holes in the bottom, for each plant. This cream-colored ceramic container from the Home Depot is 10 inches deep and wide, making it an ideal pot for your greens, which will contrast nicely against the ivory color. Ivory Rivage Ceramic Planter I love that this planter is ideal for indoor or outdoor growing, and that it comes with a drainage dish attached. You can also choose to use a plastic, vinyl, or wood container – whatever material suits your style. Consider how often you’ll want to move the planter, too. WIll it stay in one place all the time, or will you want to bring it indoors or move it to other areas of your yard? A vinyl container is a lot easier to move than a ceramic one, for example. Just make sure that the pot you choose has drainage holes in the bottom. Another factor to think about is whether or not you have kids or pets running amok. If you do, you may want to choose a heavy planter that won’t tip over easily.
Preparing the Pot
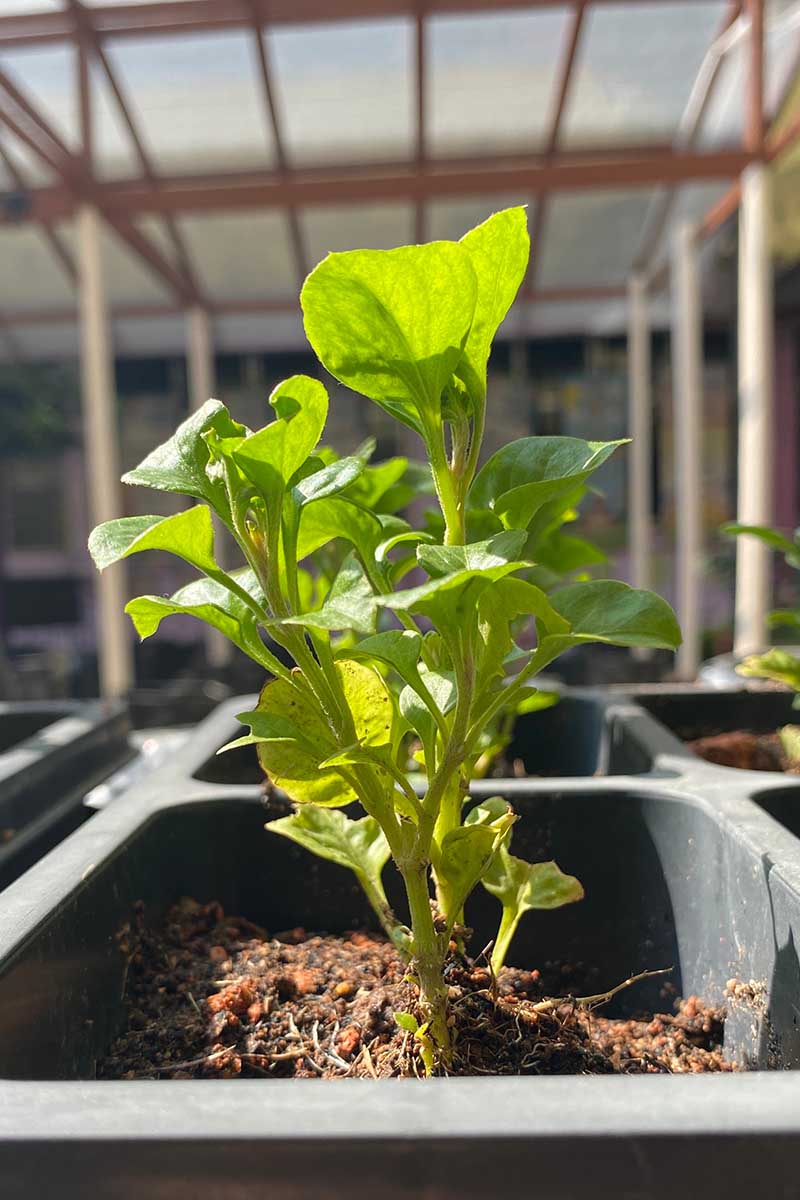
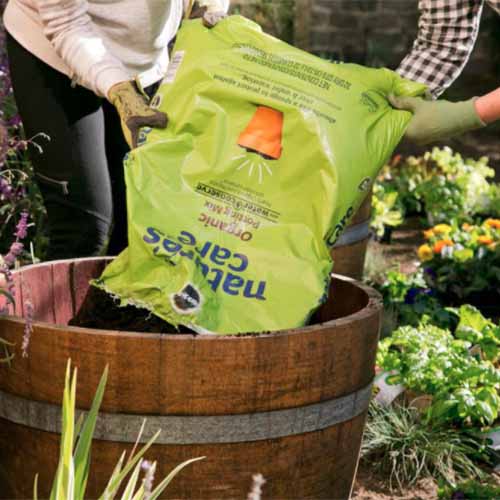
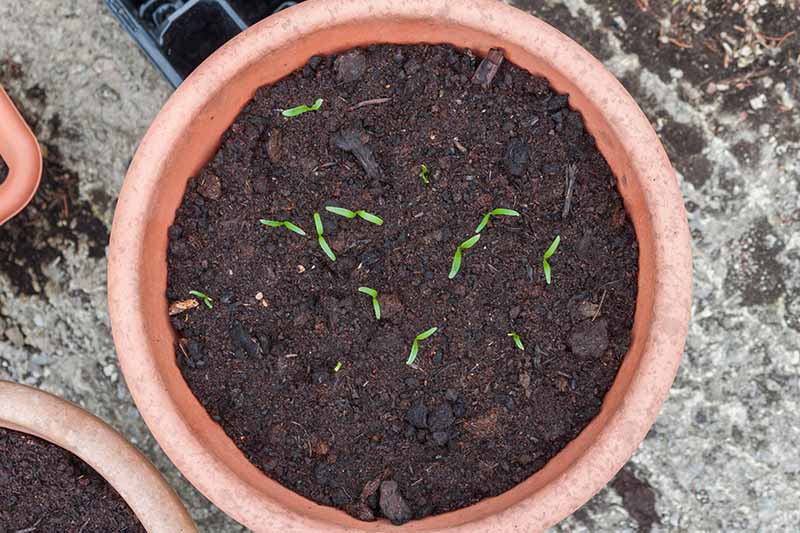
Spinach is easy to propagate from seed, but you can also choose to purchase nursery starts instead if desired. The ideal daytime temperature for growing spinach is 50 to 70°F, so it’s well suited to growing in the spring or fall. Temperatures over 75°F will cause the plant to bolt, and the leaves to become bitter and tough. Plants can survive a light frost, but a hard freeze will kill them. Check your seed packet for the expected number of days to maturity for your chosen variety, and calculate backwards – you want to be sure that the plant has time to mature before the heat of summer sets in for spring plantings, or before first frost for fall plantings. In warmer climates, such as Zones 6 through 9, make sure you plant early enough that the temperatures aren’t at risk of creeping over 75°F during this time. Gardeners in Zones 2 to 5 can start seeds indoors (more on that below) two to four weeks before the average last frost date, or sow outdoors in your containers two weeks after last frost. Before you begin, you’ll need to select a potting mix. You can use a blend of one part topsoil purchased from a gardening store, one part well-rotted manure or compost, and one part peat moss. Alternatively, use a potting mix such as Nature’s Care Organic Potting Mix, available at Home Depot. Nature’s Care Organic Potting Mix Whatever you use, the soil should be loose, rich, and well-draining. When your planter is filled to about two inches from the rim with your desired growing medium, it’s time to add the plant or seeds. Each eight to 10-inch container can hold one plant, so make one half-inch divot in the center of the planter and drop two seeds inside. I always sow two seeds in each hole in case one fails to germinate. If you are using a larger container, space the plants four inches apart if you wish to harvest baby greens, or six inches apart for mature leaves. Keep the soil moist until germination occurs, which should take about seven to 10 days. I like to use a spray bottle so that I don’t dislodge the seeds. Thin your seedlings when they are four to six inches tall. Alternatively, you can start seeds indoors in flats filled with seed-starting mix about two to four weeks before your area’s average last frost date. Make a half-inch divot in each cell and drop two seeds inside. Keep the soil moist until germination, and then move the trays to a windowsill that receives at least six to eight hours of sunlight. Or, you may want to put them under grow lights for 10 to 12 hours a day. When the plants have two to three sets of true leaves and are about four to six inches tall, thin the weaker one out of each seed cell. Next, harden off your young spinach plants by setting them outside for increasing amounts of time every day over the course of a week. After that, they’ll be ready to transplant into the waiting containers outdoors. To transplant your seedlings or nursery starts, make a hole that’s as deep and wide as the root ball. Carefully remove the plant from its nursery container and set it in the waiting hole. Backfill with soil and irrigate deeply until water runs out of the drainage holes.
How to Grow
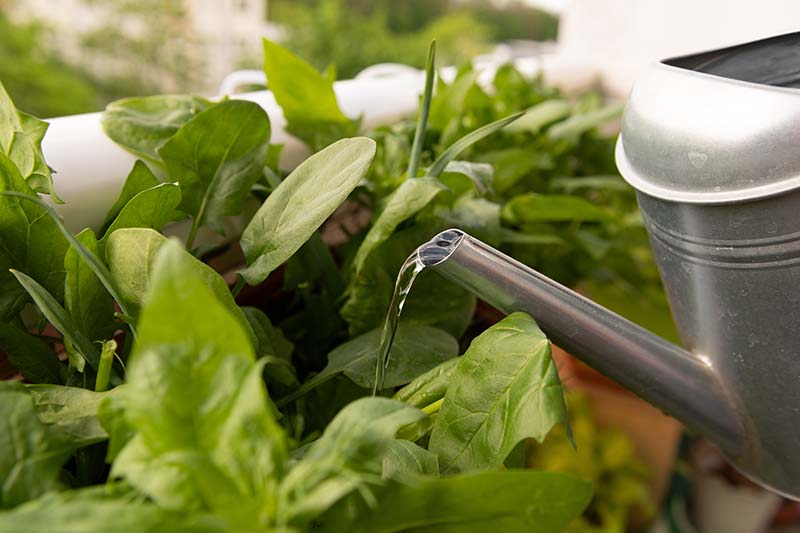
Spinach enjoys a full sun location in cooler areas, but in warmer climates it will benefit from part shade – such as on a covered porch or deck. You can place the pot next to the other veggies in your container garden, but be sure to leave space between the containers so that each plant has adequate airflow. Spinach needs at least one deep watering every week in the absence of rain but probably more, especially since the soil in containers tends to dry out more quickly than the earth does. Irrigate your plants until water comes out the bottom of the container. Every three or four days, check the soil with your finger. If it feels dry two inches down, it’s time for another deep watering. But avoid overwatering! Make sure to allow the potting mix to dry out a bit between waterings – this will help to keep fungal pathogens at bay. Also, do your best to water at the base of the plant to help keep the leaves dry. Add a three-inch layer of organic mulch to the container to aid moisture retention, and to help the soil temperature remain even. This will also subdue any weeds that may pop up. Spinach needs a steady diet of nitrogen in order to produce those vivid leaves. It also benefits from the phosphorus and potassium found in a balanced 10-10-10 (NPK) fertilizer. Apply granular fertilizer every two to three weeks by working the recommended amount as outlined on the package into the top inch of soil surrounding the plant. If you live in a warm growing zone, keep an eye on the heat outdoors. Once temperatures in your area creep up toward 75°F or higher, your spinach is at risk of bolting. You can bring your plant inside, or move the container into a cooler, shadier area of your yard: under a shady tree, for example, or against your house but in an area that doesn’t get as much sun. Alternatively, use some shade cloth to shelter the plants from the sun during the warmest parts of the day. Cold-weather growers can extend the growing season a little bit by bringing pots indoors once the local temperatures drop to 35°F. Place the container in a sunny windowsill, or in a cold frame or greenhouse.
Growing Tips
Water deeply at least once a week, checking soil moisture every few days and watering more as needed.Fertilize every two to three weeks with a balanced fertilizer.Mulch to retain moisture, keep the temperature steady, and suppress weeds.
Managing Pests and Disease
There’s a lot to love about spinach, including its general resistance to pests and disease.
America
If you’re searching for a heat-tolerant variety that will grow happily in containers even when temperatures rise above 75°F, try growing ‘America.’ Suited to Zones 3 through 11, this heirloom grows up to eight inches tall and four inches wide, making it the perfect size for container growing. ‘America’ Also called ‘American’ and ‘American Long Standing,’ this bolt-resistant green is a 1952 cross between ‘Bloomsdale Dark Green’ and ‘Viking.’ Packets of these seeds, which mature in just 43 to 55 days, are available from True Leaf Market.
Double Choice
Some people like tender baby spinach. Others like it full grown. Whichever camp you fall into – maybe a bit of both? – ‘Double Choice’ gives you options, as the name suggests. The plant grows 10 to 12 inches high, but you can harvest baby leaves when they’re just four to six inches tall. Or, wait the full 35 to 40 days for full-grown leaves. If you’re growing spinach in containers in a cold growing zone, you’ll appreciate how quickly ‘Double Choice’ grows! ‘Double Choice’ ‘Double Choice’ spreads four to six inches, and the semi-savoy leaves are perfect for salads. This hybrid thrives in Zones 3 through 9. Find packets of 350 seeds available from Burpee.
Viroflay
Do you dream of enormous leaves that make perfect pizza toppings and look amazing growing in a container? Then you’ll love ‘Viroflay,’ a French heirloom dating back to the mid-1800s. The giant, arrowhead-shaped, semi-savoy leaves can grow up to 10 inches long!You can see why this variety bears the nickname “Monster of Viroflay.” It’s monstrous spinach, indeed. ‘Viroflay’ ‘Viroflay’ matures in 30 to 60 days and grows 18 to 24 inches tall. Suited to Zones 3 through 10, you can find packets of seeds available from Eden Brothers. Then take a look at our guide, “37 of the Best Spinach Cultivars to Grow in Your Garden.”
Even better, if you’re growing your greens in a container, it’s not going to be brushing its leaves with those of other plants, so there’s even less of a chance that it’ll be plagued by any ailments. That said, there are a few potential issues to watch out for. If the plant is left in standing water, or the top two inches of soil aren’t allowed to dry out completely between waterings, it can develop fungal infections. If you see yellow spots on the leaves that grow into larger, tan spots that are dry to the touch, you may be dealing with downy mildew. White rust, a disease that prefers cool, humid conditions, can present as yellow spots on the upper leaves and white pustules on the undersides. You can remove the affected leaves and dispose of them in the garbage can. If the infection is severe, you may need to toss the plants and soil, then start again with fresh potting soil. Before you bring starts home from the nursery, check for aphids. These small, soft-bodied insects love to munch on spinach! Learn more about how to deal with aphids in our guide. Bonide Neem Oil I like to make a spray with this neem oil concentrate from Bonide, which you can purchase from Arbico Organics. Too many aphids can suck so much juice out of your spinach that the leaves curl up and die. You don’t want that! The spinach crown mite (Tyrophagus similis) can also negatively affect your plant by chewing tiny holes in the leaves and causing deformities. The mites are difficult – if not impossible – to see, but the tiny holes are a giveaway that you’re dealing with an infestation. Neem oil is your friend here, too, and can help eliminate mite populations in your spinach. You can use neem oil up to the day before harvest, but be sure to wash the leaves thoroughly before you eat them.
Harvesting and Preserving
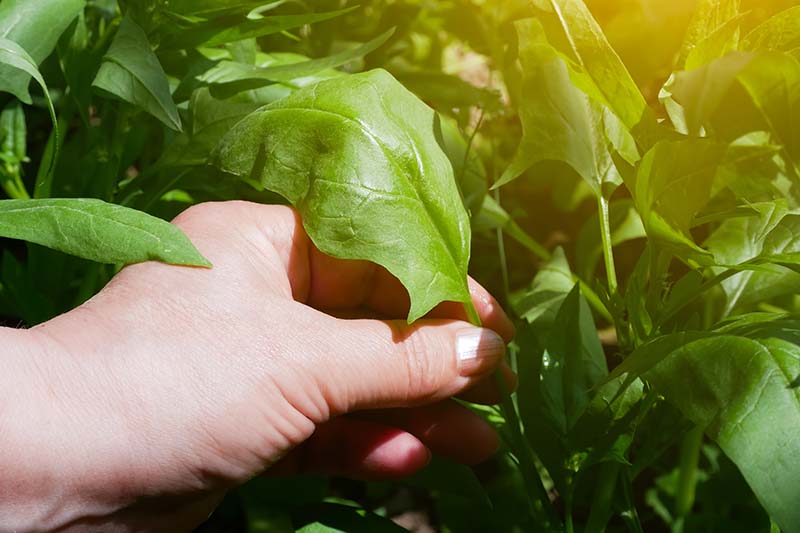
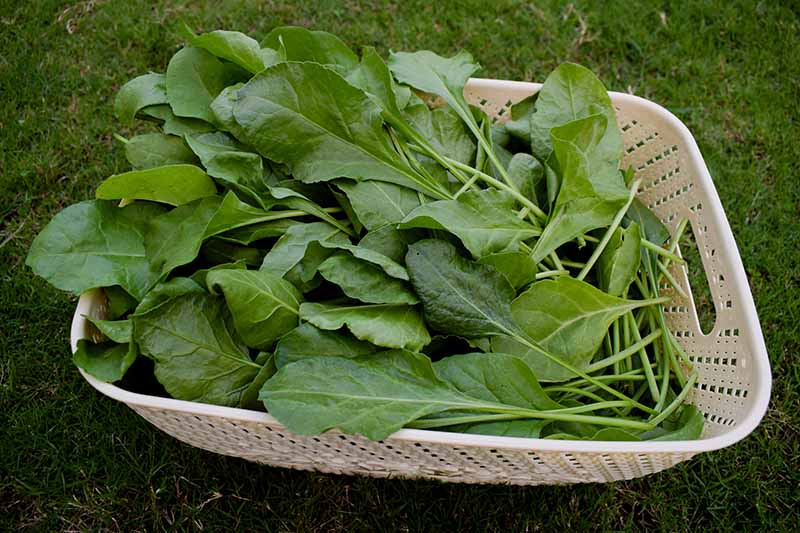
Even if you’re not growing ‘Double Choice,’ you can harvest your spinach at its “baby” stage, or when it’s between three and five inches tall. Or, wait until it reaches its full, mature size – usually when the plant is between eight and 12 inches tall, depending on the cultivar. It’s simple to harvest: just pinch the leaf off where the stem meets the base of the leaf, or a little bit further down the stem. You can take up to half the leaves at a time on a single plant using this method, coming back in a week or two to harvest more of the older, bigger leaves. If you’d rather harvest the entire mature plant at once, get your sharp kitchen scissors ready. Gather several leaves in one hand to help you see where you’re cutting and use the other to cut just above the soil line. You’ll want to store your fresh spinach unwashed in a zip-top bag until you’re ready to eat it – which you should do in approximately five to seven days after the harvest date. To freeze the leaves for use in smoothies and soups later on, just wash them and pop them into a gallon-sized freezer bag with a locking or zipping top. Enjoy within six months for the best flavor! For more tips on harvesting spinach and how to store it, read our guide.
Recipes and Cooking Ideas
One of my favorite ways to use homegrown spinach is to sneak about one or two cups of fresh leaves, or a cup of frozen leaves, into a berry smoothie. Try this recipe from our sister site, Foodal. My five-year-old loves these smoothies, and while he’s not big on spinach, he doesn’t even taste it when I slide it into a blended beverage! I love this savory spinach cake recipe, also from Foodal. Soft and moist, it’s also made with raisins, feta, and walnuts for a satisfying texture and phenomenal flavor. You can always toss spinach into a salad, mix it into your favorite lasagna recipe, use it for pesto, and more. Have you ever grown spinach in a container? Share your stories and questions in the comments section below. And in the meantime, check out these guides to growing and harvesting leafy greens vegetables next:
How to Harvest Beet GreensHow to Grow Collard Greens, a Taste of Southern CultureHow to Plant and Grow Mustard Greens
