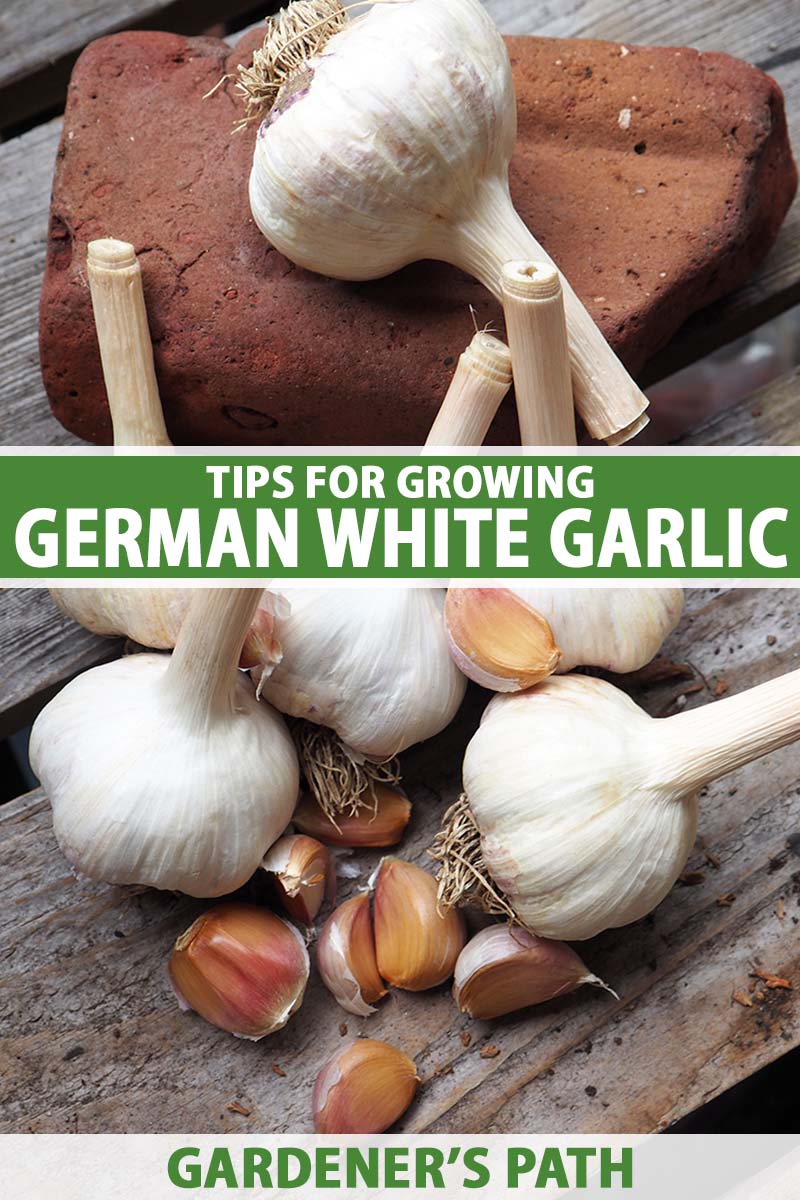
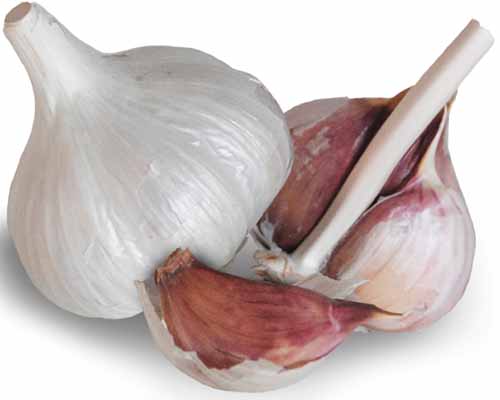
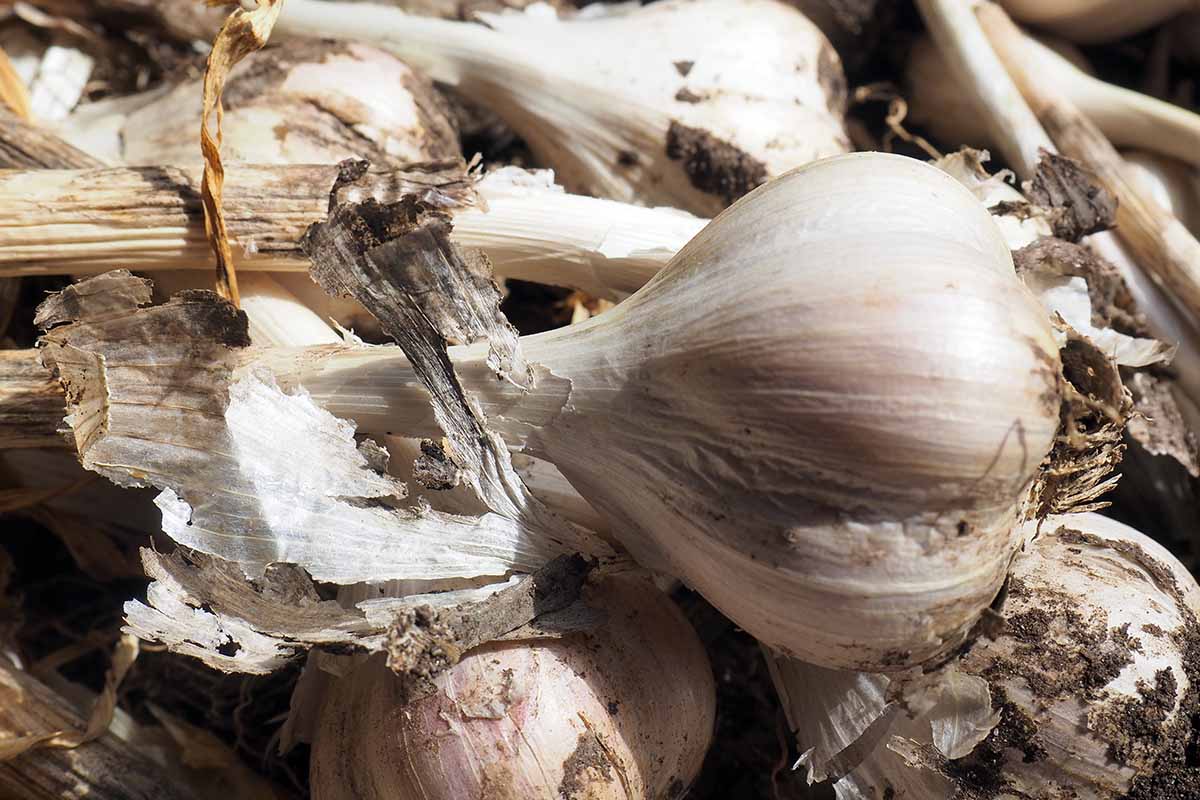
We link to vendors to help you find relevant products. If you buy from one of our links, we may earn a commission. ‘German White’ is one of the best hardnecks for growing in mild, wet winters as well. Mature bulbs of up to three inches in diameter are beautifully uniform, with cream to milky-white, parchment-like tunics. Each bulb has four to six large, plump cloves encased in thick, cream or tan wrappers that are sometimes streaked with purple. In colder climates, the clove wrappers often deepen to burgundy. This highly nutritious member of the Porcelain group is loved for its pungent but not overpowering flavor (outstanding for roasting!), simple cultivation, easy-peel cloves, and long storage life. So if you think your garden needs a patch of this flavorful and easily grown cultivar, join us now for a look at how to grow ‘German White’ garlic! Here’s a look at what’s ahead:
What Is ‘German White’ Garlic?
A. sativum var. ophioscorodon ‘German White’ is a hardneck cultivar that belongs to the Porcelain group. If you’re not familiar with the different varietal groups, be sure to read our guide to the 10 garlic families to understand the differences. This cultivar features a complex, rich, and spicy flavor profile with a long-lasting heat that softens and sweetens when cooked. The bulbs are sown in fall and typically produce four to six large cloves, taking approximately 200 to 270 days to mature. Plants grow 12 to 24 inches tall with a typical fruit size of one-and-a-half to three inches wide. As with most hardneck varieties, this easily grown annual is harvested in early summer and prefers long days with cool to warm air temperatures of between 45 and 85°F, and begins growing in spring when soil temperatures climb above 50°F. Although these are annuals, this variety requires cold vernalization and is suitable for cultivation in USDA Hardiness Zones 4 to 9. For adequate cold vernalization, they require six to 12 weeks of soil temperatures in the range of 40 to 50°F. The cloves are highly nutritious, with good levels of manganese and vitamins B6 and C. This cultivar is also known for having among the highest levels of beneficial sulfur compounds for outstanding antimicrobial, antioxidant, and immune enhancing benefits.
How to Sow
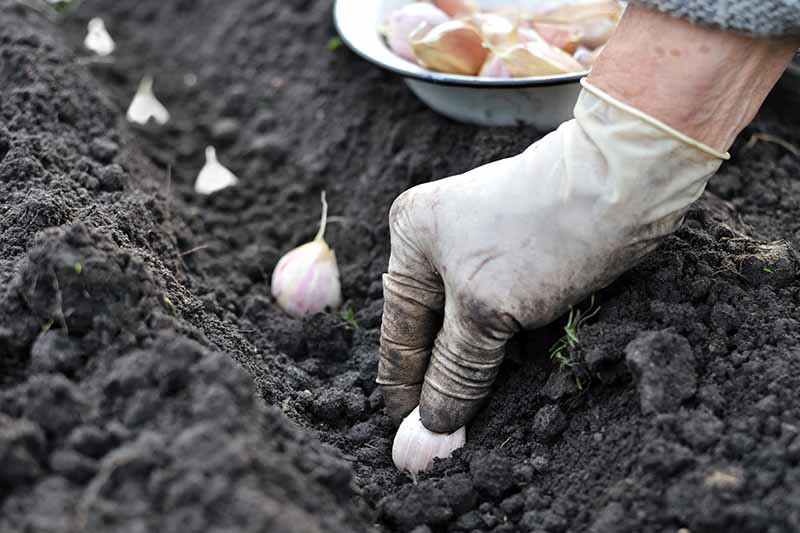
The best time to plant hardneck varieties is in September and October, approximately six to eight weeks before first frost. Fall planting gives the cloves time to form roots and send up a shoot or two before cold weather sets in. This allows plants to become established before they go dormant in winter, then quickly explode with new growth once the days start to lengthen in February. Like all ophios, ‘German White’ enjoys well-draining sandy or loamy soil with a pH of 6.0 to 7.5 in a full sun location. Before planting, clean and weed your garden bed then amend the soil by mixing in generous amounts of organic matter such as aged compost or well-rotted manure. Use a garden fork to work the compost in to a depth of six to 10 inches. If needed, mix in some gritty material like landscape sand or granite chips to improve drainage – the soil mustn’t be allowed to become waterlogged or puddle in winter, or the cloves will rot. Dig furrows or individual holes two to four inches deep and allow six to eight inches between rows. Mix some bone meal into the soil to ensure strong, healthy roots. Crack each bulb into individual cloves, keeping the clove wrappers in place for protection. Plant in your prepared rows with the pointed end facing up, about two to four inches deep – or twice the height of the cloves. Space each clove six inches apart. Backfill rows and firm soil in place, then water gently and deeply.
How to Grow
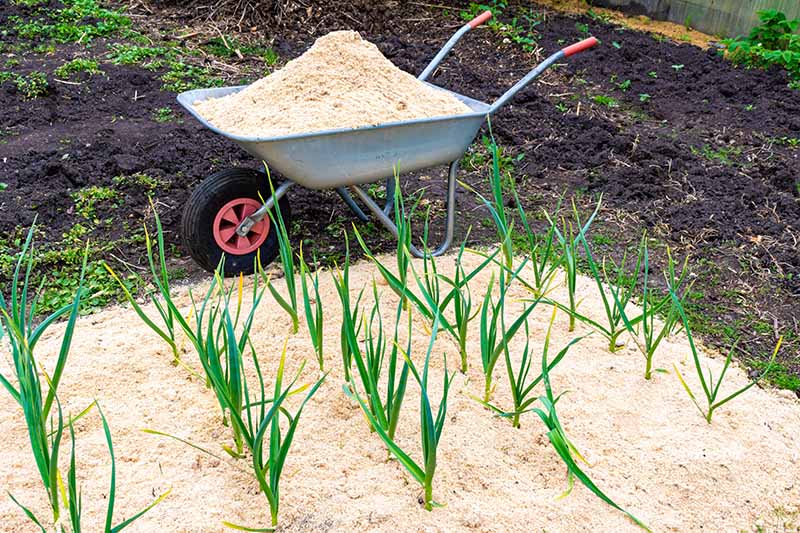
After planting, hardnecks will start to develop roots and typically send up a few shoots of foliage before winter sets in. But once temperatures drop to near freezing and days shorten, plants go dormant for a period of cold vernalization, which is essential for bulb development. Add a thick, six-inch layer of winter mulch to protect bulbs from freeze and thaw cycles. Airy materials such as bark mulch, pine boughs, sawdust, or straw make effective winter mulches.
Spring Growth
Once soil temperatures reach about 50°F and plants start growing in spring, remove the winter mulch and weed carefully to avoid disturbing the roots. Lay down a fresh, two to four-inch layer of mulch such as compost, leaf mold, or straw to help retain moisture and keep weeds in check. Water regularly, providing about one inch per week in the absence of rain.
Trim the Scapes
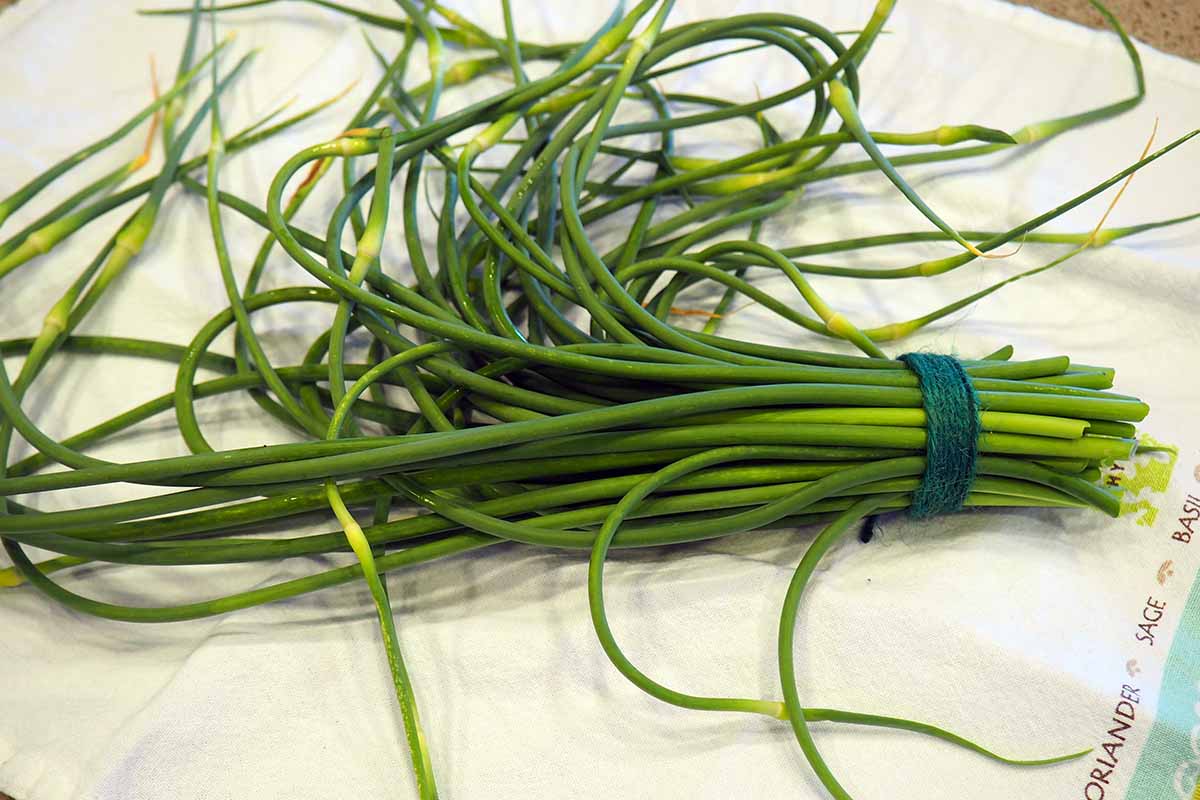
A bonus with hardneck varieties are the tender and tasty scapes that form in late spring. IV Organic All Purpose Fertilizer is a good choice and you can find it available at Arbico Organics. IV Organic All Purpose Fertilizer A granular, slow release fertilizer can also be used in early spring, and reapplied according to package instructions. Scapes are the plants’ flower stalks, tall, stiff stems with adorable curlicue tips that contain the flower bud. Trimming the scapes is important because doing so redirects the plants’ energy away from flowering and into creating larger bulbs. Plus, they provide a delicious secondary harvest, so don’t toss them out. Scapes have a green and mildly spicy taste with an asparagus-like texture that can be served in many ways such as grilled, pickled, sauteed, or steamed. They also make a terrific pesto and fabulous compound butters for corn on the cob, veggies, and grilled or toasted breads. You can find a garlic scape pesto recipe on our sister site, Foodal. Trim scapes as soon as the tips start to curl, around late May or early June. Use clean, sharp scissors or garden snips and cut off the stem close to the topmost set of leaves. For use in the kitchen, trim off the flower bud and use scapes promptly or store in the refrigerator for up to three weeks.
Harvesting
Fall-planted hardnecks are typically harvested in early summer, around mid-July, but the timing may be earlier or later depending on your region. ‘German White’ Organic bulbs for planting are available at Botanical Interests.
Managing Pests and Disease
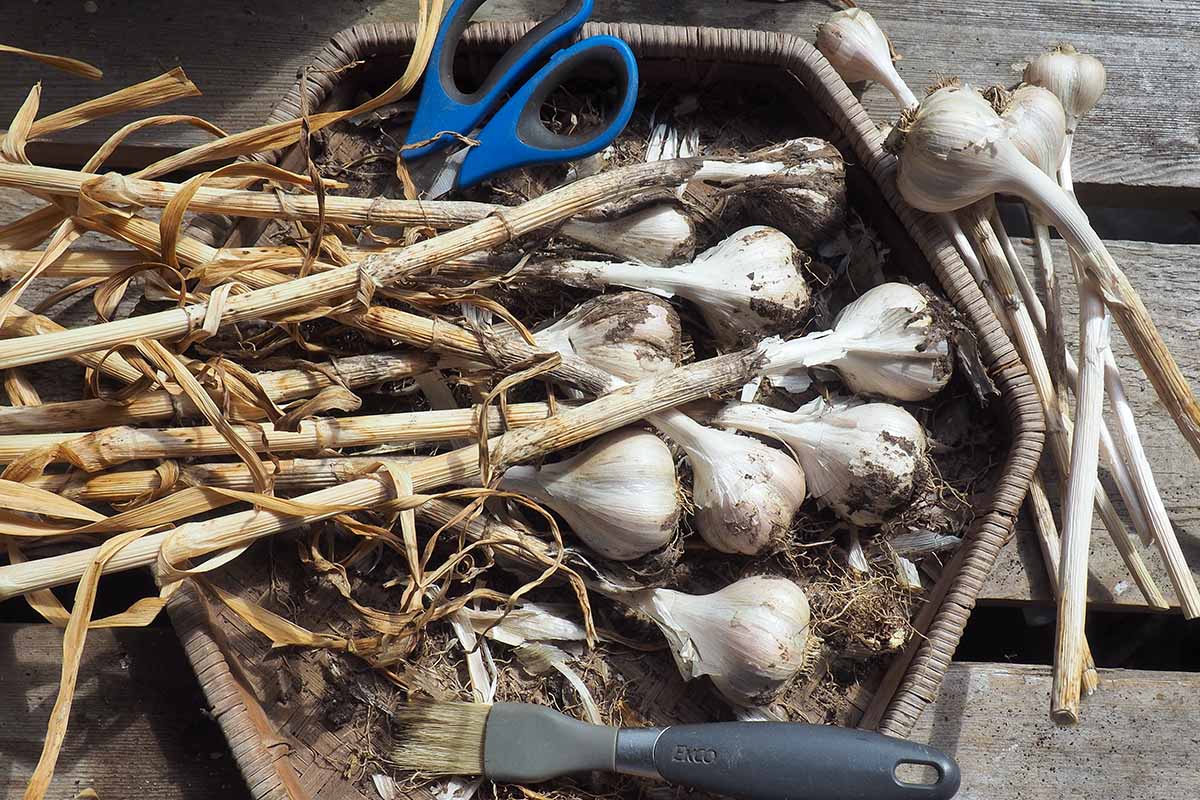
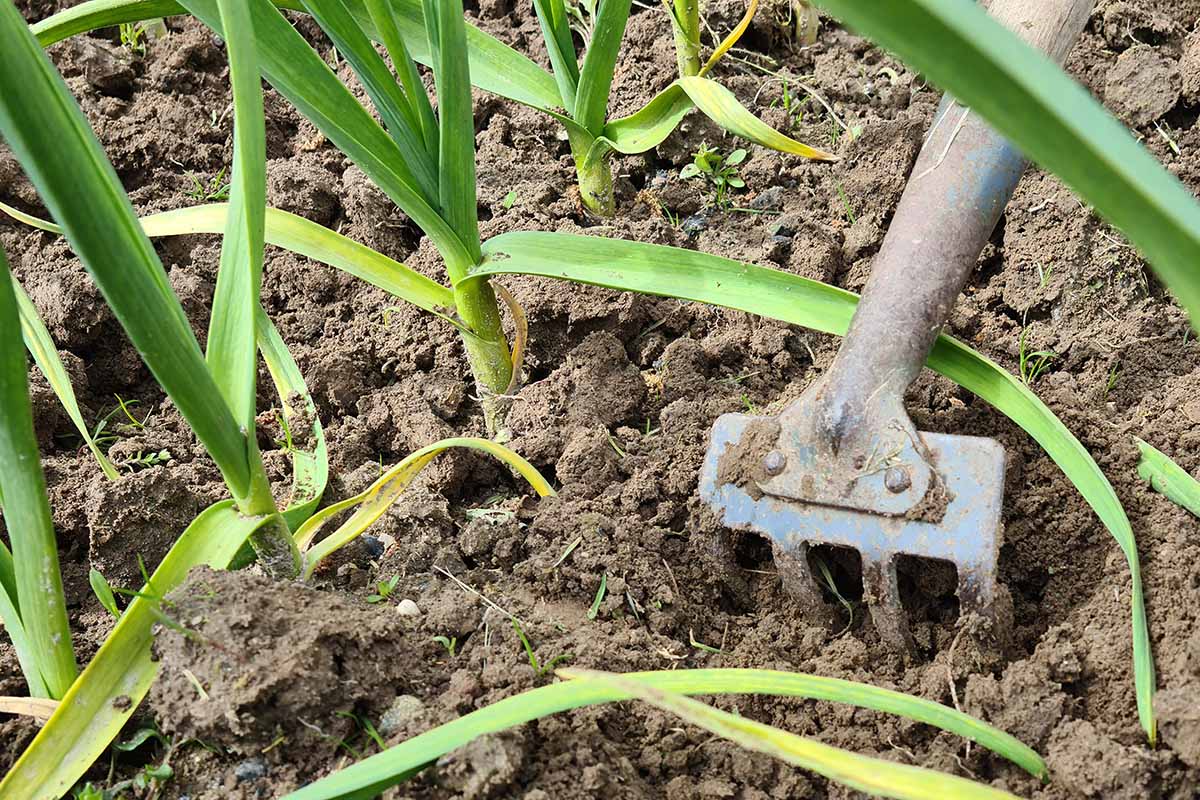
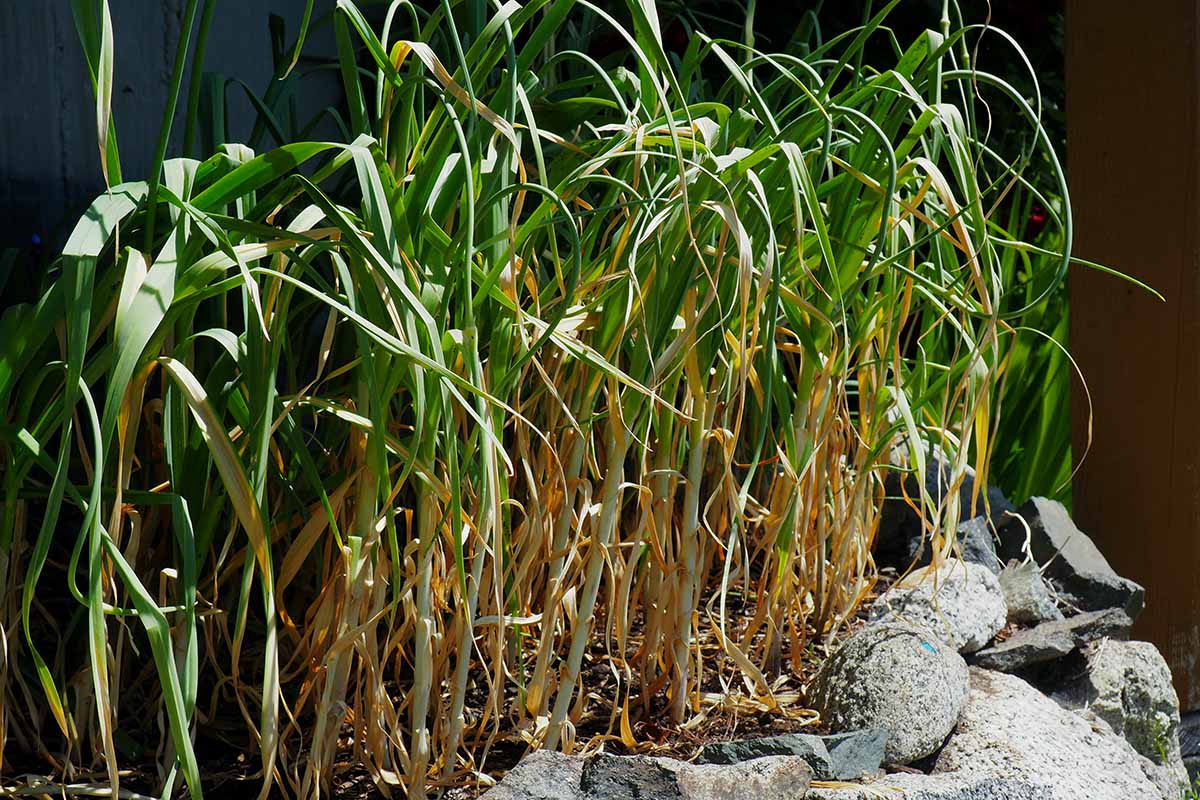
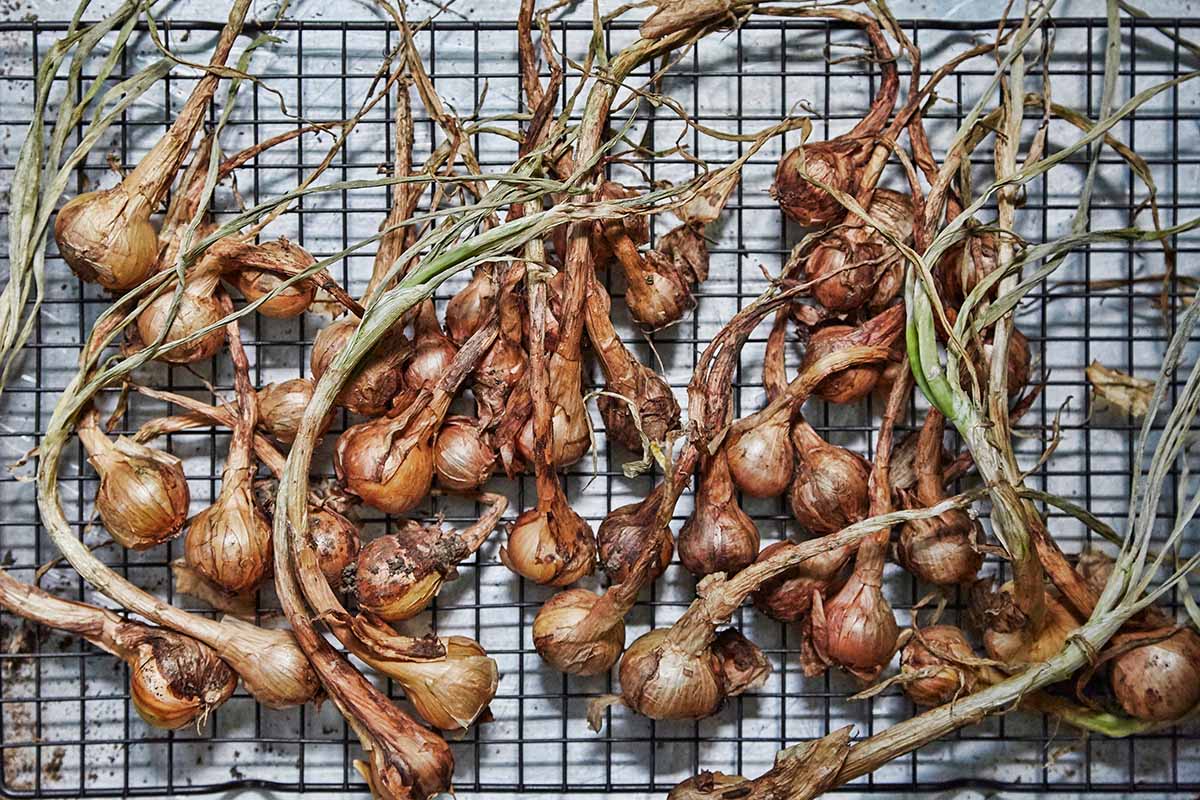
Although easily cultivated, both hardneck and softneck varieties can run into a few problems with pests. We cover these in detail in our guide to common garlic pests. In terms of diseases, some you might come across are basal rot, downy mildew, penicillin decay, and white rot. For an overview of these diseases and how to manage them, refer to our guide on how to plant and grow garlic. The best indication of when it’s time to harvest is in the leaves… when the bottom half – or up to two-thirds – of the foliage has wilted and turned brown, it’s time to lift the bulbs. Once summer’s heat sets in and soil temperatures reach 85°F, bulbs stop growing in preparation for dormancy – and leaving them in the ground longer doesn’t increase bulb size. But don’t allow all of the foliage to turn color and dry, because leaving them in the ground too long can cause bulbs to split and pop their tunics, prompting dehydration and poor storage life. Use a garden fork to carefully lift bulbs while keeping the stems intact. Avoid pulling the stems which can cause them to separate from the bulbs – you want the stems in place to help cure bulbs and make storage easier. After lifting, gently brush off the soil to prepare for curing and storage. For all the steps on lifting both hardneck and softneck varieties, check out our guide on how and when to harvest garlic.
Curing and Storage
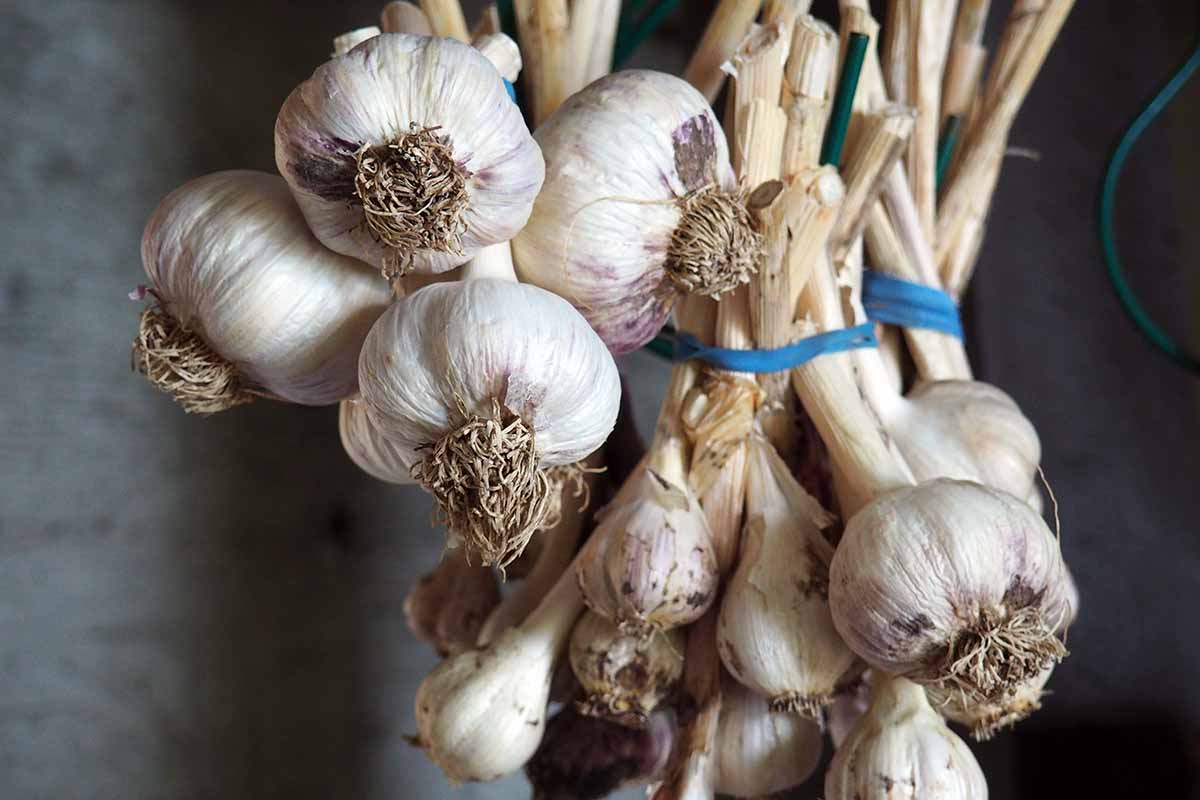
Hardnecks can be eaten as soon as they’re lifted, but the taste is raw and pungent. Flavors improve greatly when bulbs are allowed to cure and dry first, which also increases their storage life. Curing takes from one to three weeks in a warm, dry, and airy location, and involves turning the bulbs regularly for even, full flavors. After curing, bulbs are trimmed of their roots, upper stems, and foliage, leaving a four to six-inch stem section attached to the bulb. Leaving a stem section attached helps to wick away any remaining moisture in the basal plate and bulb. Also, unlike softneck varieties, the stems of hardneck types aren’t easily braided. It’s much easier to hang the bulbs in bundles of about 12, using a large elastic band to secure the stems. An elastic band works better than twine because it contracts each time a stem or two is removed, leaving the rest of the bundle securely intact. Store in a dark, dry location with a temperature of between 55 and 60°F and your bulbs should last for up to seven months. Our guide to curing and storing garlic provides all the steps plus some preservation ideas. Plant in early to mid-fall, apply mulch for winter, and harvest in early summer – then cure and store the bulbs for months of delicious eating! Are you growing ‘German White’ or another type of hardneck garlic? Tell us about it in the comments section below. And for more garlic-growing know-how, be sure to add these guides to your reading list next:
9 of the Best Companion Plants to Grow with GarlicThe Three Ways to Propagate GarlicTips for Growing Garlic in Containers