If you’re located in USDA Hardiness Zones 9-11, you’re in luck – you can add this beautiful, beneficial succulent to your yard. For more history, background, and full cultivation instructions for growing aloe vera, check out our guide. We link to vendors to help you find relevant products. If you buy from one of our links, we may earn a commission. Here’s what we’ll discuss:
An Aloe Primer
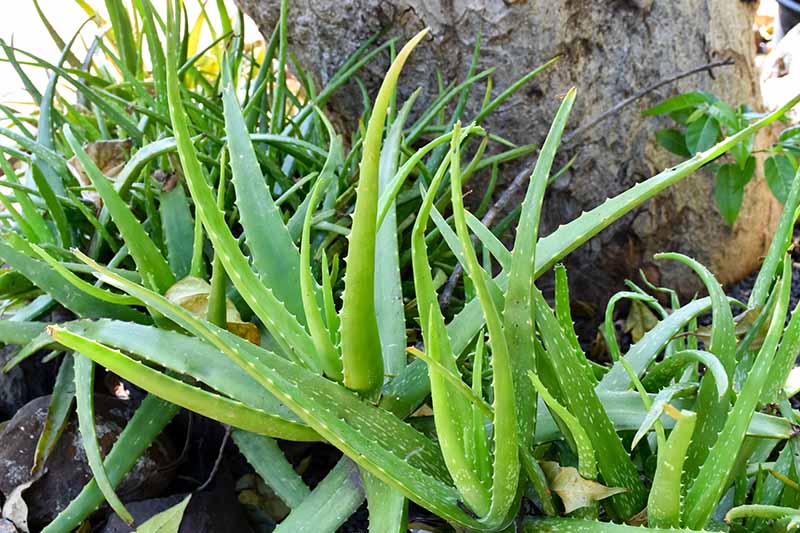
Aloe vera is a member of the Asphodelaceae family, which includes asphodel and red-hot poker plants (Kniphofia spp).
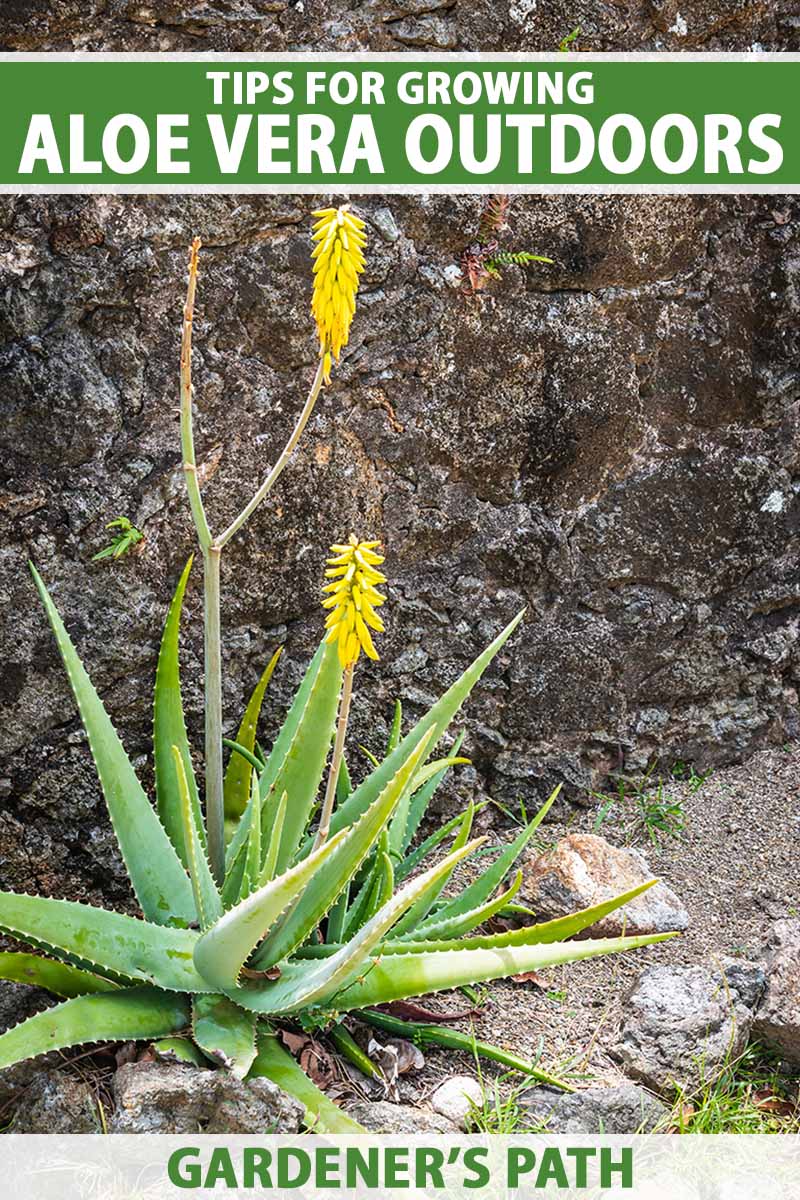
This plant is famous for the gel inside the succulent leaves, which has soothed many a minor burn throughout history. The long, spiky leaves grow 24-39 inches long from a short stem. If you grow this succulent outdoors, you can reap the benefits of the soothing gel. And thanks to this gel, aloe vera requires very little water to grow. Actually called the “mesophyll” layer of the leaf, the gel supplies moisture to the aloe between waterings. Thanks to this exceptional level of drought tolerance, aloe vera makes an excellent addition to a low-water garden or xeriscape. You can also grow it in lieu of low shrubs to adorn your foundation plantings, or place it in window boxes for a pleasing effect.
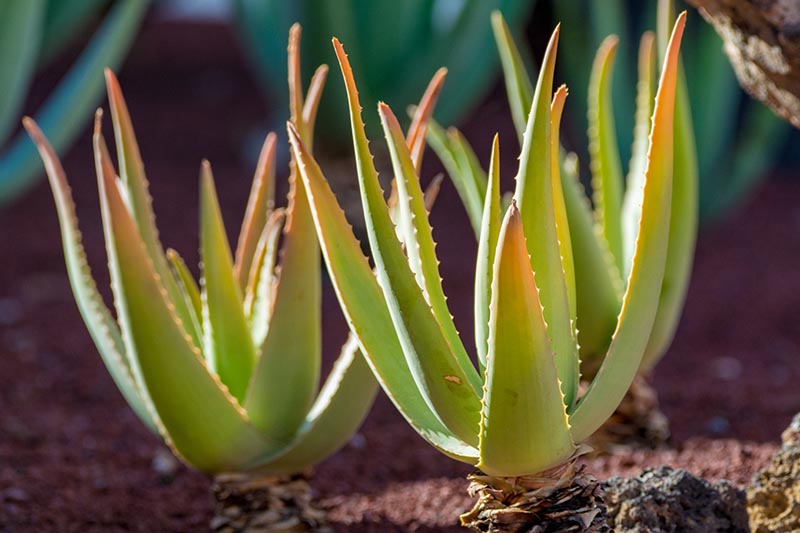
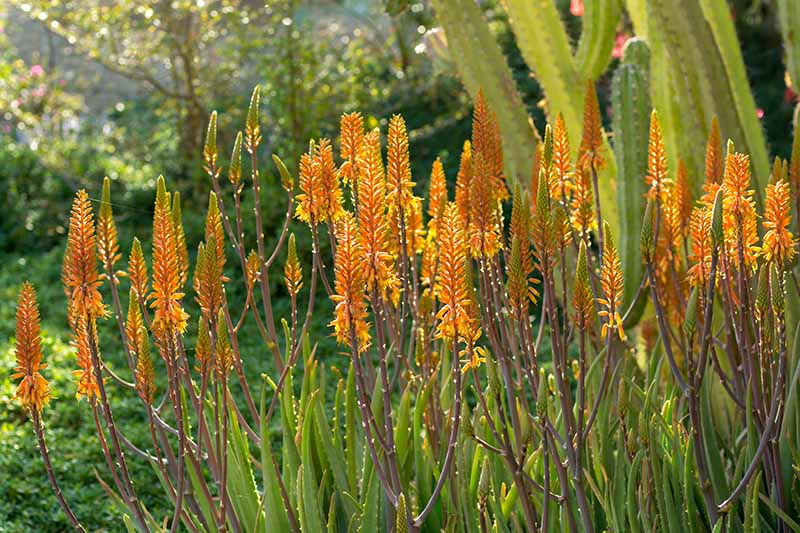
Since aloe can be cultivated indoors year-round, you may be wondering what the advantage of growing it outdoors could be. Besides being an excellent option for xeriscaping in drought-prone and desert climates, there’s an added bonus: Flowers.
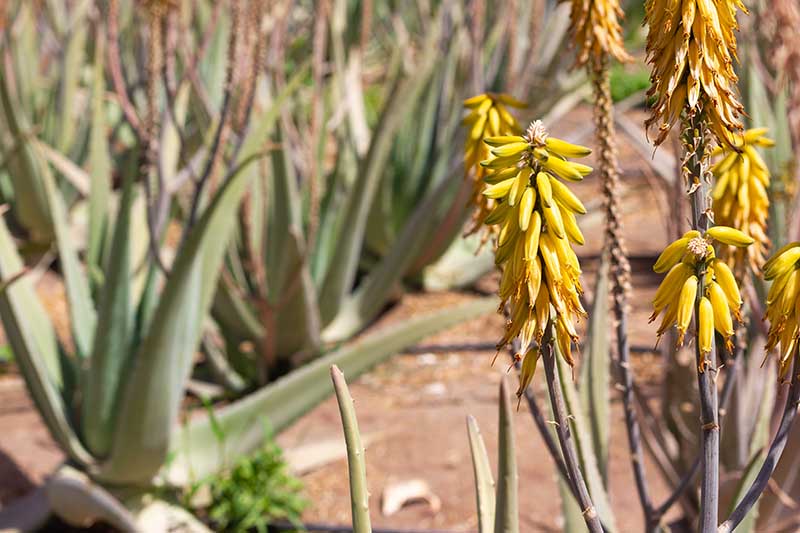
That’s right. Aloe vera grown indoors doesn’t receive enough sunlight to produce flowers. But grow it outdoors and you’ll enjoy the yellow blossoms that burst from a spike that rises from the center of the plant in the summer months, and periodically throughout the year
How to Grow
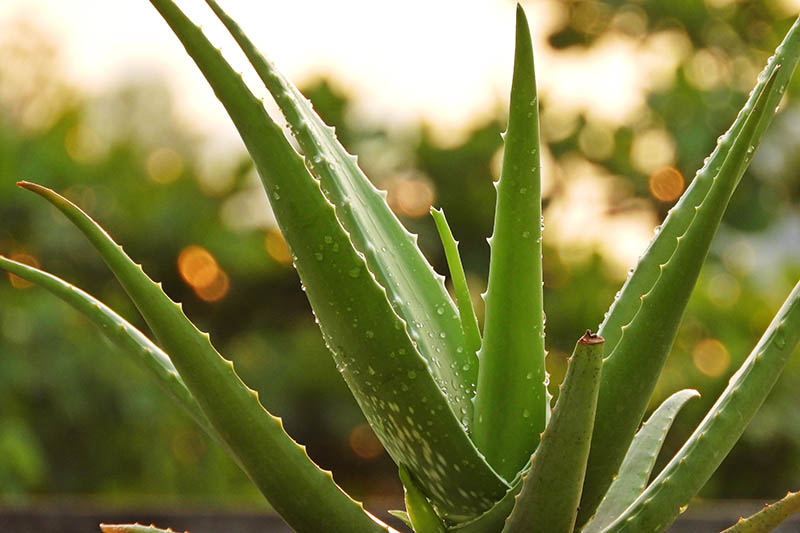
For outdoor planting, first choose an area of your yard or garden that receives between four and six hours of full sun.
The amount of sunlight depends on your climate: for those who live near the coast or at sea level, it’s fine to give the aloe six hours. But if you live in an arid, inland desert with an elevation of 1,000 feet above sea level or higher, you may want to provide just four hours: aloe doesn’t care for too much of the intense sunlight it’ll receive at higher elevations. Too much direct sunlight can burn the leaves, turning them a bronze color. If you’re having a tough time finding a location that only receives four to six hours of sunlight, you could always have a shade cloth handy and put it over the plant during the middle of the day, when the sun is at its most intense. This will help keep the leaves from getting sunburned.
After light requirements, consider the soil you’ll be planting in. It should be loose and well-draining but it doesn’t need to be high in nutrients. Look for a sandy, gravelly, or even rocky area. The last thing you want to do is give your aloe a home in a boggy area in soil that won’t drain, as this can contribute to root rot. This succulent prefers a soil pH of 7.0-8.5, so you may want to conduct a soil test to see if the numbers fall within that range. This isn’t strictly necessary, however, as it can adjust to slightly acidic soils if needed. If you want to increase alkalinity, you can add lime to the soil according to package instructions. Once you’ve brought a plant home from a nursery or propagated a pup from a friend’s aloe, it’s time to put the succulents in the ground. Give them two to three feet of space between each other and any other plants in the area. To transplant, dig a hole the same size as the container your aloe is currently growing in, gently remove it from the pot, and set it into the hole. Backfill with soil and water thoroughly. When the plant is newly transplanted, let the top inch of soil dry out between waterings.
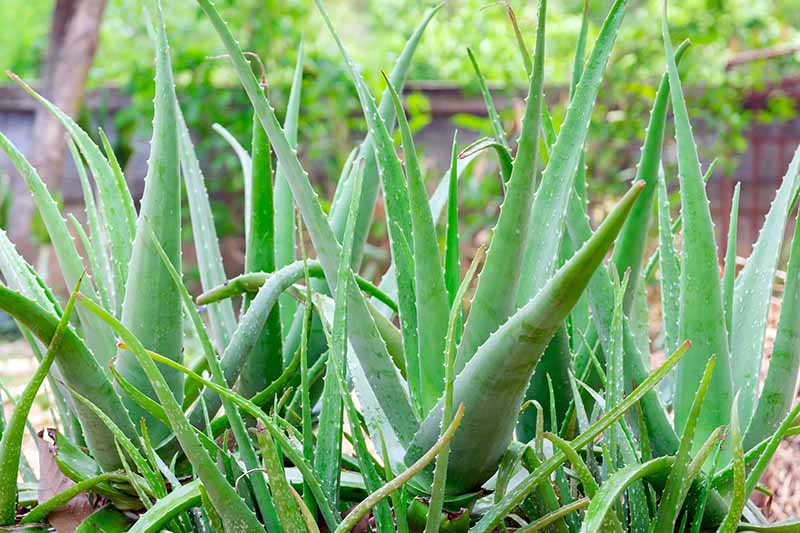
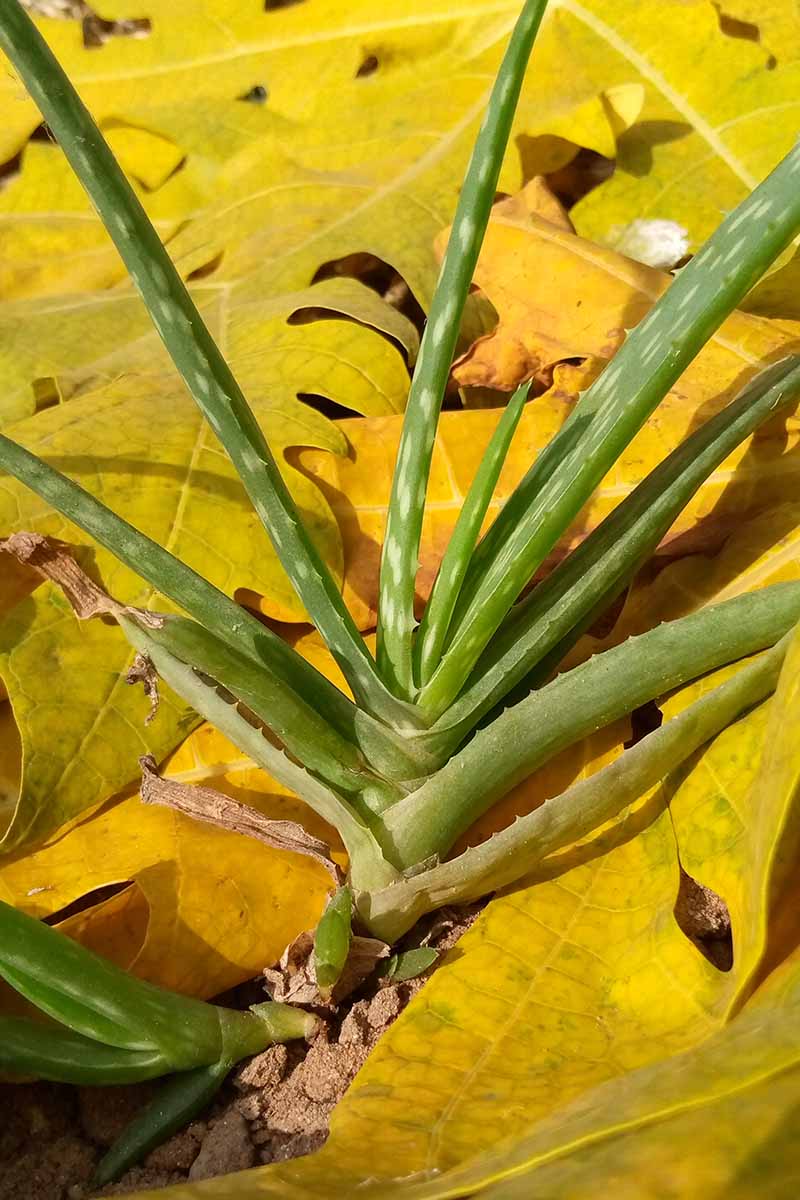
Once it begins to grow new leaves and thrive in its planting spot, you can slow watering down to about once every two to three weeks in the summer and once every four to six weeks in the winter, allowing the top two inches of soil to dry out between waterings. Aloe vera doesn’t require regular fertilization, but if you want to speed up the growth rate a little bit or encourage flowers, you can fertilize it every six months with a 1-1-1 NPK fertilizer. Keep in mind that the plant won’t produce flowers until it’s mature – at around four years old. In the meantime, keep it “pruned” by removing broken leaves whenever you spot them. It doesn’t hurt to harvest a leaf here and there to use on a sunburn, either. When the plant is between two and four years old, you might notice that it’s growing lots of offshoots, or “pups.”
This is a good indication that the parent plant is ready for some division. To divide it, carefully dig the succulent out of its hole with a hand trowel. Brush away as much dirt as you can from the root ball. You’ll see several pups growing off the main root system: each pup has its own stem, leaves, and root system that you can tease away from the parent plant. If the pups don’t come off with gentle disentangling, cut them off with a knife. Place the parent back in the hole and backfill with soil. You can pot the pups in nursery containers with potting mix and give them away to your friends, or find places to plant them in your yard. You can also start a window box or outdoor container garden with the pups.
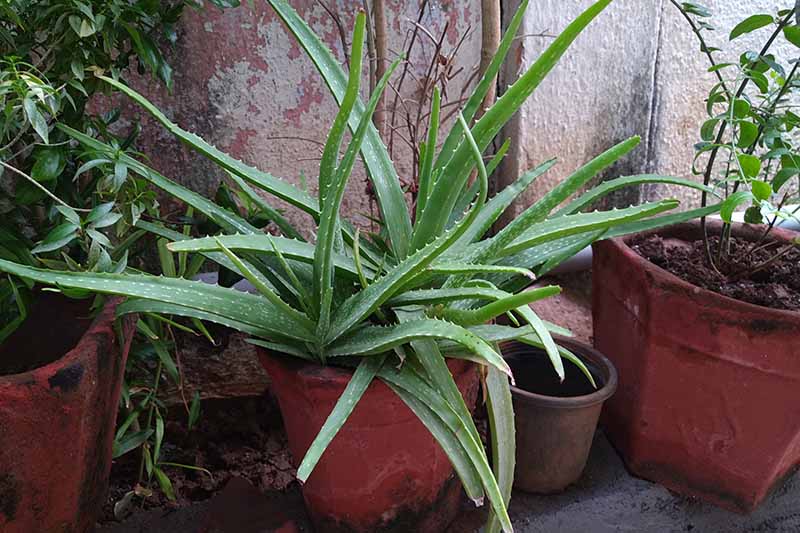
Growing Outdoors in a Container or Window Box
The first thing to consider when choosing a container or window box is whether or not it has drainage holes. It’s easy to find containers that do, but it’s harder to find window boxes with them.
If you have your heart set on growing aloe in a window box that doesn’t have drainage holes, just drill three to four quarter-inch holes in the bottom of the box.
Growing Tips
Give your plant between four and six hours of full sun, depending on your area’s elevation Water once or twice a month, or when the top two inches of soil dry out Make sure the soil is loose and well-draining to help prevent root rot
Where to Buy
You can find potted plants at almost any time of the year in your local nursery or gardening store. I’ve stumbled across potted aloe vera in stores in January, even in frozen Alaska!
Miracle-Gro Cactus, Palm, and Citrus Potting Mix Add a cactus and succulent mix to the window box or container, like this one from Miracle-Gro, available via the Home Depot. Transplant the pups or potted plants directly into your containers or window boxes, burying them just enough so that the roots are covered. Water thoroughly, and you’re done!
Managing Pests and Disease
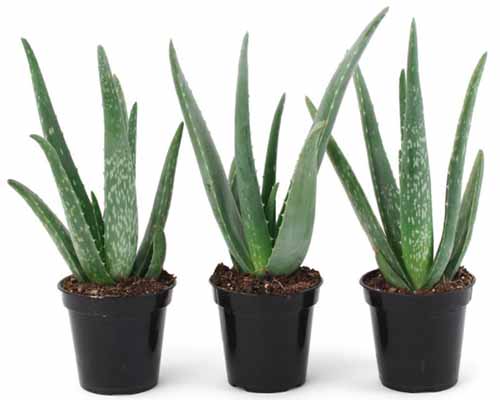
This succulent isn’t prone to pests and disease, but the few problems it does encounter range from mildly annoying to downright deadly. Aloe Vera Plants in 3.5-inch Pots Or, grab this three-pack set of three-and-a-half-inch potted plants from Pure Beauty Farms, available online from the Home Depot. Here are the main threats to watch out for when you’re growing this plant outdoors.
Pests
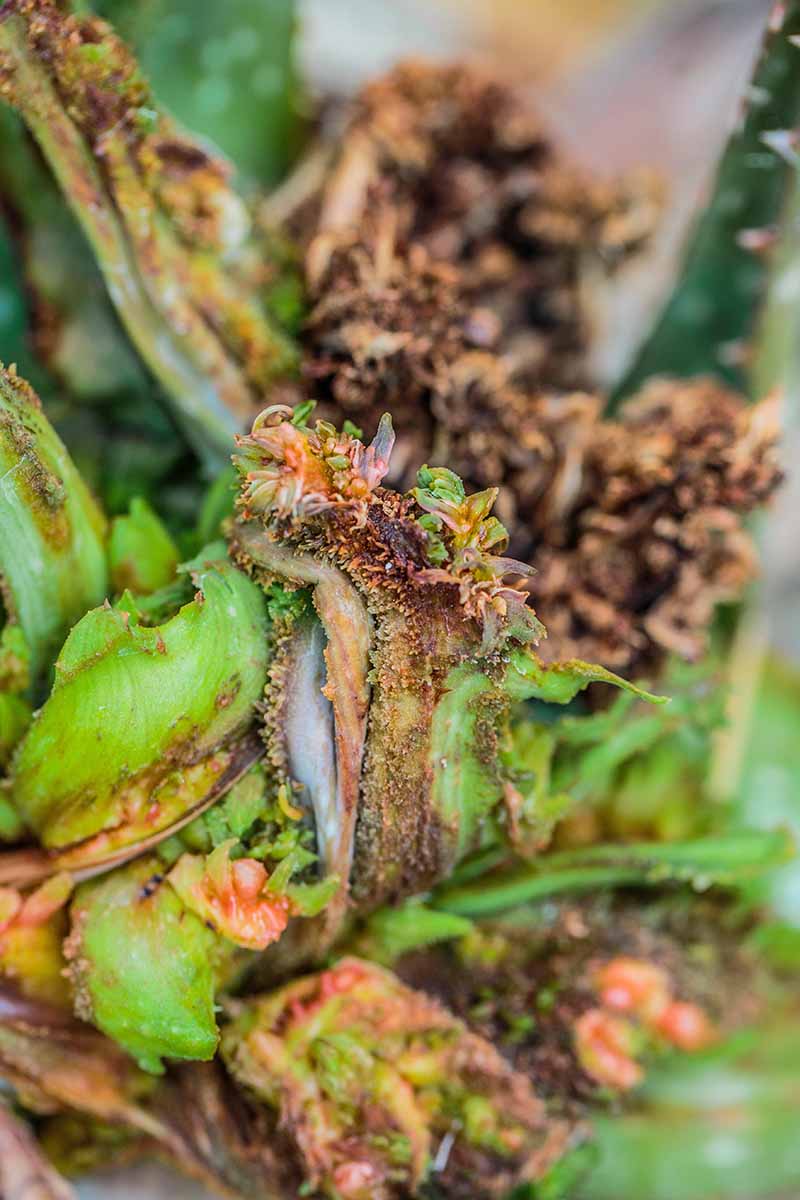
There are two main pests that may affect aloe vera outdoors: aphids and gall mites. Aphids aren’t terribly problematic. They suck the sap from the leaves but it takes a long time for them to cause real harm. Spray them off with the garden hose and apply neem oil to the areas of infestation. Aloe gall mites (Aceria aloinis), on the other hand, cause what’s informally called “gall cancer” in aloe vera. The unsightly tumors look like warts and you might see them on the leaves, stems, and even flowers. These pests affect both commercially grown and homegrown aloe, particularly in southern California.
Unfortunately, aloe gall mites are microscopic and spread by wind, so you need to act fast if you have several plants but you only notice infection in one or two of them. Remove the affected plant, seal it in a garbage bag, and throw it away. Spray the as-yet-unaffected aloes with neem oil or insecticidal soap and check them for damage every day.
Disease
Knowing what aloe’s most pernicious diseases look like can help you prepare to spot them early, clear the area of a deadly infection, and plant your succulents elsewhere. Keep in mind that cultural controls, such as planting your succulents in loose, well-draining soil, can prevent these diseases in the first place. The two most harmful – as in, deadly – are bacterial soft rot and basal stem rot.
Bacterial Soft Rot
Caused by the bacteria Pectobacterium chrysanthemi, bacterial soft rot is a problem associated with wet conditions. Bacterial soft rot is typically a problem when hot weather is combined with wet soil. It mostly affects plants that are grown in waterlogged conditions, so make sure you choose an appropriate location and be sure not to overwater. The leaves may develop bulging spots, or turn dark and shrivel. This is a fatal disease and the bacteria can survive indefinitely in soil and debris, so remove the dying plant and all its detritus. Refrain from planting any additional aloes in that location for three years and keep a close eye on any neighbors to see if they develop the disease, too. In the case of container-grown plants, discard the plant and the soil, and be sure to sterilize your pot before reusing it.
Basal Stem Rot
Aloe vera prefers dry, warm conditions, whereas wet, boggy conditions can cause problems. Basal stem rot, a fungal infection caused by several species of Fusarium, does exactly what its name suggests, rotting the stems of plants. The fungus favors damp, cool conditions. If you notice reddish-black sections on the stem, this is a sign that the disease has taken hold, and the plant is a goner. But if it has any pups, you can separate them from the mother plant, and check them for signs of rot. If they look healthy, plant them in a site with better drainage, or pot them up and place them in a drier location.
Best Uses
In addition to making an excellent addition to an outdoor window box, foundation planting, xeriscape, or container garden, this succulent is lovely for cooling minor burns or soothing itchy bug bites – a plus in warmer climates where the potential for sunburns and pest problems may exist year round.
I particularly enjoy planting it window boxes outside my home for the summer – but here in Alaska, I have to bring them indoors during the cold months.
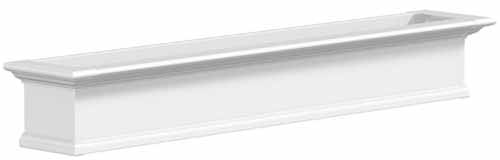
Self-Watering Window Box To plant it in window boxes for a pretty accent that’ll make your home stand out, try these self-watering ones from the Home Depot.
Fuss-Free and Fabulous
This succulent practically takes care of itself once it’s established. If you’re a busy gardener who doesn’t have scads of extra time to tend to demanding plants that wilt in the heat, aloe vera is your friend.
Are you growing aloe vera outdoors? Let me know in the comments section below and feel free to share a picture! And for more information about growing succulents, check out these guides next:
How to Grow and Care for Variegated Tiger Aloe How to Grow Christmas Carol Aloe: Anti-Sting and Makes You Sing! 11 Easy-Care Exotic Succulents to Grow at Home
© Ask the Experts, LLC. ALL RIGHTS RESERVED. See our TOS for more details. Product photos via Home Depot, Miracle-Gro, and Pure Beauty Farms. Uncredited photos: Shutterstock. With additional writing and editing by Allison Sidhu and Clare Groom.