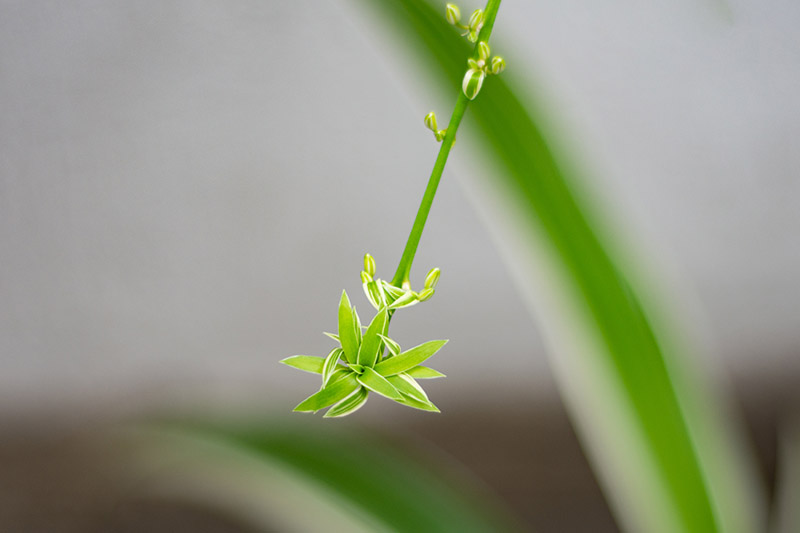
Not sure what I’m talking about? They were the female backup singers for Ziggy Stardust back in the early ‘70s. Well… weren’t they? Ahem. Moonage daydreams aside, we’re actually talking about a different sort of spider altogether here – the offsets or plant babies that grow from spider plants, no Ziggy involved (unless of course you choose David Bowie as background music, in which case, I applaud your decision). Treat them as backup singers if you like, but these babes come from your spider plant, and can be propagated into new houseplants. We link to vendors to help you find relevant products. If you buy from one of our links, we may earn a commission. Here’s a sneak peek at everything we’ll cover up ahead: For each of these projects you’ll need a mature specimen laden with offsets to start with – or some spiderettes given to you by a friend.
1. In Water
Starting spider plants in water is a fun way to embark on this project. If you choose a transparent container, you’ll be able to see your new plant’s roots developing inside. If you need to add a parent plant to your houseplant collection first, you can find a variegated spider ivy specimen in a six-inch nursery pot available from Fast Growing Trees. Spider Plant in 6” Pot And if you need an overall refresher on how to care for these houseplants, be sure to peruse our guide to growing spider plants. Let’s begin! This can also be a useful method if you accidentally knock an offset from your houseplant and you’re in need of a quick way to keep it alive without pulling out your potting supplies right away. Here’s what you’ll need to propagate spiderettes in water:
filtered or distilled water or rainwatera pair of sterilized scissors or garden prunerstransparent glass containers to hold your rooting offsets
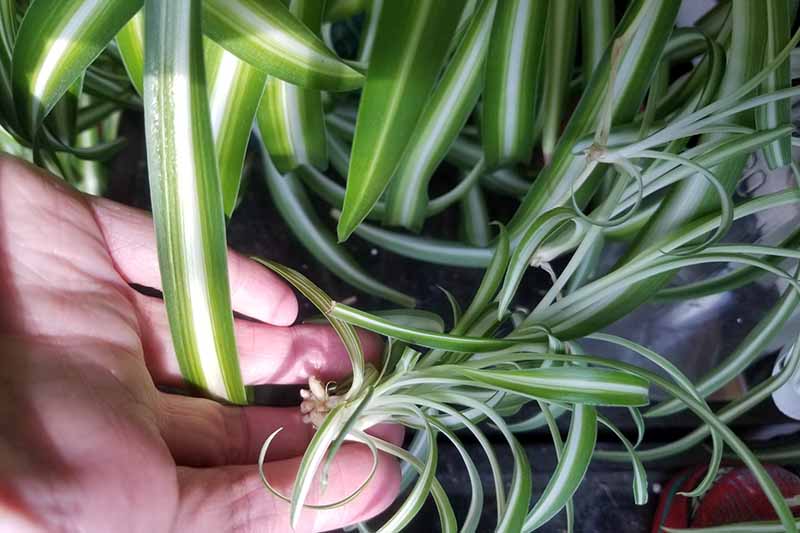
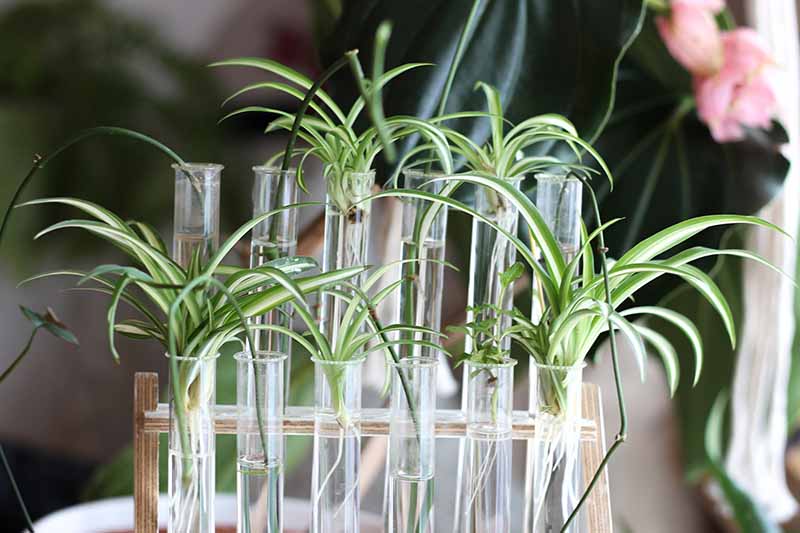
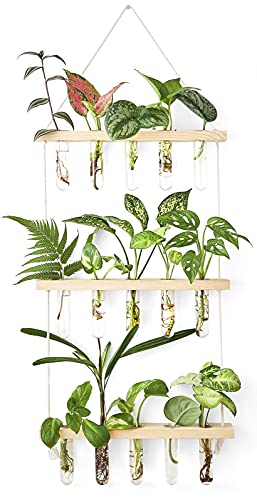
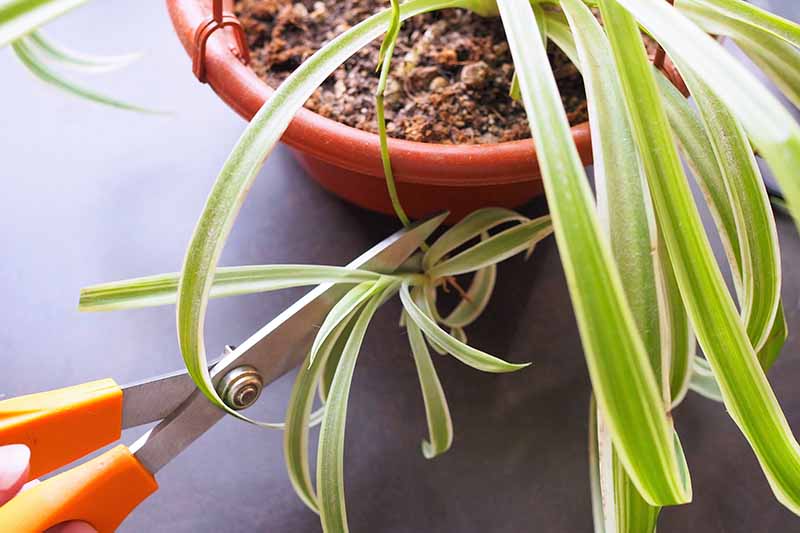
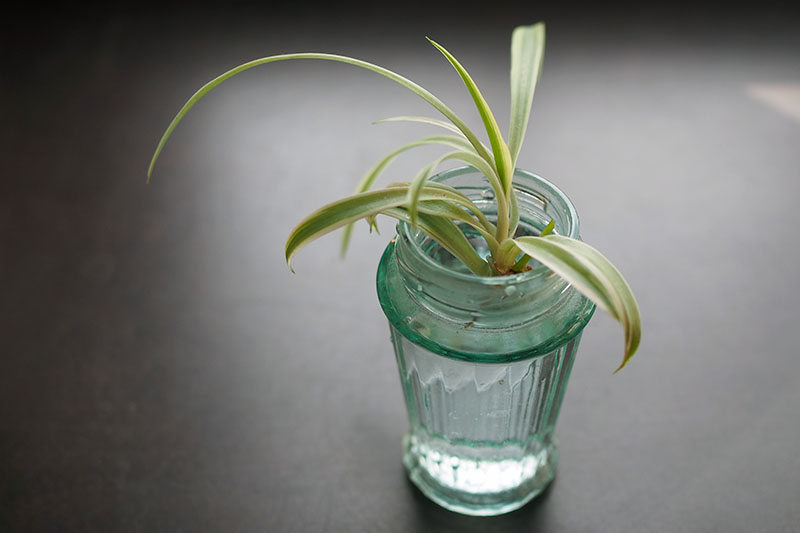
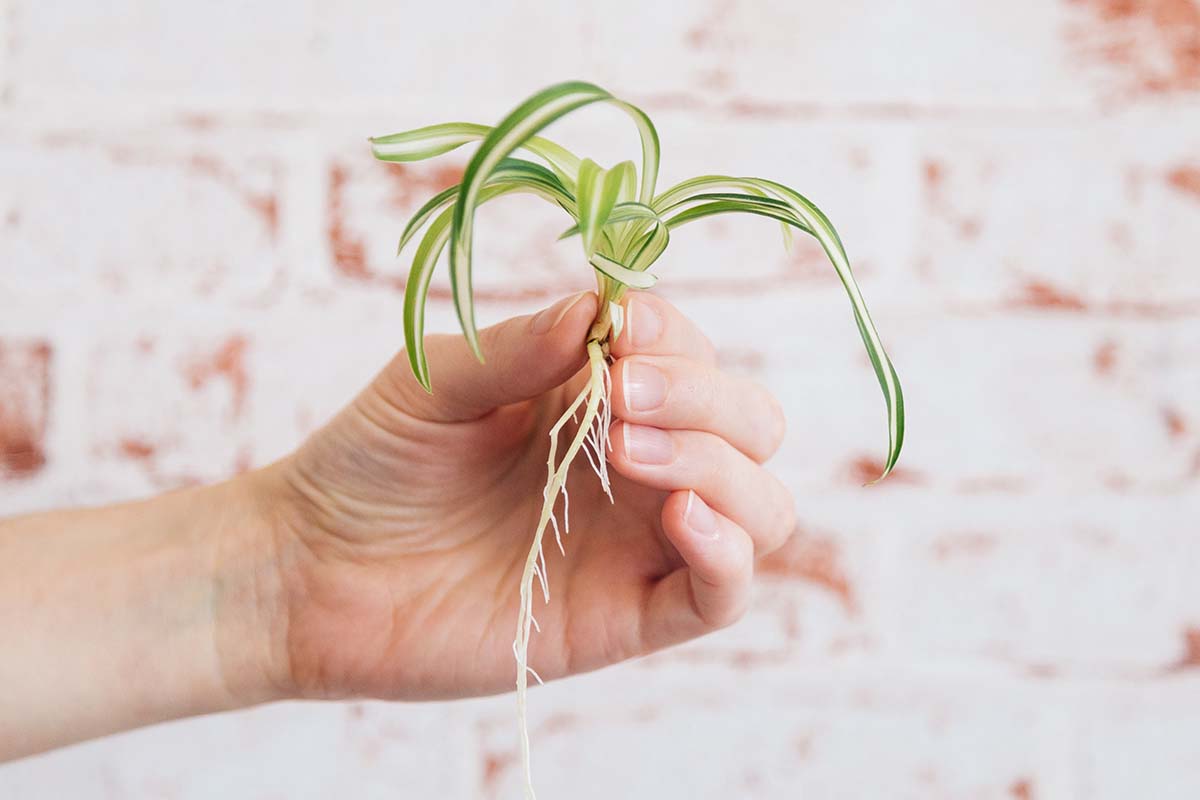
Leave the stem on the parent plant since this can keep producing new babies. Instead, cut off just the spiderettes from the stem, harvesting as many as you want to propagate. Hanging Test Tube Propagation Station When choosing spiderettes for propagating in water, look for offsets that at least have some small aerial root buds developing already, if not larger roots. Fill your glass containers with water, then position the spiderettes so that their leaves hold them above the rim of the containers. This will prevent them from falling in. Make sure these containers always have water in them so the offsets’ roots remain well-hydrated. Change the water regularly if it starts to look mucky. Situate your spider babies in medium or bright indirect light. Allow your offsets to continue growing in water until you are ready to pot them up. Waiting until there is at least an inch or two of root growth will make it easier to transition them into a pot of soil. However, there is no real time limit as to how long you can continue this process, so it’s really up to you! If the offsets’ roots grow so much that they are filling their glass container, then it’s probably time to pot these babies into soil – or move them to larger containers of water if you want to continue this at-home science experiment!
2. In Potting Medium
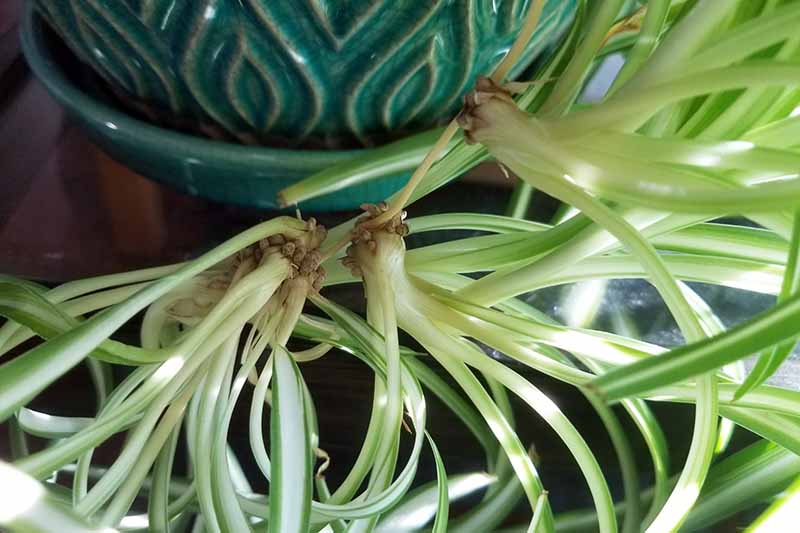
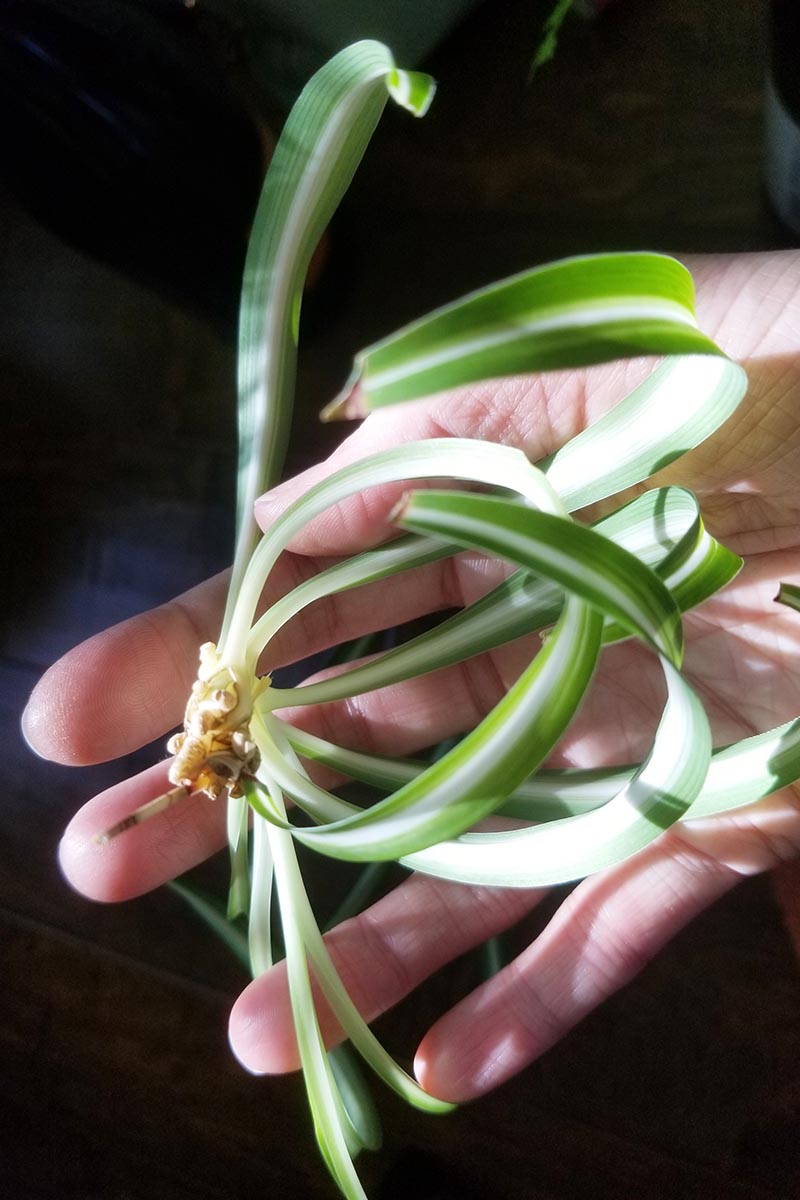
This method will work best with plantlets that already have some aerial roots growing from them, since the roots will help to anchor them in the soil. In addition to spiderettes, you’ll need:
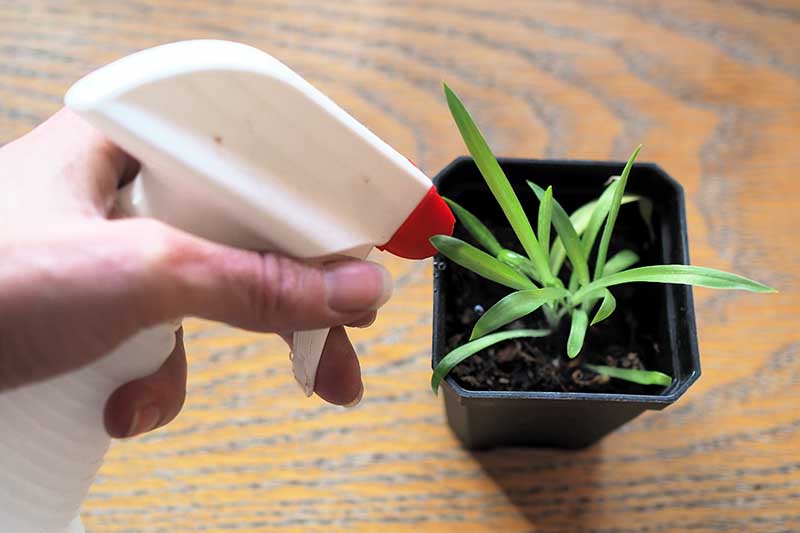
a spray bottle filled with filtered or distilled water or rainwatera pair of sterilized scissors or garden snipspotting mediuma pencil or chopsticksome small pots
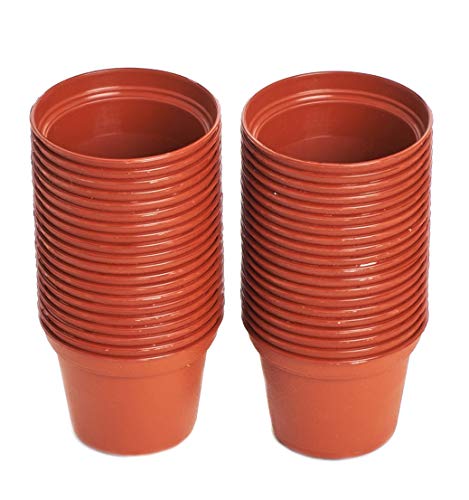
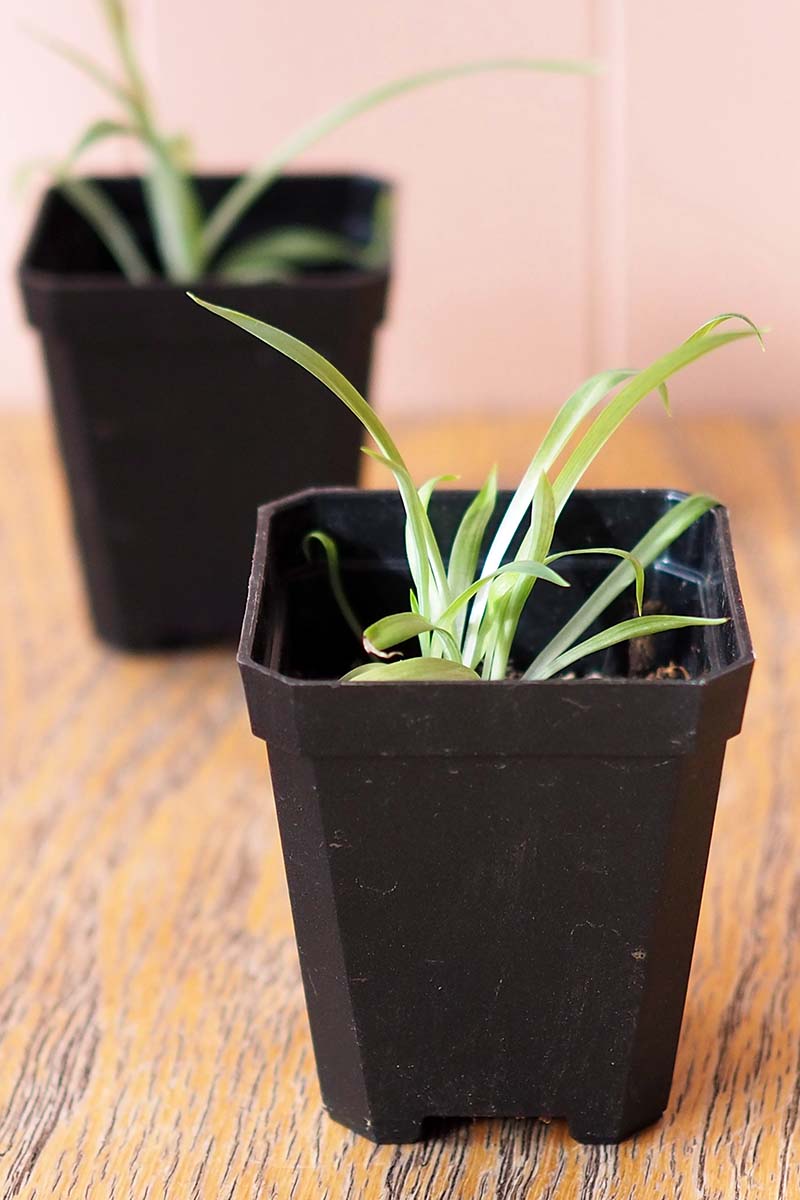
Poke a hole in the middle of the pot with a pencil, a chopstick, or your finger. Insert the spiderette’s roots into the hole. Take care not to bury the crown of the offset with soil. 40-Pack of 2” Round Plastic Nursery Pots As for the growing medium, I recommend De La Tank’s Houseplant soil. You can find it for purchase in a one-, eight-, or sixteen-quart bag from Tank’s Green Stuff via Arbico Organics. De La Tank’s Houseplant Soil Select your spiderettes, cutting them off from their stems with a pair of sterilized scissors or pruners. Fill the nursery pots with growing medium, leaving a half an inch of space between the surface of the soil and the rim of the pot. Water the offset using a spray bottle so that its soil is moistened but doesn’t become soggy. While the offset roots, you will need to hydrate it frequently – possibly every day – in order to keep the soil moist. A bit of extra humidity will help the offset to root, so you can take an additional measure if you choose and place the pot in a resealable transparent plastic bag, a terrarium, or even your greenhouse. If you provide this means of creating extra humidity, you won’t need to water as often. Place the rooting offset in a location with medium or bright, indirect light. Soon you will start to notice new growth on the spiderette – this is a great sign! It should now be rooted. To check, you can give the plantlet a gentle tug. A rooted spider baby will resist your pull. If the offset pulls out of the soil, reinsert the offset, and give it some more time to root. The time required can vary, depending on growing conditions such as light exposure, temperature, watering frequency, and the fertility of the soil. Once the plantlet has rooted, you can begin watering it normally with a houseplant-adapted watering can, instead of with a spray bottle. Continue caring for your freshly rooted baby houseplants as you would adult specimens, repotting them into larger containers as needed.
3. Through Layering
With the layering method, instead of cutting the offset from the parent plant before it has rooted, you’re going to wait until after it roots. With this method, the roots on your babies don’t have to be very developed at all. Essentially, you are taking advantage of what this species intended to do in nature by producing its babies on long stems – you’re allowing the specimen to spread, only you’re the one deciding which new plot of soil it spreads to. For this method, you’ll want to keep the potted parent plant side by side with the baby’s pot. This method is better suited for those who don’t move their houseplants frequently, such as when watering. In addition to a mature specimen with offsets, you’ll need:
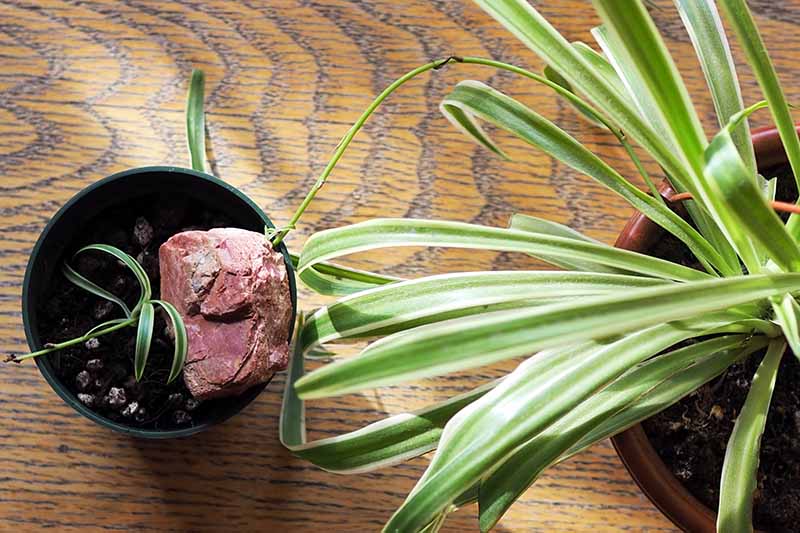
a spray bottlea small nursery pot for each spiderette you wish to rootgrowing mediumsmall stones or floral pins to hold down the stems
Drape the spiderette’s stem across the new pot of soil so the offset is centered over the new pot. If the offset has well-developed roots, poke a hole in the soil and insert them. Finally, either weigh the stem down with a stone or pin it down with a floral pin. Moisten the soil in the offset’s pot with a spray bottle daily to hydrate it without letting it get soggy. Eventually, the spiderette will root. Give the plantlet a gentle tug to check for rooting – if it easily comes out of the soil, replace it, and give it a bit more time. Once the offset has rooted, you can use a sterilized pair of scissors or pruners to cut it from its stem, severing it from its parent. Once the plantlet shows new growth, switch from using a spray bottle and instead water your rooted plant normally with a watering can. However, whether or not you choose to envision your rooted spiderette babes as backup singers is entirely up to you. Which method did you use to propagate your spiderettes? If you have any trouble with this project, be sure to let us know and we’ll be happy to help you troubleshoot. Just let us know in the comments section below! If you just can’t get enough of growing new houseplants from scratch, here are some more articles that will surely be of interest:
3 Foolproof Ways to Propagate Pothos Plants (And One That Doesn’t Work)How to Propagate ZZ Plants from Leaf CuttingsHow to Propagate Norfolk Island Pine