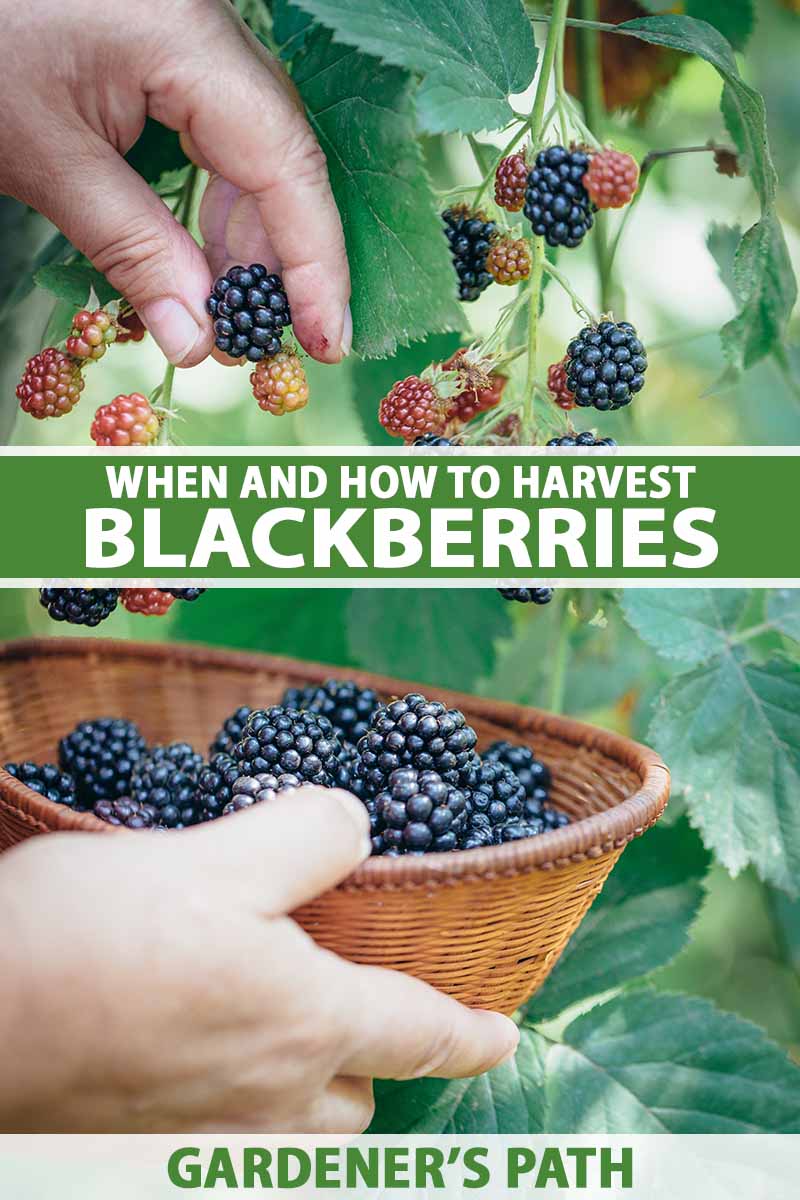
Blackberries are a part of the Rosaceae family, along with some tasty relatives like strawberries, apricots, and raspberries. Like raspberries, most blackberry brambles are thorny, tangly, and can sprawl across your landscape if they’re not maintained. We link to vendors to help you find relevant products. If you buy from one of our links, we may earn a commission. Once this berry plant is ready and ripe, get ready for an abundant harvest! While you can certainly eat them fresh, blackberries can also be preserved through freezing or canning. But do you know when to pick them, at their delicious peak? We’re here to help! Here’s what we’ll cover up ahead: These tasty little berries make a wonderful addition to any garden. Blackberries develop fruit that has a short harvest period before rotting on the plant, so it’s important to know how and when to pick.
Tips to Ensure Good Yields
Most varieties of these plants are self-fertile, which is great if you have limited space. This means you won’t need to plant another variety as a partner for cross-pollination. However, they are not self-pollinating, and instead rely on the wind or pollinating insects to produce fruit. In order to ensure a big harvest, plant other species that attract pollinators around your bushes. Consider hyssop, bee balm, or mint as companion plants to help boost your harvest. If you’d like to learn more about growing blackberries in your garden, start with our blackberry growing guide. Otherwise, let’s jump in and get to picking!
When to Harvest
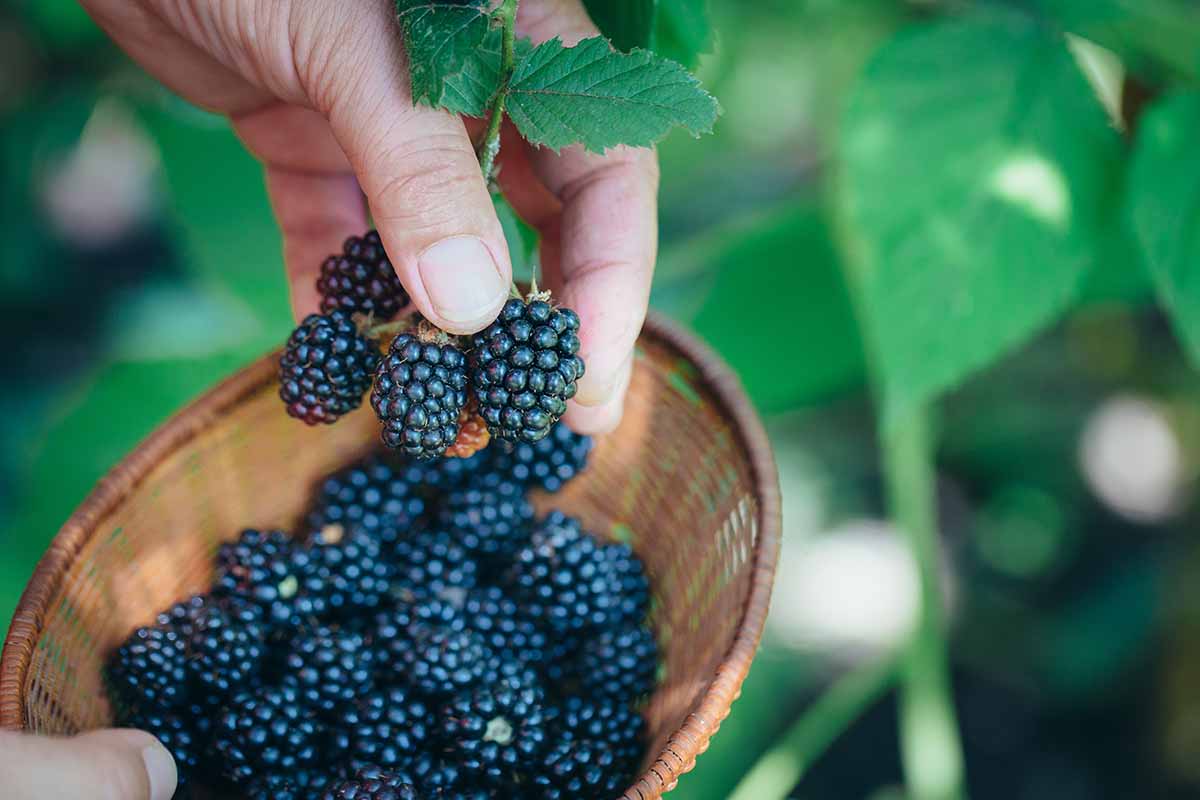
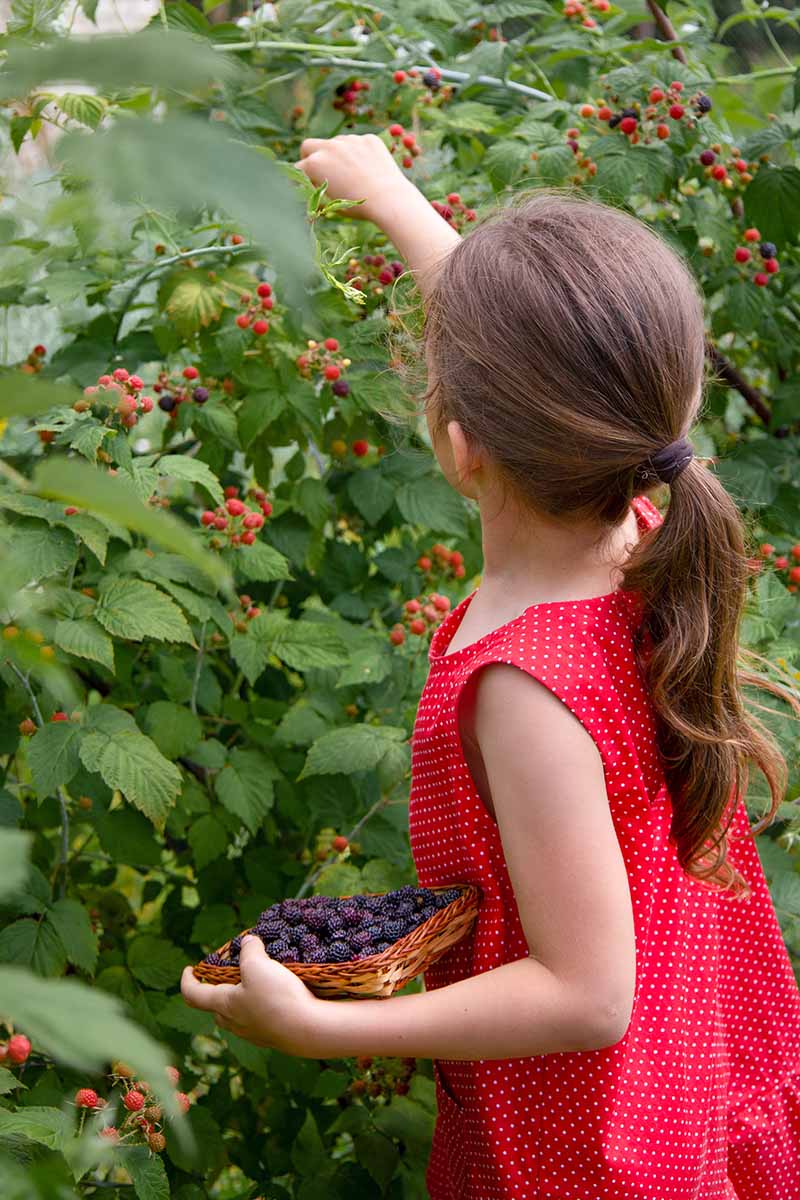
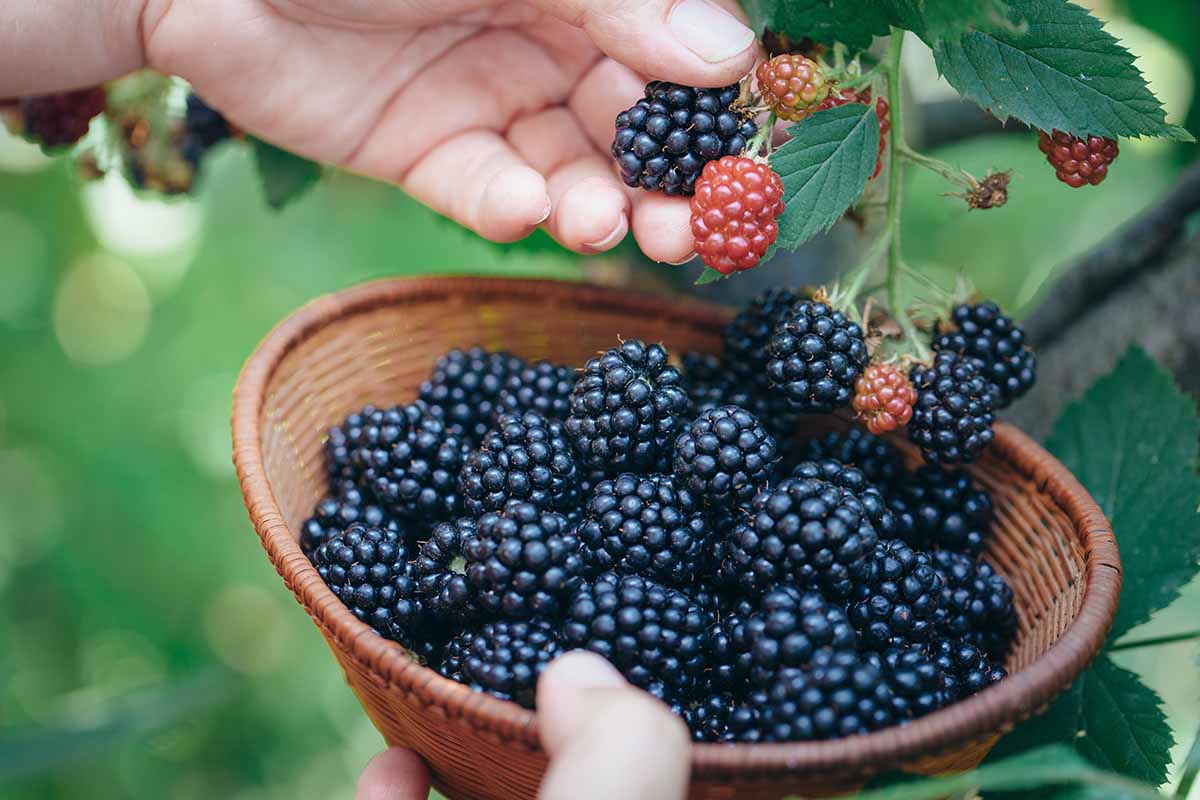
Generally, the fruiting season occurs in the summer – usually in July, August, and/or September. However, there are many factors at play here, including the local climate in your USDA Hardiness Zone and the specific qualities of the cultivar you’re growing. You’ll want to check your specific variety for information on the expected fruiting time. Blackberries are perennials that bear fruit on biennial canes. This means fruit will not appear on new growth until the second year, so it’s important to keep this in mind when planning for the harvest! It may be very tempting, but don’t remove a berry from the plant before the fruit is ripe. Unlike some other types of fruit, blackberries do not continue to ripen after being picked. It’s important to only pick ripe fruit for eating or storage. The fruit will ripen from a reddish color to black with a plump, glossy texture. I’ve noted that you can wait up to three additional days after a blackberry has turned black for the sweetest possible fruit. It’s best to pick the fruit in the early morning when the temperature is cool and the berries are plump with moisture. During the fruiting season, you’ll want to go out to pick at least once a week until the fruit is depleted for the season.
How to Harvest
Unless you’re growing a thornless variety, you’ll need a pair of good garden gloves to pick these. Things will get prickly! The berries should come right off the plant when they’re plucked. Unlike raspberries, the core of the berry should remain intact when you harvest, rather than being left behind on the plant.
Refrigeration
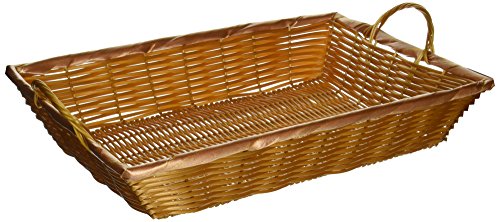
You’ll want to place your fresh berries in the refrigerator in a shallow container until you’re ready to use them. Winco Woven Basket While you’re harvesting, remember to reward yourself for your hard work with a few fresh berries. They are so tasty right off the cane!
Storing and Preservation
Here’s the bad news: this fruit is highly perishable and needs to be enjoyed or preserved within three to six days after harvesting. Refrain from washing your berries until you are ready to eat or cook them, to prevent rot. Cover your container with either a paper towel or plastic wrap with holes for ventilation.
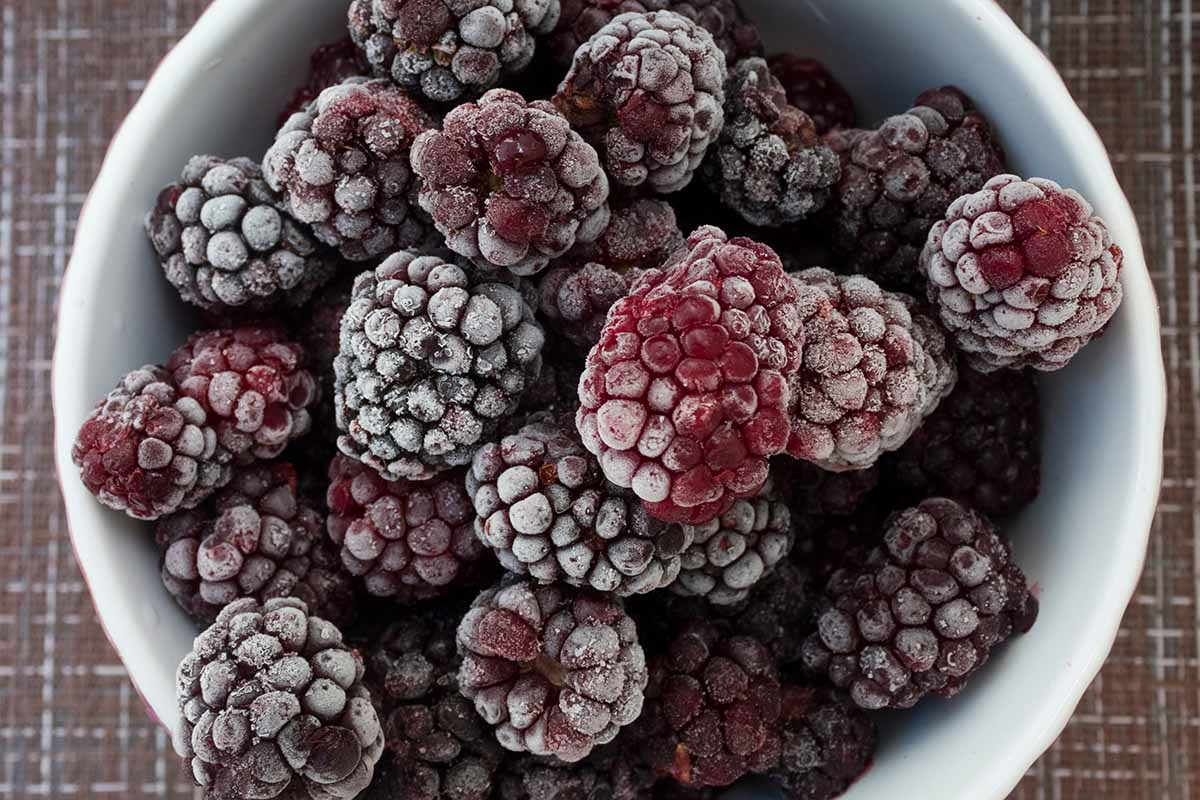
Freezing
There is a special technique used to freeze and store blackberries. In fact, you can use this technique to freeze your blueberries too. Following these steps will help to keep them from forming a solid ball of frozen fruit in your freezer. Rinse and let them dry completely. Grab a cookie sheet, and simply spread your berries across it in a single layer. Place your cookie sheet in the freezer to freeze the berries individually – this makes it easier to take out only what you need in the future. Once they’re fully frozen, transfer to zip-top freezer bags, label, and store. You can keep frozen berries for up to one year! When thawed, the texture will be slightly mushy. Using the freezing method for storage is great for making recipes like pies, dessert casseroles, or smoothies. You might also enjoy the selection of blackberry recipes that are available on our sister site, Foodal.
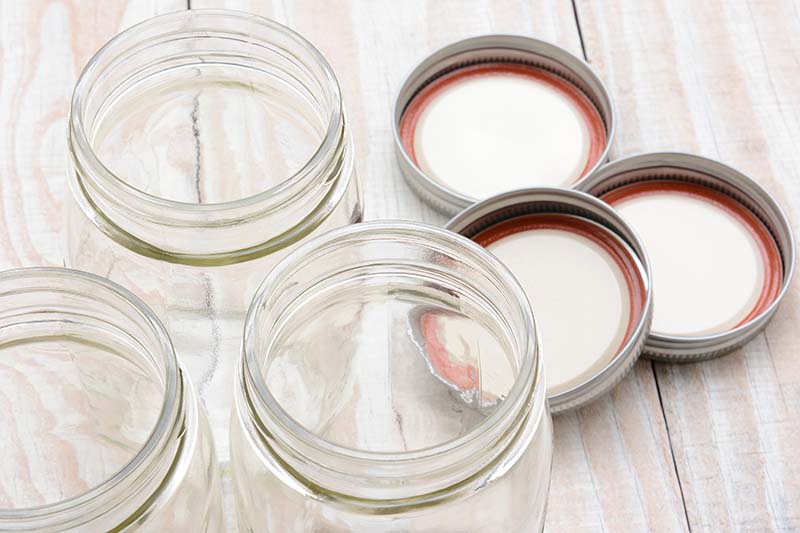
Canning
Canning is my absolute favorite way to preserve acidic fruits. If done correctly, canning your blackberries will give you delicious flavor for up to one year. This fruit holds up surprisingly well to canning and can be used in baking, or as a topping for your morning cereal or yogurt. Most other types of fruit require pressure canning for safe processing, due to their high sugar content and low acidity. But acidic fruits like blackberries and tomatoes require only a boiling water bath for safe processing, as long as they aren’t combined with other ingredients that bring the acidity down to potentially unsafe levels. Place your jars on a heat-resistant mat. Fill each jar with 1 1/2 cups of light simple syrup. Fill each jar with berries. Fill the remaining space with hot water, leaving a generous half-inch of headspace. Your jars will need to be sterilized first. Place in a large pot of water to cover, and bring to a boil. Boil for 10 minutes before removing from the water and placing on a clean placemat or kitchen towel. Canning Jar Lifter While your containers are sterilizing, let’s make the simple syrup for the berries. Rather than making a heavy syrup, this version is very light on sugar and approximates the natural sugar levels within most fruit. According to the National Center for Home Food Preservation, you will need to dissolve 3/4 cups of sugar in 6 1/2 cups of water over medium heat. This will make enough sugar for four quart-size jars. Set aside. Fill a large pot with enough water to cover the jars by two inches. Bring it to a boil over medium heat. High heat might damage your canning jars and cause them to break in the pot. A canning rack will help to keep your jars off of direct heat. Take a butter knife and gently move the contents of each jar around to release any air bubbles. Air bubbles can lead to rot, which we don’t want! Wipe the jar rims clean. Place the rings and lids on top, and secure tightly. Place the jars in the prepared boiling water bath for 25 minutes. If you are located above sea level, remember to adjust this time based on your elevation. Remove your jars from the boiling water bath and allow them to rest on a heat mat or kitchen towel. Over the next two hours the jars will cool, and you will hear them seal themselves with a suction sound. Check the seals on the jars to ensure you can store them. If any are unsealed, place these jars in your fridge to be used as soon as possible. After cooling completely, store the sealed jars in a cool, dry, and dark place for future eating. When you open a jar, the fruit should be firm and full of flavor. A personal tip from me to you: throw in a cinnamon stick and a sprinkle of nutmeg before sealing and canning. Use this mixture as a topping on vanilla ice cream – you won’t be disappointed! Use a flat basket to hold what you’ve picked to prevent bruising. Bruised fruit will rot quickly – not good for a fruit that has a shelf life of about five days. Refrigerate as soon as possible, and eat your berries fresh or prepare them for long-term storage by canning or freezing. I hope you enjoyed the canning recipe above, and I’d love to read any tips and tricks you might have for making jams and syrups, or preserving in alcohol! Preservation of food is something my grandmother taught me through canning, and it seems to be taught less and less as time goes on. So let’s discuss! Share your thoughts in the comments section below. For more information on growing blackberries in your landscape, have a read of these guides next:
How and When to Prune Blackberry BushesTips for Growing Blackberries in ContainersWhen and How to Fertilize Blackberries