And do you know what I love most about this one? The container is an upcycled everyday item, and the gilded accents are materials gathered from your off-season garden. We link to vendors to help you find relevant products. If you buy from one of our links, we may earn a commission.
Design Concept
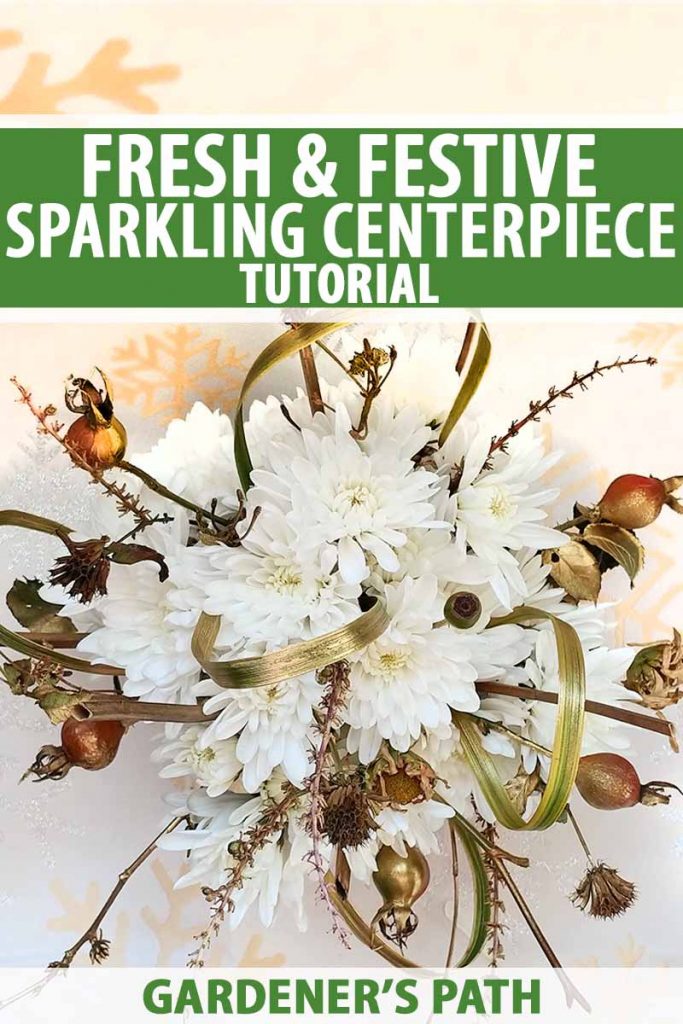
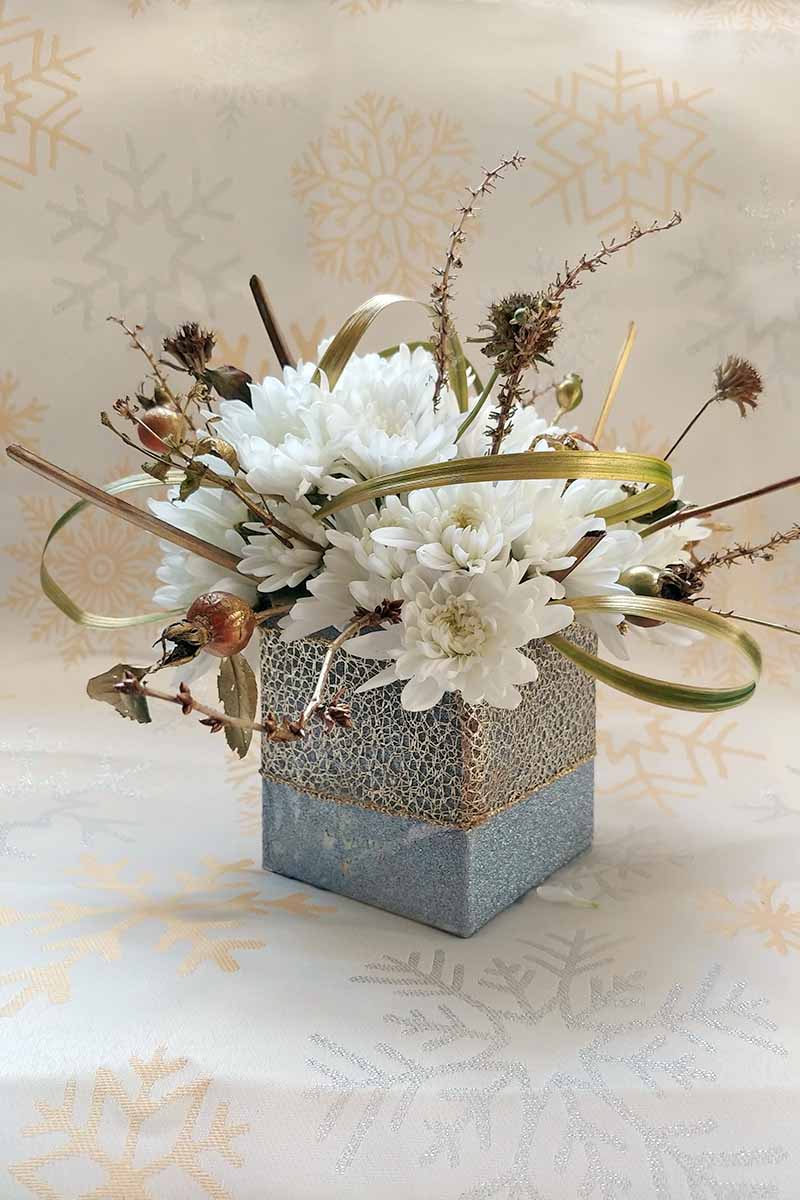
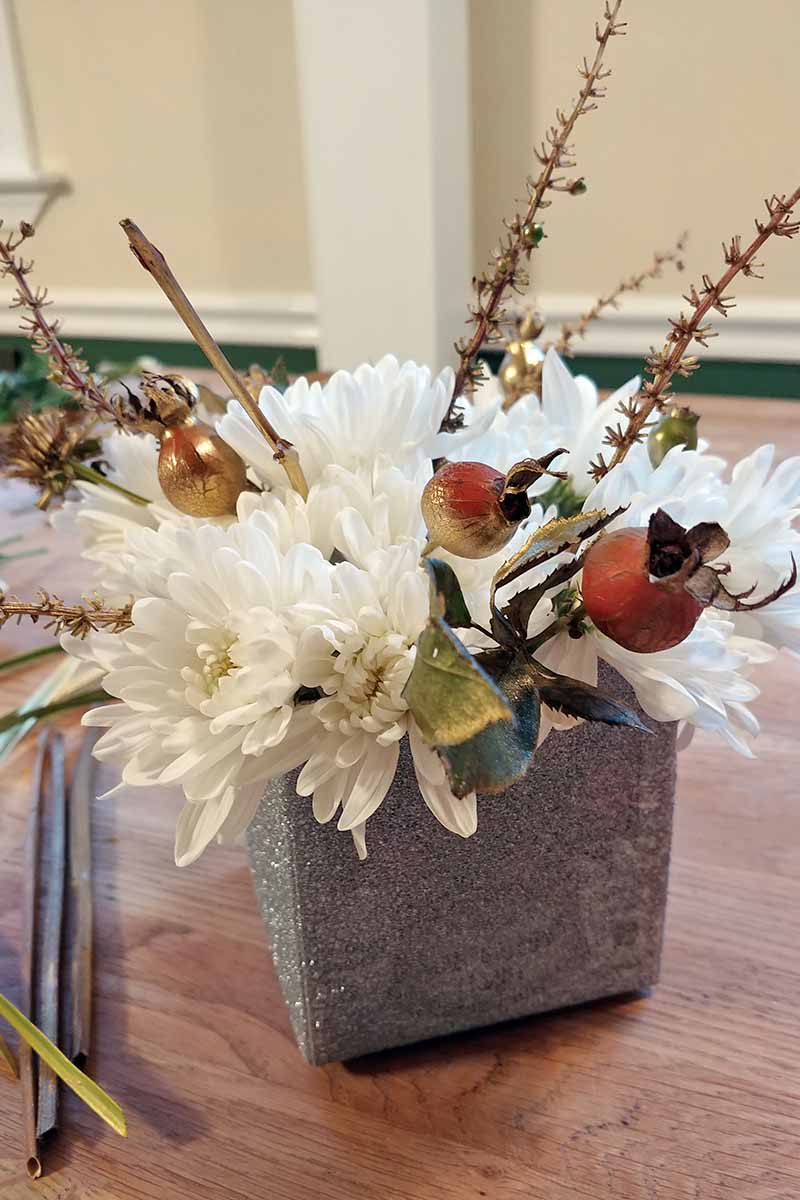
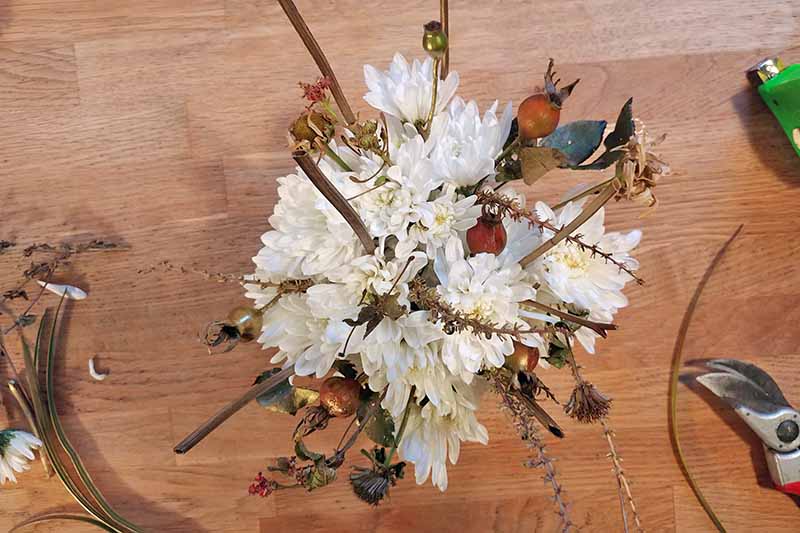
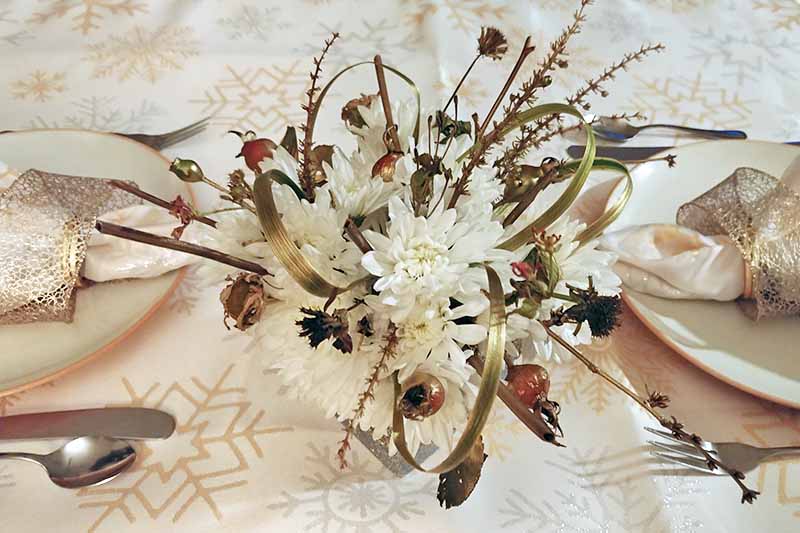
In this contemporary-style arrangement, low-profile white chrysanthemums nestle in a sparkling silver square wrapped in filigree-style gold ribbon.
Gold-sprayed rose hips, bee balm stalks, weeping cherry twigs, and the blades and flower stalks of lily turf add textural accents that glisten above a mass of downy petals. Finished dimensions are approximately 12 by 12 inches. For a long dining table, make three arrangements to place at intervals down the center. Mix things up a little with different combinations of silver and gold, white mums, roses, and carnations.
Project Approach
This is a five-step project that you can prep a day ahead for easy assembly the next day. Day One:
- Buy and condition the flowers.
- Craft the container.
- Gather and prep the twigs.
- Prep the flowers. Day Two:
- Assemble the arrangement.
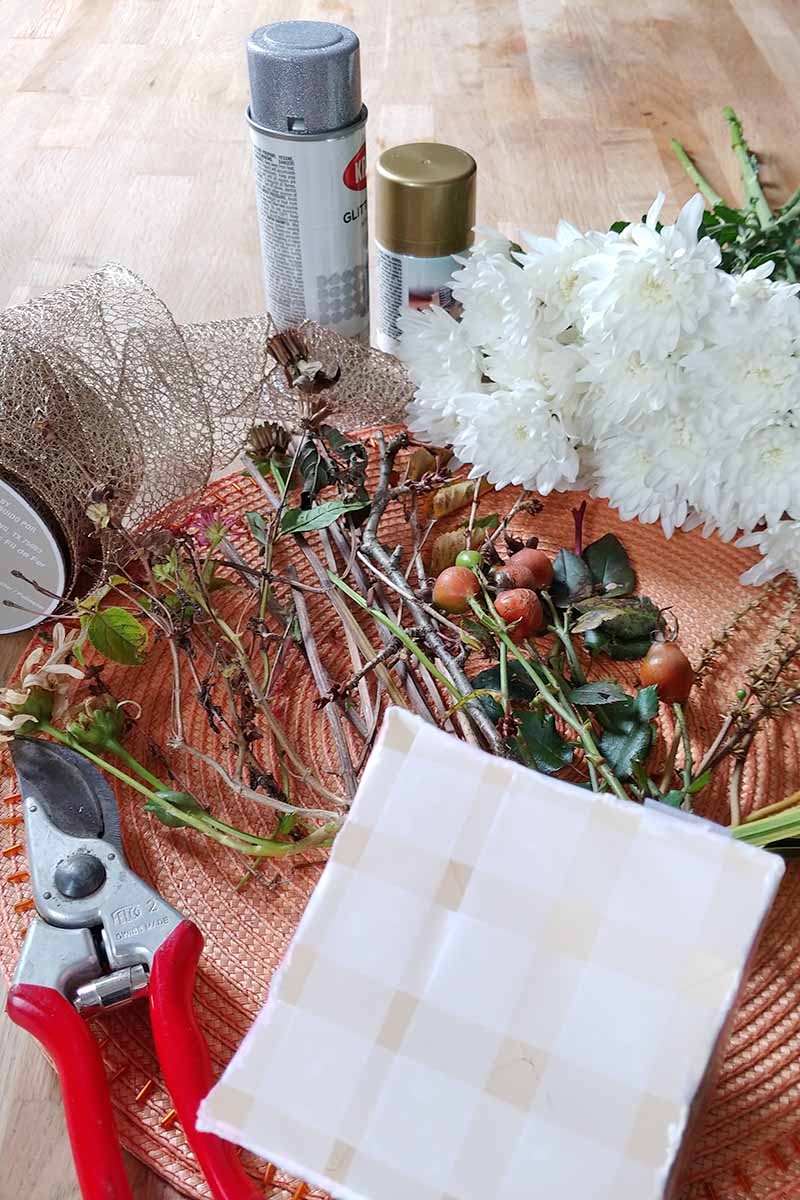
Necessary Supplies
5-7 white chrysanthemum stems, with 3 or more blooms per stem Bucket Pruning shears 1 half-gallon drink carton Serrated kitchen knife Tape measure Marker pen
3/4-inch transparent tape Silver and gold metallic spray paints 20 twigs and stems 5-7 ornamental grass blades from the garden 2 1/2-inch wide wire-edged filigree type gold ribbon Scissors White craft glue Water
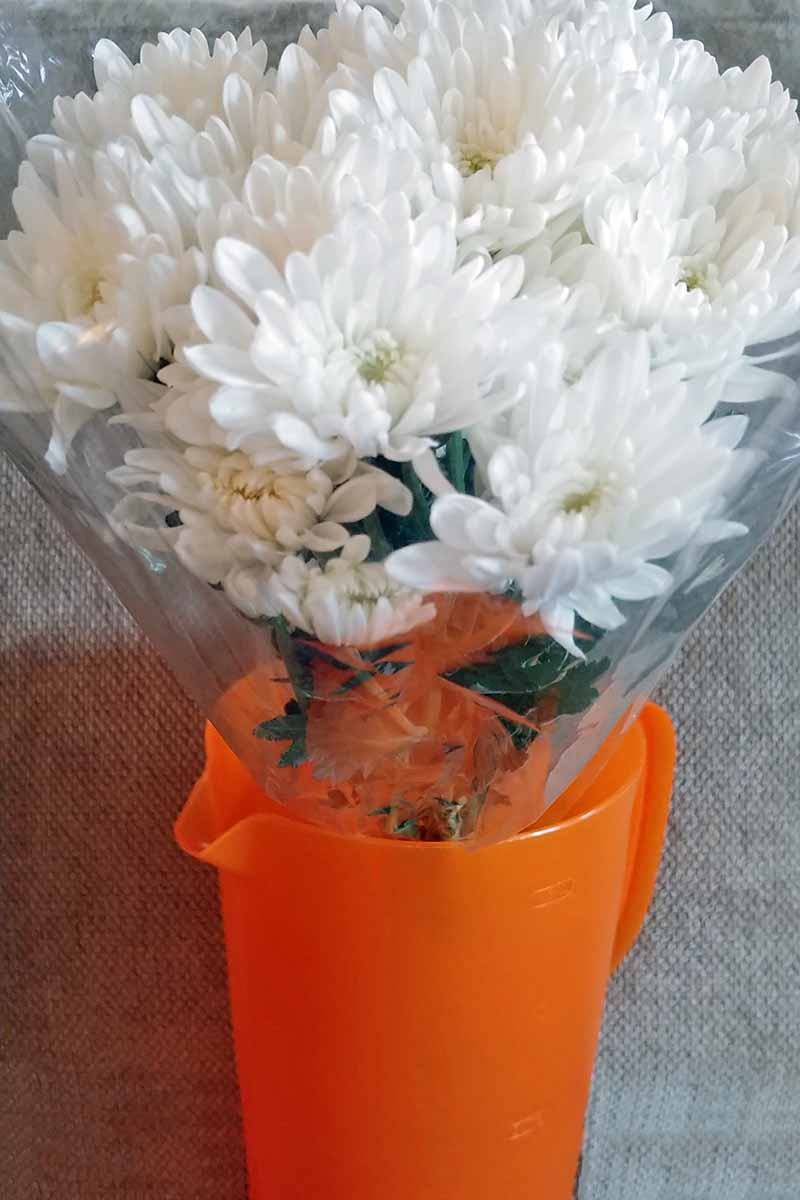
Buy and Condition the Flowers
If you aren’t growing your own, white chrysanthemums are readily available in flower markets, florist shops, and the floral departments of grocery stores. I was able to buy a pre-packaged “market bouquet” of seven stems for less than a dollar per stem from my local grocer.
Here are the steps for this part:
When you go to buy the mums, put a bucket or old plastic pitcher and a room temperature water bottle in the car. Put the whole bunch of flowers, wrapper and all, into the bucket with a few inches of water for the ride home.
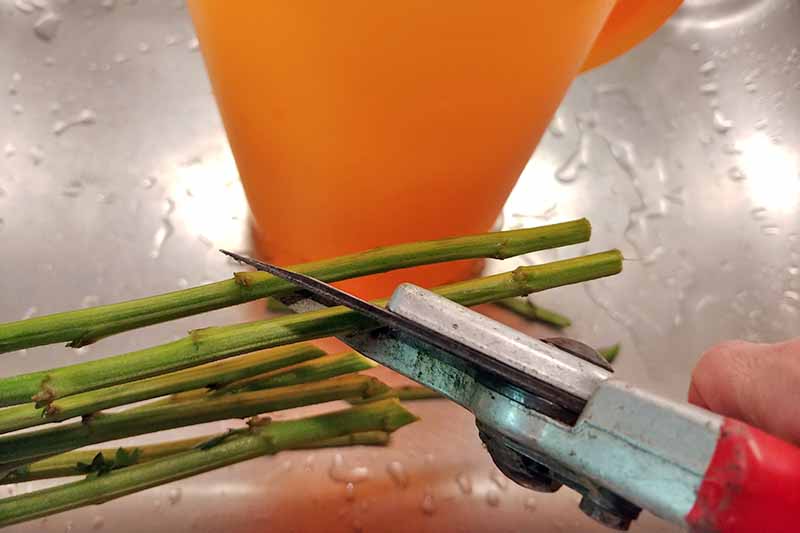
When you get home, take the mums out of the bucket and unwrap and them. Cut about two inches off each stalk at a 45-degree angle.
Add lukewarm water to the bucket to a depth of about six inches. If a packet of floral food came with your flowers, open it and sprinkle it into the water.
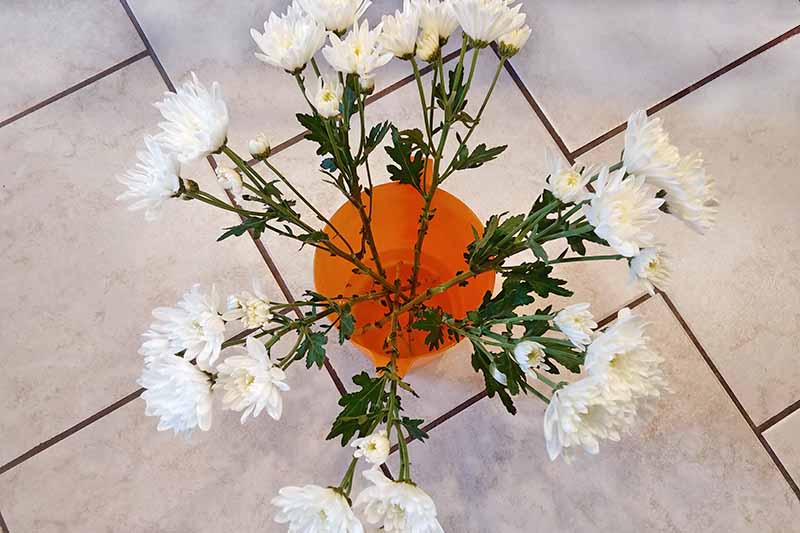
Put the individual flower stalks in the bucket and keep it in your coolest room until you are ready to make your arrangement, away from direct heat.
Craft the Container
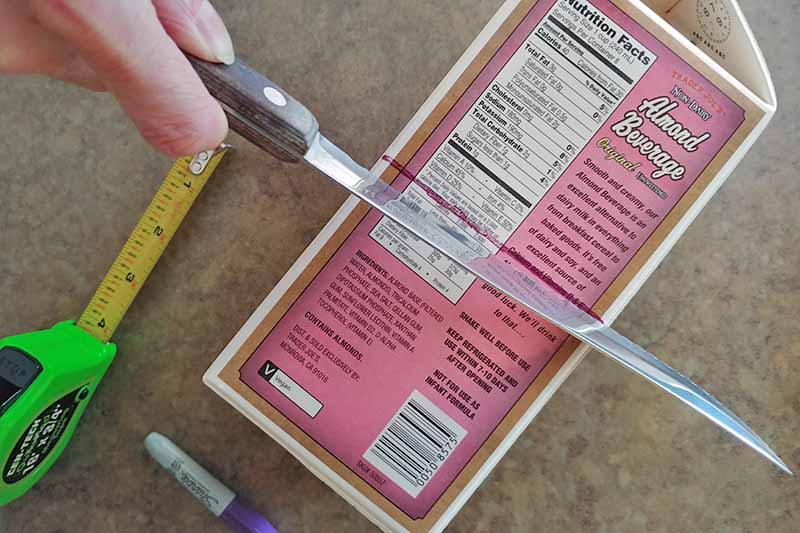
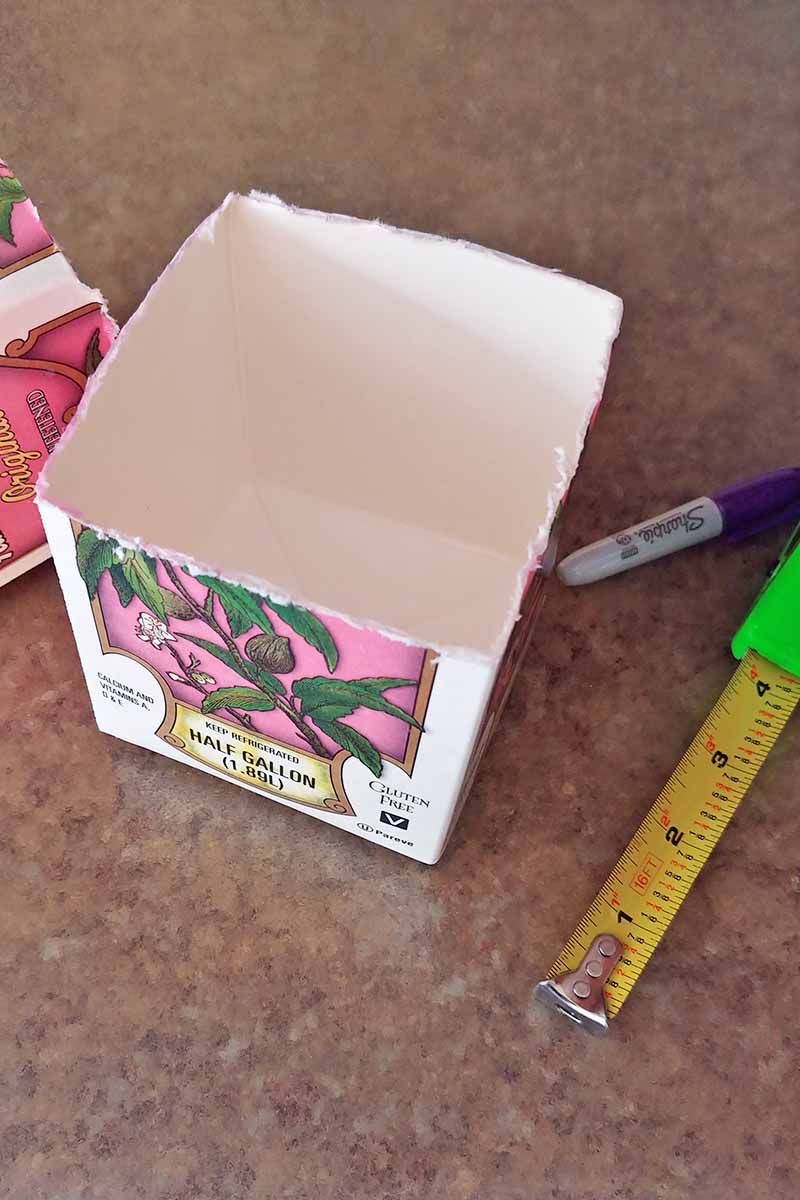
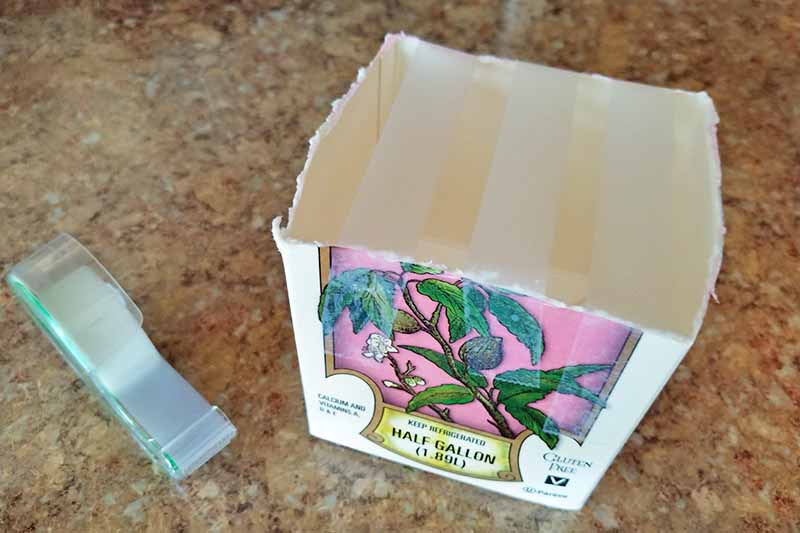
- Using a serrated kitchen knife, cut the bottom off the half-gallon drink carton to a height of four inches.
It doesn’t have to be perfect, as ribbon will cover a rough, uneven edge.
- Wash the container with mild dish detergent, rinse, and dry thoroughly.
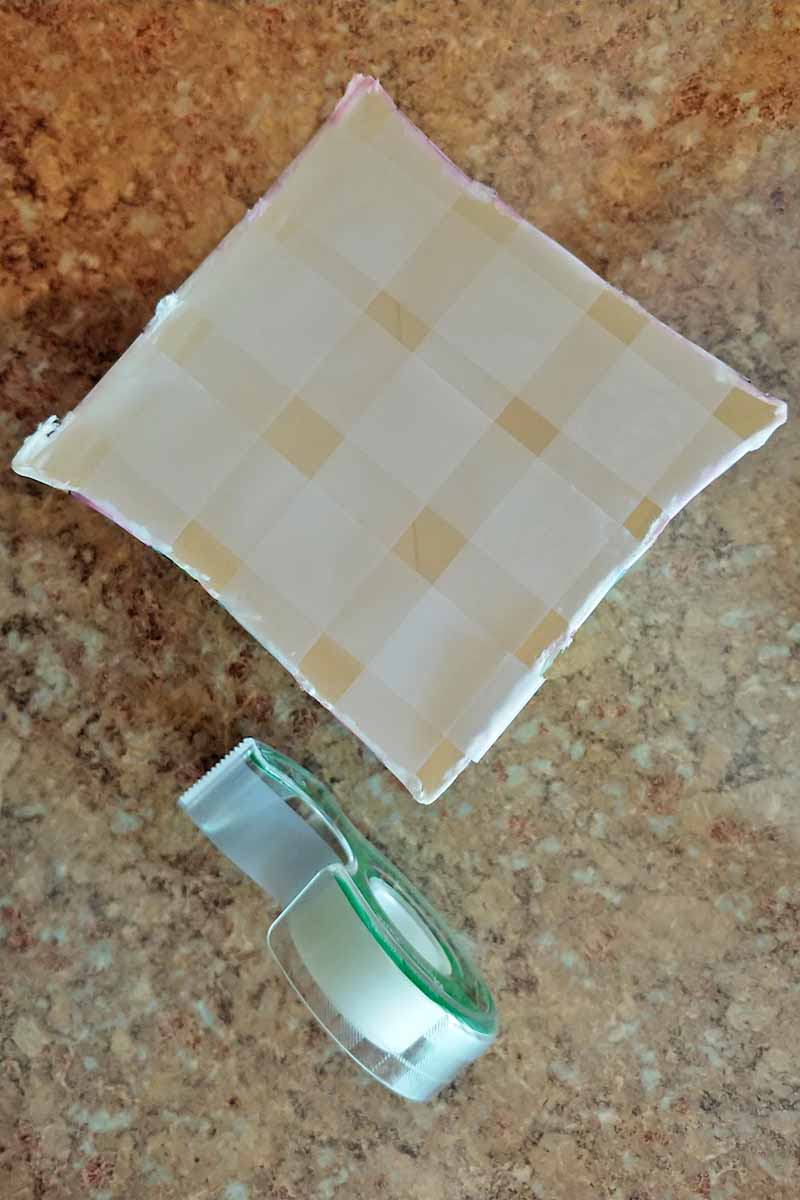
- Apply a grid of 3/4-inch clear tape across the top of each container, to create nine openings. Apply a second layer of tape directly over the first for reinforcement. It doesn’t have to be perfect.
This serves as a guide for the insertion of flowers and accent twigs. Even if you accidentally tear it, there will be enough material in the container for a snug fit.
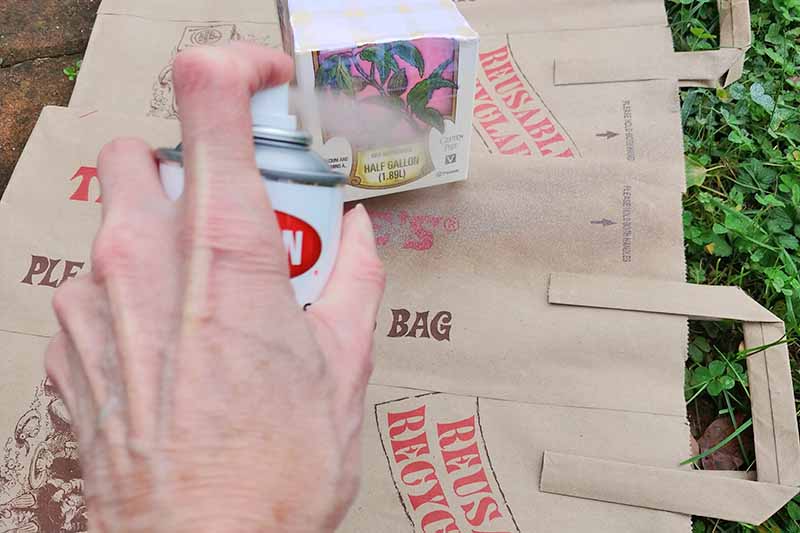
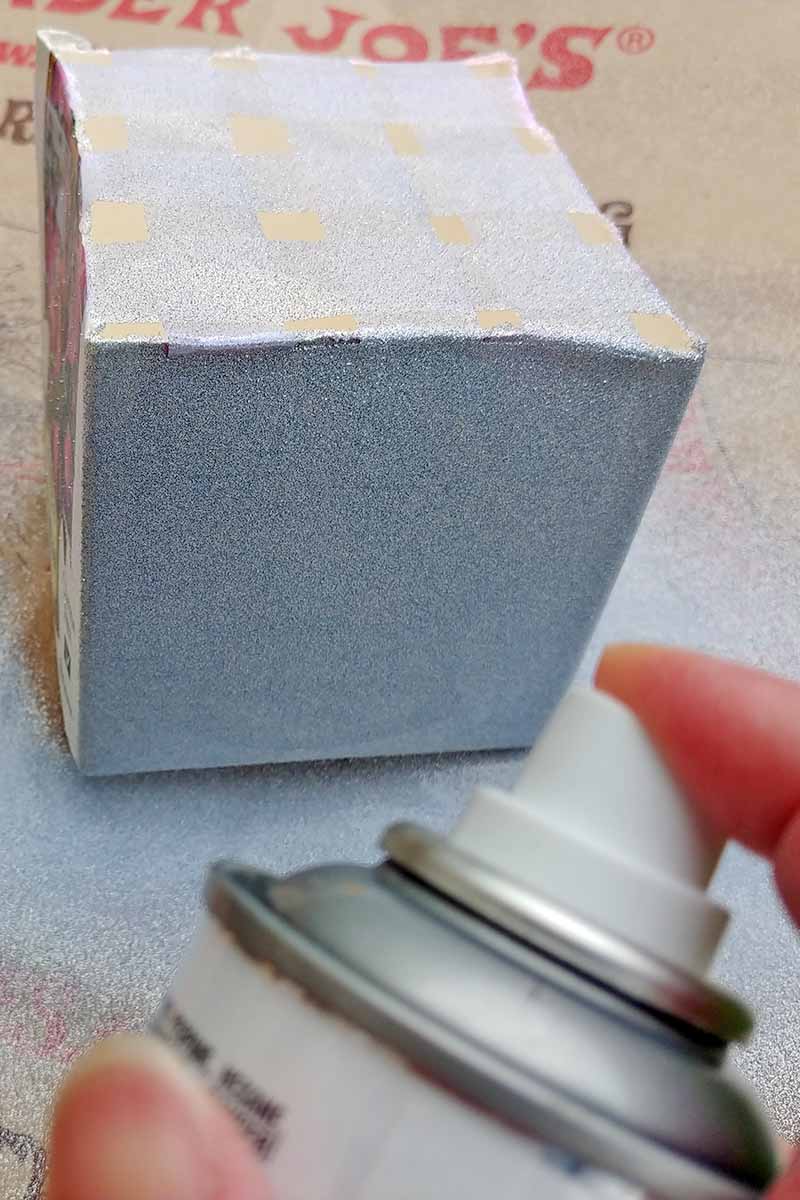
- Take the carton outdoors and spray the sides with silver paint.
Don’t worry if it gets on the tape grid, as it won’t show. Use caution when spray painting. Do not inhale fumes and avoid getting it on your skin.
- Dry thoroughly outdoors or in a well-ventilated shed or porch.
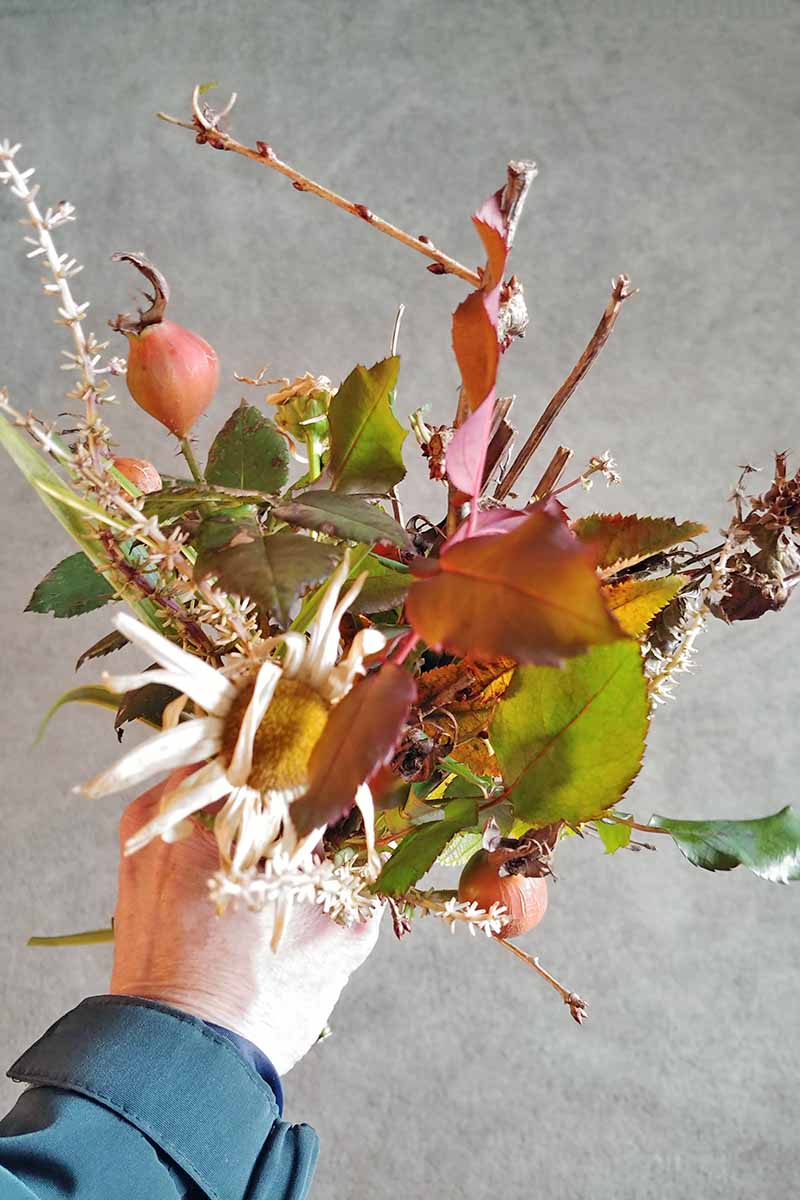
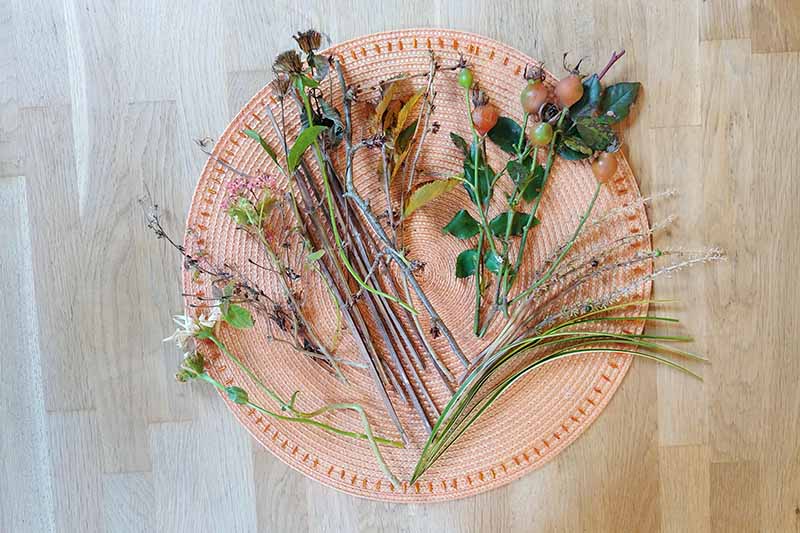
Gather and Prep the Twigs
Take a stroll through your off-season garden and find twigs, stems, and ornamental grass. Collect about 20 stems and twigs, and 5-7 blades of grass.
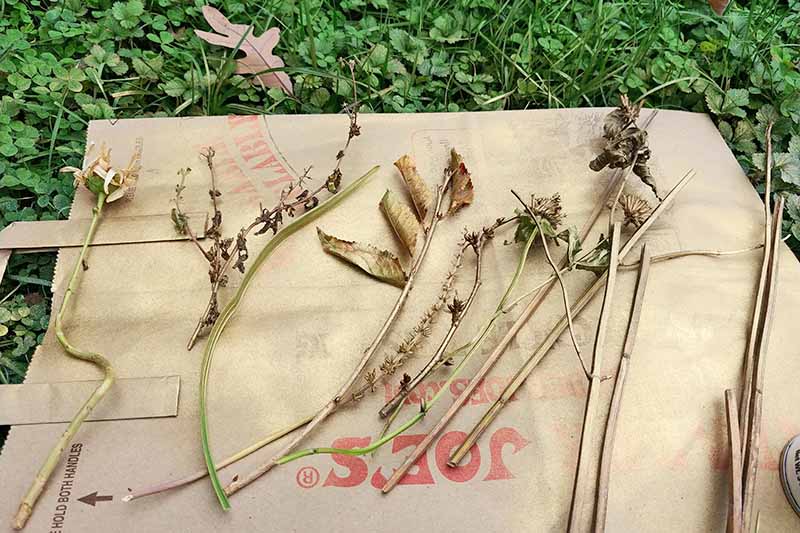
Cut each twig and stem to a length of 7-9 inches. Variation in the length of these is good. Grass stems of about 10 inches are best.
Use gold spray paint to lightly coat the twigs, stems, and grass. Do this outdoors, and take care not to inhale fumes or get paint on your skin.
Dry thoroughly in fresh air or a well-ventilated shed or porch before bringing indoors.
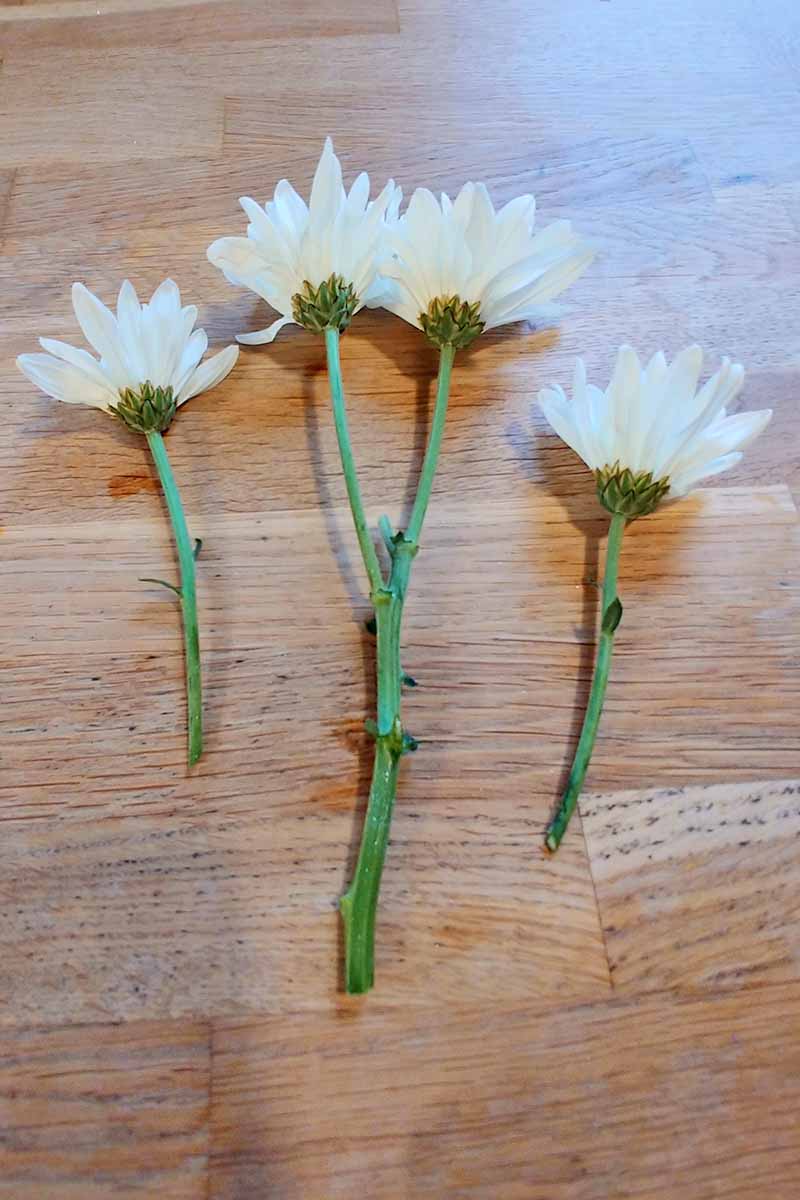
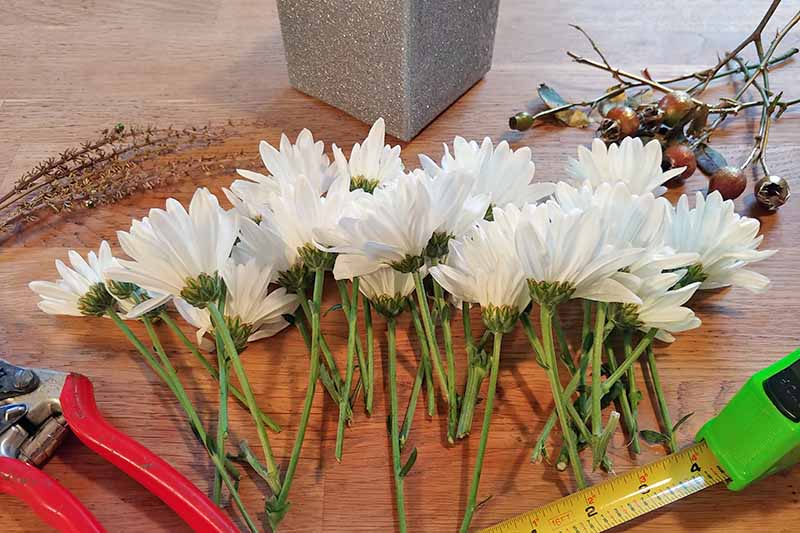
Prep the Flowers
Cut each flower stalk to where the stems branch and remove all leaves.
Cut individual flower stems apart.
Lengths will vary from about 4 to 7 inches.
Variation in length is good, as it adds depth and interest to the piece.
Assemble the Arrangement
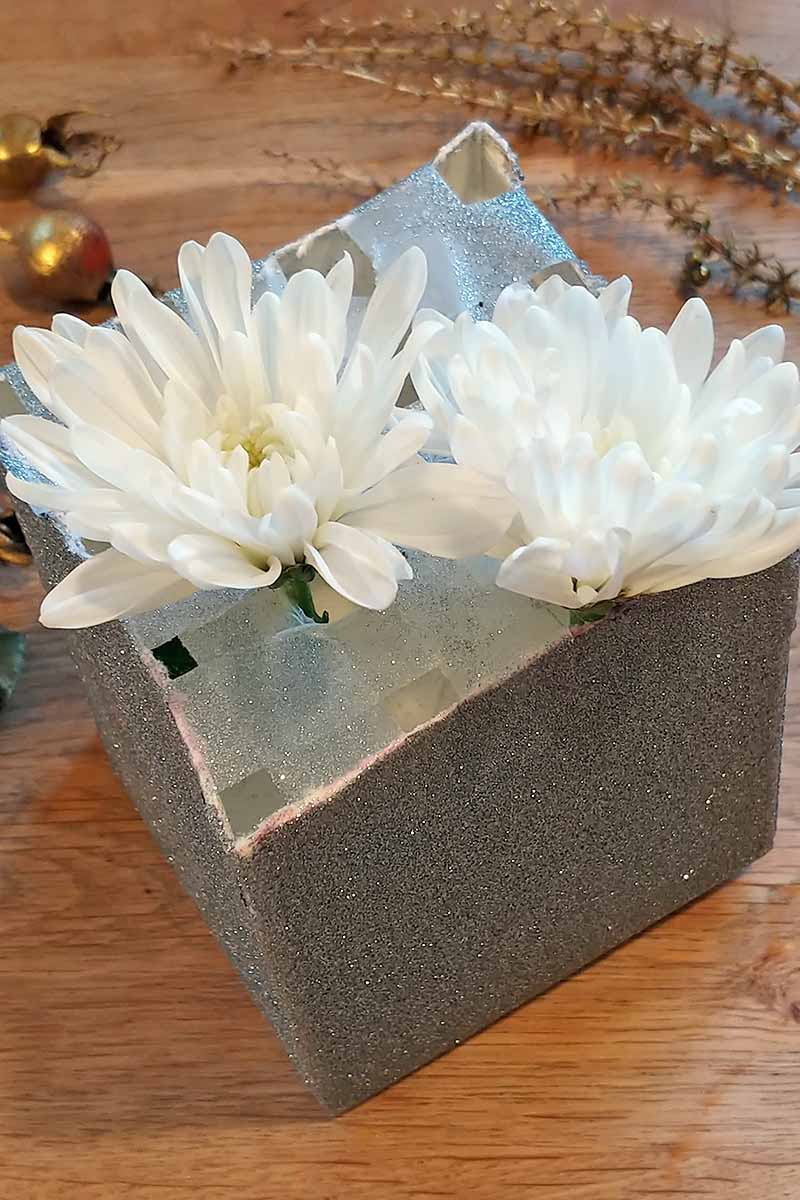
- Use water from your bucket to fill your container about three-fourths full and begin to place one flower in each grid opening.
Use your biggest and best blooms first.
Be sure to push the stems down into the water.
- Place accent twigs and stems in randomly among the chrysanthemums, sharing grid openings with them.
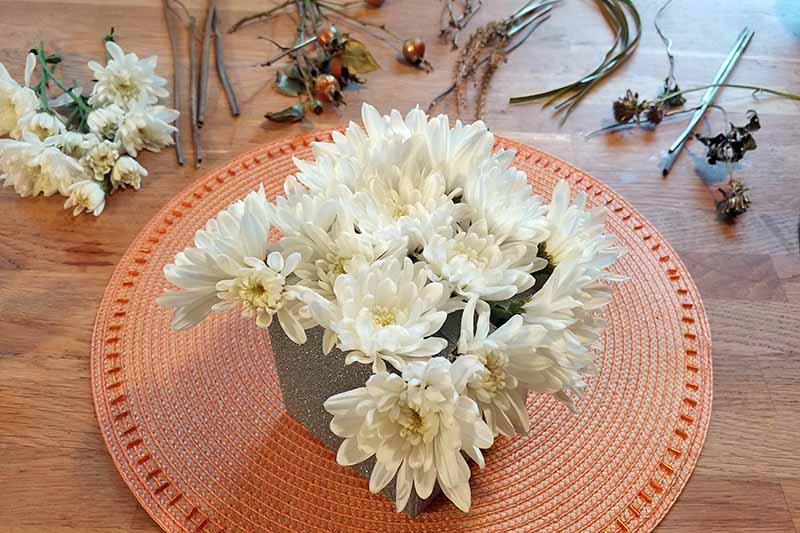
These don’t have to reach the water and may be placed as high as you like. 4. Fill gaps with your smaller blossoms, and any that are still in the bud stage. The arrangement should be full and tight.
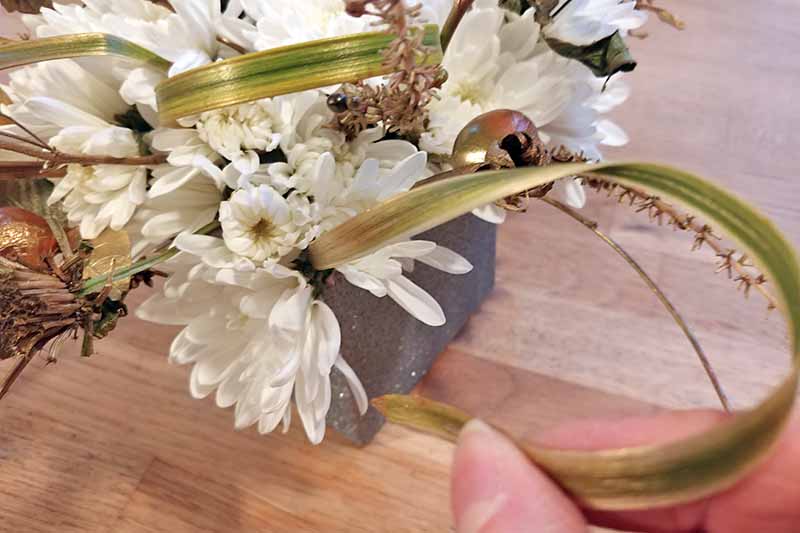
- The final floral touch is the addition of the blades of grass.
Simply tuck one end in between the flowers, bend it around, and tuck the other end in to make a decorative loop and add motion to the arrangement. The ends don’t have to reach the water.
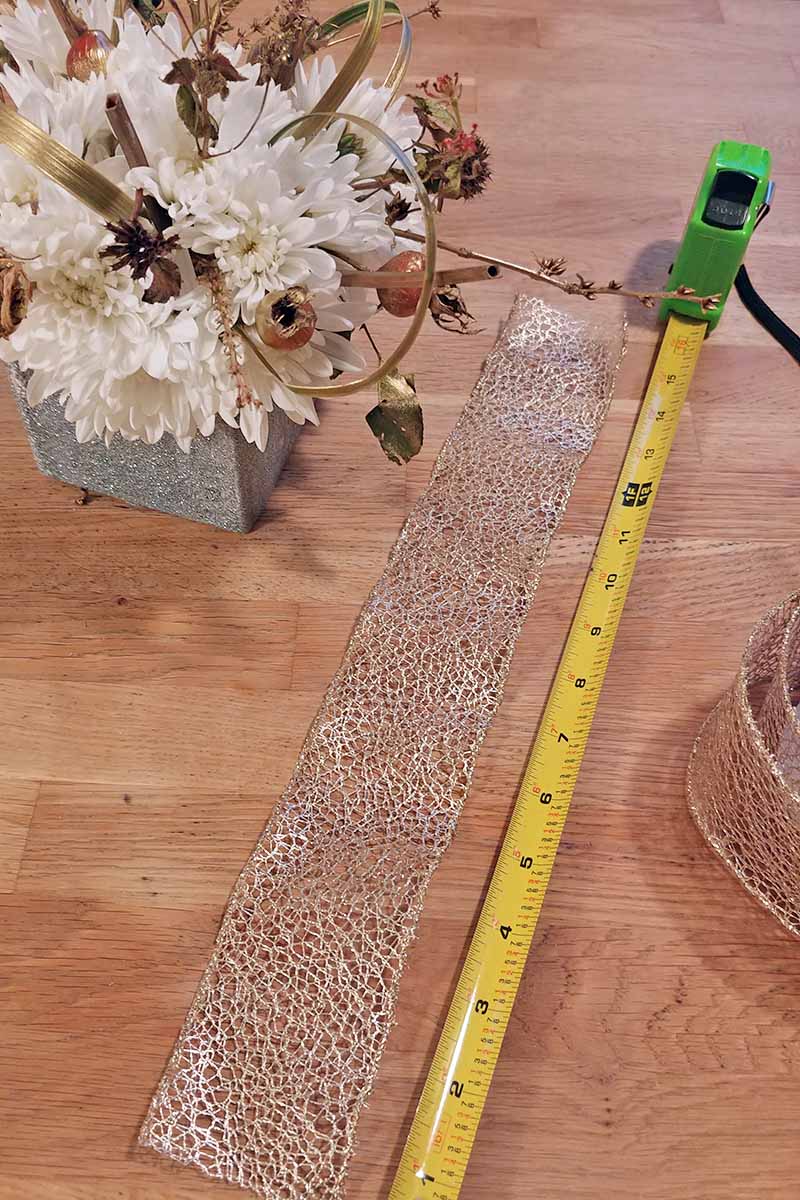
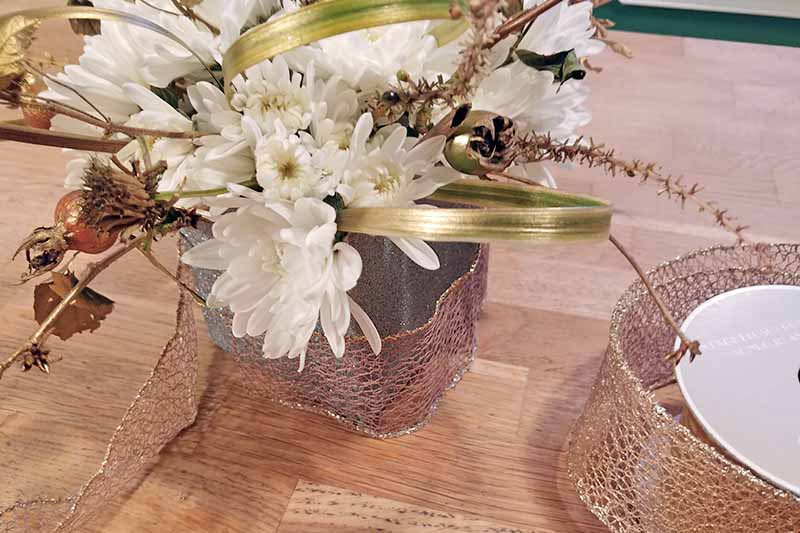
- Measure and cut a 16-inch length of ribbon to create a band around the top of the container.
Bend the wire securely around the corners, and use dabs of white craft glue to secure the ends. Try to get the ends to meet at a corner to render them invisible.
Table Ready
Your finished arrangement is ready for the table! Isn’t it amazing what you can do with an empty carton, inexpensive mums, garden debris, paint, and ribbon?
I love a project that incorporates elements of the garden and lets me be creative, and I know you will, too. Your dining table is sure to be a sensation when you welcome guests with a fresh and festive holiday sparkle centerpiece. For more floral arranging ideas, see our articles on:
Arranging Foliage from your Garden Creating a Blooming Heart Centerpiece Making a Last-Minute Holiday Swag Creating Attractive Winter-Time Potted Arrangements
Let us know what you’ll include in your sparkling winter centerpiece, and feel free to share your photos with us on social media. We love hearing from you. Happy Holidays! Photos by Nan Schiller © Ask the Experts, LLC. ALL RIGHTS RESERVED. See our TOS for more details.