Of course, if you’re located in the US and you don’t already live in certain olive-friendly parts of California, Texas, Georgia, Florida, Arizona, Oregon, Alabama, or Hawaii, you’ll have to move there. These trees require warm summer temperatures as well as about 200 hours of winter temperatures below 45°F. But nothing below about 20°F, mind you. We link to vendors to help you find relevant products. If you buy from one of our links, we may earn a commission. Anyway, are you settled in your new home, or already based in an ideal location? Good! In this growing guide, we’ll learn more about this Mediterranean import that gifts its caretakers with fabulous fruit, healthful oils, and an attractive addition to the landscape. Here’s what’s covered in this article: We’ll share everything you need to know to grow Olea europaea, the tree beloved by ancient Greeks and Romans, and whose fruit has been popularized in the modern age by Italians, Greeks, and Spaniards.
What You’ll See When You Survey Your Orchard
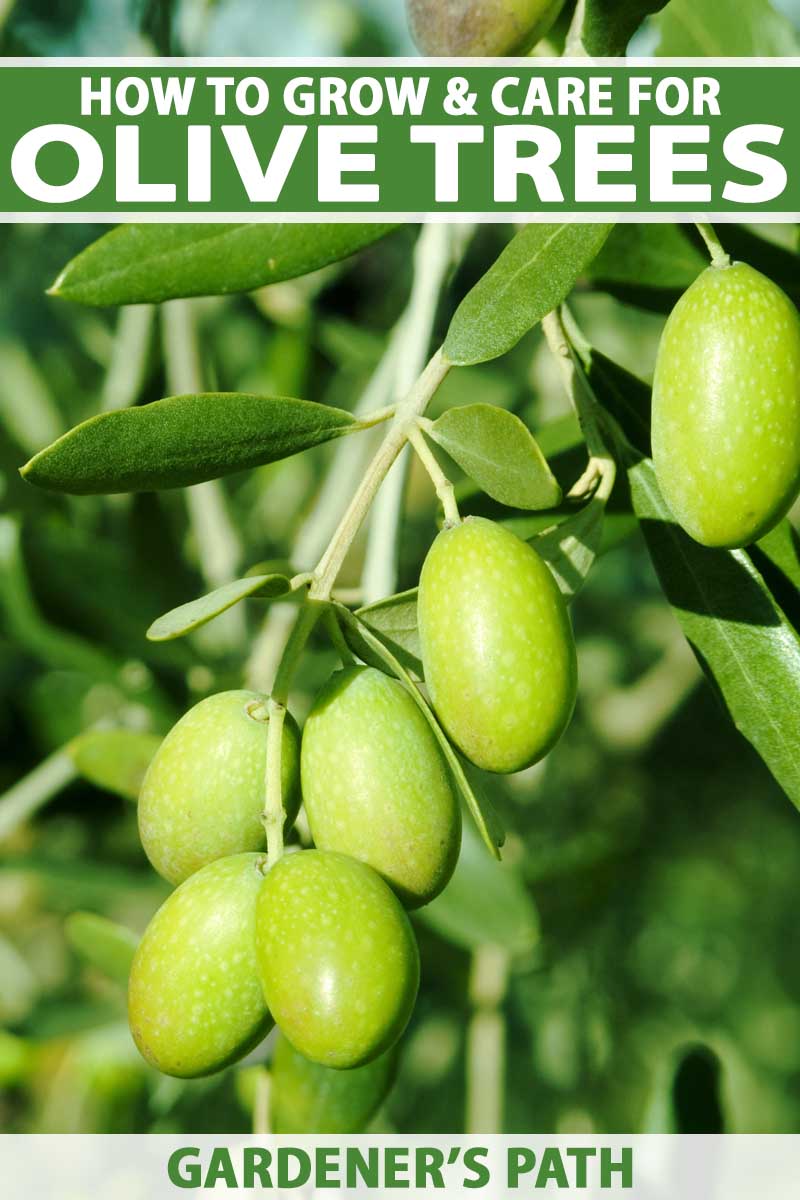
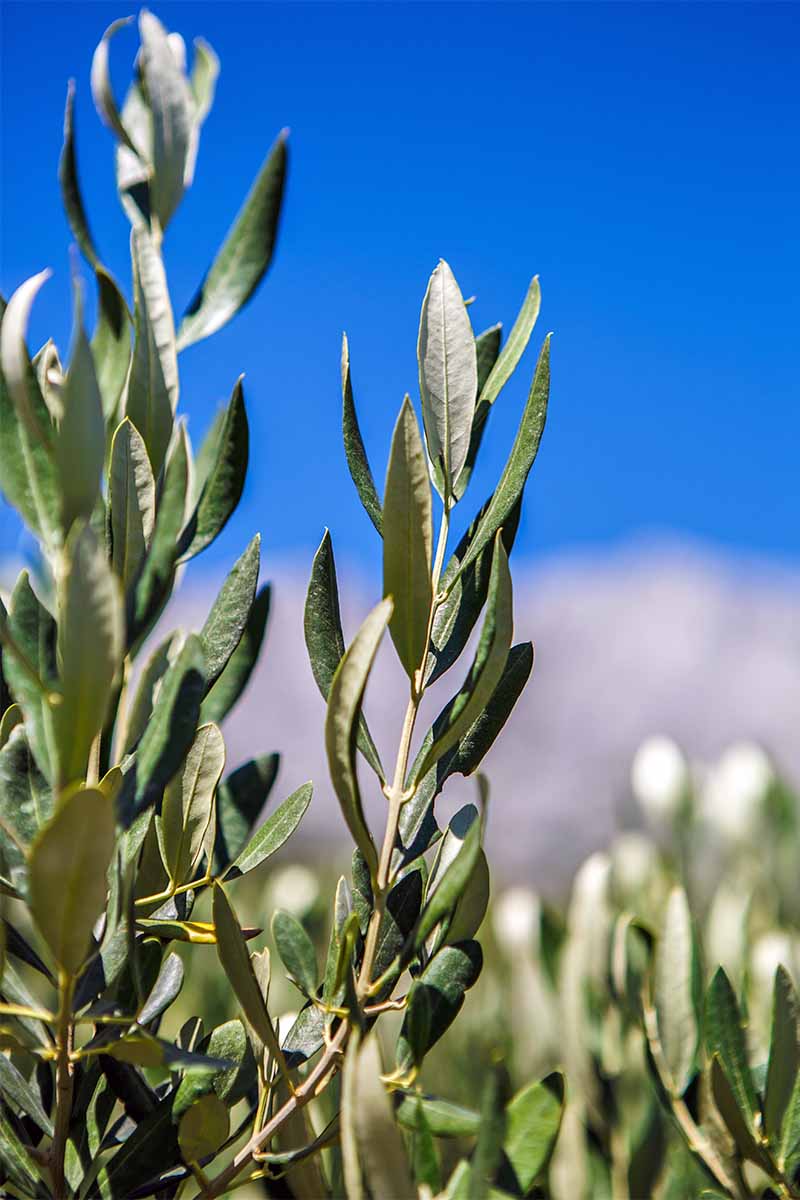
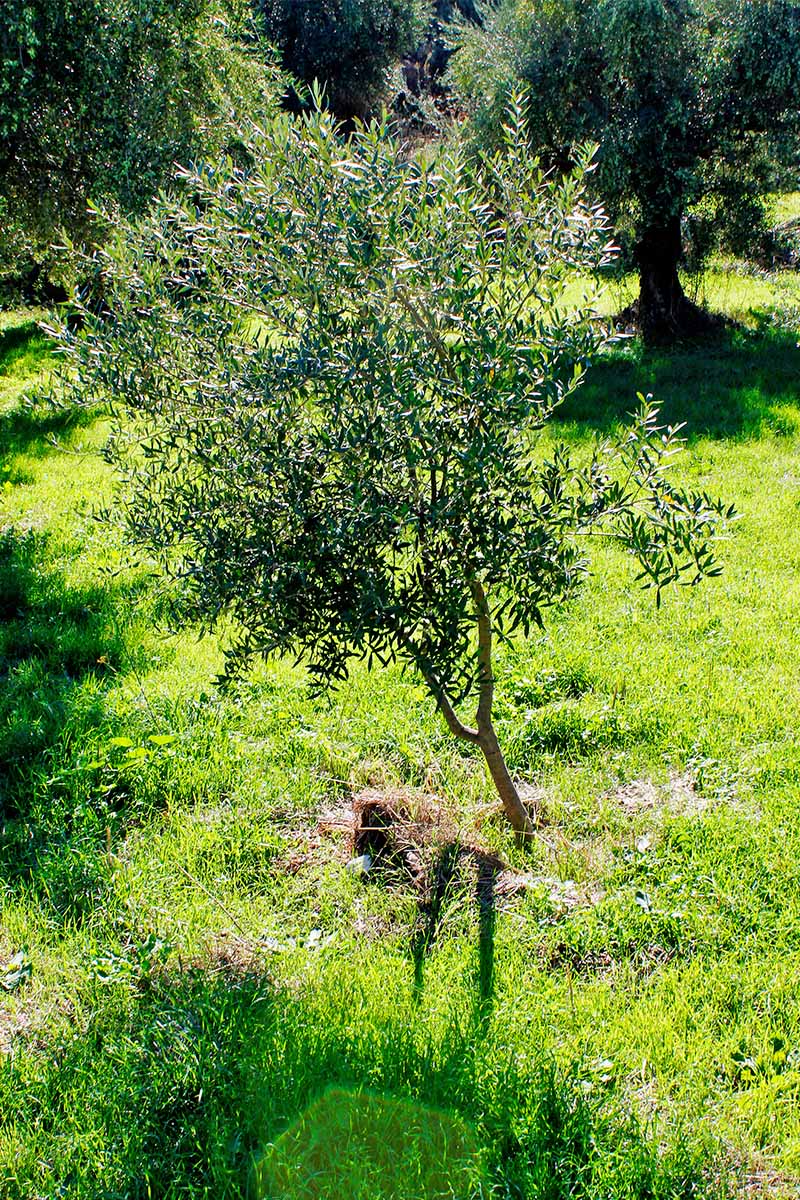
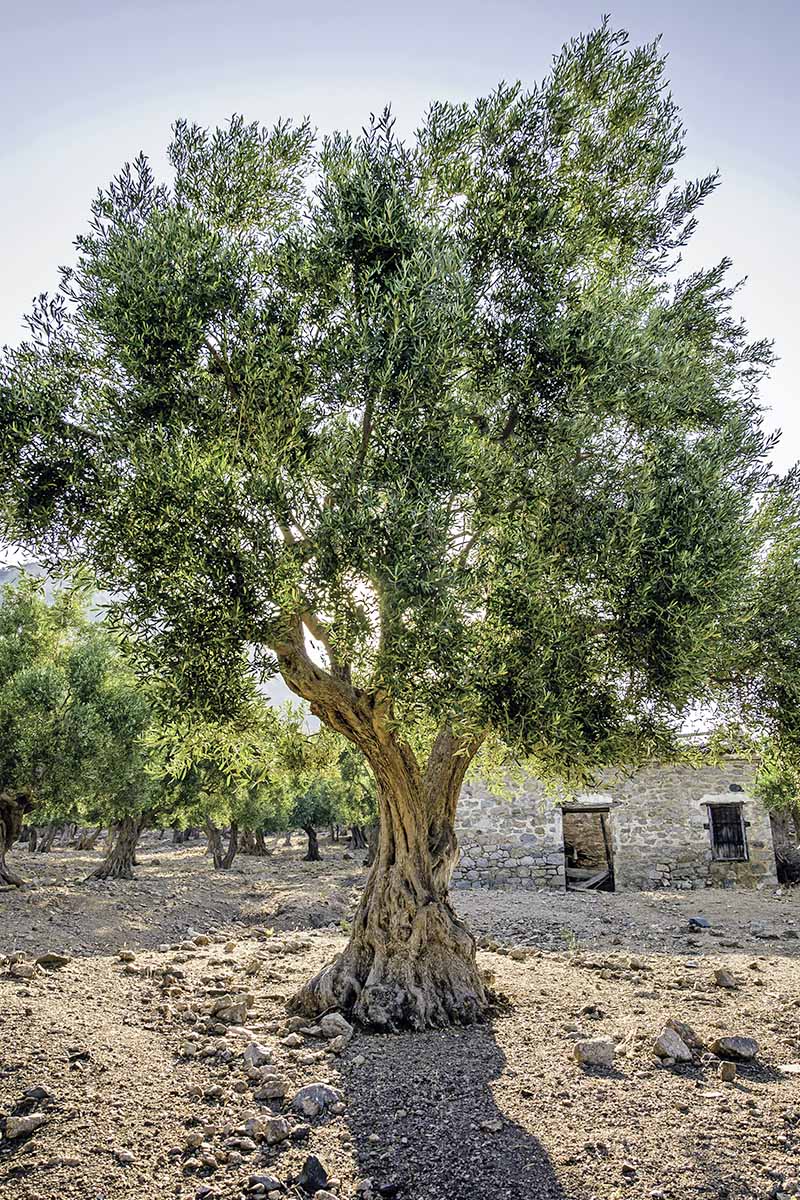
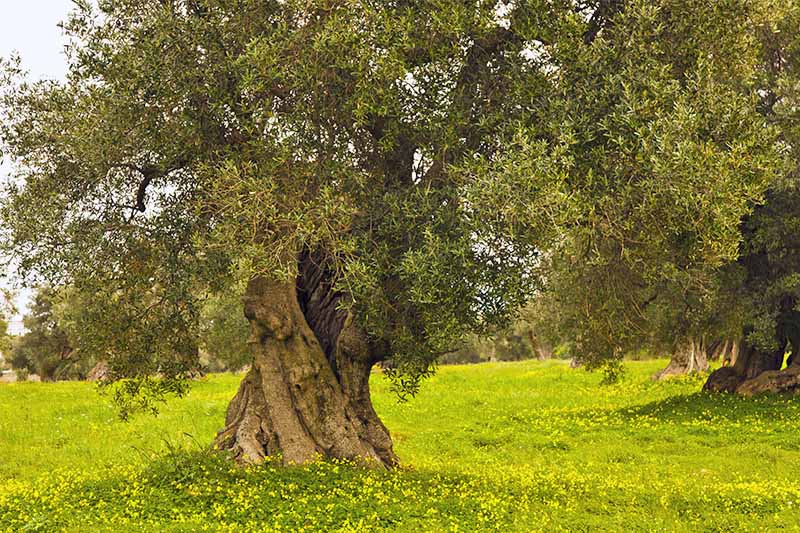
Olive trees are evergreen and can grow to 25-30 feet tall, with a spread just as wide. Their oblong leaves are silverish and grow from branches emanating from a gnarled, twisted trunk.
Some experts believe that more space between trees – about 16-20 feet – will yield better fruit production. If this isn’t practical for your new parcel of land, consider a dwarf variety, which we’ll discuss in a bit.
Mind you, if an expansive orchard isn’t at all what you were after, you should know that the olive makes a fine specimen tree that you can plant and enjoy simply for its beauty, with nary a thought to harvest and curing and pressing and whatnot.
No Additives, Please
As we mentioned above, O. europaea is native to regions that have mild, rainy winters and hot, dry summers. You might sample various oils at a farmers market, for example, to select a variety that appeals to you. 2-Year ‘Mission’ Trees The tree they’ll ship to you is two years old. ‘Manzanillo’ O. Europaea Live Plant They’ll ship you a three- to eight-inch seedling in a three-inch pot, along with a fertilizer sample. At maturity, it will reach 30-40 feet with large, great-tasting fruit that are also excellent for producing oil. ‘Arbosana’ is a cultivar that is suited for smaller spaces, growing to be 12-15 feet tall with a spread of 12-20 feet. You can find this type at Nature Hills Nursery.
‘Arbosana’ in #1 Container This Spanish native produces large crops of small fruit with a high oil content that are very flavorful. You’ll receive a tree in a 2.3- to 3.7-quart container. Fruitless ‘Wilsonii’ Live Rooted Plant You’ll receive a 16- to 20-inch tree, or several if you want to take advantage of one of their package deals. Most cultivars are self-pollinating, though some are not. Furthermore, some self-pollinating varieties produce heavier yields when a pollinator – such as ‘Pendolino,’ ‘Maurino,’ or ‘Leccino’ – is growing nearby. You’ll want to place your trees where they’ll get full sun all day.
These trees are tolerant of a wide variety of soils, including those with somewhat high clay content, as long as there is good drainage. Planting a young tree in the fall gives it a chance to become well-established. But this is an option only if temperatures in your area won’t drop below 30°F, or if you can protect the tree. This is because container-grown trees are susceptible to frost damage during their first winter outdoors. If waiting until spring seems more prudent, hold off until all danger of frost is past. Planting in the heat of summer is not recommended.
Dig a hole about the same size as the container, and about an inch shallower. Water the tree thoroughly, remove it from its container, and untwist or cut any circling roots. Set the root ball in the hole. Use soil you removed from the hole to build up about an inch of soil on top of the root ball, and grade down from the trunk to the surrounding soil. Don’t add compost or other soil additives; the plant has to learn to love the native soil. But do top the planting area with mulch.
Prune for More Fruit
Water young trees two or three times a week during their first summer. Give them a good four inches of water at each watering, and hydrate again when the soil dries out. Once established, they need little supplemental water.
Keep weeds removed from within at least a three-foot diameter of the young tree. Fertilize newly planted trees in the spring, after new growth begins. They only need a small amount of nitrogen, which can be delivered via compost, as well as conventional or organic fertilizers. In its first four years, prune the tree only as needed to maintain its shape.
As your tree matures and begins fruiting, you’ll discover an olive oddity: they never bear fruit in the same place on a stem, so new growth each year is necessary for flower production and fruiting. Starting in the fifth year of growth, you’ll want to prune not only to increase airflow and maintain height or form, but also with future fruiting needs in mind.
A Bit More on Fruitlessness
If you’d rather not have an established tree set fruit, you can apply a plant growth regulator, or use a strong spray from the hose to blast off blooms.
Some gardeners do this only to areas of a tree that overhang a paved area, in an attempt to reduce the mess from falling fruit. But, because Mother Nature is persistent and these methods don’t always work, if fruitlessness is truly your goal, you might be better off purchasing a fruitless variety such as the one described above.
Young and Bitter
If you’ve provided your olive tree with a happy home, it will begin to bear fruit when it’s around five years old. You can prune off infected stems, or treat these greedy critters with neem oil, such as this one from Bonide, available from Arbico Organics.
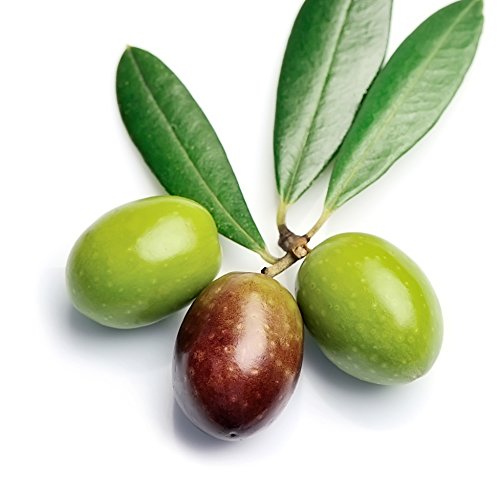
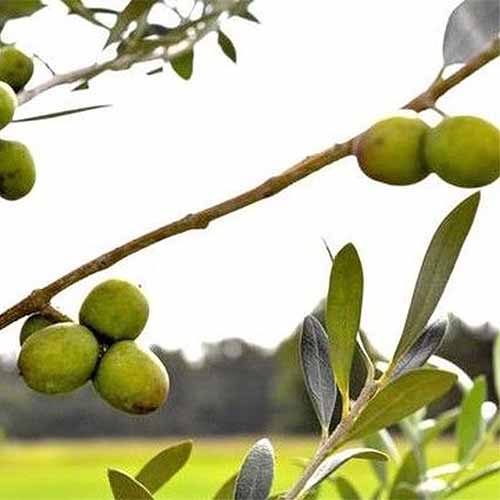
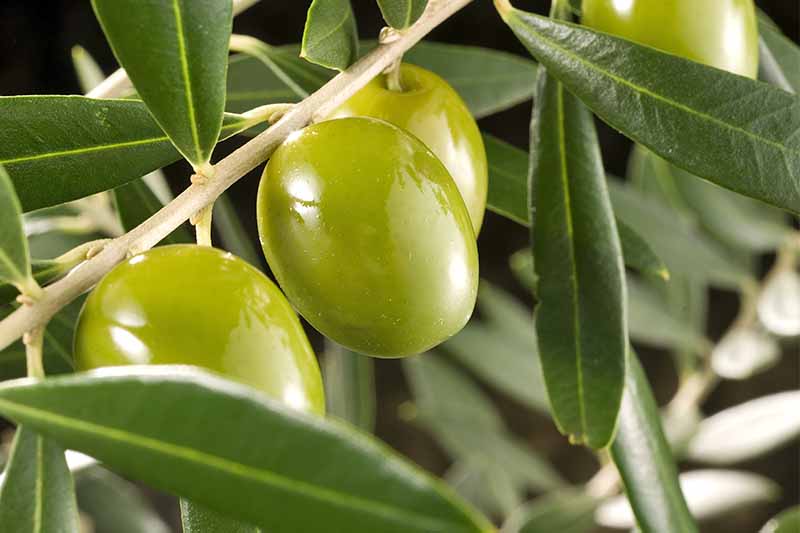
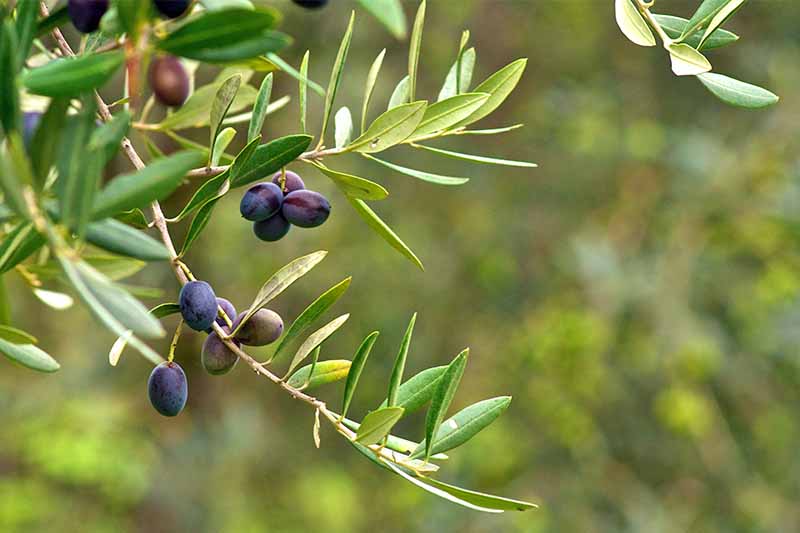
Bonide Neem Oil This 32-ounce spray bottle is ready to use. For twenty years or so, California olive growers have been plagued by the olive fruit fly, which lays its eggs inside the developing fruit, destroying it. TERRO Fruit Fly Trap (Pack of 3) Garden Safe Fungicide3 Concentrate This 28-ounce container connects to your hose end for easy distribution of the concentrated product. Bear in mind, however, that it’s perfectly normal for olive trees to produce fruit only every other year, or to produce alternating heavy and light crops from year to year. When you harvest your olives depends on what you intend to do with them, and what flavor you seek. All olives start out green before turning a purplish color, and then deepening to black. The younger the olive, the more bitter it will be.
Typically, olives are harvested at their green stage if their intended use is for the table, although some varieties are best when black.
If a pressing is in the cards, the fruit is at its oiliest when it’s in its purple stage. Olives must be processed – more on this in just a minute – within three days of harvest.
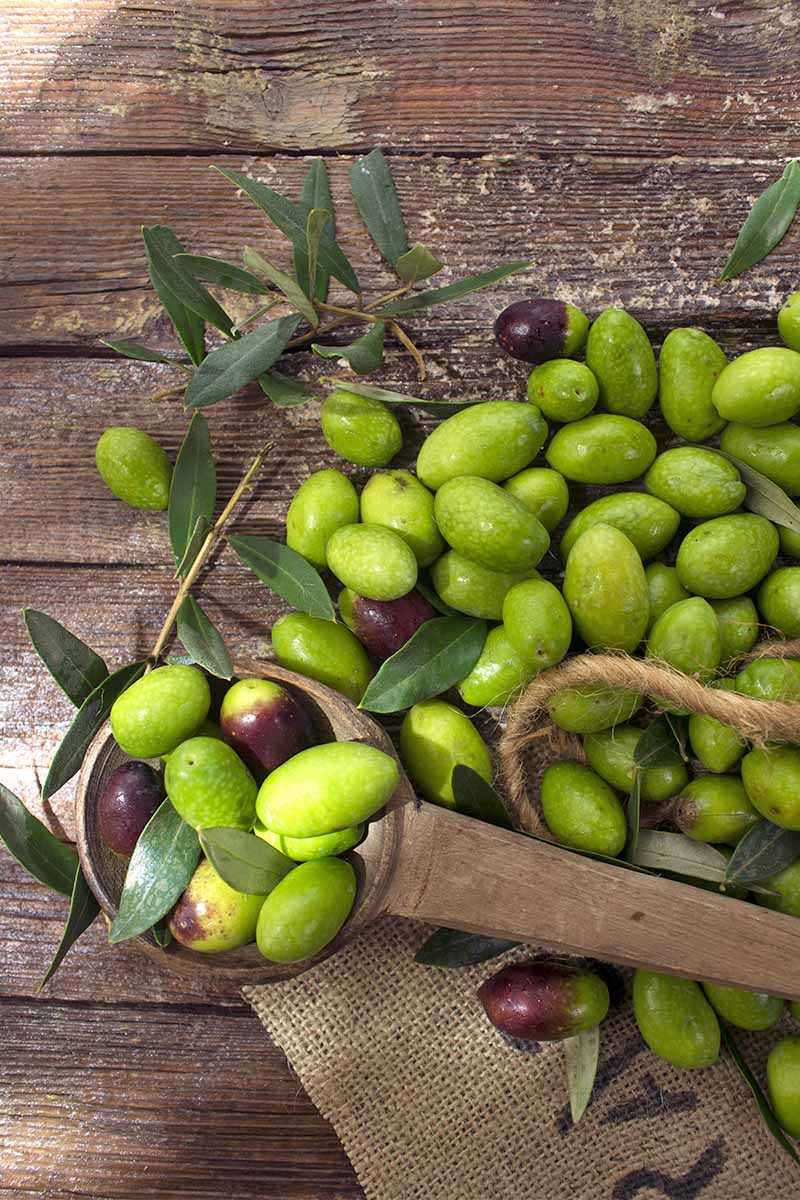
You can either handpick the fruit from your tree, which is quite time-consuming, or you can place a tarp under the tree, and shake the limbs with a rake or other garden implement to dislodge the fruit onto to the tarp for easy pickup.
Preparing Your Olives
Raw olives are not tasty. They must be cured to dispel their inherent bitterness, which is caused by the chemical compound called “oleuropein.” Inventive humans have developed a number of ways to banish the bitterness from these otherwise tasty little ovals, curing them in oil, water, brine, lye, or simply salt. None of these methods is particularly difficult, but the olives do have to marinate in your chosen mixture for several weeks – so don’t plan for an appetizer spread complete with homemade tapenade immediately after harvest!
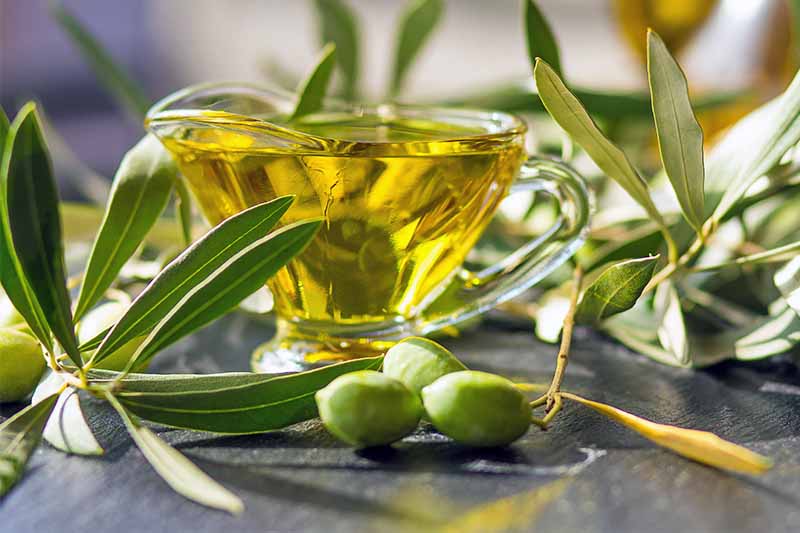
If it’s oil you’re after, you’ll find as many extraction methods as there are days in a month. At its most basic, the process entails: It can take anywhere from 40-90 pounds of drupes to make one gallon of oil. A mature tree will produce between 30-100 pounds per season, though the giant ‘Chemlali’ may produce close to a ton per year.
Recipes and Cooking Ideas
You’ve planted, harvested, brined, and pressed. It’s time to savor the fruits of your labor! We don’t have to tell you that a galaxy of recipes await the olive-laden, but we’ll share just a few to get you started. Begin your meal with a classic Greek salad like this one, from our sister site, Foodal. Made with homegrown cucumber, bell pepper, tomato, red onion, basil, oregano, and parsley, this is truly a garden-fresh delight! For removing those pits, explore Foodal’s guide to the best cherry and olive pitters.
If you’re looking for picnic fare or a light meal, try a Sicilian pasta salad with zucchini, green beans, and marinated artichokes. You’ll find the recipe for this one on Foodal as well. From Vintage Kitty comes this delightful recipe for an asparagus salad, which features a lemon and light olive oil vinaigrette. And while we’re on the subject of lemon-olive pairings, consider this chicken recipe from Sugar Love Spices. This rustic delight evokes the Italian countryside. And for dessert, how about a citrus olive oil cake, also from Sugar Love Spices? This confection utilizes a full cup of extra virgin oil, as well as a variety of citrus juices.
Quick Reference Growing Guide
The Right Setting, The Right Tree
So, what are you thinking? Is it time to add an olive tree to fill that blank spot in the backyard? Pick the variety that fits, water it heavily until it’s established, watch out for olive fruit flies, and soon you’ll be sharing your homegrown olive products with friends and family.
Do you have an olive tree? Which variety? Tell us about your adventures with O. europaea in the comments section below. And if you decide a different fruit tree of the pitted variety is in your landscape plans, read these guides next:
How to Grow Avocados Give the Gift of Fruit: How to Grow Peach Trees How to Grow and Care for Fruiting Cherry Trees
Product photos via Bob Wells Nursery, Wellspring Gardens, Nature Hills Nursery, High Desert Nursery, Bonide, Terro, and Garden Safe. Uncredited photos: Shutterstock. First published July 9th, 2018. Last updated May 3rd, 2020.