They grow from storage roots known as rhizomes, and most varieties have excellent cold hardiness down to Zone 3 – which means they can readily overwinter in situ without damage. However, sometimes we may find ourselves with late-season divisions or small potted plants that require winter protection until they can go into the ground. We link to vendors to help you find relevant products. If you buy from one of our links, we may earn a commission. But irises require certain aspects of care and a storage environment that are just a little bit different to ensure they’re healthy and vibrant at the start of spring. So, let’s get ready with a look at five easy steps to store iris rhizomes in winter. Here’s what we’ll cover:
Storage Basics
Iris rhizomes are thick and gnarly, underground stems that grow laterally just below the soil surface. These produce roots and shoots, and store foods for the plant. Because they’re prone to dehydration and can withstand freezing temperatures, they’re usually left in the ground for overwintering instead of being lifted. When stored, they can also be subject to bacterial and fungal diseases, as well as pest infestation. Care must be taken to dry out excess moisture, but not to remove so much as to weaken them. Follow the steps outlined below and you’ll be prepared to plant out the healthy rhizomes that you’ve stored in no time!
5 Easy Steps to Store Iris Rhizomes for Winter
Here are the five steps to ensure that your rhizomes stay healthy and vibrant until spring.
1. Lift, Clean, and Trim
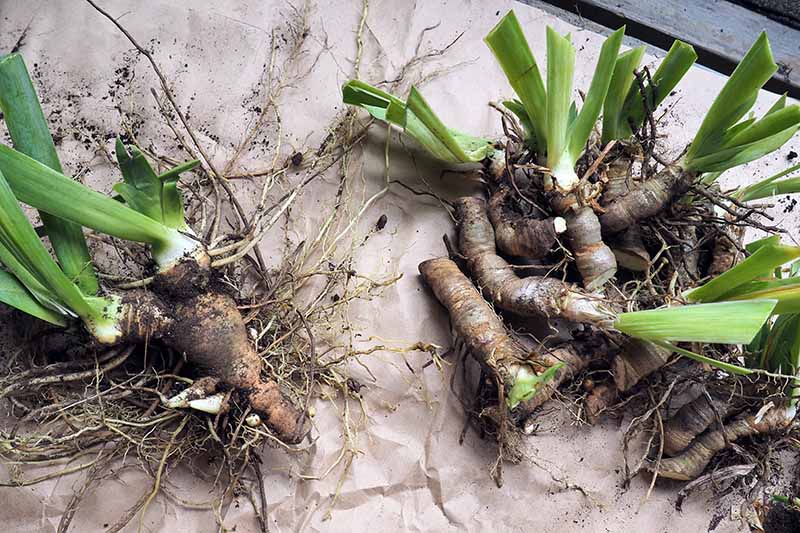
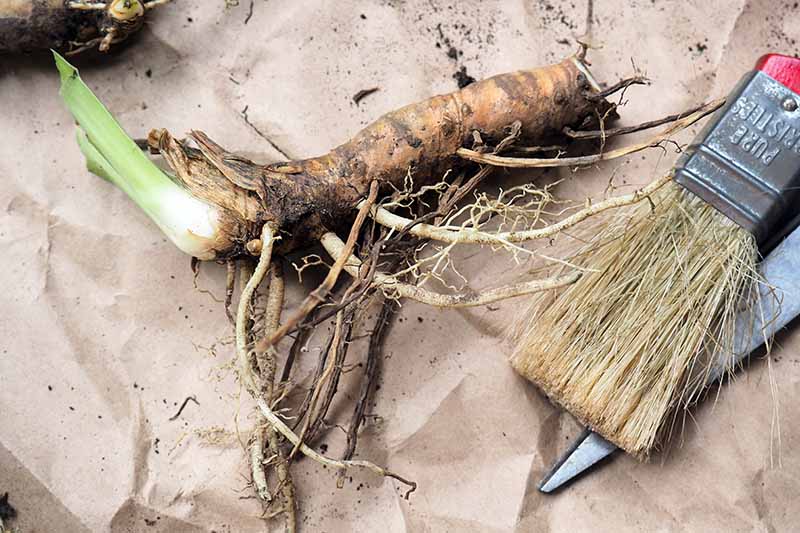
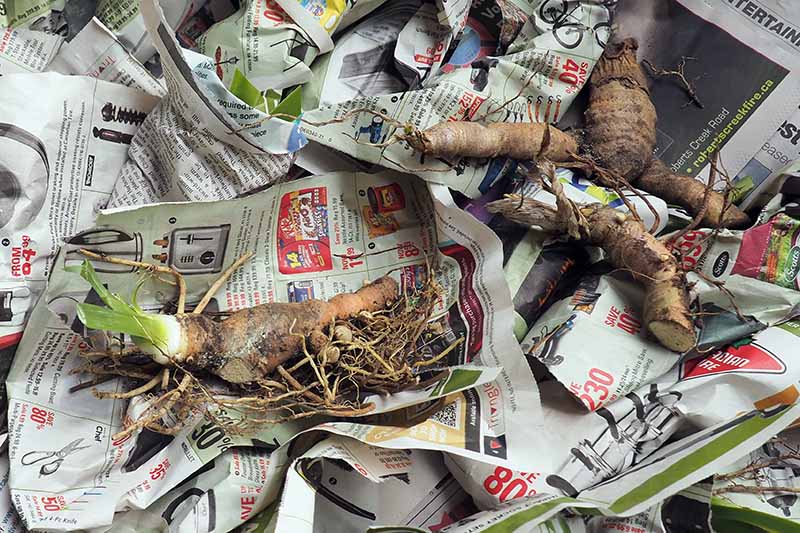
The best time to lift rhizomes is after the plants have finished blooming, from midsummer to early fall. Use a garden fork to gently dig in about six inches deep then lift and pry surface rhizomes and their roots from the soil, giving about four inches of ease all around to prevent spiking underground sections. After lifting, use clean, sharp garden scissors to cut back the foliage to about three inches and remove any dry or dying leaves close to the base. Remove and discard mats of fibrous root tissue, and trim the roots to about three inches. Trim away any rhizome parts that are dried, mushy, shriveled, soft, or smelly. Lay them out to dry in a single layer in a protected, sunny location for a few days or until they feel dry to the touch. Turn them over once for even drying. Once they’re dry, remove any remaining dirt with a soft-bristled brush, but do not wash them in water – adding any moisture at this point would necessitate a longer curing stage.
2. Cure and Dust for Good Health
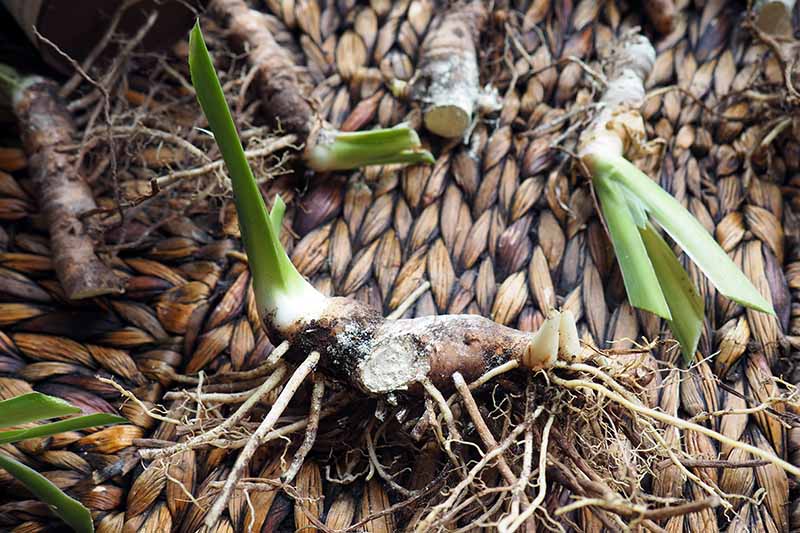
After they’ve been cleaned and trimmed, rhizomes need to cure before going into storage. Spread them out on a flat surface like a tray or large piece of cardboard, allowing at least one inch of buffer space around each piece. If a second layer is needed, cover the first with lightly crumpled paper bags or newspaper before layering on top. Place in a dark, dry, and warm location with good air circulation – the ideal temperature for curing is around 65 to 70°F.
3. Wrap for Protection
After curing and dusting, the final step is to wrap each plant individually in a piece of newspaper and place it in a box for storage. Bonide Sulfur Plant Fungicide Bonide Sulfur Plant Fungicide is available at Arbico Organics. The box can be cardboard, rattan, wicker, a wire basket, or one made from some other type of breathable material. Avoid plastic, because it doesn’t allow for adequate air circulation and can promote rot. If a second layer is needed, lay down some lightly crumpled newspaper first before adding more.
4. Place in Storage
Place the box in a cool, dark, and dry location with consistent temperatures between 40 to 50°F. Temperatures below 35°F can kill the rhizomes. Above 50°F, the warmth can cause moisture loss and dehydration.
5. Schedule Regular Check-Ups
Ensure your stock stays healthy by marking a date on your calendar, like the first of the month, for regular monthly check-ups. To prevent transfer of rot, any bulbs that are mushy, soft, or smelly should be discarded promptly (but not in the compost) along with the paper it was wrapped in. Once spring arrives, give them a final wellness check, then plant out into containers or the garden as outlined in our guide on growing irises for fragrance and color. But if we’re left with unplanted rhizomes when frosty weather arrives, it’s good to know they can be lifted and stored safely for spring planting. For success, be sure to clean, cure, and dust them first, wrap for protection, and maintain cool temperatures. And don’t forget to do monthly check-ups to ensure the roots that you plan to plant are healthy for next year’s growing season. Do you store iris rhizomes in winter or leave them in the ground? Let us know in the comments section below and feel free to ask any questions! And for more iris growing know-how, check out these articles next:
How to Divide and Transplant IrisesTypes of Irises: A Guide to Iris Classification and Flowering SequenceTips for Growing Bulbous Iris in the Garden