Sometimes considered a challenging crop, folks in cold regions with freezing winters often grow plants as annuals and discard them at season’s end. However, when you select the hardiest cultivars, and provide a little pre-winter TLC, your favorite berry-makers can yield sweet and tasty treats year after year. We link to vendors to help you find relevant products. If you buy from one of our links, we may earn a commission. In this article, we focus on a few easy steps to take to winterize plants so they return with vigor each spring. Here’s the lineup: There’s a chill in the air. Let’s get started!
Why Winterize?
Most types of strawberry require 200-300 chill hours with temperatures between 45 and 32°F for optimal fruit production. However, according to Emily Hoover, extension horticulturalist at the University of Minnesota Extension, temperatures of 15°F or below can cause fatal damage to the crown.
If you live in a region where the ground freezes in winter, your strawberries will benefit from a few proactive measures to help them survive the coldest months of the year. There are four reasons why: With a bit of preparation, you can protect your plants from the ravages of winter and set them up for a healthy return after their period of dormancy. Container-grown plants can be prepared using the same methods described below and then placed in a basement, shed, or garage to winter over.
Four Easy Steps
The four steps to prepare strawberries for winter are: renovate, fertilize, water, and apply mulch. Let’s look at each step in more detail:
1. Renovate Your Plants
There are three types of strawberry plant:
June-Bearing varieties that form buds in the fall, bloom in spring, and produce one large harvest, typically in June. Everbearing varieties that form buds when the days are long, and produce three harvests each year. Day-neutral types that will flower and produce fruits throughout the growing season provided temperatures don’t go lower than 35°F or over 85°F.
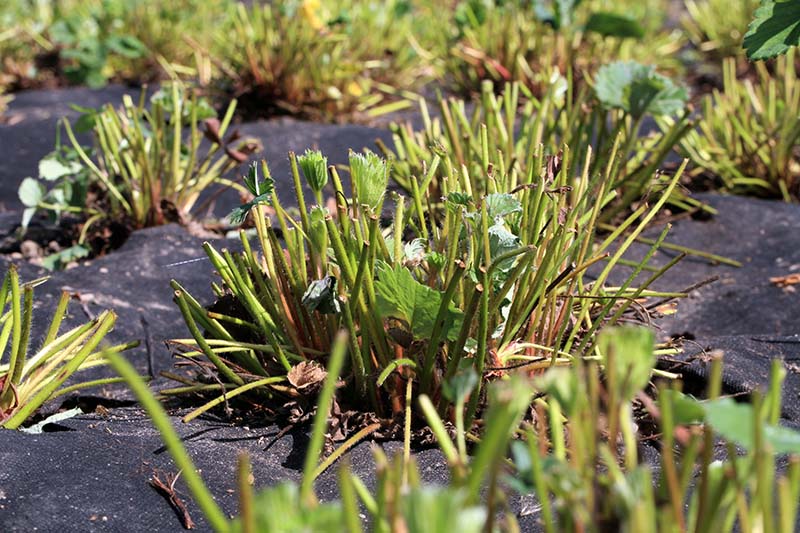
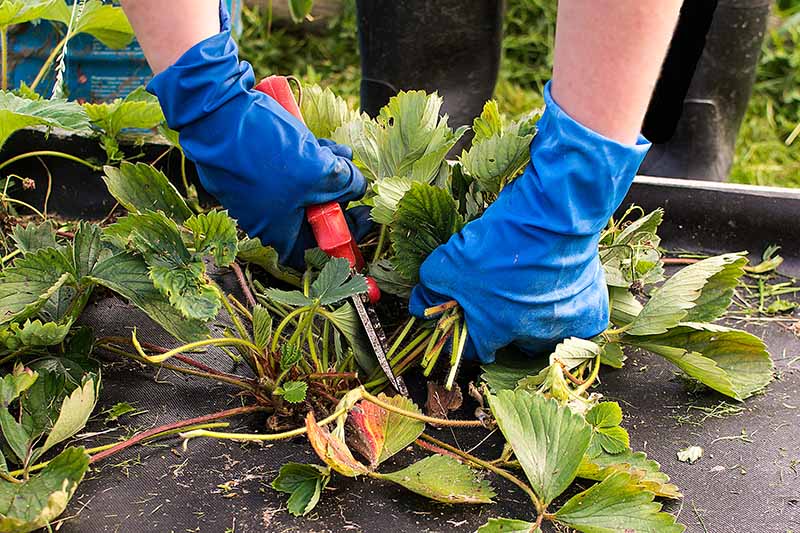
After harvesting fruit, plants that are expected to winter over need to be renovated. This process consists of pruning foliage, thinning, and removing debris and weeds.
For June-bearing varieties, you’ll need to prune the foliage to a height of one to two inches above the crown. You can do this with pruning shears or hedge clippers. If you have a large flat strawberry patch, you can also use a lawn mower with the blade set to the appropriate height, but be sure to mow no more than one week after the last harvest or you risk damaging the new leaves. Thin plants that have spread and matted together to rows eight to 12 inches wide, with two to three feet between them. Remove runners as needed to contain your plants to their target width. You may use a tiller for this task. If they are not growing in rows, thin them to five per square foot, or about four to six inches apart. Discard all those that have been weakened by adverse weather conditions, disease, or infestation by pests. Remove any weeds and debris.
For everbearing and day-neutral varieties, prune off any leaves that appear damaged, diseased, or pest-infested. Remove entire plants if necessary. Thin those remaining to five per square foot, or about four to six inches apart. Remove runners to prevent the growth of new plants and remove any weeds and debris. Be sure to discard diseased and pest-infested foliage in the trash, not on the compost heap.
2. Fertilize
Outreach Horticulturist Richard Jauron from the Department of Horticulture at the Iowa University Extension recommends the application of a balanced, 10-10-10 (NPK) fertilizer at a quantity of five pounds per 100 feet of row, or one pound per 25 plants at least one month before your average first frost date. Take care to avoid direct contact with foliage, apply granular fertilizer or pellets between plants in beds and containers, and in the aisles between the rows. Water in well.
3. Water
After you have renovated your plants, continue to water right up until first frost. Provide one inch of supplemental water per week in the absence of rain. During the cold months, while they are dormant, there is no need to provide supplemental irrigation for those growing in the garden. Container-grown plants placed in a cold shed or garage will require minimal water, just enough to prevent the soil from drying out completely.
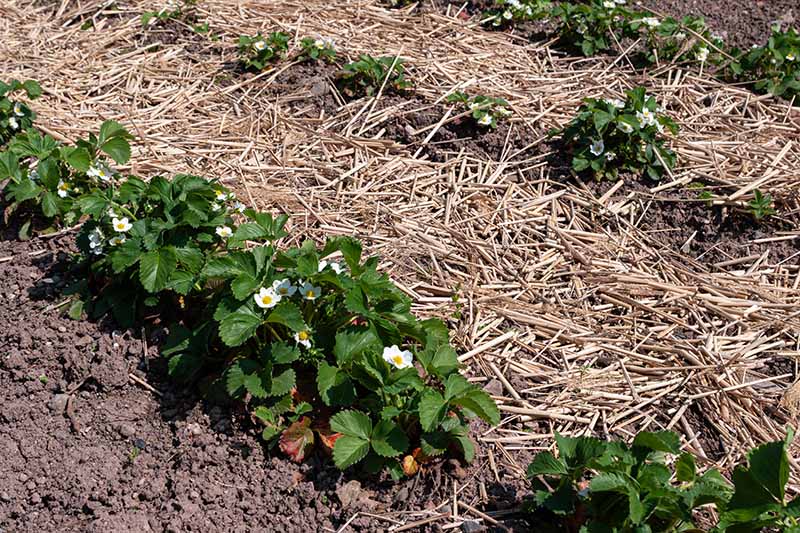
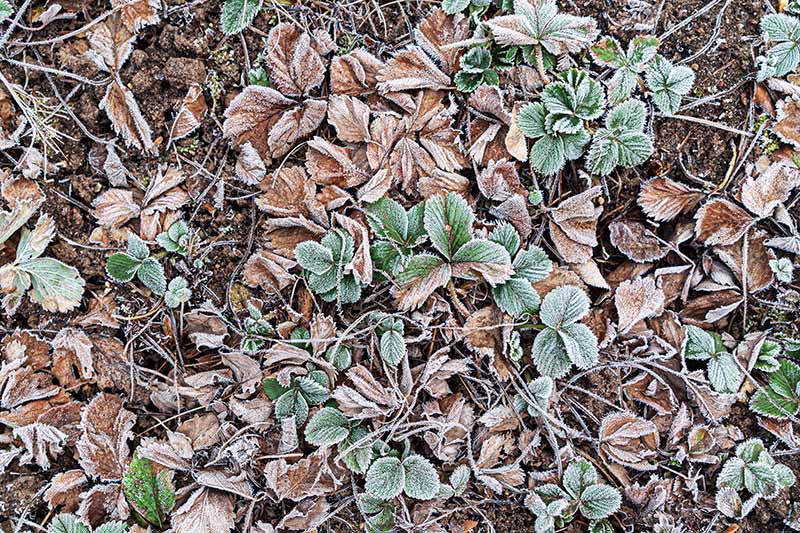
4. Apply Mulch
Mulch is the final step toward winter readiness. An application of mulch provides a layer of insulation that is especially important in regions with little to none of nature’s own insulation: snow. Covering plants not only helps to keep them uniformly cold during temperature fluctuations, it aids in retaining the moisture essential to crown health, while also promoting optimal drainage.
Timing
The application of mulch is not something to be rushed for three reasons:
Laying it too soon may raise the ground temperature and promote new growth. It may trap excessive moisture that can rot crowns. It may attract mice and other rodents that are still actively seeking winter shelter.
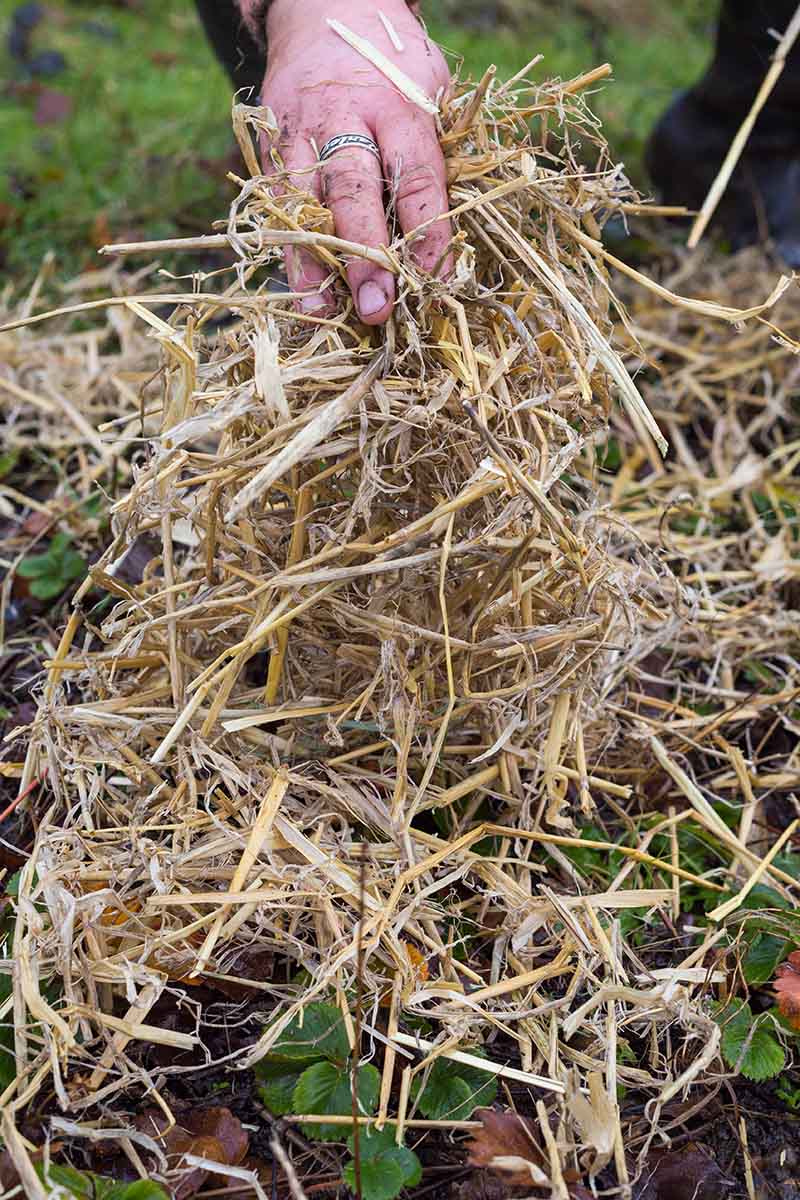
The best time to apply mulch is between late November and early December, after first frost when much of the foliage is brown and floppy, and before temperatures drop below 20°F.
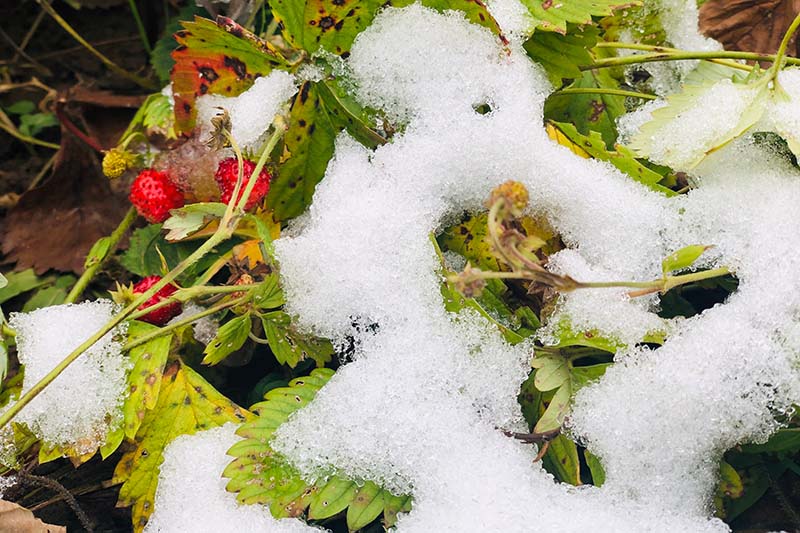
As mentioned earlier, at 15°F, plants not covered by mulch or snow are susceptible to fatal crown damage.
Application
Choose a mulching material that is loose to avoid matting, facilitate air circulation, and aid in drainage. Straw or pine needles are excellent choices. Avoid leaves and grass, as they are likely to mat, as well as hay, because it tends to be full of weed seeds. To apply mulch, drop it around and over the plants by loose handfuls. The pieces of straw or pine needles should separate as they fall, creating airy heaps, rather than tight clumps. Completely bury all visible foliage beneath a continuous cover of mulch, all the way down the rows, or to the edges of the beds, raised beds, or containers. For those growing in the garden, the pros at Iowa State University Extension and Outreach recommend an application of three to five inches of mulch. They recommend six to eight inches in raised beds, especially pyramid planters, because the soil temperature becomes even colder than ground soil. Some folks prefer to lay mulch when rain is in the forecast, to help hold it in place. If you’re in an especially windy locale, you may want to anchor the mulch in your rows and beds with chicken wire. You can use bricks, rocks, or stakes to hold the chicken wire in place. Regardless of when you lay it, or if you anchor it, mulch will compact over time and you may need to make additional applications during the winter months.
Berry On
That’s all there is to it. To recap, there are four steps to take to prepare your strawberries for winter’s onslaught:
Renovate after harvesting. Fertilize with a balanced product. Water an inch per week until first frost. Apply mulch liberally and loosely after first frost.
And then, one dry day in early spring, after the winter winds have ceased to howl and the snow has finally melted, gently pull back the mulch. If you see green shoots, it’s time to remove the mulch and let them bask in the sunshine. If not, try again soon. What should you do with the mulch? Rake it into the aisles between rows, to soak up spring rain and make walking less muddy. Leave some tucked around the sprouts to inhibit weeds, aid in moisture retention, and keep future berries up off the dirt. Keeping mulch near is also handy when a late-season frost threatens, for short-term protection in a pinch. We hope that winterization is soon a routine part of strawberry care in your garden, so you can weather the cold months with confidence, and berry on!
Have you successfully overwintered your strawberry plants? Share your tips in the comments section below. And for more information about growing strawberries, check out these guides next:
35 of the Best Strawberry Varieties for Home Gardeners How to Control Gray Mold (Botrytis Rot) on Strawberries
© Ask the Experts, LLC. ALL RIGHTS RESERVED. See our TOS for more details. Uncredited photos: Shutterstock.