We link to vendors to help you find relevant products. If you buy from one of our links, we may earn a commission.
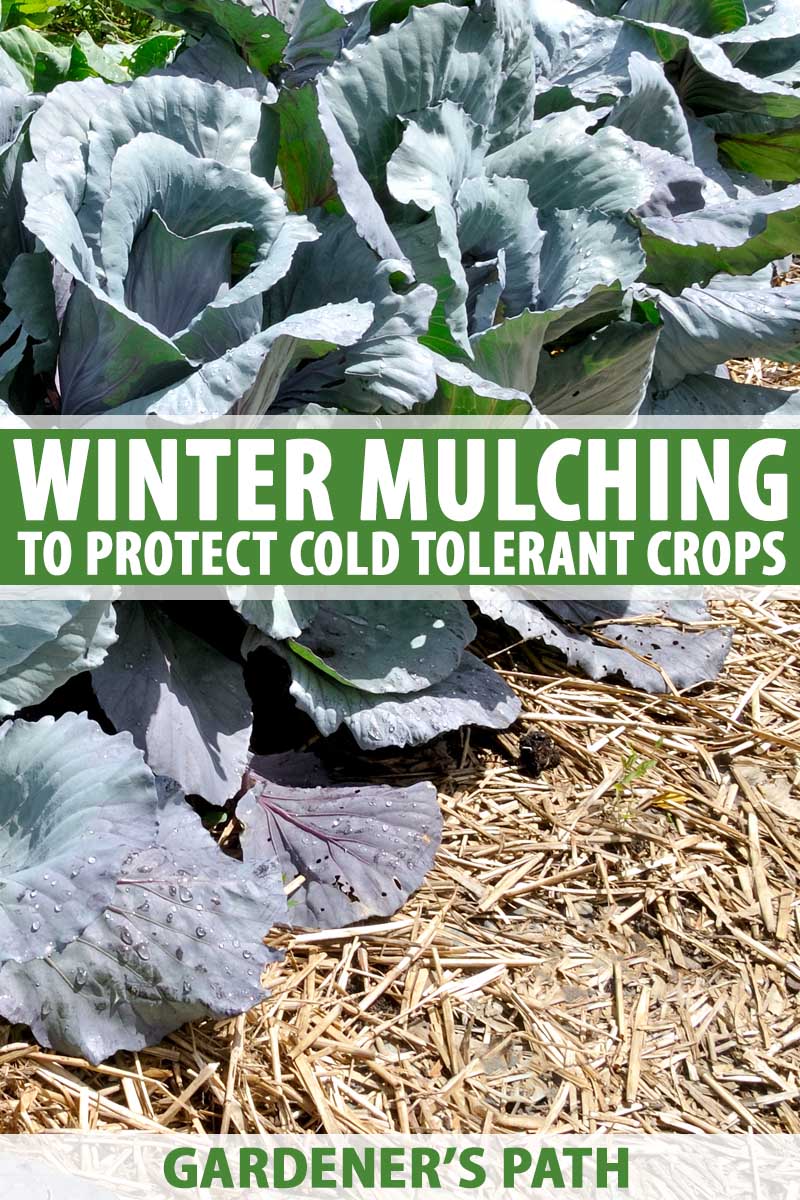
What is Winter Mulching?
Winter mulching is simply covering garden beds with a thick layer of organic material. This helps perennials endure repeated freezes and thaws, extends the harvest season of some annual crops, and protects bare soil from harsh winter conditions.
While similar in some ways to the mulching that happens during the gardening season, winter mulching is done with the specific intention of protecting plants and soil from the harshness of winter and requires a more specific timing and care.
Why Do It?
This process safeguards herbaceous and woody perennials from cycles of freezing and thawing, cold rain, and cold winds. In particular, it can enhance the cold tolerance of fragile young plants and ensure that perennials restart growth in spring with increased vigor. It also protects the soil from compaction and erosion caused by heavy winter rain and snow, keeping soil nutrients from leaching away. It can even increase soil fertility when the material begins to decompose in spring.
This technique can even allow us to extend the harvest season of hardier annual vegetables that are able to survive in winter soils if well insulated. Winter mulching to protect perennials, extend the harvest of annual crops, and improve the fertility of fallow beds are all done for slightly different purposes with some differentiation in method and timing. The following guide will help you understand when and how to mulch for each of these outcomes.
Winter Mulching of Perennials
Especially important for fragile young plants, mulching herbaceous and woody perennials prior to winter is done primarily to keep the ground from thawing with the warmth of the sun once it has frozen. Repeated freezing and thawing that tends to happen in early winter causes the ground to expand and contract, which in turn loosens roots, pushing them upward and exposing the crowns and roots to freezing temperatures, dry air, and wind. Additionally, if a plant is exposed to thawing once it has gone dormant, it could become confused and begin a cycle of new growth during the winter, which will result in repeated diebacks and a generally stressed out plant. Placing insulating material around perennials ensures that the ground temperature stays consistent until spring and helps conserve water in the soil.
Wait Until the Time is Right
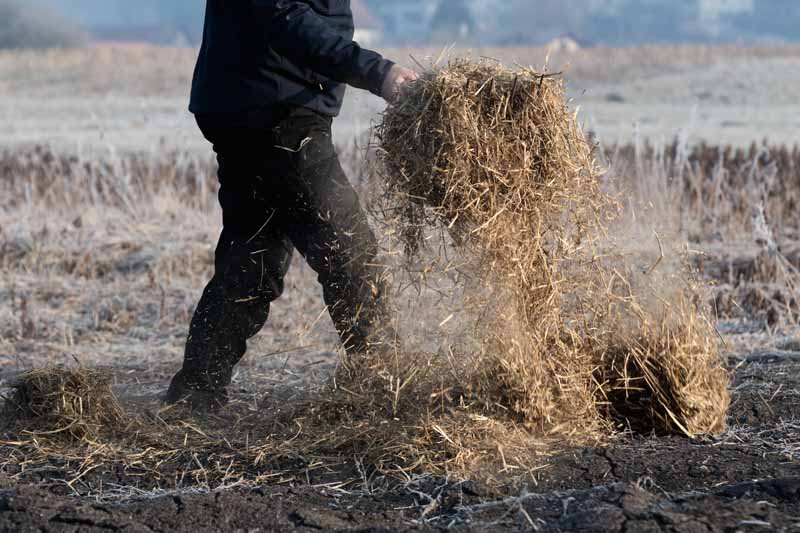
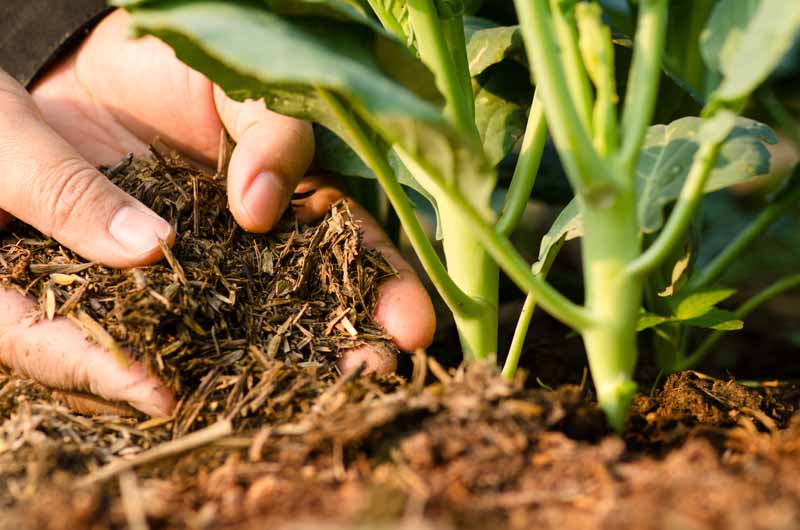
While it can be tempting to start the process early, be sure to wait to apply insulating material to perennial plants until after the soil has begun to harden and plants have become dormant. This should be after the first hard frost when annuals have died back, generally when temperatures have dropped below 25°F. It is important to wait until the ground has frozen because the goal is to keep the soil from warming so plants stay dormant. Start by removing all weeds around plants. Next, spread at least 2 to 4 inches of material around the base of plants. More is always better. If mulching woody plants such as shrubs or small fruit trees, it is a good idea to leave a few inches of space around the stems. This will help to reduce the risk of disease as well as to deter rodents such as voles and mice from munching on bark.
Winter Mulching of Annual Crops
Contrary to perennials, winter mulching of annual crops is primarily done to keep the ground warm and prevent it from freezing for as long as possible, thus prolonging the harvest season for as long as possible. Depending on your climate, crops, and thickness of mulch, sometimes this process can even allow crops to be harvested through the winter.
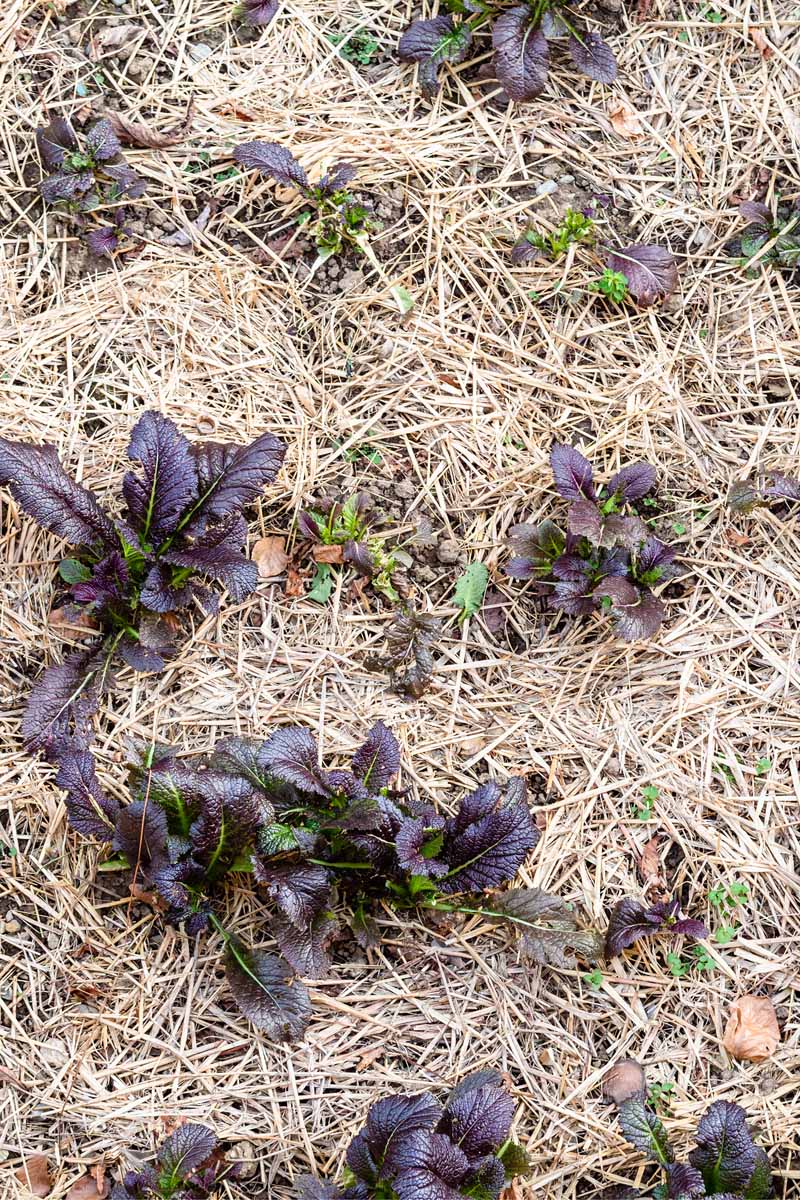
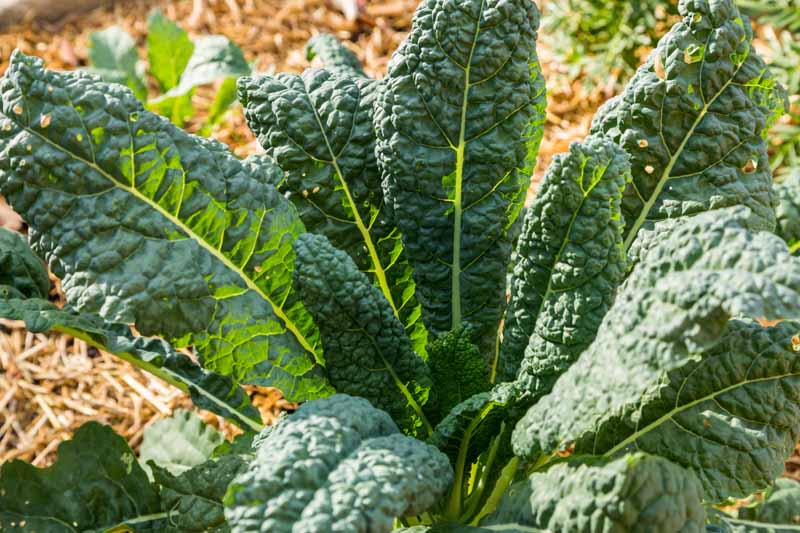
Mulch annual crops in the fall BEFORE the ground freezes. Crops such as carrots, parsnips, turnips, beets, kohlrabi, and kale can often last well into the winter with extra layers of insulation to keep soil from freezing. In the harsher climates of zones 1-3, crops may need additional protection such as floating row covers, hoop houses, or cold frames to survive. Check our our best selections for fall crops for more information.
How to Mulch
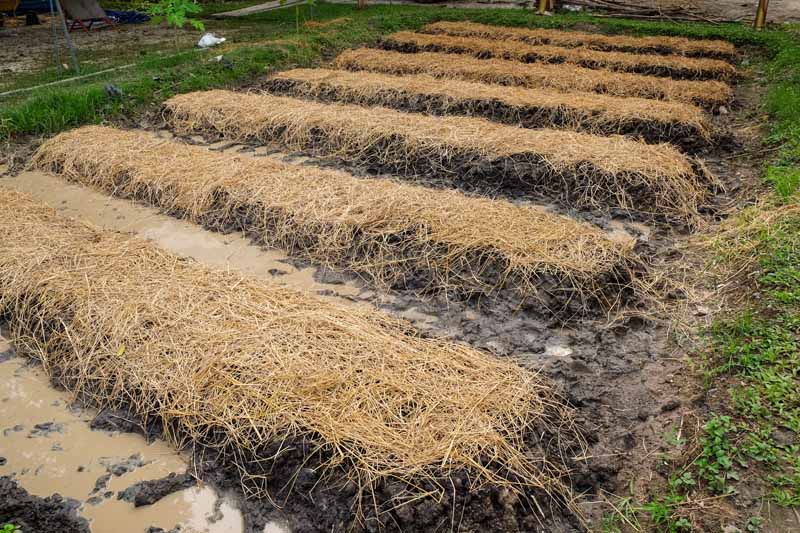
To prepare annual crops for an extended harvest, cover plants with a 1-2 feet thick layer of straw, leaves, or other organic material before the ground freezes. Topping the whole thing off with a row cover, old bed sheet, or garden blanket will help hold it all in place, preventing material from blowing away during winter storms.
You can secure the cover with rocks, logs, or garden staples. Also remember to mark your beds with tall stakes, since you may have trouble finding them again under feet of snow! Tip: Crops like kale and collard greens can be protected by surrounding plants with stakes wrapped in burlap and stuffing the space between with leaves or straw for insulation. Some crops, such as garlic and certain varieties of onions are planted in the fall for a spring or summer harvest. Cover these beds thickly with leaves or straw to protect bulbs through the winter. In spring, move leaves to the side to allow foliage to poke through and reach the sunlight more quickly. We take a deep dive into using leaves as compost and mulch in this guide.
Winter Mulching of Fallow Beds
Unplanted fallow beds can be covered over with organic material anytime during the fall. This will protect bare soil, helping the soil to retain moisture, reduce erosion, and build up nutrients. This way, when you go to plant again in spring, the soil will be nutrient rich, healthy, and moist!
Lasagna mulching is a great technique for protecting fallow beds where you are planning to grow nutrient loving annual crops in the spring, or for anywhere you want to improve the soil. To build a lasagna bed, simply stack 4 or more layers of organic materials, creating a lasagna of sorts. Each layer should be a few inches thick. Try to alternate layers of greens and browns material just like you would in a compost bin: Greens (nitrogen rich material): Aged manure, compost, garden waste, grass clippings Browns (carbon rich material): Leaves, straw, hay, sawdust, wood shavings Use any combination of ingredients you have on hand. Once you have finished layering organic material, you can cover the whole thing with burlap or a garden blanket to create a warmer composting environment and “cook the lasagna.” By spring, the layers should have decomposed significantly, creating a nutrient rich environment for planting! Another method of protecting fallow beds in winter is to plant a winter cover crop.
What Type of Material is Best?
Many types of organic materials can work well as a winter mulch. The type you choose can depend on what types of plants you are growing or intending to grow, your budget, and what you have on hand. Here are a few common types of mulch material and where they can be most useful:
Wood Chips
Wood chips can be a great choice for woody plants and perennials, because their composition breaks down into a fungal-dominated soil, which is the preferred soil type of woody perennials. Use of wood chips also reduces the risk of slugs and other small rodents that can be an issue with some other types of mulch such as leaves and straw.
Wood chips are widely available from landscaping stores and may also be a free resource for the creatively minded. Look for tree cutting services, public parks, or carpenters that may be producing wood chips as a byproduct.
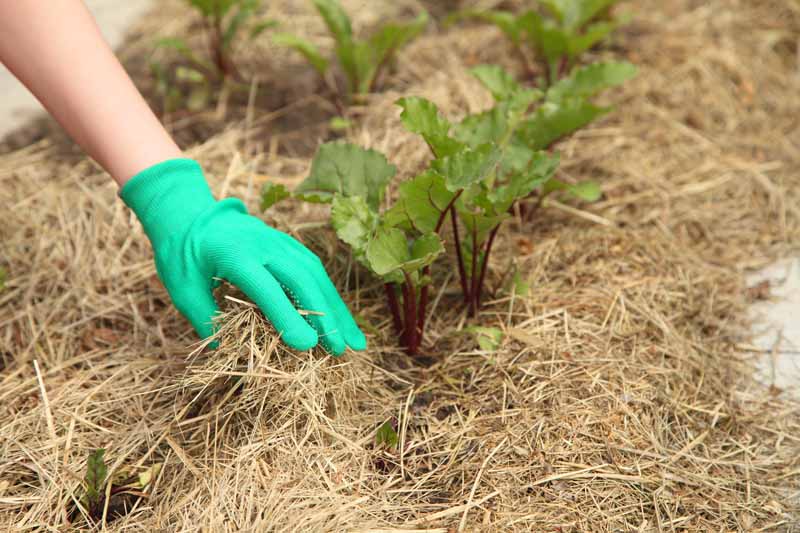
Straw
Straw is a great, easy to find mulch that is perfect for protecting annual crops, like carrots and kale.
Straw is a particularly great choice for strawberries. Local farms can be a good source. Hay can be substituted but just know you’ll likely be introducing more weed and grass seeds to your garden. Read more about mulching with straw here.
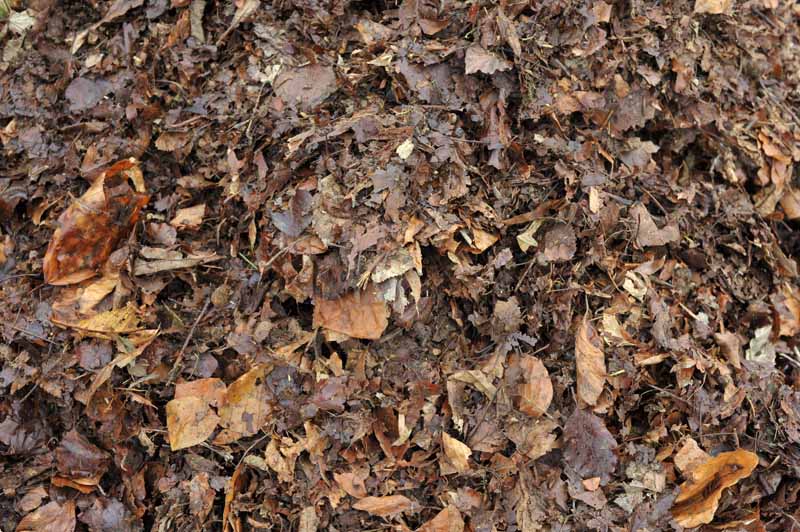
Leaves
Chopped, shredded, or whole leaves are a wonderful and completely free source of winter protection for your garden! Instead of bagging your leaves as garbage this year, collect them to spread on your garden beds, and ask your neighbors too!
Leaves work well for veggies or fallow garden beds. They are especially good for squash and pumpkins. One word of caution, leaves can be a cozy home for slugs in wet conditions, so do keep an eye out!
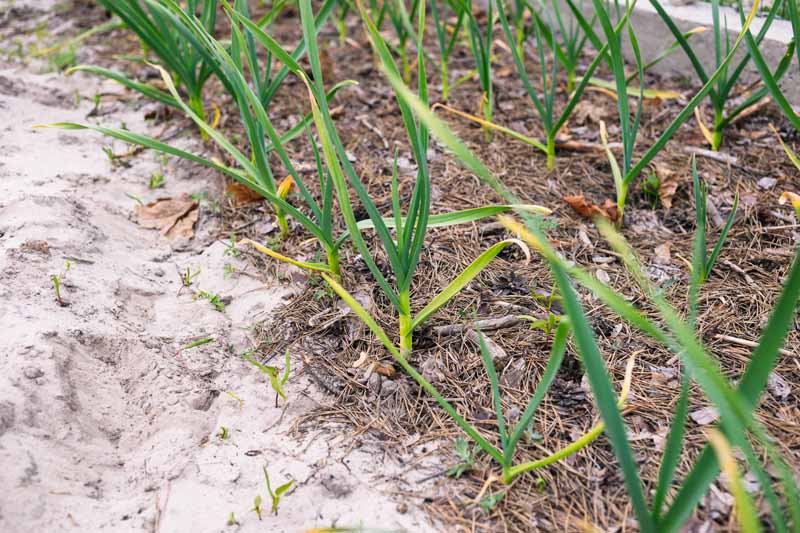
Pine Needles
Pine needles are another convenient and potentially free source of mulch.
These can work well for perennials and bunching onion and garlic beds.
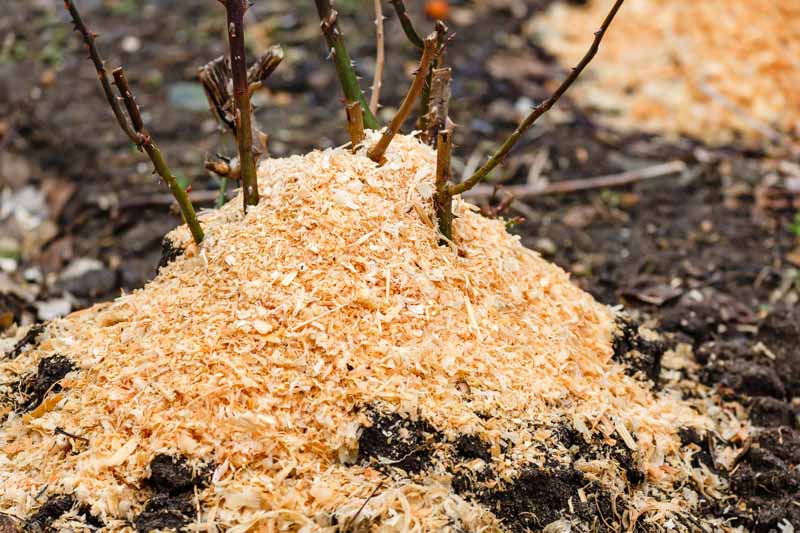
Sawdust
Sawdust is great for perennials such as berries and small fruits.
It also can provide a great “brown” layer for lasagna beds.
Aged Compost
Compost is great just about anywhere!
Add your extra compost to fallow beds, side dress annual crops before adding a thicker layer of straw on top or layer a few inches around perennials. Learn more about making your own compost here.
Snow
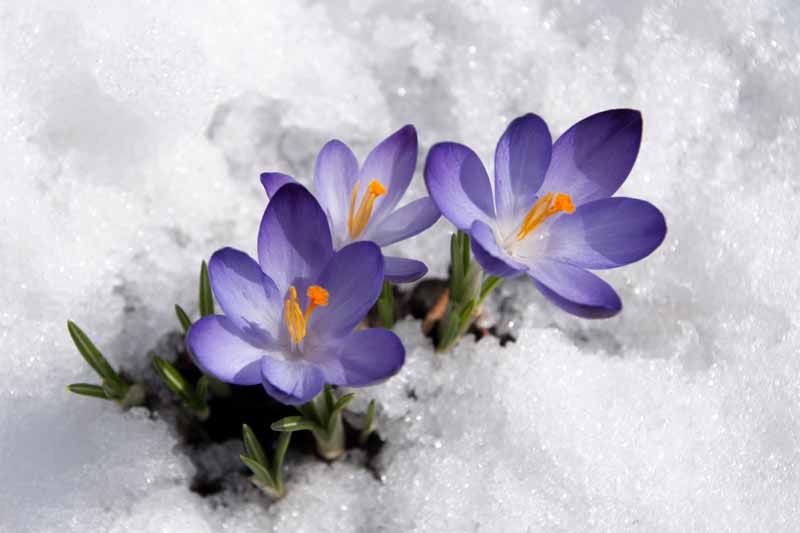
Believe it or not, snow is a great insulator.
If you are lucky enough to receive an early and lasting blanket of snow, rest easy knowing that those perennial plants will sleep soundly beneath all that winter white.
Springtime Will Come Again
In spring, wait until all danger of a hard frost is passed to remove or thin out winter mulch. Remove it completely from over the tops of perennials to encourage swift new growth. In annual beds or beds that have been fallow, leave the material in place to continue to decompose and protect the soil from weeds. Once you are ready to plant, you can rake it to the side and move it back into place after new young plants are established.
Time to Get Cozy
We all slowdown in the winter. Just as the animals of the forest go into hibernation and we nurture ourselves with cozy warm blankets and long sleepy nights, our gardens have similar needs. With winter mulching, we can help our plants get what they need to endure the winter and come out refreshed on the other side!
And if this guide helped you out, you’ll find some of our others of interest:
The 19 Best Cool-Weather Crops for a Productive Fall Garden How to Pre-Seed your Garden in Fall for an Early Spring Harvest How to Plant A Southern Fall Vegetable Garden The 15 Best Perennials for Fall Color
© Ask the Experts, LLC. ALL RIGHTS RESERVED. See our TOS for more details. Uncredited photos: Shutterstock.