Unless we have a cold frame, that is. Then it’s just business as usual around the garden. We link to vendors to help you find relevant products. If you buy from one of our links, we may earn a commission. They’re easy to construct, don’t require any fancy equipment, can be built using scraps, and can dramatically lengthen the amount of time you have available to grow plants. Whether you use them to start seedlings or you transplant tender garden plants into your cold frame, you can keep the garden joy going for months longer than you could otherwise. In most areas of the US, you can grow goodies to enjoy during holiday feasts. When everyone else is eating sad spinach from the grocery store, you can be devouring fistfuls of fresh-from-the-garden lettuce, or even strawberries. Sharing is optional. We’ll help you kickstart your fall growing adventures with this guide to fall cold frame gardening. Here’s everything we’ll go over in this guide: In case it’s not obvious already, I’m a huge fan of cold frames. I try to be mindful and accepting of the cycles of the year and the changing seasons, but darn it! I don’t want to stop growing at the end of summer! I love a good high or low tunnel for extending the growing season, but you can’t beat a cold frame. It’s much warmer inside than it is in a tunnel and you can more easily control the environmental conditions. Plus, I love a DIY project that you can build out of scrap wood and an old storm window. No need to buy expensive equipment. If you’re already dreaming of the tableful of goodies you’ll be eating come December, let’s not dawdle any longer.
What Is a Cold Frame?
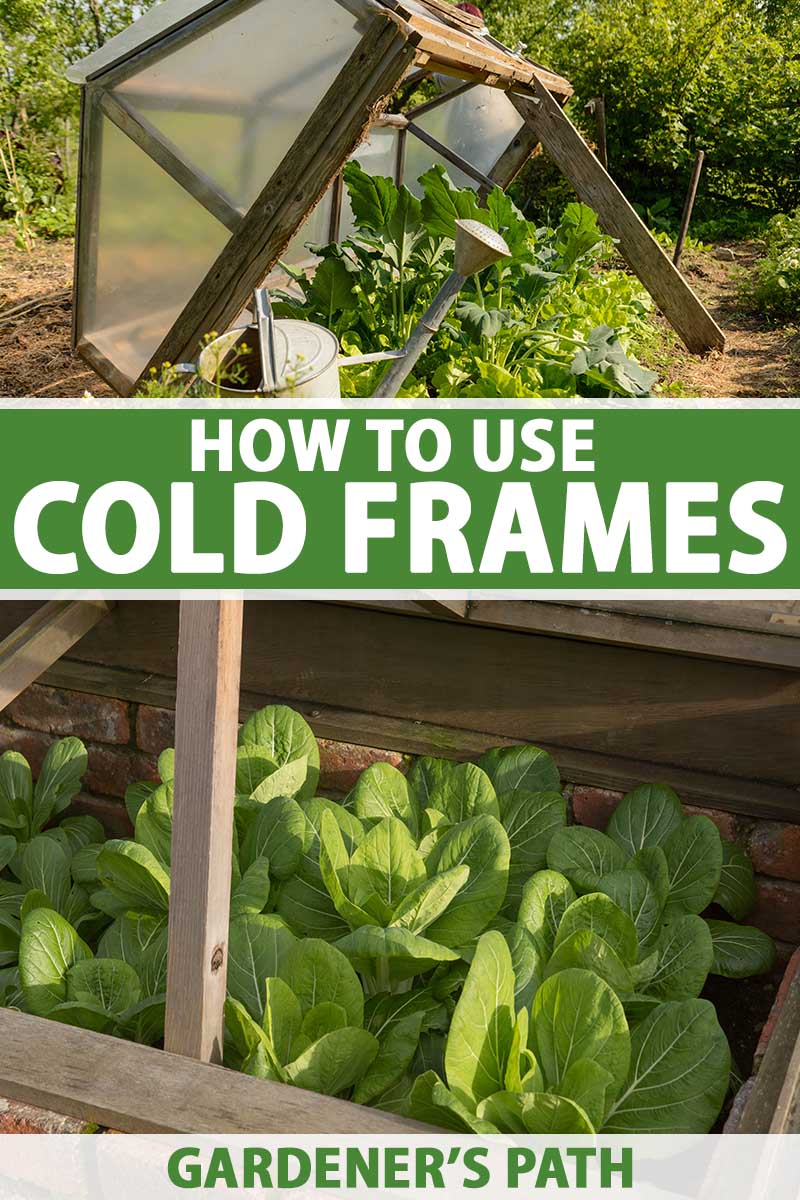
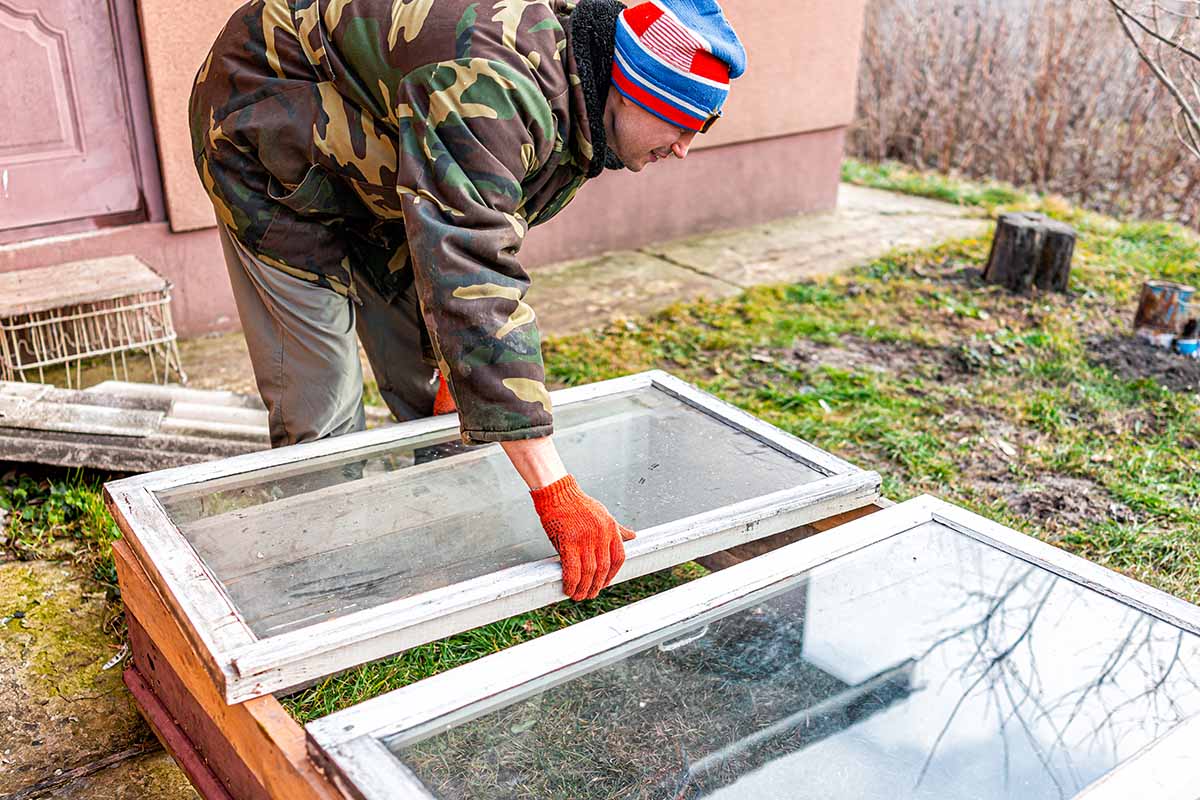
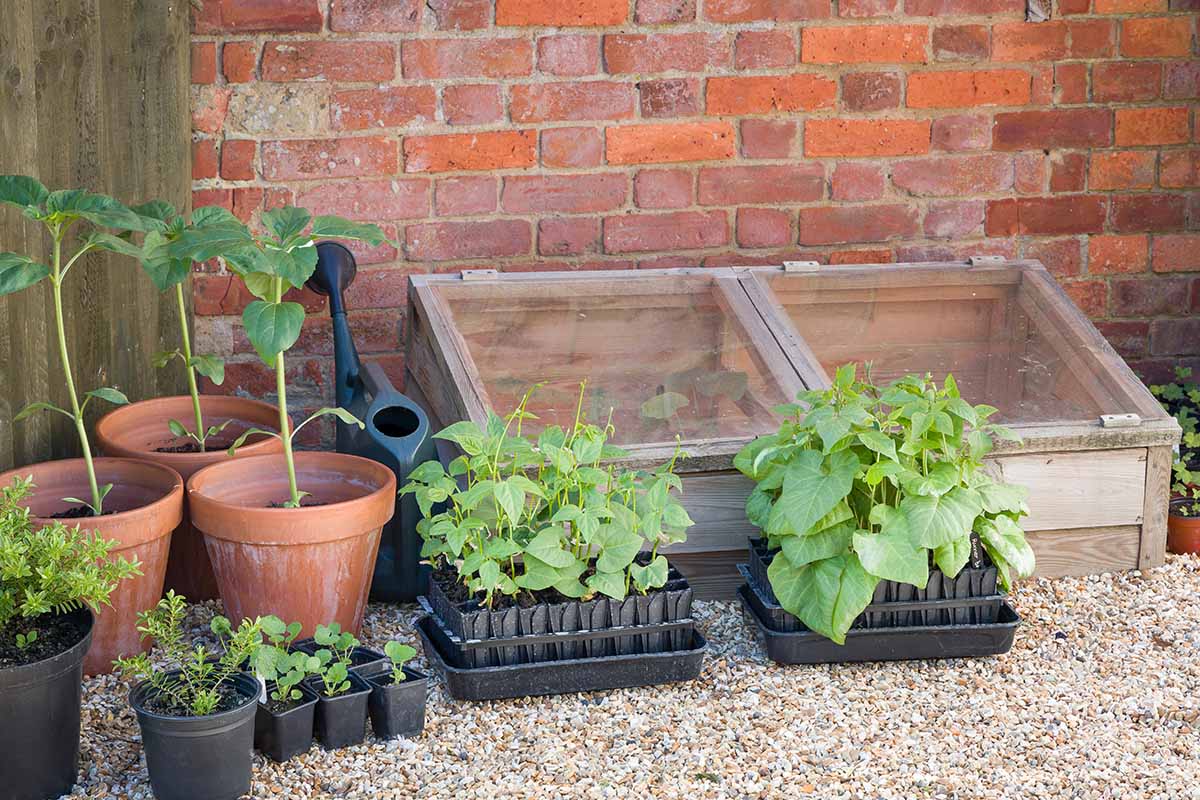
A cold frame is a structure with four sides and a top made to cover and protect plants from cold weather, excess moisture, and wind. Because these rudimentary structures don’t have heating, artificial lighting, or advanced air circulation, they don’t give you much room for adjustment. You’ll generally see about a five- to 10-degree increase in temperature plus protection from frost. But that small increase can make all the difference. Plus, you can toss a few blankets over the top on particularly cold nights for a little added protection. If you want something that can provide even more protection from the cold, you can actually add heat to a cold frame, to create what’s known as a hot bed. These are essentially the same in all other ways except for the addition of heat. You can purchase pre-made cold frames or you can easily make your own using reclaimed materials. You basically need an old window and some scrap wood and you’re golden.
Uses
You can use them to overwinter plants or harden off seedlings that you’ve started inside. They’re also ideal for rooting cuttings because they tend to have higher humidity than the outdoor environment. That’s because he believes it’s the simplest yet most successful tool for extending your growing season. By the way, if you want to learn more about not only cold frame gardening but greenhouses, high tunnels, root cellars, and indoor growing as well, so you can keep your veggie garden thriving 365 days a year, you should check out Coleman’s book. Four-Season Harvest There are many ways to use a cold frame. Perhaps the most common is to protect frost-tender annual vegetables from cold weather to extend the growing season a few weeks longer in the spring or fall. But you can also use them to start seeds outdoors or to protect perennials that aren’t quite hardy enough to live in your USDA Growing Zone. We’ll focus on all the marvelous ways you can use cold frames in the fall in this article, but keep all of these versatile uses in mind when you weigh your options in terms of deciding how large of a structure to make and how much use you’ll get out of it.
Finding the Right Location
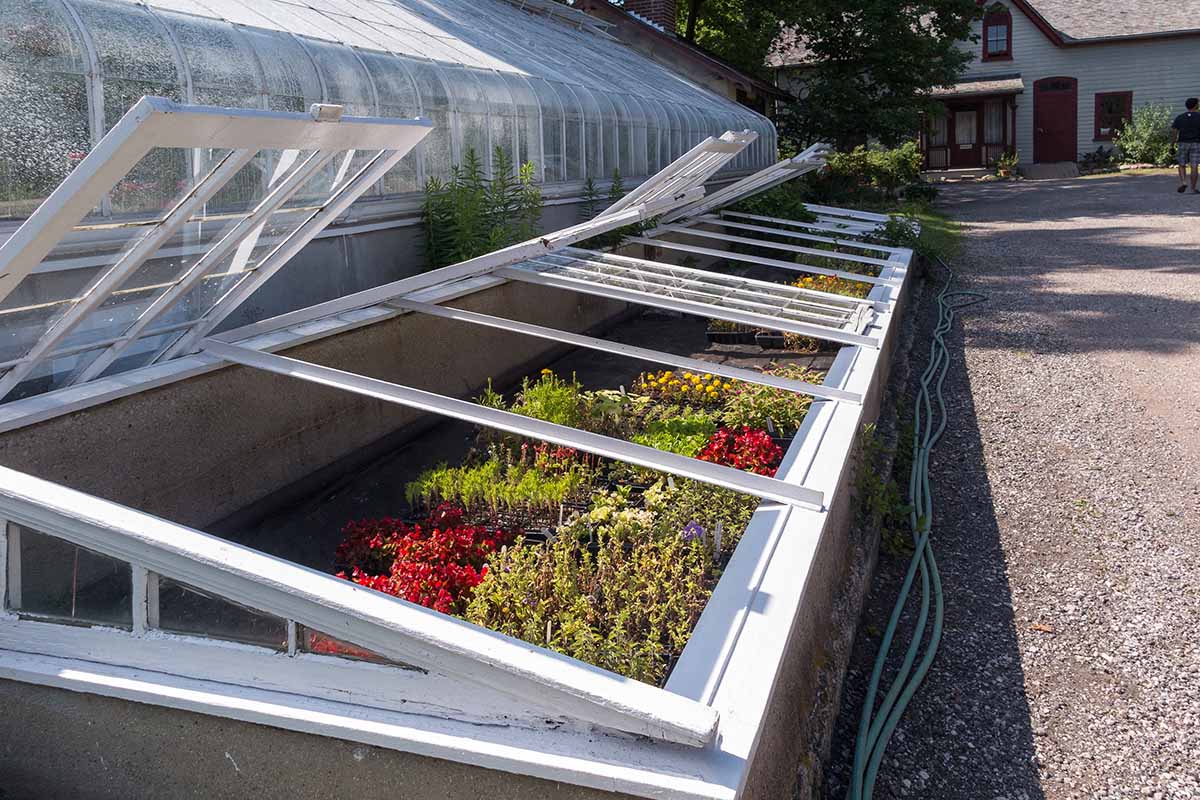
As the old saying goes: location, location, location! Finding the right spot is the key to maximizing your cold frame’s usefulness. In addition to offering wind protection and increased humidity, the whole point here is to increase heat, so placing the “magic box” on the north side of a house where it won’t receive direct sun exposure defeats the purpose. You want to select a spot with southern exposure that receives at least four hours of sunlight per day. More is even better, but you can achieve a respectable amount of growth with just four hours of light. If there is some sort of protection to the north of the bed, like a hedge or building, all the better. This reduces wind and provides a little bit of insulation. And if you can place it next to a brick or cement wall, you’ve hit the sweet spot! Your plants will benefit from the heat reflected off the side of the building. Just make sure whatever the frame is placed next to doesn’t shade the structure at all at any time of day. I realize that’s not always possible, so don’t worry if the frame is shaded for part of the day, so long as it receives at least four hours of direct sun. Some, though not all, cold frames are built up slightly, sort of like a shallow raised bed. But that doesn’t mean you can ignore the soil conditions underneath. Good drainage is a must. Unless you’re growing plants for your pond, in which case, poor drainage is a must… It isn’t just the water that you’ll be adding that you need to worry about, but the ground saturation that occurs during the fall rain and snowstorms. Good drainage is especially important for structures that are sunk below ground level. If you plan to heat your bed, make sure an electrical outlet is located nearby, or invest in a solar option. You also want to have water close at hand. It’s a pain to haul buckets of water across the entire yard. I find that the best spot is against my house on the south side. That way the cold frame is easily accessible, receives heat from the house, and is positioned near available water and electricity.
Frame Construction
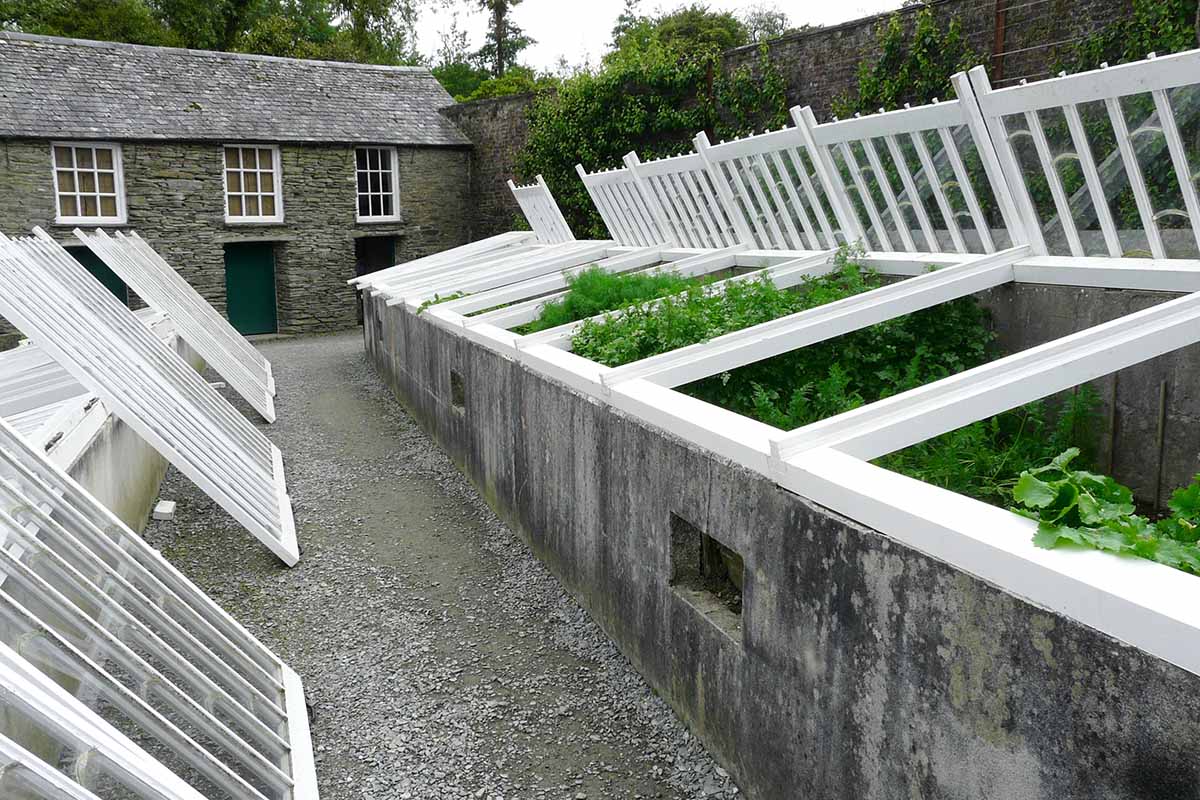
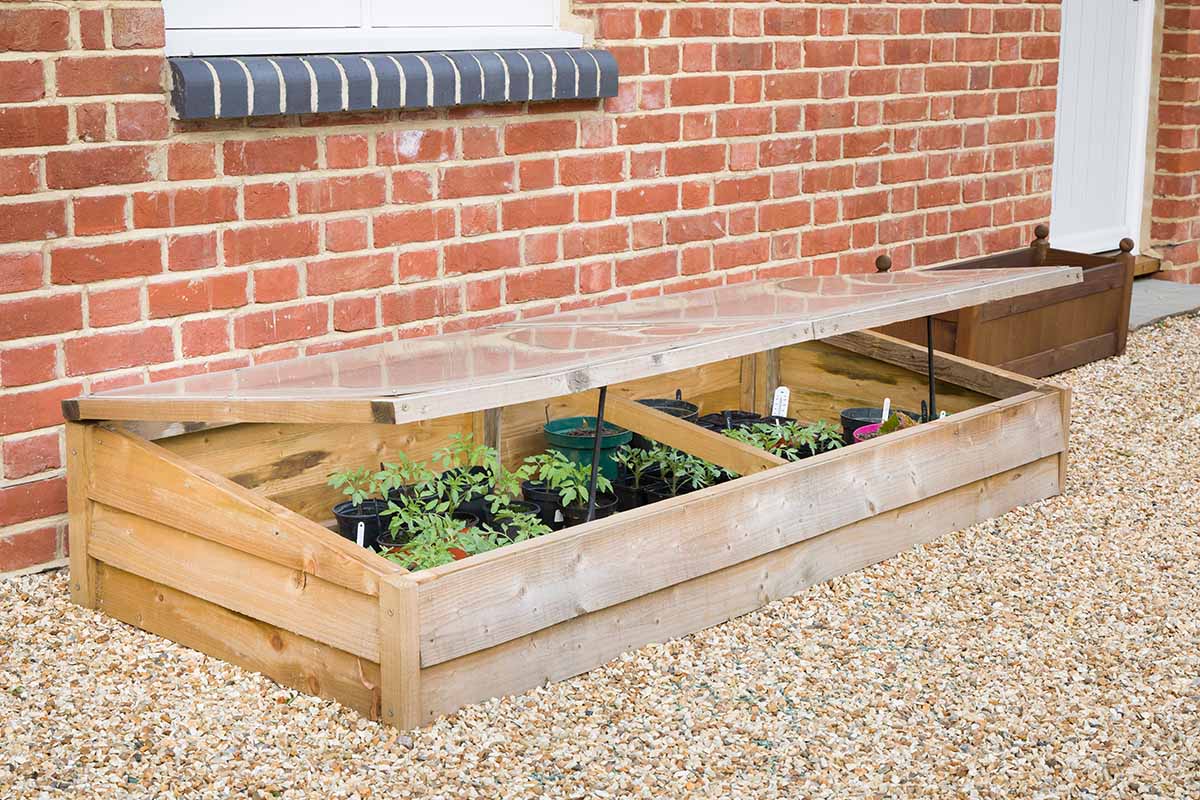
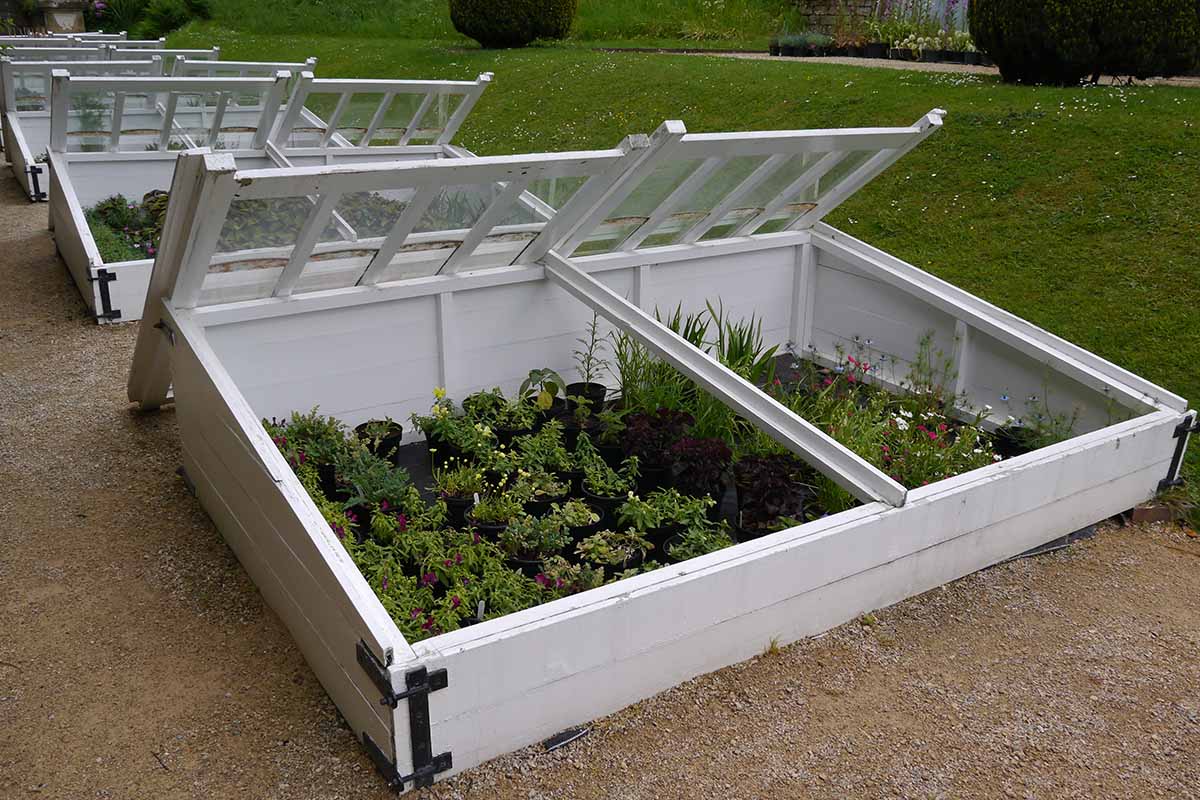
While constructing a bed is beyond the scope of this article, we cover that in a separate DIY tutorial (coming soon!) Here, let’s go over the broad requirements for a cold frame. Essentially, you want to create a structure with four walls and a clear roof. You can build the walls out of whatever you want, but brick, concrete, or stone work really well because they hold in the heat better than wood, glass, or metal. In fact, if you use metal, you’ll want to insulate it. If you use glass for the walls, expect the heat retention to be negligible. Don’t use materials that have been treated with chemicals or you run the risk that these chemicals will leach into the soil and into your plants. For the top – or light, as it’s called – many gardeners use old storm windows or other pieces of discarded glass, or you can have a piece of new glass custom cut to fit your box. You can also use plastic, polycarbonate, or fiberglass. The back of the frame should be taller than the front to promote water runoff. A piece of glass that is hinged at the top is extremely handy because you can simply prop up the glass when you’re working in the bed or to provide ventilation. But if you can’t manage a hinge, you can always lift the top piece off as needed or prop it up with sticks. It doesn’t matter what size you opt for, so long as it suits your space and needs. Most end up being at least two feet wide and six feet long, though they should be double that square footage if you want to feed a family of two all autumn long. The ground in the bed should be carefully leveled or you’ll potentially end up with pooling that can kill your plants. Portable cold frames can be placed directly over tender plants with the arrival of cold weather. It’s best to plant seeds for fall crops at the beginning of fall or in the late summer. If you wait too long, you’ll be fighting increasingly colder weather and shorter days. McCombo Double Box Wooden Greenhouse Cold Frame It is relatively lightweight, has grooves to direct rain off the roof, and features adjustable hinges so you can decide how wide to open the top.
Starting Seeds
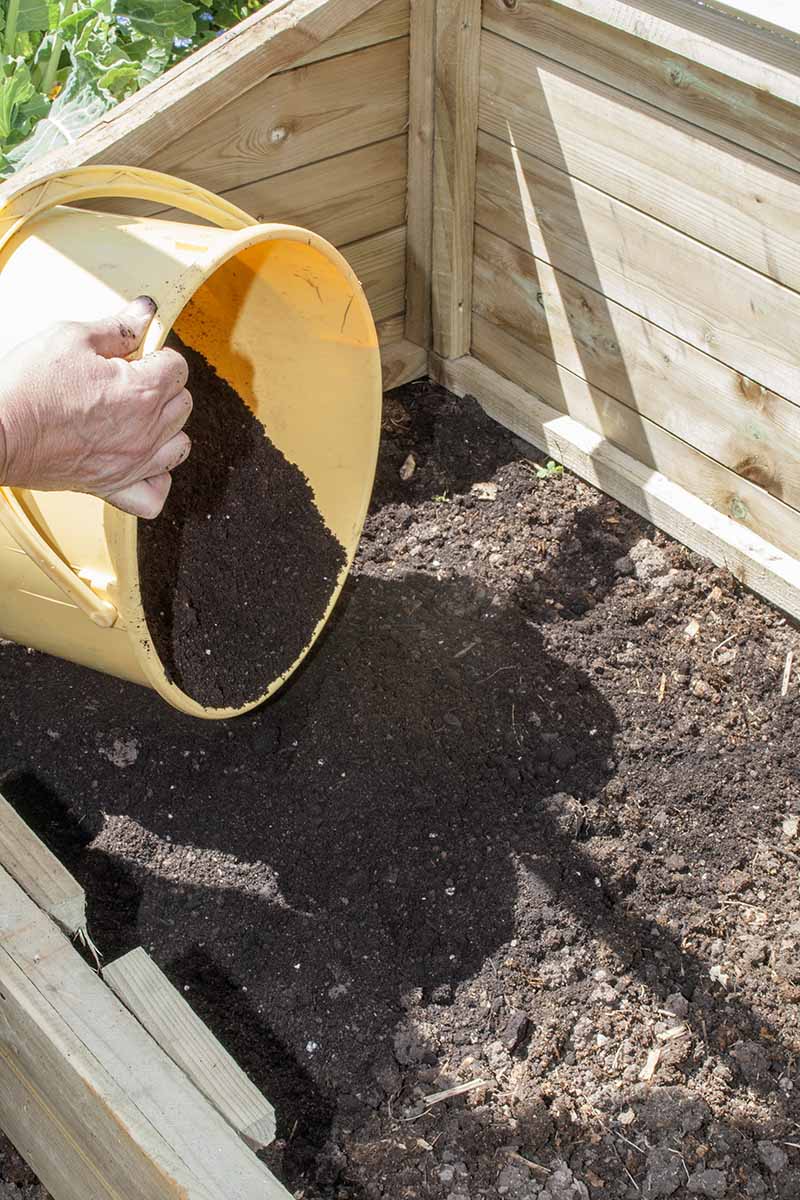
To start seeds in your “magic box,” you’ll want to have a nice, thick layer of seed-starting medium inside. Two or three inches deep should do it. Make sure the medium temperature registers close to 70°F for most seeds before planting. If it isn’t that warm yet, leave the top closed to allow the heat to build. Of course, if your seeds require hotter or colder temperatures to germinate, it’s best to wait until the medium is the right temperature. Keep the medium moist but not wet and wait for the seedlings to pop up. Once they do, you’ll want to open it up during the day for at least an hour or two to promote good air circulation. You should always try to close your cold frame by the early afternoon to trap as much heat as possible for the evening, unless it’s a hot day with a warm night ahead. Once the seedlings are an appropriate size for the particular species, you can transplant them into a greenhouse or tunnel if you prefer, or leave them in the cold frame to continue maturing until harvest time. The best options for fall seed starting are arugula, spinach, mustard greens, bok choy, leaf lettuce, radishes, kale, kohlrabi, broccoli rabe, beets, and herbs like basil, chives, cilantro, fennel, parsley, thyme, oregano, and mint. For a clearer idea of what you can do using cold frames, here’s a specific garden plan: If you live in Zone 5, you could plant arugula, chard, chicory, claytonia, dandelion, endive, kale, mizuna, green onions, parsley, sorrel, spinach, and tatsoi in September in your cold frame and continue growing these plants throughout the entire winter. Beets, carrots, lettuce, radishes, and turnips can be planted in September for harvest through November by cold-frame gardeners in Zone 5.
Caring for Mature Plants
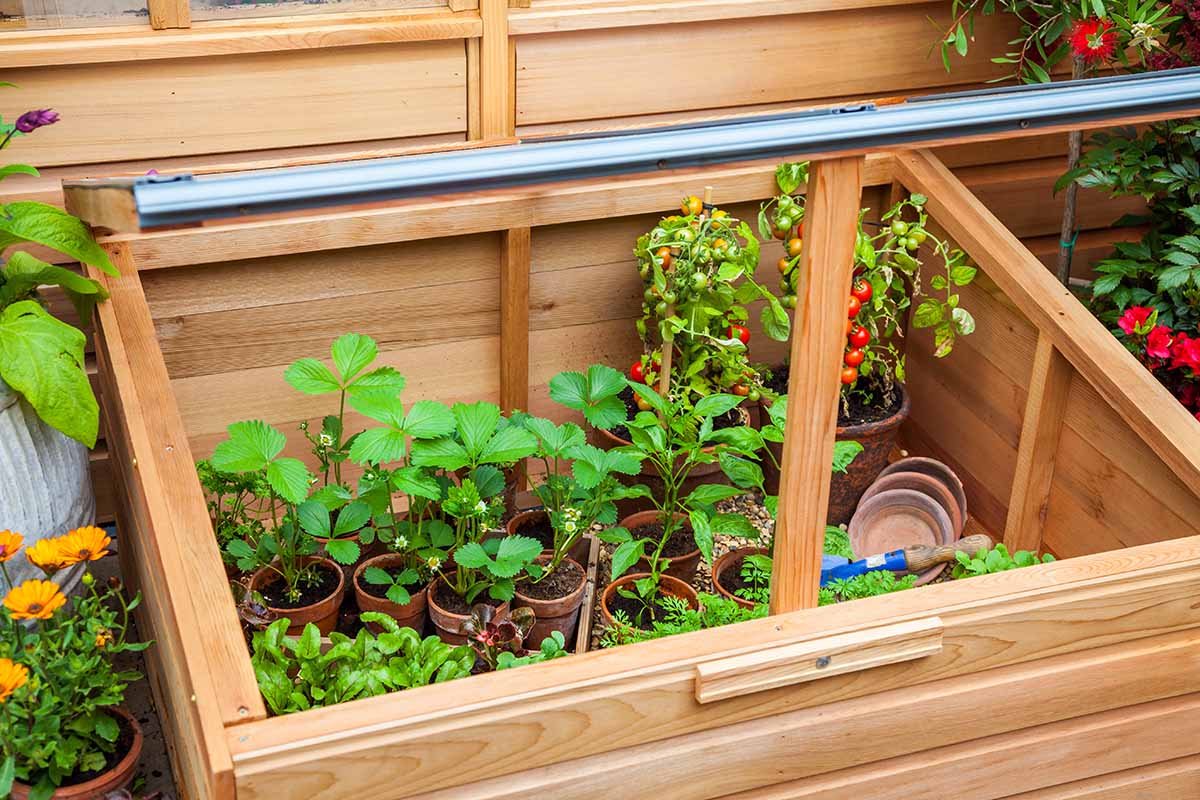
Vegetables, herbs, and tender perennials can all be cared for in the same way. You can transplant directly in the soil or place potted plants into the cold frame. Don’t feel constrained by the list of typical fall-friendly veggies that you may have seen out there – or like the one above! – if you aren’t starting with seed. One year I got a late start planting my squash and I decided to put a zucchini plant that I started earlier in a cold frame. Purely experimental, but it was a huge success. When the frost arrived in October, I just closed up the box and let my zukes keep doing their thing. They matured into November, and after the harvest I pulled the plant and replaced it with more traditional fall and winter veggies like kale and broccoli started from seed. I’ve also overwintered fuchsia, nasturtiums, and geraniums with great success. Friends have done well with extending the season for tomatillos and tomatoes. When the weather permits, you should open the bed to allow air to circulate. Never open the frame to water or for ventilation when temperatures are at or below freezing. Remember that during the fall, plants need less water to survive. Don’t keep the soil as wet as you normally would during the summer – it’s best to stick your finger into the soil and make sure it doesn’t feel soggy. As the temperatures drop, you can vent less and less. Did you know you can actually buy temperature-activated arms that will open your light when it becomes too hot inside? I know I said I love a project that doesn’t involve buying gadgets or tools, but these might be worth it. Univent Automatic Solar Vent Opener This lever lifts up to 15 pounds, and starts opening between 55 and 75°F, depending on how you have set it. It’s easy to install with screws. If it’s raining, you don’t have to open the frame at all, but you can if you want. You can even open it for a bit to let Mother Nature do the watering for you and then close it when the plants have received enough, as long as temperatures are warm enough. Most plants do best if you let the top two inches of soil dry out before watering. Larger plants will still require more water overall than small seedlings and tinier species, and you’ll also tend to open the frame more often to irrigate them and improve air circulation. But as autumn progresses and the sun drops lower in the sky, you’ll need to water less and less often. In fact, by November, you might not need to water at all. Speaking of, it helps to be aware of what kind of temperatures your plants can handle. If you’re growing kale in the late fall, it probably won’t hurt things to prop the light open all morning. But if you’re growing some basil, you’ll have to be extremely mindful of when you open the top. It should never be colder than 40°F outside or you risk killing the plants. You generally don’t have to worry about pests during the really cold months, but those warm fall days are a different story. Pests love the warm, humid, often crowded conditions of cold frames. Aphids, whiteflies, and scale are all common. If you see snow that wants to stick around, wipe it off the top. You need to let the sunlight in so the frame can heat up. If a deep, heavy freeze is in the forecast, heap straw or blankets on the top overnight to add a little insulation. Almost anyone, from urban and small-space gardeners to those with lots of land, in a variety of climates, can benefit from using cold frames for fall gardening. These simple gardening tools make all the difference in moderating environmental conditions, and allow you to extend the harvest all the way until the winter holidays. What will you be growing in your magic boxes? Let us know in the comment section below. For more tips on extending your growing season, you might find the following guides useful:
Extend the Season and Keep Pests Out with Floating Row CoversBuild a Greenhouse Out of Free Pallet RackingAvoid the Most Common Greenhouse Mistakes with These Tips
