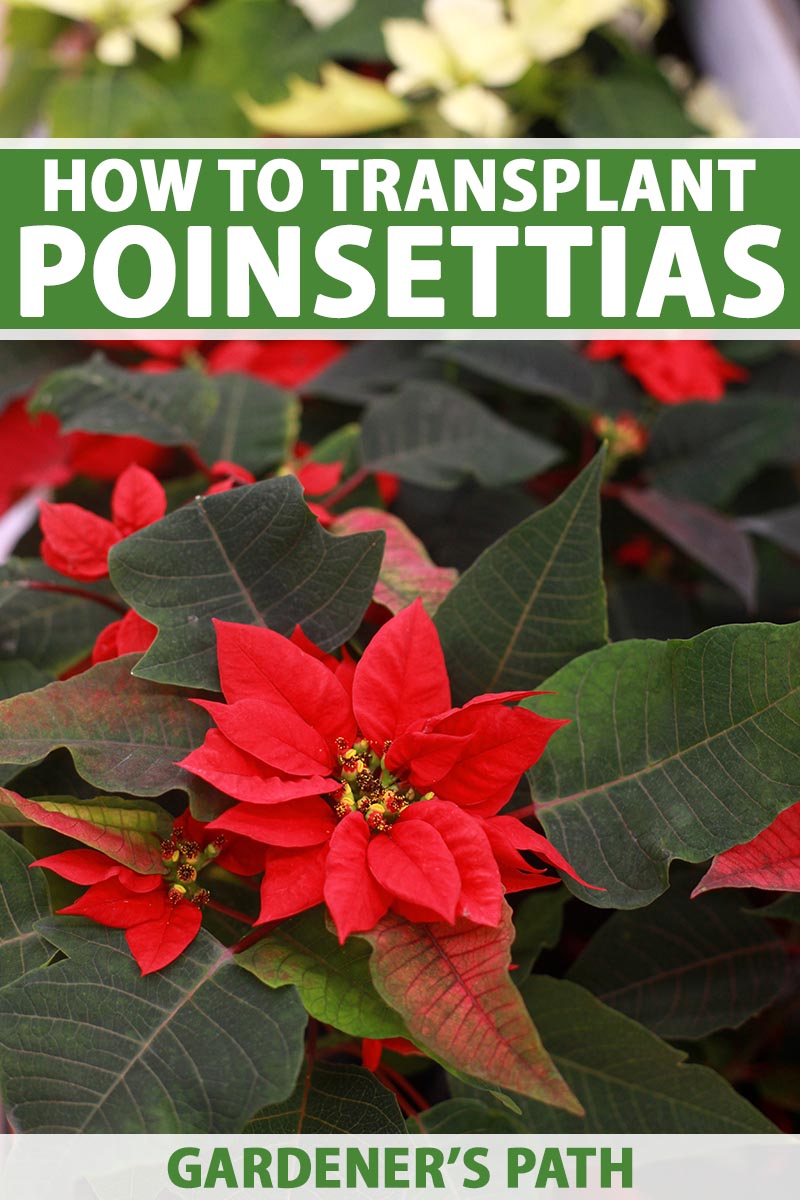
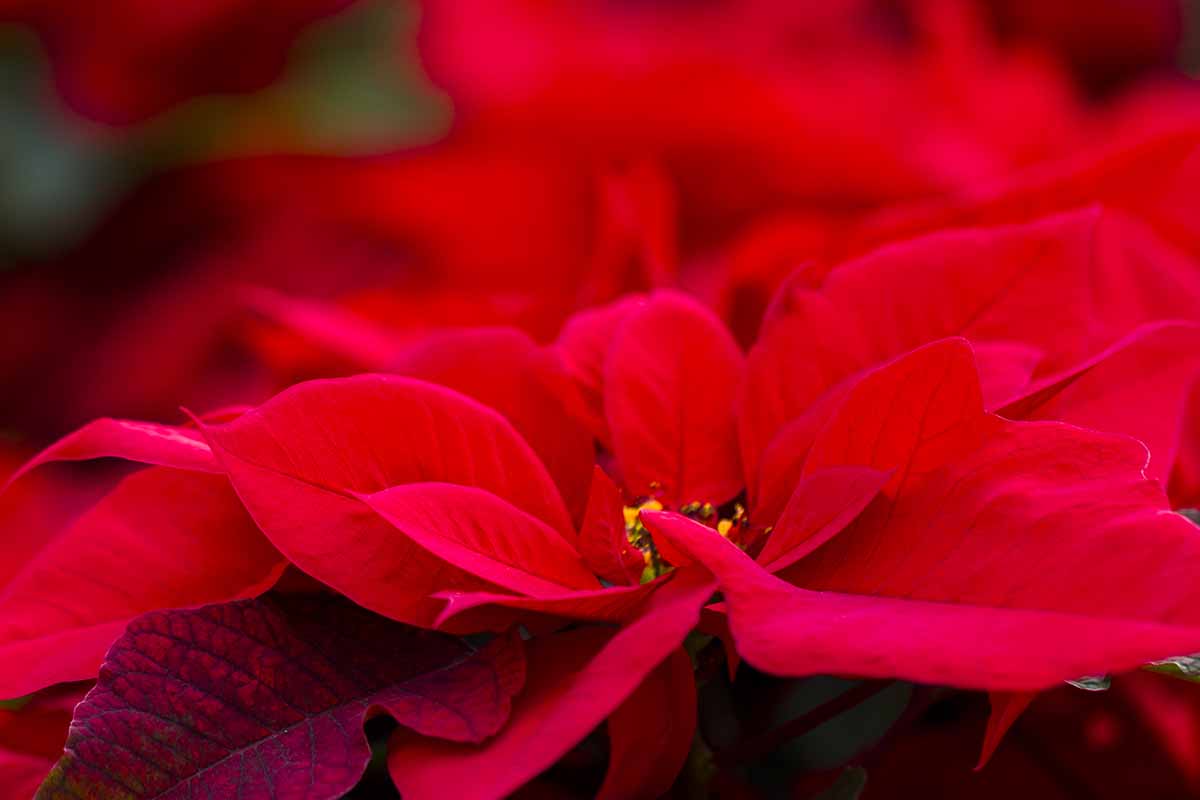
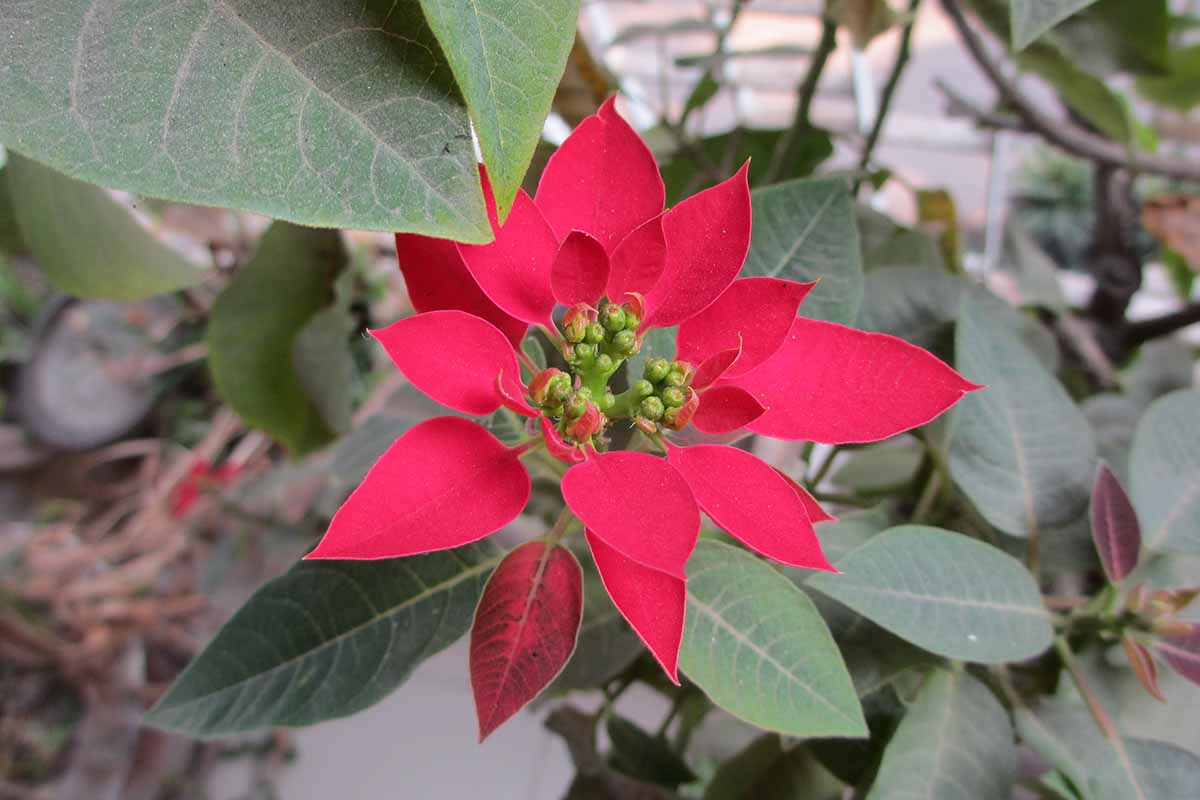
But a green thumb’s collection of houseplants is always changing and evolving. After the holidays, you don’t have to pitch your Euphorbia pulcherrima – you can transplant it outside instead! We link to vendors to help you find relevant products. If you buy from one of our links, we may earn a commission. It covers best cultivation practices for those in appropriate USDA Hardiness Zones where these plants will thrive year-round outside. Potted plants can also be brought out to enjoy the warm weather, and carried back into the warm confines of your home to overwinter again the following year. This guide will provide you with all the necessary know-how for moving an E. pulcherrima into, out of, or to a different space within the garden. Once you’ve finished reading it, you’ll be transplanting these bad boys like a surgeon transplants organs. Minus the extreme surgical performance anxiety. Behold what awaits:
What You’ll Need
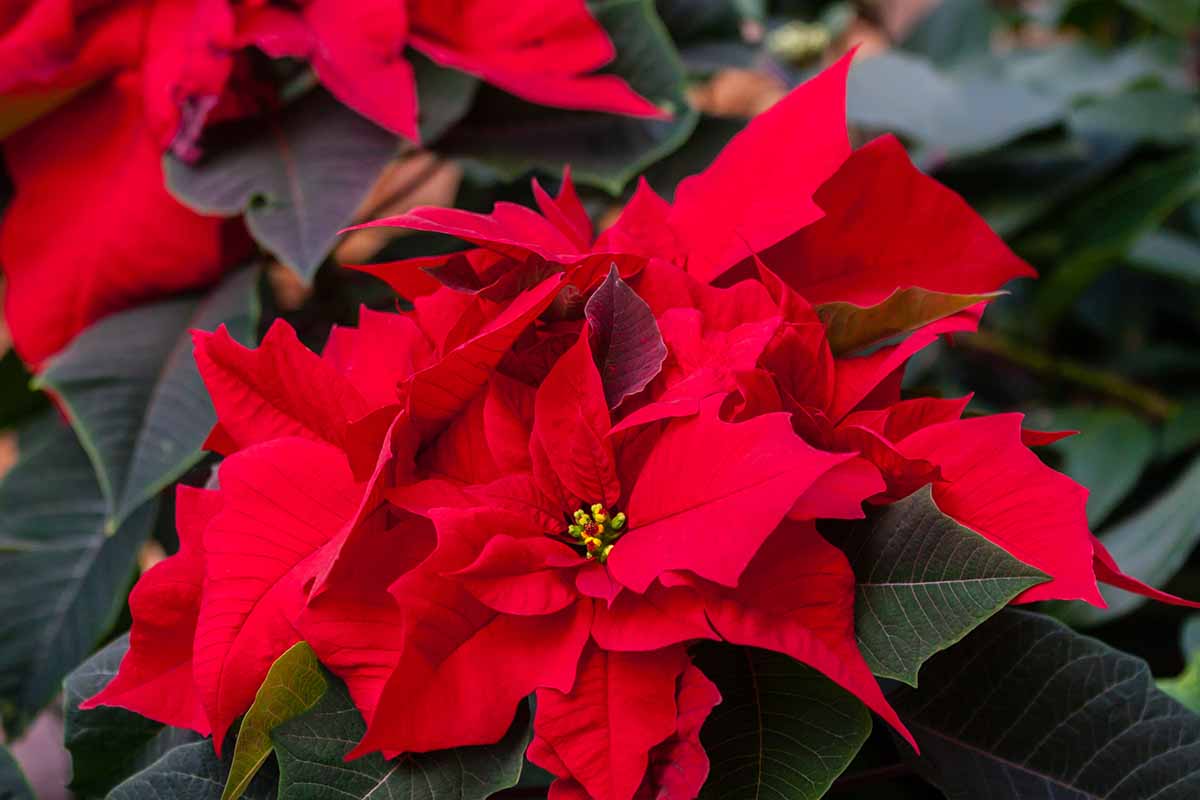
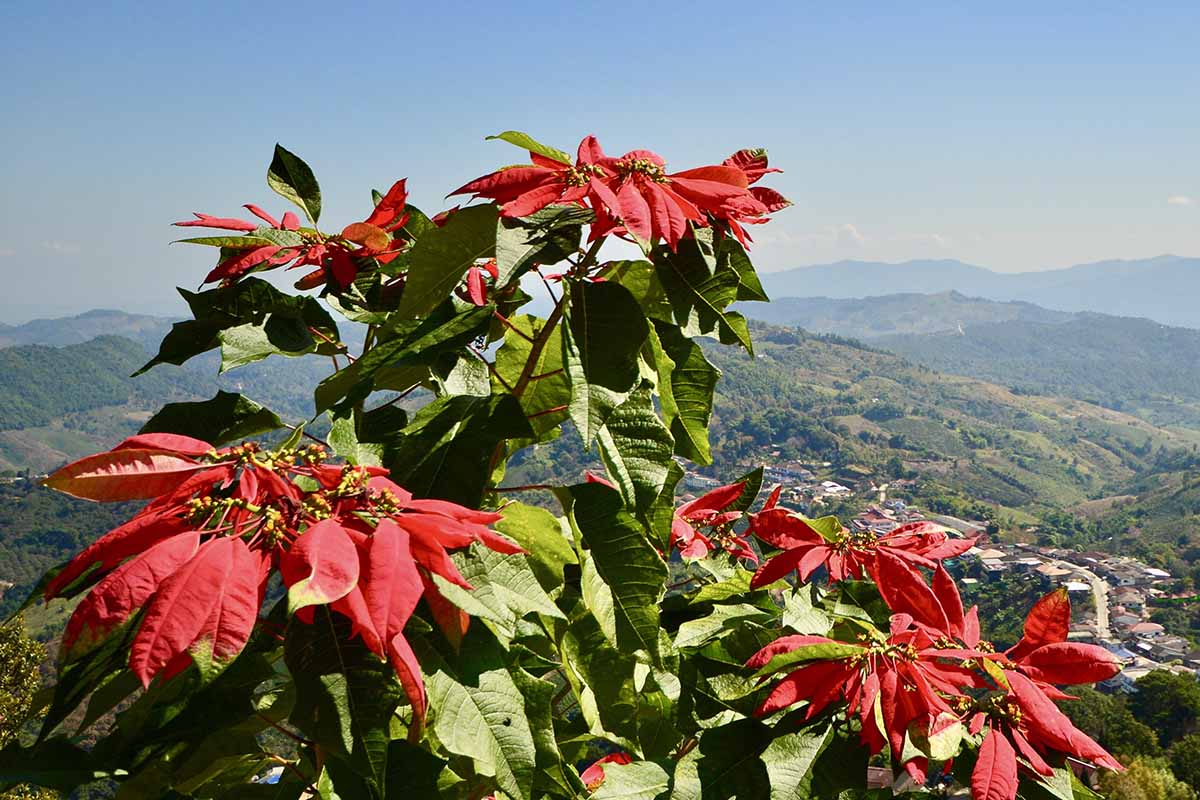
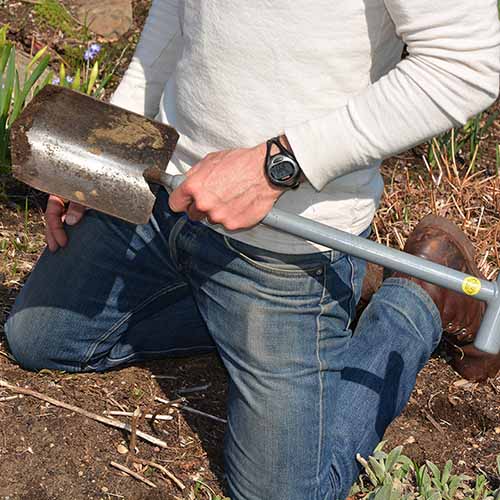
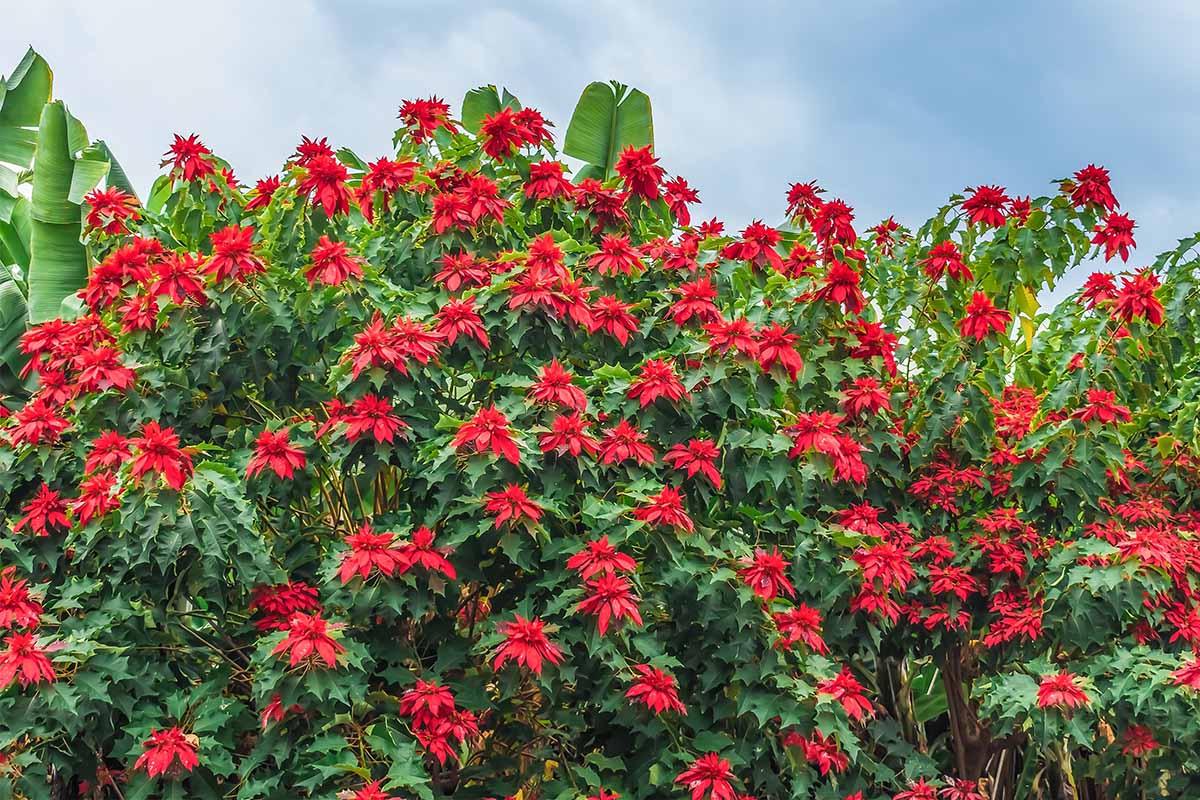
First and foremost: you’ll need a poinsettia. Maybe you’re moving one that’s already in the garden, or you have a potted holiday specimen to transition outdoors. Perfect! If you’re on the hunt for a new specimen, I can hear what you’re thinking: “But which one should I pick? Which one is best?” We’re way ahead of you: this round-up features 35 of our favorite kinds of E. pulcherrima, and it will save you some severe paralysis-by-analysis. Additionally, you’ll need a site fit for transplanting. If you intend to keep your plant outdoors year-round, then you’ll need to grow it in USDA Hardiness Zones 9 to 11. When grown outdoors, poinsettias can reach a mature height of up to 10 feet tall with an eight-foot spread. Make sure to provide adequate spacing from buildings or other plants to account for these dimensions. An environment that’s colder than 50°F will cause premature leaf drop, while subfreezing temperatures will straight-up kill the plant. Select a spot that receives about six hours of direct sunlight. A humid environment is also ideal, so provide shelter from wind or drafts! To bring a transplanted E. pulcherrima back indoors from a spot that’s lacking in year-round suitability, you’ll want to do so before temperatures drop below 50°F to avoid cold injury. Be sure to provide enough room for the roots to spread. A shovel or other digging implement will come in handy for preparing a hole in the growing medium. All-Purpose Steel Shovel This lightweight, compact, 25-inch all-steel shovel from Garrett Wade is maneuverable enough to work around an E. pulcherrima, yet large enough for efficient digging.
Timing
Transplanting into the garden or moving existing in-ground plants should occur in late spring or early summer, when the poinsettia is putting out new growth. Pots that you wish to keep in the landscape can also be sunk into the soil of garden beds and borders in their pots, for easier removal later in the year.
Method and Techniques
Is it transplanting time? Awesome! But hold on just a second. Before you officially move a nursery plant or potted specimen into its new home, it can benefit from being hardened off to the conditions outside. Baby plantings – like the ones you’d propagate at home from a cutting – and established houseplants alike still need to toughen up a bit to adjust to your garden’s environment. If the poinsettia in question is already outside, feel free to skip the following hardening-off procedure. To prepare a poinsettia for the outdoors, simply leave the plant outside for 30 to 60 minutes before bringing it back inside. With every following day, add half an hour to a full hour more of exposure until it can handle a full six hours of direct light per day. At this point, it’s actually transplanting time. In your garden, prepare a hole in well-draining, slightly acidic soil that’s slightly larger than the transplant’s root system. Lower the transplant in the hole and backfill with dug-out soil. Deeply irrigate the plant after transplanting… and that’s a wrap! For a poinsettia that you’re bringing back inside, simply do the same thing, but in reverse. After digging out the in-ground E. pulcherrima, fill an adequately-sized and well-draining container with a 50/50 mix of sphagnum peat moss and perlite. Prepare a hole large enough to fit the plant, place the specimen in the hole, backfill, and water! For post-transplanting care tips, our poinsettia growing guide has you covered. It’s nice to be a gardening generalist, but some specialization every now and again is pretty satisfying. The change of seasons or change of scenery is no longer an obstacle for you. With the power of transplanting in your arsenal of horticultural techniques, there’s no stopping a poinsettia of yours from flourishing both in and out of doors. Still curious about the ins and outs of certain parts of this process? Experiences of your own to share? The comments section is your oyster! For those looking to become poinsettia polymaths, here are some more aspects of these plants to learn more about in our guides:
Are Poinsettia Plants Poisonous?How Cold Hardy Are Poinsettia Plants?How to Care for Poinsettias After the Holidays