We link to vendors to help you find relevant products. If you buy from one of our links, we may earn a commission. In green, white, yellow, and variegated combinations, the leaves – often of enormous proportions – brighten dark areas of the landscape to bring them into vivid focus. Our guide to growing hostas has all you need to know for successful cultivation. This short article offers five tips for successfully moving plants from one part of the landscape to another. Here’s what we’ll cover: Let’s get started!
1. Partner with Nature
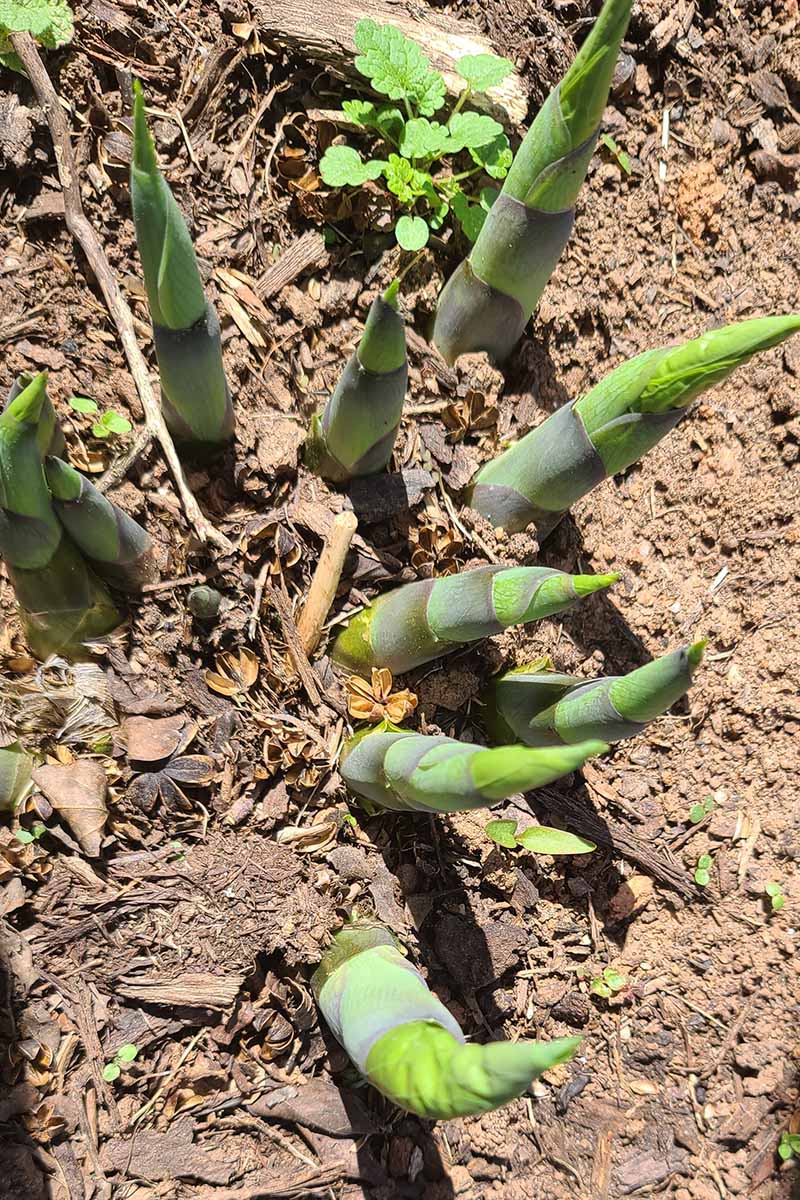
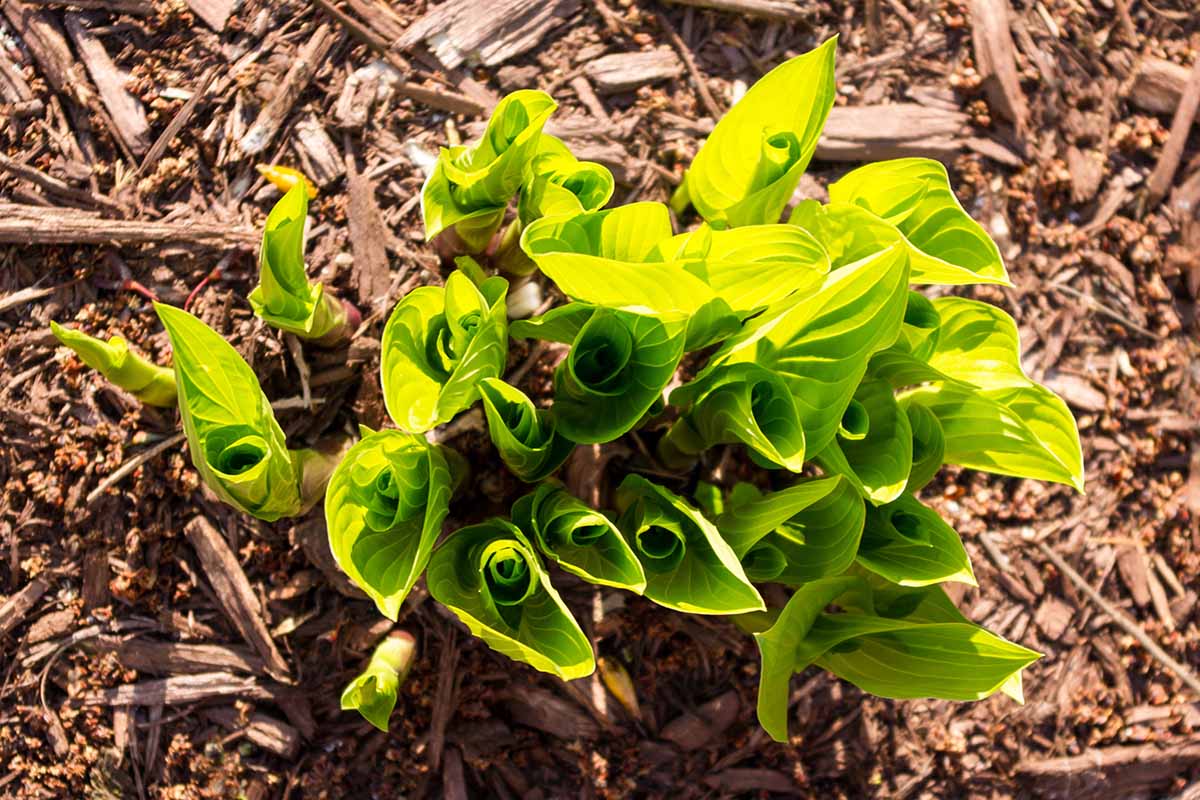
In early spring, pointed shoots appear that signal the end of winter dormancy. They indicate the location and dimensions of hosta clumps, making it easy to know where to dig. There is less risk of leaf damage during relocation without fully developed foliage. Broken leaves are an open invitation to opportunistic pests and diseases that readily penetrate vulnerable plant tissue. Suppose you can’t get the job done in the early spring – no worries. You can dig and move clumps during the growing season through early fall. However, recovery time may be longer for plants with more developed foliage, and roots may not have time to get established before the arrival of first frost if hostas are transplanted too late in the season. In addition to the ease of working with nearly leafless plants in springtime, nature supplies spring rain that fosters strong root growth, and that means less supplemental watering is required by us gardeners.
2. Be Prepared
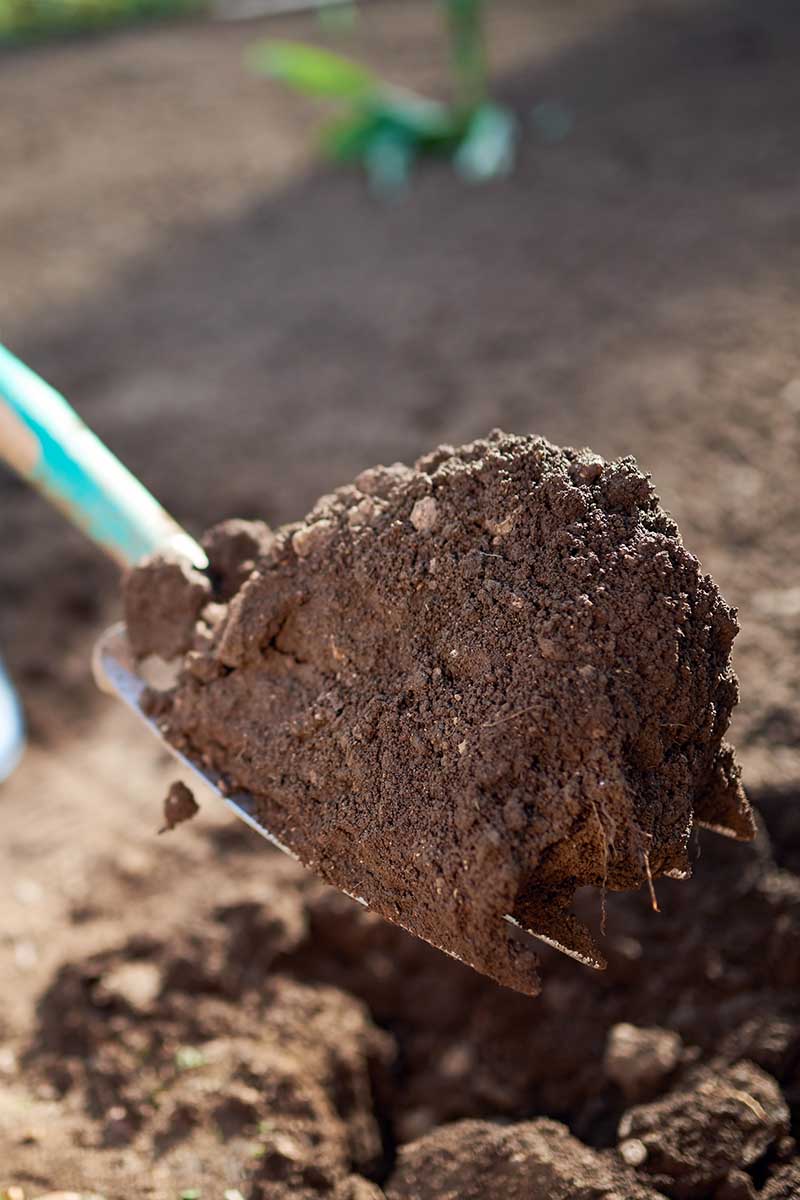
Before wielding a shovel or garden fork to lift a clump from the soil, take a rough measurement of its diameter and decide where it will go. Choose a location in full to dappled shade. Work the soil down 12 to 14 inches and twice to three times as wide as the clump you are relocating. Remove stones and debris to achieve an airy, crumbly consistency. The ideal soil is organically rich and well-draining, with a relatively neutral pH of 6.5 to 7.5. Add amendments like compost and humus to enrich deficient soil as needed. Readying the new location before digging enables a seamless transition in which plants are out of the ground for as short a time as possible.
3. Work Smart
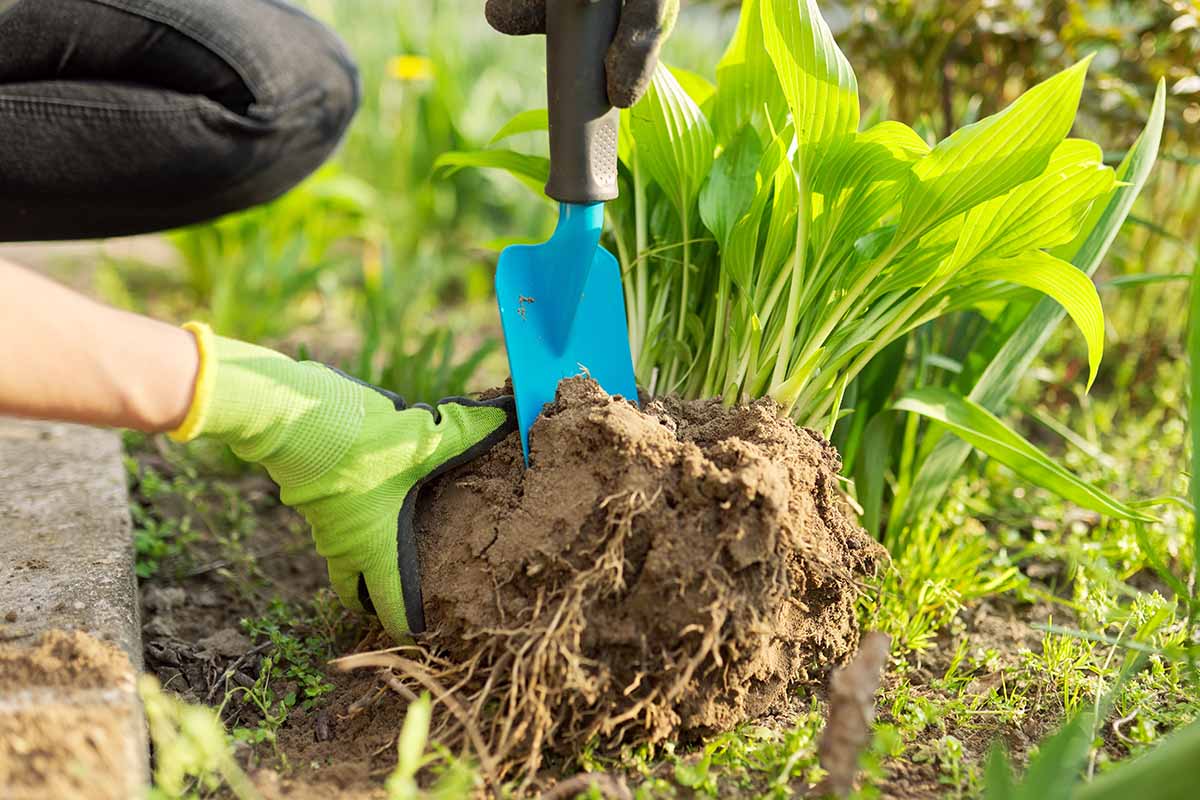
Hostas are often quite heavy. Do not water the day before or the day of transplanting. If it has rained in the last day or so, postpone the job until things dry out. Hydrate before working and go out in the morning before the sun is high. Even early season sunlight can be oppressive for hardworking gardeners as well as hostas. Spread a tarp or old sheet on the ground near the clump(s) you are lifting. Use a long-handled shovel or garden fork that you can push with your foot. Insert it about six inches from small clumps and 12 inches from large ones. Push it in all the way, lifting and digging around a clump. When it is completely loosened, ease the clump onto the tarp. As heavy as it is, keep all the soil attached to the roots to make the transition smoother. Baring the roots is unnecessary and stressful to flora. You can divide the clump into two or more pieces as desired, or slide it whole onto the tarp and drag it to the new site. And finally, take mature dimensions into account when relocating flora to avoid rapid overcrowding in the future. Know your varieties. Some mature species grow to eight feet wide.
4. Transition Quickly
It is essential to plant uprooted flora immediately to minimize transplant shock. There is generally a period of wilting as it gets used to new surroundings, and it may not bloom until the following year. However, these plants are robust and bounce back with vigor once the roots take hold in the new soil. If you forgot to prepare the new site in advance or must put gardening on a brief hold, place the uprooted clump in a cool, shady location and lay a wrung out wet towel over the root ball. The longer it’s out of the ground, the slower the recovery will be, so don’t delay for too long.
5. Nourish and Nurture
Make a well in the prepared soil deep enough to set the uprooted mound at the same height it was in its original location. Setting the hosta mound about an inch above ground level is also okay, as some settlement may occur. However, planting too deeply may result in rotting roots. Backfill and tamp the soil firmly around the perimeter of the shoots. To aid water retention while transplants are getting established, draw more soil toward the plant to create a sheltering “moat” eight to 12 inches away from the perimeter of the crown and four to six inches high. Water inside the moat and tamp the soil firmly. Be sure to aim the nozzle at the soil and not the leaves to inhibit fungal growth. Water a second time and tamp again. Apply an all-purpose, slow-release granular fertilizer in the moat, forming a ring of granules. Keep it away from the shoots to avoid burning them. Add a two-inch layer of mulch over the moat area to further aid moisture retention. Whether you plant seedlings, divisions, nursery plants, or mature relocated clumps, keep the soil moist while they become established. Provide an inch of water per week in the absence of rain, thoroughly moistening the roots without oversaturation and ponding. Feed monthly to support healthy growth, avoiding direct contact with the foliage. Whether you are thinning out a crowded patch or relocating an entire bed, the foliage bounces back from the disruption with vigor when you follow our five tips for success: Keep these tips in mind to make transplanting go smoothly every time, and enjoy lush shade-garden foliage for many years to come. Do you grow hostas? Have you tried transplanting them? Let us know in the comments section below! If you found this article helpful and would like to read more about hostas, we recommend the following:
How to Grow Hostas in ContainersHow to Identify and Manage 7 Common Hosta Diseases19 Favorite Hosta Varieties