And when it includes an abundant supply of apples for fresh eating and to turn into warm baked goods, that reassurance is especially sweet. But if you want your harvest of homegrown apples to last as long as possible and maintain their delicious flavor and crisp texture, it’s important to keep them in the ideal conditions. We link to vendors to help you find relevant products. If you buy from one of our links, we may earn a commission. Here’s an overview of what’s to come:
Fresh Storage
When you consider whether you want to stockpile a fresh supply of apples or turn them into preserves, you’ll need to be realistic about their holding capability. Here’s what I mean:
Best Cultivars
Some cultivars hold up much better in storage than others. In general, thick skinned and tart varieties keep better and for longer than thin skinned and sweet types. If you have a few different varieties, knowing this can help you to decide which ones to put into longer term storage and which to enjoy in the coming weeks. In addition, typically those cultivars with a later harvest date also do better in storage.
Some of the best long keeper varieties include ‘Fuji,’ ‘Granny Smith,’ ‘Honeycrisp,’ ‘McIntosh,’ ‘Northern Spy,’ and ‘Winesap’ – and there are many other cultivars that hold up beautifully for months as well. To check the variety you are growing for how well it will store, you can refer to Tom Burford’s book, “Apples of North America: Exceptional Varieties for Gardeners, Growers, and Cooks.” Apples of North America: Exceptional Varieties for Gardeners, Growers, and Cooks If you are growing a cultivar that typically won’t keep well for the long term, consider putting a few in the fridge for fresh eating and preserve the rest. I’ll have suggestions on how to do that a bit later in this article. Learn more about different apple varieties in our guide.
No Bad Apples
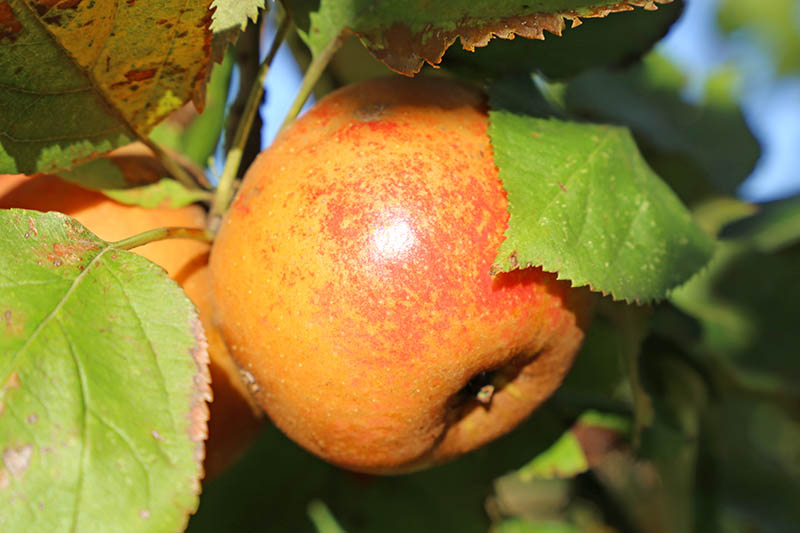
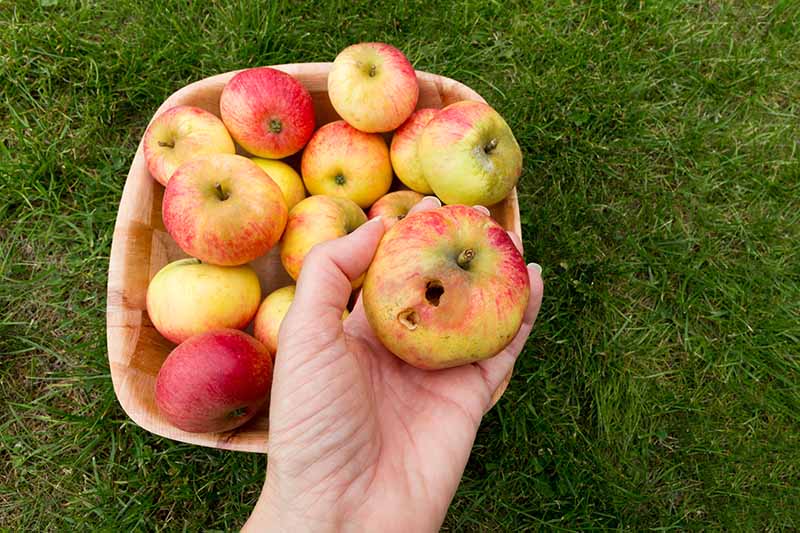
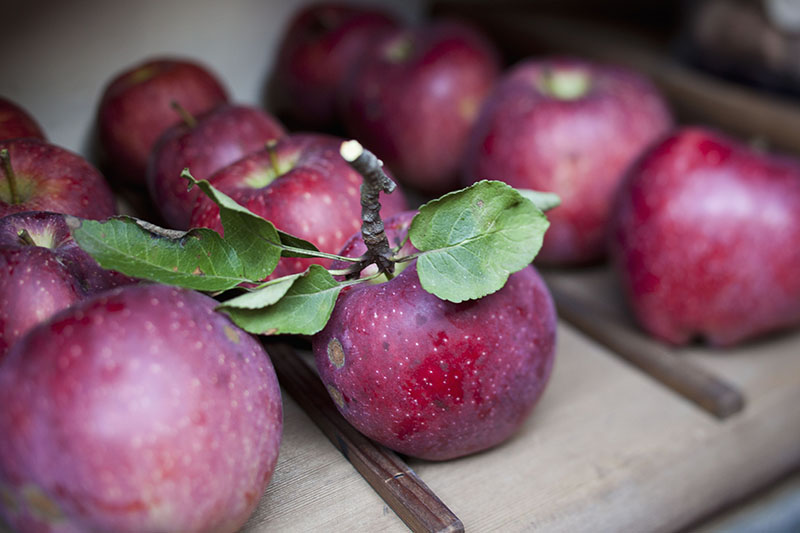
Fresh storage is a good idea for unblemished apples, and most definitely not a good idea for bad ones. You know that saying – one bad apple spoils the bunch. Just as this expression is so often true when used figuratively, it’s also true in a literal sense.
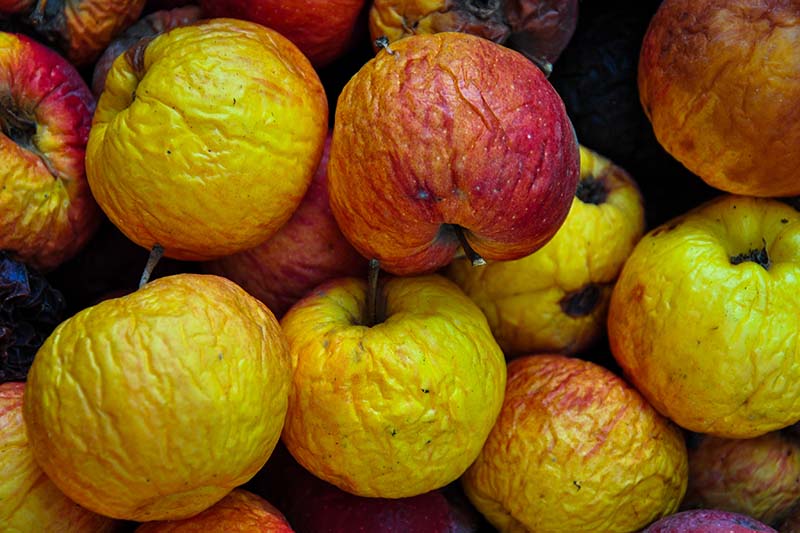
The reason for this is that these fruits emit a ripening gas called ethylene. And the riper the apple, the more ethylene it emits. Blemished, bruised, or otherwise compromised apples emit more ethylene than unblemished ones. If stored together, the gas emitted from a bad one will speed up the ripening process of its neighbors. In addition, damaged fruits that go moldy may infect the rest of your crop. To reduce the number of so-called bad apples in the bunch, proper harvesting techniques will help and it’s particularly important to handle the fruit gently after picking. To select apples for fresh keeping, sort through your harvest and remove any that are blemished, bruised, or have stems missing. Those without stems attached can also ripen more quickly and may provide an entry point for pathogens that can cause the fruit to decay. Having said that, while you don’t want to store blemished fruit over the long term, it doesn’t mean you need to throw them all out.
Imperfect fruit can be preserved through the transformative processes of dehydrating, canning, or freezing. I’ll give you a few tips and ideas for preserving later in the article. Since mature apples hold up better than ripe ones, keep the ripe ones for short term storage or preserve them. You can read more about how to distinguish mature apples from ripe ones as well as how and when to harvest your apple crop in our dedicated article.
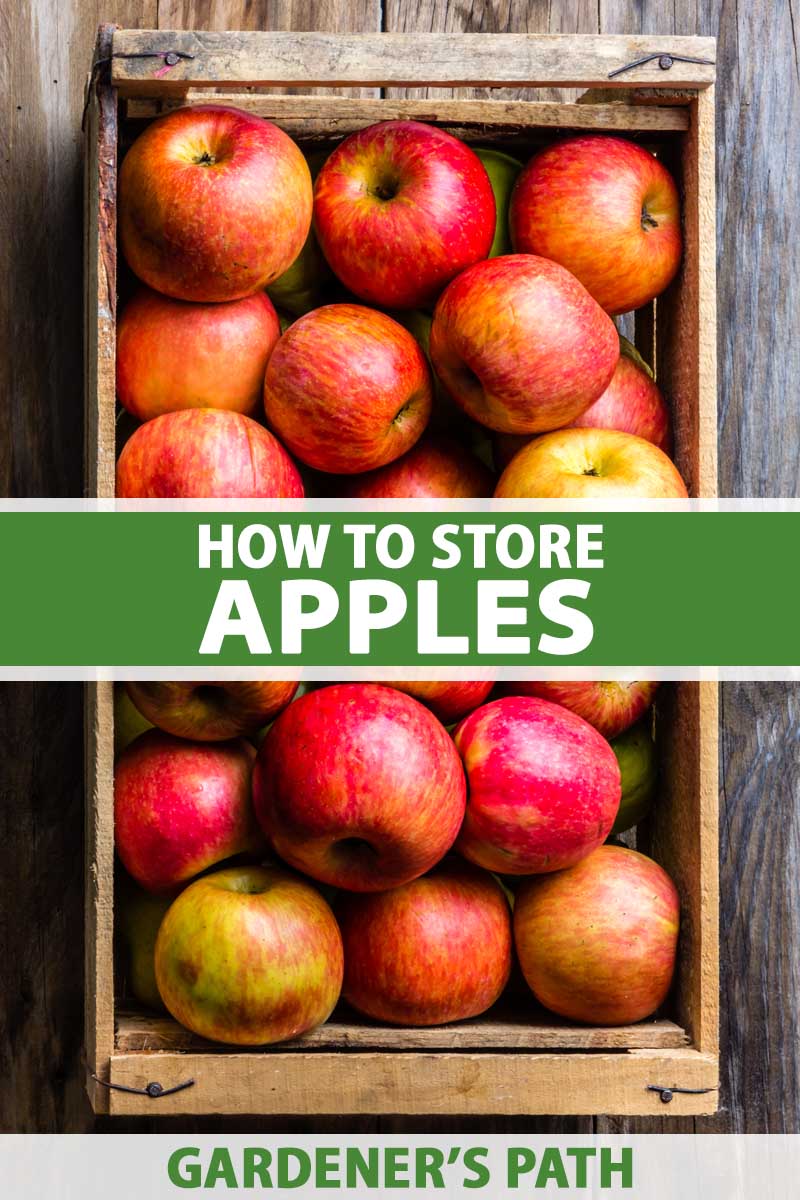
Ideal Storage Conditions
Now that you have culled your crop of any bad apples and are ready to store the good ones, let’s get down to the nitty gritty. This fruit will be of the highest quality and last the longest when it is kept at a temperature of 32 or 33°F. According to Emily E. Hoover, Extension Horticulturalist at the University of Minnesota Extension, apples maintained at this low temperature will last up to ten times longer than those kept at room temperature. That doesn’t mean you can’t keep your crop at a cool temperature that is higher than 32°F. They just won’t last quite as long. Along with this rather frosty temperature, these fruits should ideally be stored at a humidity level of 85-95 percent. Those kept at lower humidity have the tendency to dry out and shrivel over time.
When provided with these ideal conditions, some apples can be successfully stored for up to six months. But do be aware that just because 32°F is good, that doesn’t mean that lower is even better. These fruits will freeze when exposed to temperatures of 29°F for more than just a brief period of time, so when you choose your storage location, make sure the temperature will remain consistently above 29°F.
Storage Locations
There are probably very few of us who have a storage location with a temperature of precisely 32°F with 90 percent humidity. But remember, those are simply the ideal conditions for long-term storage. Even in less-than-ideal conditions, your harvest will still keep longer in a cool, dry, dark place than it would in a fruit bowl on the kitchen counter. Here are a few options:
Refrigeration
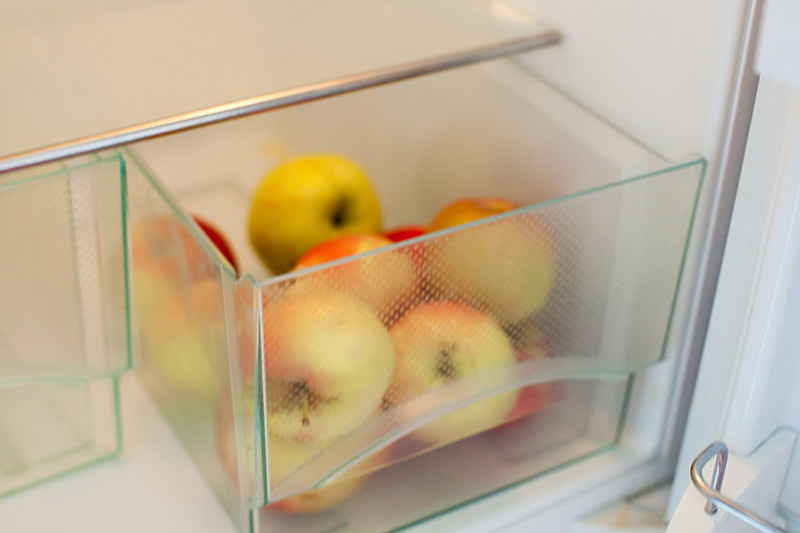
For smaller harvests, especially those that are thin skinned or were picked when fully ripe, your location of choice may be the crisper drawer of your refrigerator. Do you know how cold your fridge is? Don’t feel bad, I didn’t know the precise temperature inside my refrigerator either. Food safety experts recommend maintaining fridge temperatures between 33-39°F. This range will do just fine for keeping your apples fresh – if you can spare the space.
Before placing them in your crisper drawer, put your apples in perforated plastic bags. The bags help maintain humidity while the perforations prevent too much moisture from building up around the fruits. Alternatively, you could keep them in a loosely covered container. For larger hauls of fruit, you may want to consider keeping them in an extra fridge. If there are no other frost-sensitive fruits or vegetables in it, you can adjust the temperature to the coolest setting. When you store your harvest in a refrigerator, remember that this fruit emits a ripening gas, ethylene, and you’ll need to keep other fruits and vegetables separate to prevent them from going bad faster than usual. Apples will last 30-90 days in refrigeration, depending on the variety.
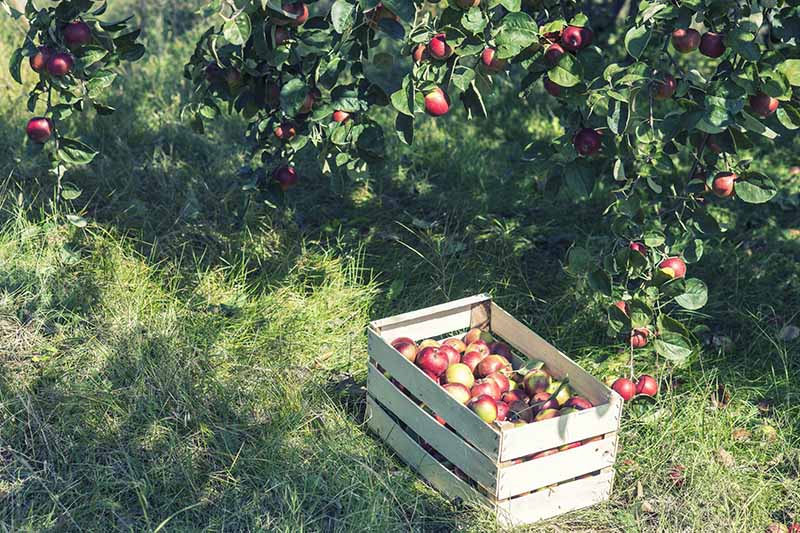
Cool Storage
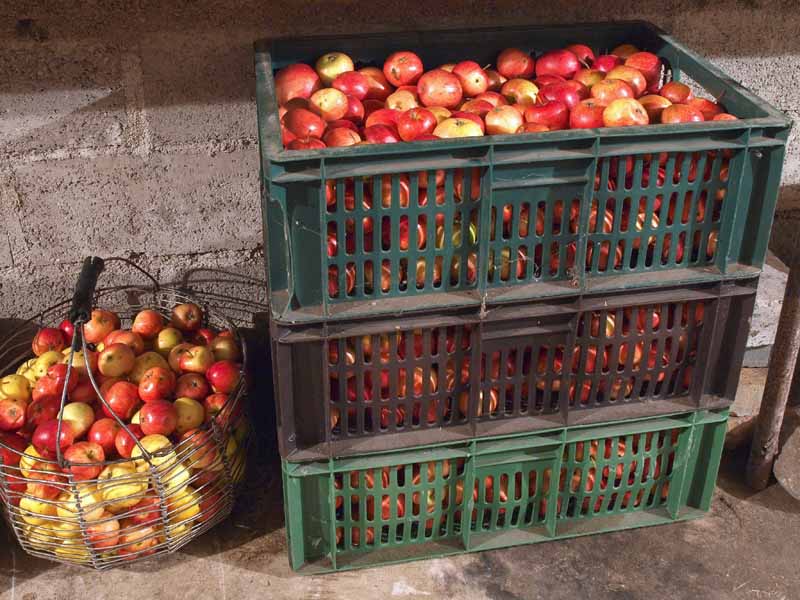
If you have a large harvest that won’t fit in your fridge or you don’t want it taking up any valuable refrigerator real estate, there are other locations where you can store your apples. Depending on your climate, your options might include an unheated basement, a garage, or a root cellar.
If you have a room on the north side of your home or a covered patio that remains cool during the winter, either of these might also be an option. Wherever you choose to store your crop, remember that you want to be sure that the temperature will remain above 29°F at all times. When you have selected a storage location, you’ll need some shallow boxes, or a wooden or metal rack that allows air to circulate.
One method commonly used to store this crop is to wrap each fruit in newspaper or kraft paper. I like to reuse the plain brown shipping paper that comes as padding with my online purchases for this purpose. Alternatively, you can place them in a box, each one surrounded with straw to prevent them from touching. Another potential storage medium would be to nestle your harvest into a barrel of biochar. While I haven’t tried this method yet myself, some friends of mine who are keen biochar gardeners claim it keeps the fruit wonderfully fresh and crisp through the winter. When you have chosen your preferred storage medium, place the apples in a single layer on your rack or in your containers and make sure none of the fruits are in contact with the others.
Black Owl Premium Organic Biochar If the relative humidity in your storage location is low, you can also keep them in individual perforated plastic bags instead of in paper, straw, or biochar. After your fresh harvest is put away, you’ll need to check it weekly and look for signs that any of the fruits are ripening too fast or going bad, and remove those to protect the rest. You may also want to note the date of storage in your garden notebook.
Processing Methods
Now that you have safely put your good keeping apples away, it’s time to deal with the ones that didn’t pass the test for fresh storage. Any fruits that have blemishes, missing stems, were subject to freezing while on the tree, or are otherwise not suitable for long keeping can be preserved in a variety of different ways.
Freezing
Probably one of the easiest methods of preserving these fruits would be to put them in your freezer until you’re ready to use them.
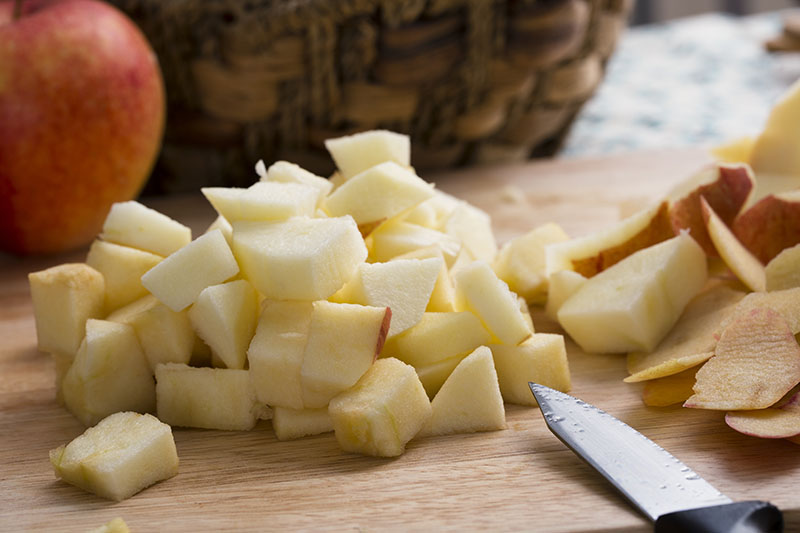
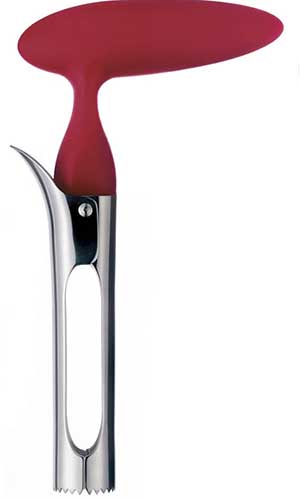
Since frozen apples will lose their crisp texture, you will probably want to reserve them for making applesauce, baked goods, or other recipes where texture is not important. Remove and discard any badly blemished areas, then cut the fruits into slices or cubes. Lehman’s carries a very well-designed model that comes with a core release feature, making the work of prepping a large batch of apples for preservation much quicker and easier.
Easy Release Apple Corer Once you have cored your fruits, you can either remove the skins or leave them on. It’s fine to freeze them with or without skin, so it really depends on your personal preference. To prevent your slices or cubes from going brown, dip them in a mixture of eight parts water to one part lemon juice. Alternatively, you can steam blanch them for one and a half to two minutes to stop the enzymatic processes which cause browning.
To prevent the pieces from sticking together, spread out the slices or chunks on a baking sheet, place the baking sheet in the freezer and when the pieces are frozen (usually within a couple of hours), transfer them to a plastic freezer bag or other airtight container. Label your containers with the freezing date, and use your stash within eight months for the best quality. Are you interested in learning about the benefits of freezing vs. canning as preservation methods for your fruits and veggies? Check out this article on our sister site, Foodal.
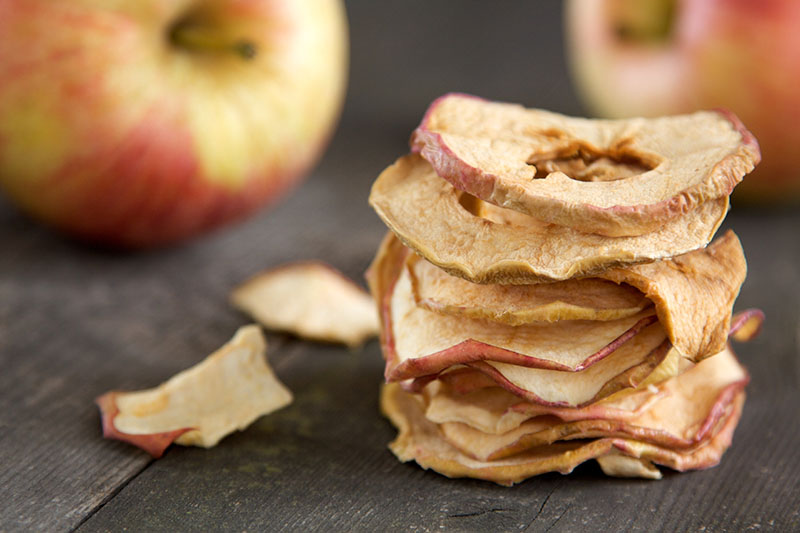
Dehydrating
If you want an easy method of preserving apples for later use but are running out of freezer space, dehydration is a great way to turn these fruits into healthy, sweet snacks. Dried apples are one of my favorite snacks when my sweet tooth is acting up!
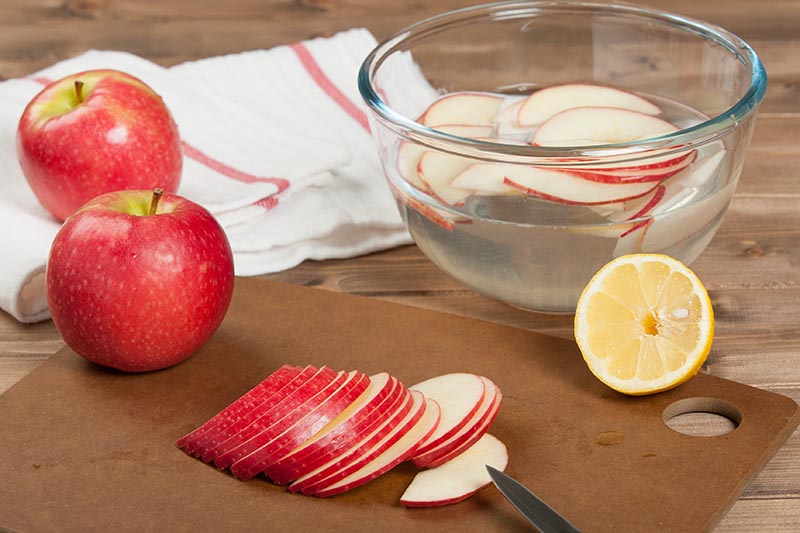
This fruit can be dried in the oven on a low temperature, or in a dehydrator. To do this, core and slice them thinly – about 1/8- to 1/4-inch – and soak the slices for three to five minutes in a mixture of eight parts water to one part lemon juice to prevent browning. Drain and pat dry before placing the slices on a wire rack over a baking tray to allow for air circulation. Place in a 100°F oven for two to four hours and check frequently, turning if required. Allow them to cool on wire racks before transferring to an airtight container. Store in a cool, dry place and they should keep for up to a week. To learn more details of this process, check out this guide to dehydrating food on our sister site, Foodal.
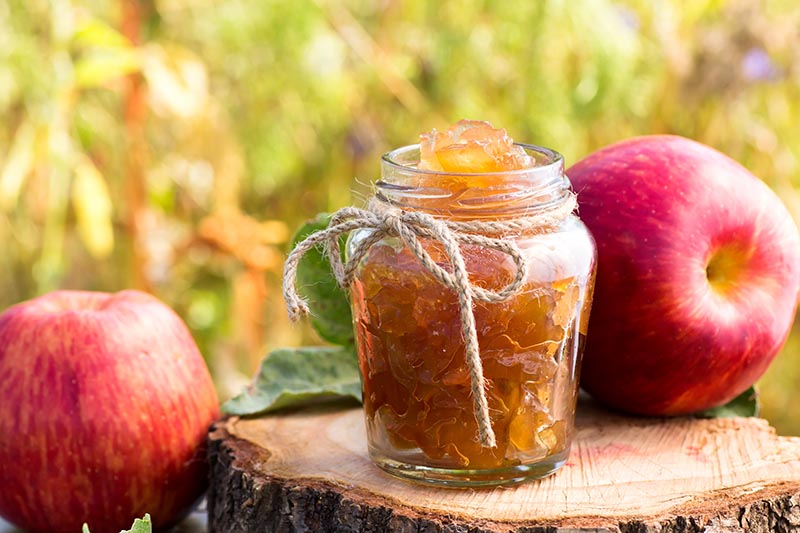
Canning
When it comes to canning, these autumnal fruits can be transformed into many different incarnations: preserves, jam, jelly, applesauce, apple butter, pie filling, or even juice.
It’s possible to can apples with either a pressure cooker or a water bath canner. Just be sure to follow safe canning practices – you can learn more about canning foods at home on our sister site, Foodal.
Sweet Abundance
You have many options for storing the sweet abundance of your apple harvest: you can put it into refrigeration, a cool location, or transform it into frozen, dried, or canned preserves.
And if you have a particularly green thumb, perhaps you have enough fruit to dedicate some to each method, to vary your fall and winter pleasures. How do you plan to store your harvest? Let us know in the comments section below. And for more information about growing apples, check out these guides next:
Growing Apple Trees: A Fruitful Primer How to Prevent and Control Powdery Mildew on Apple Trees How to Identify and Prevent Apple Cork Spot
© Ask the Experts, LLC. ALL RIGHTS RESERVED. See our TOS for more details. Product photos via Burpee, Lehman’s, and Timber Press. Uncredited photos: Shutterstock.