With the first, you focus on the seeds themselves, and do all you can to grow the Cucurbita pepo, C. moschata, or C. maxima.varieties that produce the best seed harvest for roasting. The other way is to consider them as a secondary benefit, collecting them for consumption only after you’ve carved the jack-o’-lanterns, made the pies, or taken down the autumn display. We link to vendors to help you find relevant products. If you buy from one of our links, we may earn a commission. And hey, no matter which goal you’re pursuing, the best timing and the scooping and drying methods are the same. That’s the process I’ll share coming up. Here’s what we’ll cover:
Best Pumpkin Varieties for Seeds to Eat
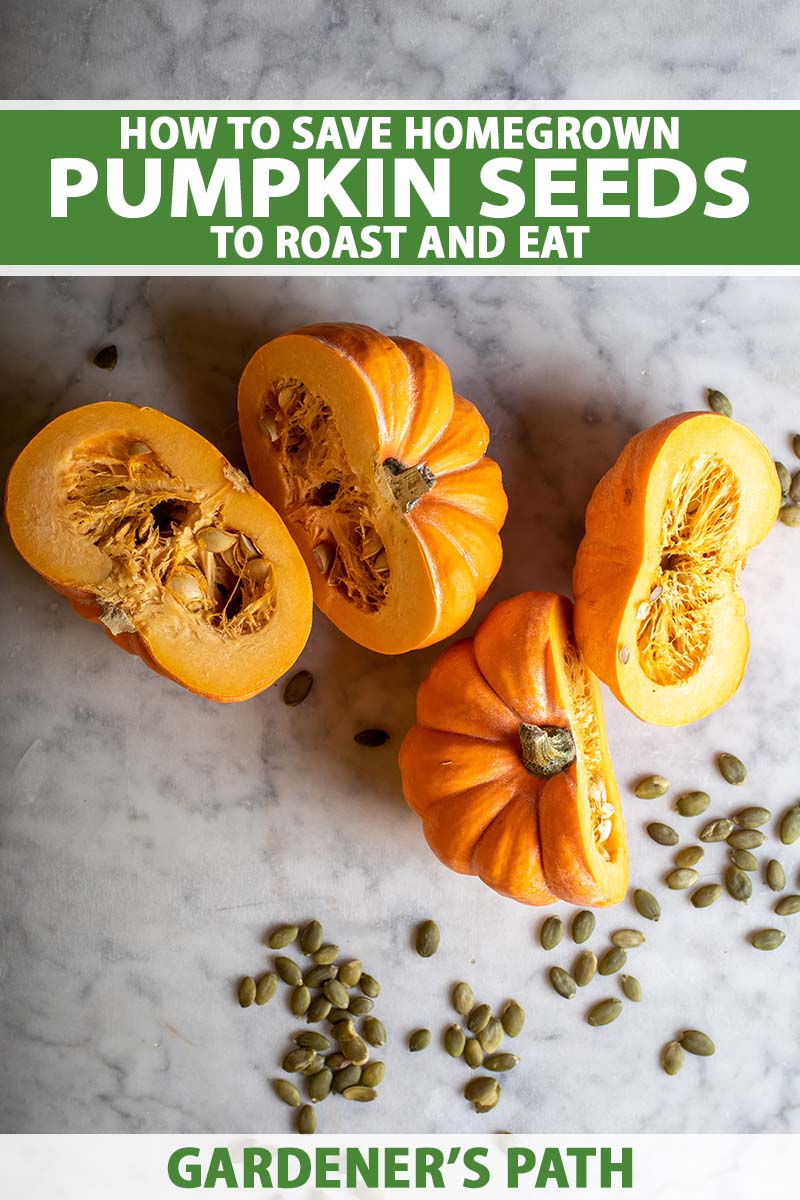
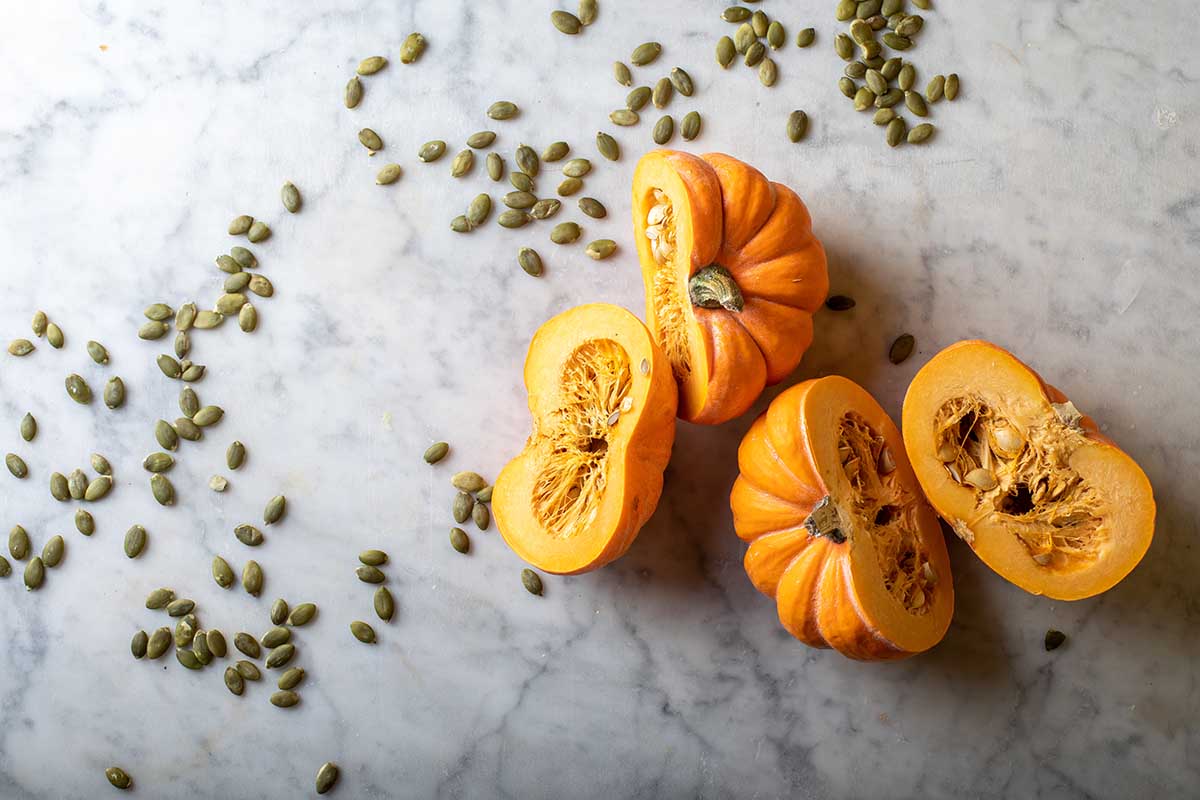
I’m not going to pull any punches here. If you want to focus on growing your own pumpkin seeds for snacks, and to add to baked goods and float on autumnal soups, the best by far are the hull-less varieties, often called pepitas or “naked” seed pumpkins. These are C. pepo cultivars, just like many jack-o’-lantern and pie varieties, but the seeds within the fruits don’t have an exterior coat. That’s right, they come out bright green with nothing more than very thin, papery skins. This type is often known as Styrian or oilseed. A couple of cultivars you might like to grow include ‘Lady Godiva’ and ‘Williams Naked Seeded.’ The snacks you buy from the grocery are usually of the hull-less variety. If you’ve decided to grow one of these types for your next harvest, I can recommend ‘Pepitas’ from experience. It’s a hybrid vining type that grows a couple feet tall and then spreads 10 to 13 feet. It has the dual appeal of attractive medium-size fruits for decorations, and seeds that don’t need to be hulled before roasting. When you’re primarily using the fruit for recipes, carving, or as part of a fall display, any variety is fine. Unlike those you save for planting next year, you can hull and roast seeds from hybrid pumpkins, no problem. ‘Pepitas’ ‘Pepitas’ are available from Burpee. I will also recommend the types that contain seeds with hulls, which you can roast hull and all, and then shell or not as you please. They’re also tasty and nutritious, but they’re a lot more labor intensive if you’re aiming to eat the nutty centers without the coats. In fact, you can even roast those from an acorn, ‘Hubbard,’ or other winter squash if you prefer. They’re a tasty little extra! But if the seeds are your prime focus and you’re not planning to grow a naked seed cultivar, do opt for a field pumpkin, or one that’s been bred as a jack-o’-lantern pumpkin. They’ll have thinner shells, which makes prying out those tasty morsels way easier. You’d think I might recommend the extra-big varieties, like ‘Dill’s Atlantic.’ I would certainly advise you to cook each and every one if you do grow one of these 200-pound-plus behemoths, but I wouldn’t grow a biggie just for the sake of gleaning a lot of seeds. For one thing, a single vine can take up 50 square feet of growing space, and it might only produce one big pumpkin. Also, those giants are tough to move, and you have to practically dive inside to remove the pulp. I prefer to grow the more manageable-sized varieties with thin rinds for a sizable harvest.
Pick a Pumpkin With the Most Seeds
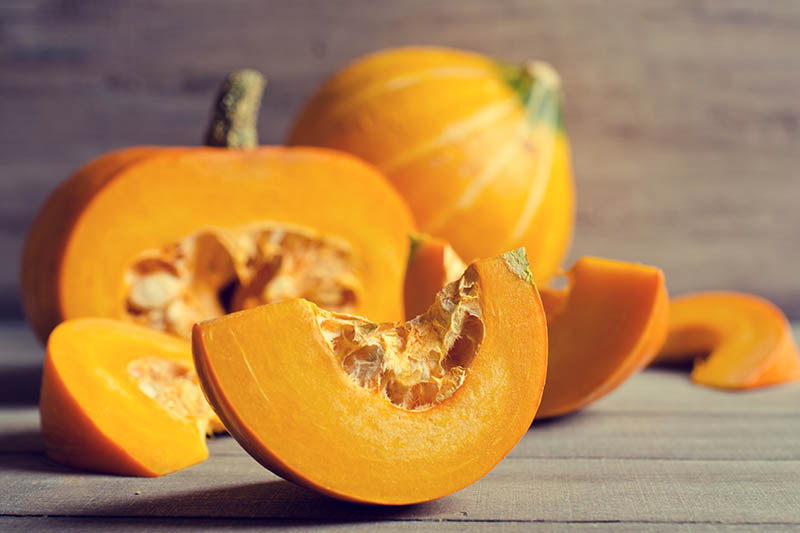
You can also maximize the number of seeds you collect by choosing fruits carefully. ‘White Queen’ ‘White Queen’ is available from True Leaf Market in packets and bulk. First, make sure that it’s ripe when you harvest, and then wait about three weeks before scooping the seeds from inside. The seeds keep maturing after the fruit is ready for harvest. You can find lots of tips for ripeness and harvesting in our guide. If you find your pumpkin at a market and it’s the customary color for that variety, it’s probably ready. For homegrown varieties, you’ll have inside knowledge of the timeline. And this is one of those times when you can wait for your convenience, up to a point. The seeds will still be fresh and a good size for a few weeks after that 20-day waiting period, so you can cull them when you’re ready to cook the flesh or carve your jack-o’-lantern. But don’t let the pumpkins get overly ripe. Once they’re a couple months old, you run the danger of finding that the seeds inside have started to germinate. You’ll also be able to get more from the fruits that are biggest among the variety you’re growing. If you’re not planning to process your whole crop, start with one of those. If the fruits are so big they’re cracking, note that they’re overly mature, and you may find sprouts or mildew inside the cavity.
Remove and Process the Seeds for Eating
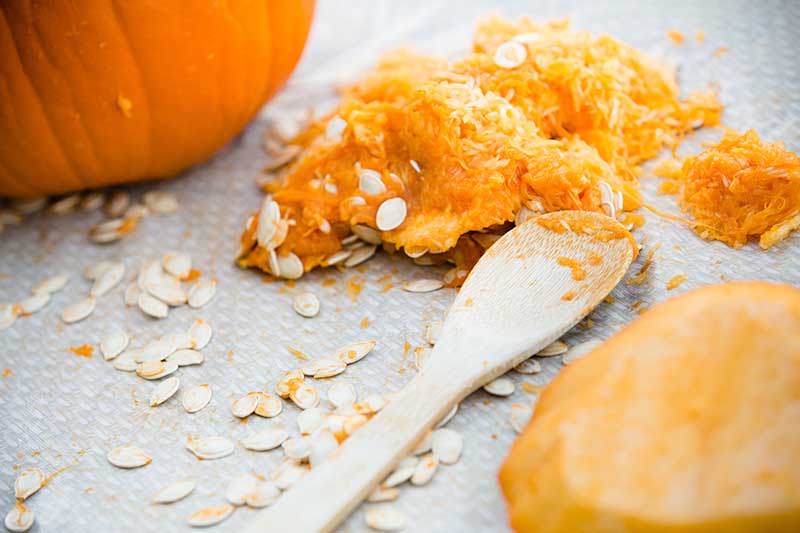
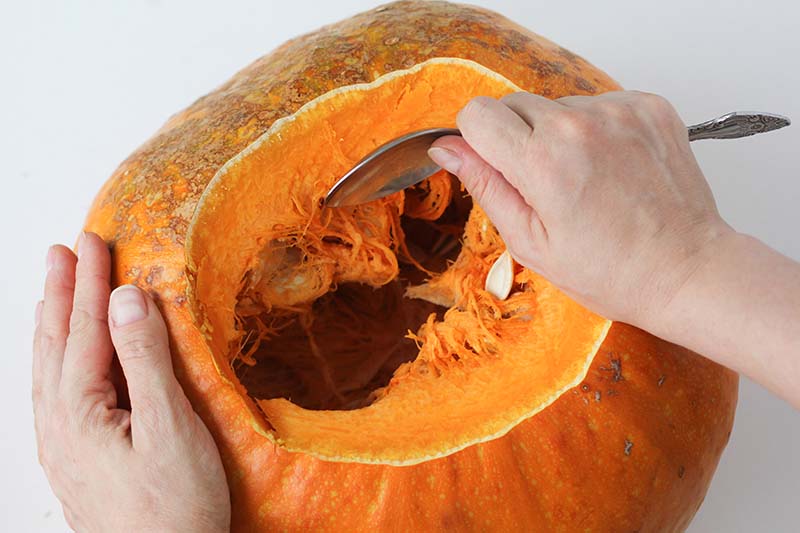
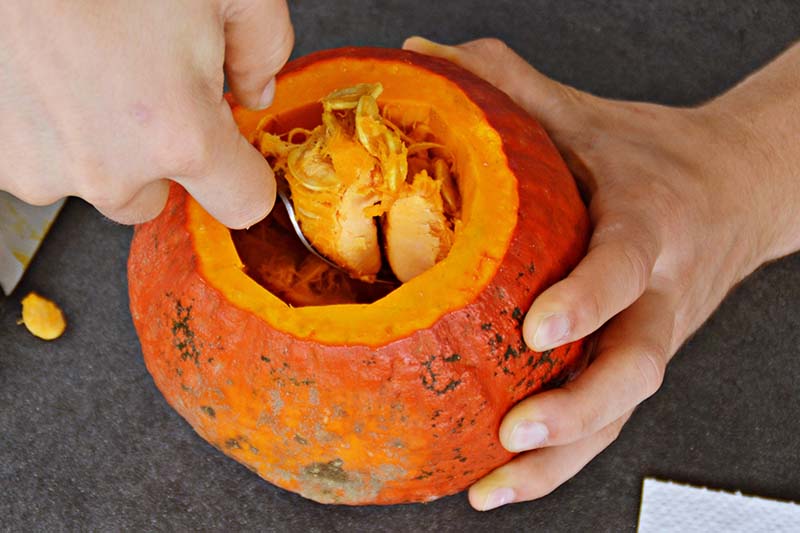
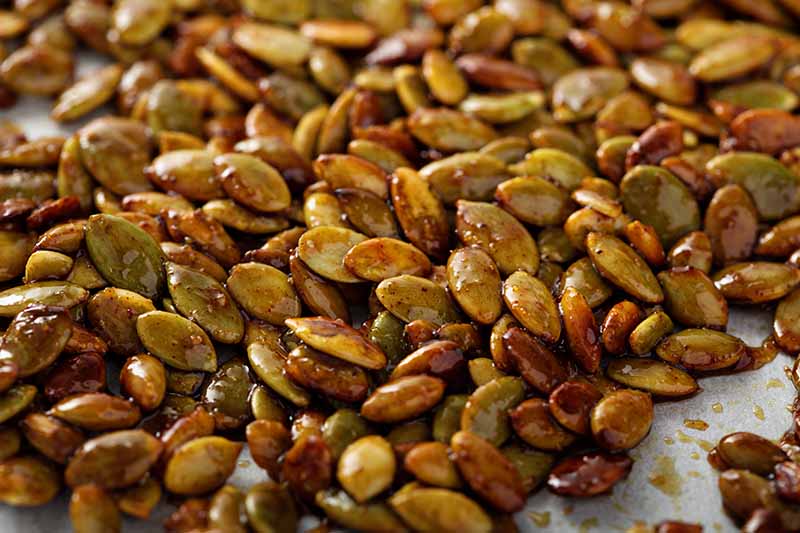
For this step, you’ll need a sharp knife. And please, be careful! If you’re planning to roast the flesh, go ahead and hack the whole fruit into pieces, and then cut or spoon the pulp away from the flesh. Those saving seeds as they carve a jack-o’-lantern can just scoop them out of the cavity with the pulp. However you obtain the mass of pulp, place it into a colander and run cool water over the top while you rub the seeds out of the pulp with your hands. Then let them dry completely on a baking sheet, towel, or a piece of newspaper or parchment. Once they’re dry to the touch, which may take a couple of days, pick out any remnants of dried pulp and dispose of it. At this point, you can eat those collected from “naked” varieties raw, either as a fresh snack or as a crunchy, green salad topping. Raw pepitas aren’t as crisp or sweet as the toasted ones, though. You can technically also eat the fresh seeds that have hulls, but they have a thin flavor and are fibrous to a fault. It’s okay to sample one or two or let your kids do so, but that’s more of a novelty, not something you’ll want to serve as a snack for family or guests. The toasted version, though, is delicious as a snack and makes a prime Halloween party appetizer, especially if you spice it with a free hand. I also like to take the roasted ones on road trips, as something nutritious yet salty to chew over the long hours. To learn the basics of roasting your haul, check out this recipe from our sister site, Foodal, for Homemade Toasted and Seasoned Pumpkin Seeds. I also encourage you to take an extra step to assure the fibrous hulls get extra crispy. First, air dry them on a clean kitchen towel or paper towels as usual. Then let them dry further on a baking pan in an oven preheated to 350°F. Spread them in a single layer. Five minutes of oven drying should be enough, and then you can proceed along with coating them in oil, and finish the rest of the recipe. To roast pepitas, toss each cup of kernels with a teaspoon of olive oil, spread them in a baking pan, and bake in a 325°F oven for about 15 minutes. Since they’re “naked,” pepitas don’t need that extra drying time to assure crispy hulls either. Watch them carefully as they cook, since the oily portion is exposed directly to the heat, which makes them more likely to burn if the temperature is too high or they’re in the oven too long. Using a spatula, toss the warm pepitas with a teaspoon or so of your favorite seasoning mix, and a half teaspoon of salt, right in the pan you used to bake. Allow them to cool before serving or storing in an airtight container for up to a week. To be honest, I can’t imagine a household where this savory snack would not be eaten in a matter of hours, but maybe you have that kind of restraint! Why not give it a go the next time you need a fun kid-adult project? And if you’re already familiar with collecting and feasting on C. pepo or C. maxima seeds, fellow readers would appreciate your tips or questions. Add either to the comments section below. Also, if this coverage put you in the mood for more info on planting and eating these fall favorites, check out these pumpkin guides next:
11 of the Best Pumpkin Varieties for Cooking5 Reasons Your Pumpkin Isn’t Producing FruitHow to Train Pumpkins to Grow on a TrellisHow Long Can You Keep a Pumpkin? Post-Harvest Storage Tips
