One leaf or a single offshoot can become a new plant in a matter of days, and this is a simple and inexpensive way to obtain new houseplants to share or keep. We link to vendors to help you find relevant products. If you buy from one of our links, we may earn a commission. Here’s what to expect:
How to Root Aloe Vera Cuttings
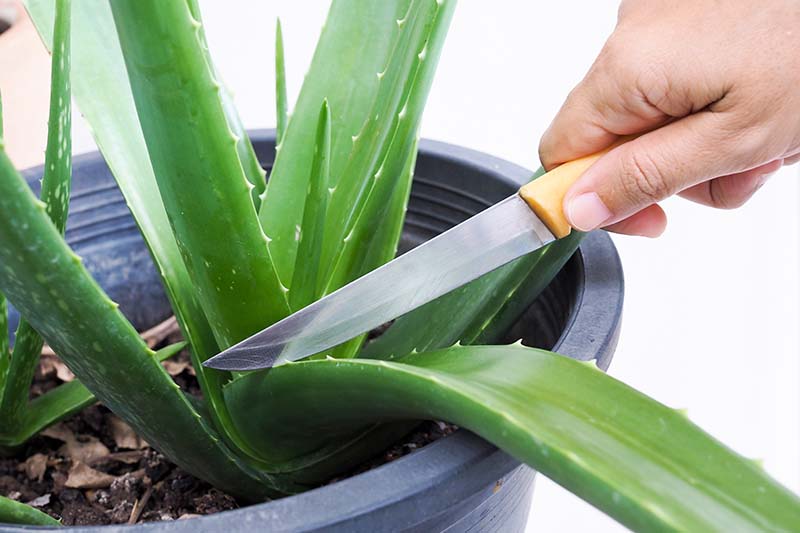
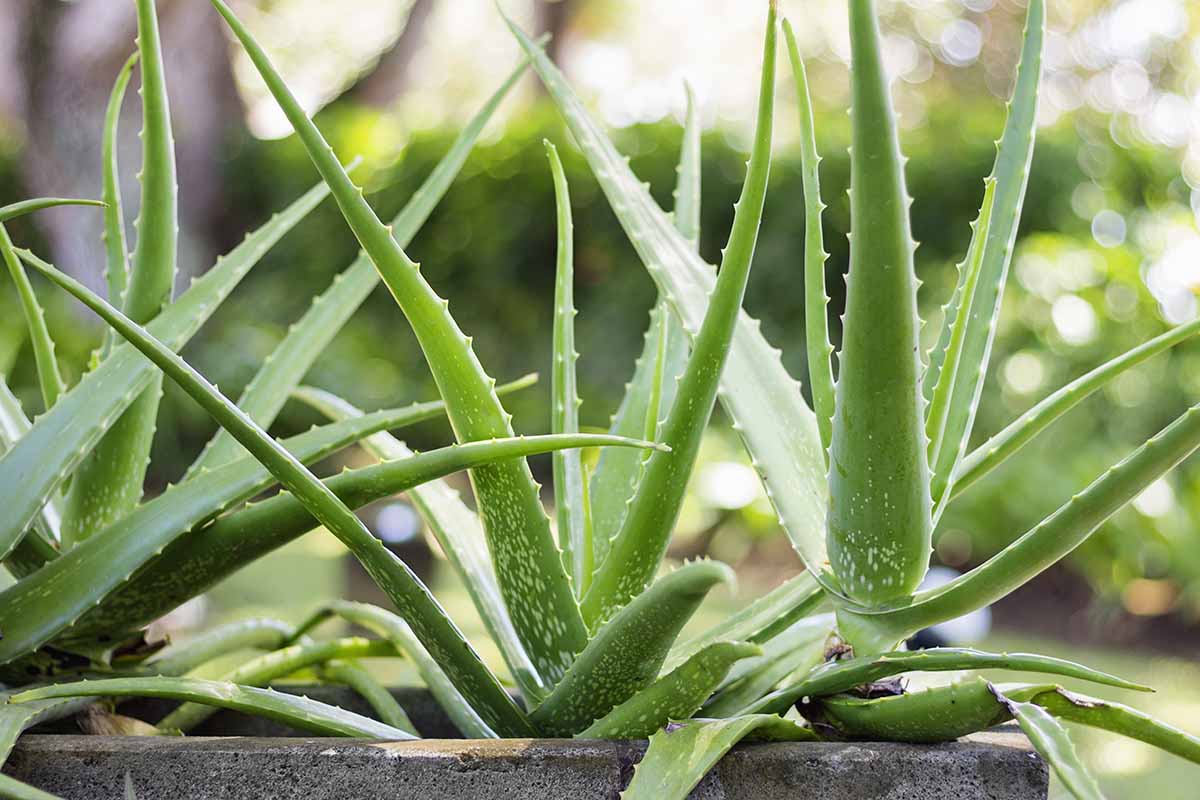
Before we start, I have one clarification. The easy-to-root aloe I’m talking about is A. barbadensis, the most popular and widely grown variety, also commonly and botanically referred to by the synonymous name A. vera. This is the fleshy, fast-growing type you’ve probably seen on many a kitchen windowsill. When crushed, the leaves release a gel that can soothe minor burns or sunburn. Other aloe species are a bit pickier about propagation, and it’s quite tricky to root the leaves. Some of them do produce offshoots that you can divide and pot, while others do not. Even with robust, quick-growing aloe vera, starting new plants from leaves is a second choice, because the leaves will not root reliably one hundred percent of the time. But cutting some leaves doesn’t hurt the plant, and this will in fact encourage new growth. Just don’t remove more than about a third of the plant at a time. When you don’t want to wait for the full-fledged pups to develop, root cut leaves instead. To start, you’ll need a knife, three-inch pots, and cactus potting mix. Oh, yes, and a mature plant with at least 10 full-size leaves. Start by making a clean cut with a sharp knife across the base of a leaf that’s at least four inches long. Set the cut leaf on a clean towel on the counter, and let the cut dry out for a few days. This is the do-or-die step. Sometimes the leaves will start rotting, instead of forming a sort of scab at the site of the wound you inflicted. Toss any rotting leaves in the compost, and proceed with any that healed over where they were cut. Place each into a three- or four-inch pot of pre-moistened cactus mix with added perlite, jabbing the cut end about half an inch into the soil. Keep the soil moist but not wet, and place the pot on a sunny windowsill. The cuttings should receive at least six hours of strong light from a grow lamp or indirect sunlight each day. The cuttings should develop roots somewhere between a month and six weeks after you cut them from the parent plant. Once the leaves have roots, care for the new plants the same way you would young pups, following the suggestions outlined below.
Separate Pups for New Plants
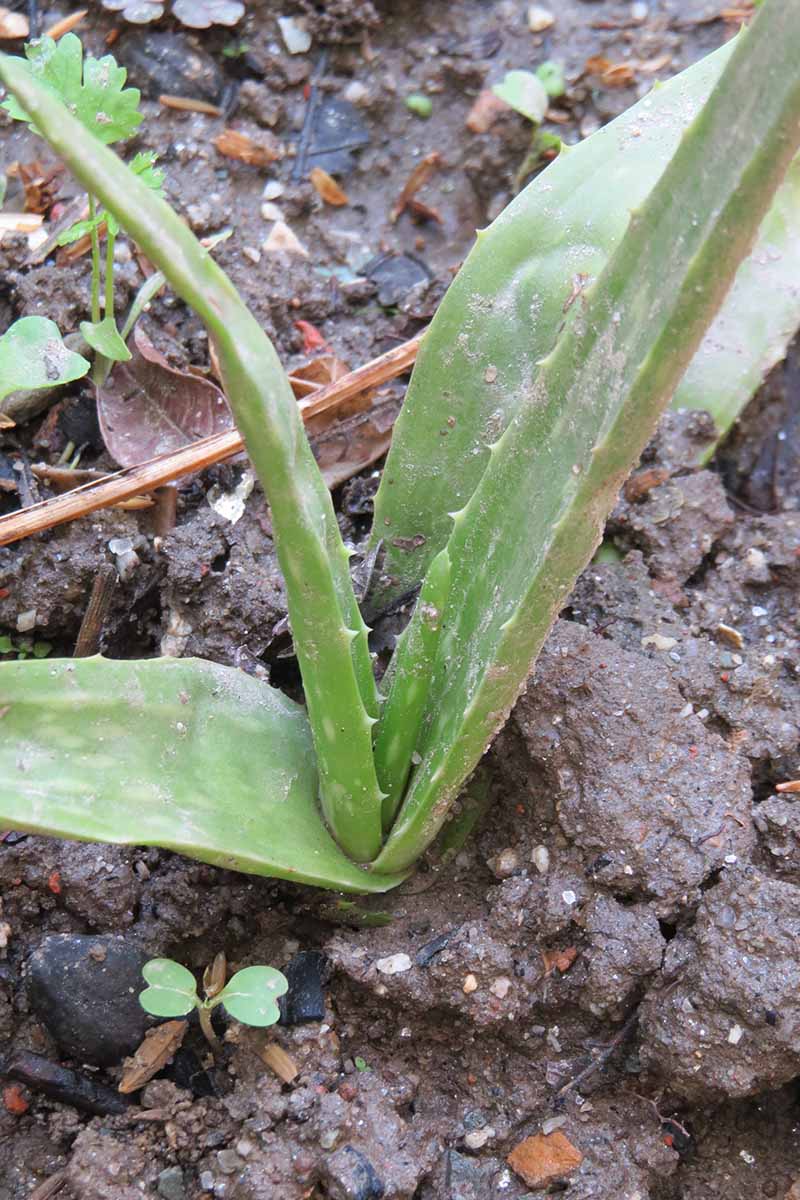
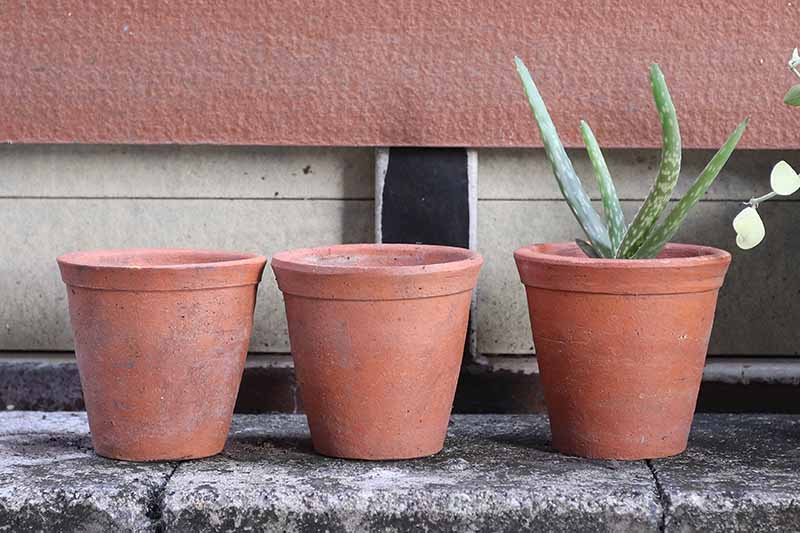
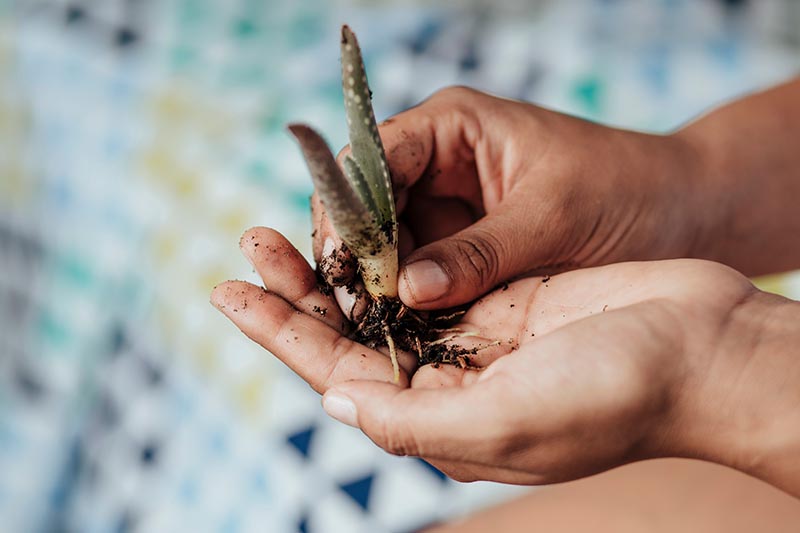
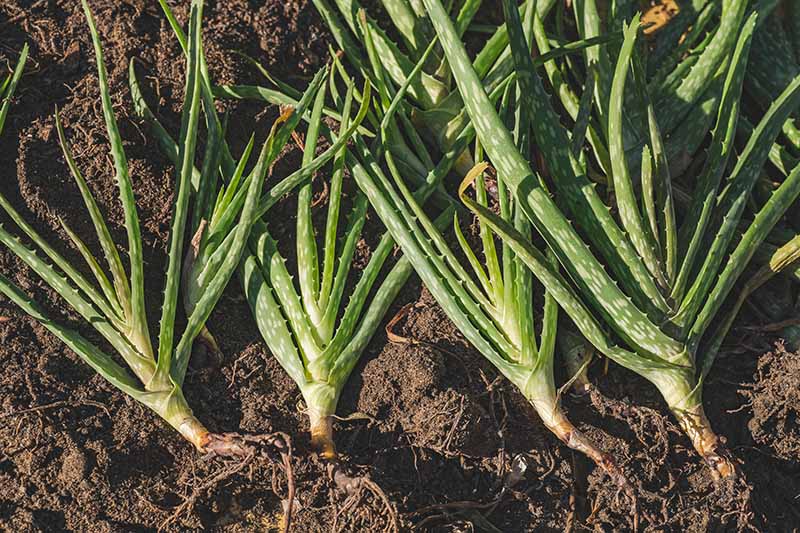
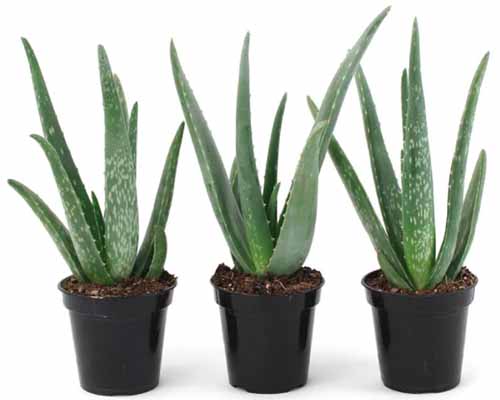
Separating a baby plant that forms at the base of mature aloe vera is simplicity itself, and this is the ideal way to quickly obtain new houseplants. These offshoots are also called “pups,” and you’ll need to prepare their new homes ahead of dividing them. Each pup should be about three inches tall already when you divide it, to assure that it has a root system that is developed enough to live on its own. It will need its own container that’s about three inches wide with a drainage hole at the bottom. You’ll also need a saucer, plate, tray, or plastic lid to catch any water that drains from the pot. This is one of the rare times a clay pot that’s not glazed is preferred, since it dries out quickly and these succulents do not like too much moisture. Plain plastic containers are also fine, and this is a good time to repurpose pots, cups, or fast-food containers, as long as they’re at least three inches deep and you can gouge holes in the bottom for drainage. Fill the pot with a well-draining growing medium, ideally a cactus mix with some added perlite. When your mature plant is growing in a pot that’s gallon-size or smaller, set down some newspaper or a towel on a comfortable work surface. Then ease the entire parent plant from the pot. Use one hand to steady the parent and the other to gently pry the offshoots away from the base. Make sure to bring the roots along when you split the offshoot from the mature plant! If the pup is taller than three inches or has fully developed roots, you may need to use clean shears or a sharp paring knife to cut the roots away from the parent plant’s root ball. When the parent plant is one of the sizable specimens some gardeners are able to grow outdoors, you may be able to use a knife and gently cut the pup from the parent while it’s still in the pot. Just make sure to cut on at a perpendicular angle so you don’t sever the roots, and bring the pup out of the pot slowly to make sure the roots stay attached. At that point, you’re nearly done. Pretty simple, hmm? All that’s left is to place the pup in the prepared soil, aligning the bottom of the stem where it curves with the surface of the soil, and positioning the stem and leaves above the soil line. Gently fill the opening with more of your light growing medium and tamp it down. Water in the divided pup, and let the moisture drain thoroughly. Then place the pot in its new home, either where the parent plant was already growing successfully, or in its own room-temperature location that receives at least six hours of strong, indirect light each day. You’ll want to water the offshoot plants every couple of days, whenever the soil is dry to the touch an inch down. After about a month, the roots should be established enough that you can repot into a larger, six- or eight-inch container, and switch to watering the plants much less frequently, only when the top two inches of soil are completely dry. Live aloe vera plants in 2.5-quart containers are available from Pure Beauty Farms via Home Depot. Aloe Vera Plant in 2.5-Quart Container These are shipped in an eight-inch resin whiskey barrel planter. The same company also offers a “ship to home” option for sets of three smaller plants growing individually in their own 11-ounce, 3.5-inch containers. Set of Three Plants in 3.5-Inch Pots These are also available from Home Depot. Keep in mind, if you want to buy a variety you can readily propagate, stick with those that are labeled “A. barbadensis var. Miller” or “aloe vera.”
‘Allo My New Aloe Friends!
More to love, more to share, or both? Whatever your attitude towards propagating new aloe plants from a mature parent, it’s reassuring that the process is straightforward, and even an indoor gardening beginner can succeed. Should anything go awry with this project, you can just start again with another leaf or pup. Are you already a member of the “aloe for everyone” club, or just an aspiring member? Either way, be sure to add your experiences or ask questions in the comments section below. And for more information about growing aloe plants, dive into these guides next:
How to Grow and Care for Aloe VeraHow to Grow Christmas Carol Aloe: Anti-Sting and Makes You SingTips for Growing Aloe Vera Outdoors