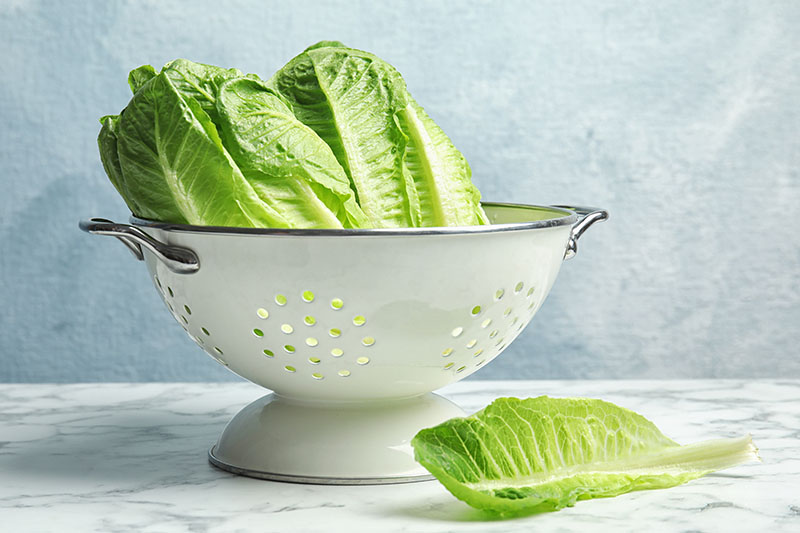
Okay, you’re not going to yield a huge harvest. But regrowing food from the bits that you would usually toss out means being able to harvest your own crop of fresh leafy veggies, at a much more affordable price. It won’t cost you anything but a bit of water, and some time. We link to vendors to help you find relevant products. If you buy from one of our links, we may earn a commission. Whatever that head of Boston bibb or romaine’s origins were, in its second life, it can grow new leaves right in your kitchen, so you know what chemicals were used to raise it, and what hands have touched it. Maybe little kid hands. They’re going to love this project, if you have any running around at home.
For those times when you want to make the most of everything in your kitchen so you can avoid hitting the store, this technique really hits the spot. With so many cities being shut down during the coronavirus pandemic, avoiding public spaces has become the norm. Particularly during these times, every little bit counts. Regrowing kitchen scraps is a nutritious and delicious bonus. And you can teach the kids a little bit about where their food comes from as well. Have I convinced you that growing lettuce from scraps is worth the time required? Here’s how to do it yourself. All you need is some tap water, a small container, and that leftover bit of lettuce that would usually end up in the trash, or on the compost pile.
How to Get Started
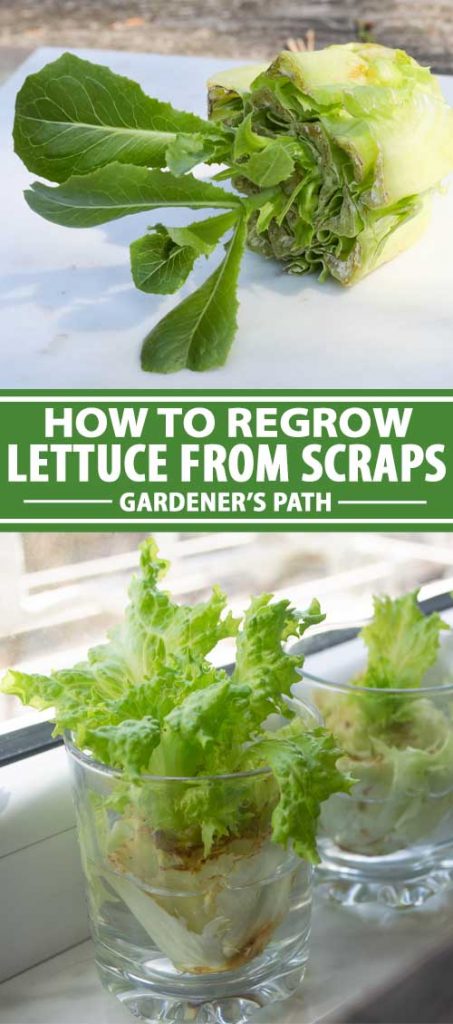
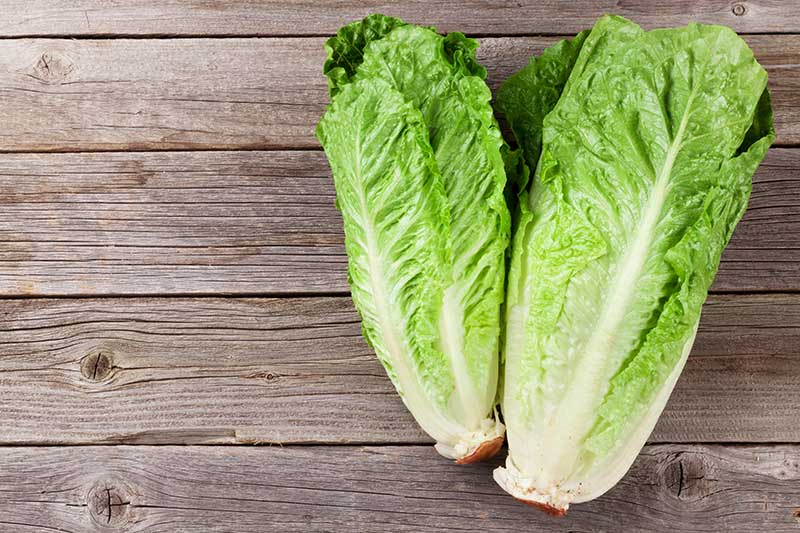
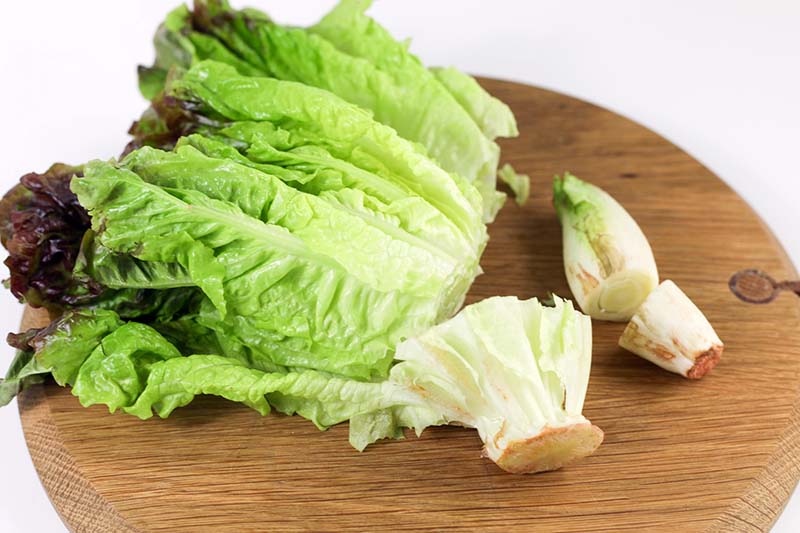
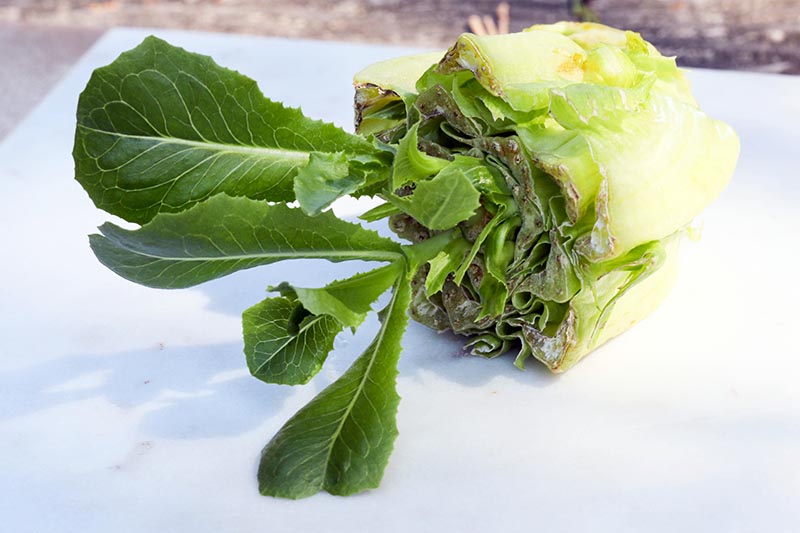
This method works with just about any type of mature head or leaf lettuce. Rumor has it that it works best with romaine hearts, and that has been my experience as well. But I’ve also had success with Boston leaf, red leaf, and radicchio. You can also use this method with iceberg lettuce, or some members of the Brassicaceae family, including cabbage and bok choy. Basically, any type of leafy green that arrives in an intact bunch or head rather than individual leaves should work. To get started, slice off the leaves from the stem, leaving about two inches of the base intact. I have had the best luck with a 2-inch base, but you can use a shorter piece if that’s all you have. Remove all of the leafy portions that you can without cutting into the stem of the plant. Remaining leaf pieces may rot easily. Lettuce that comes in a plastic dome-topped container with the roots still attached to the base can also be used. Keep those attached as well! If you’re going to toss it anyway, it never hurts to try regrowing even short scraps that are less than an inch tall. But keep this in mind: The reason you are able to get new leaves to grow is because there are vegetative buds in the stem that can break out and grow again. The more stem you have to work with, the more likely it is that more of these buds may be present.
Choose a Container
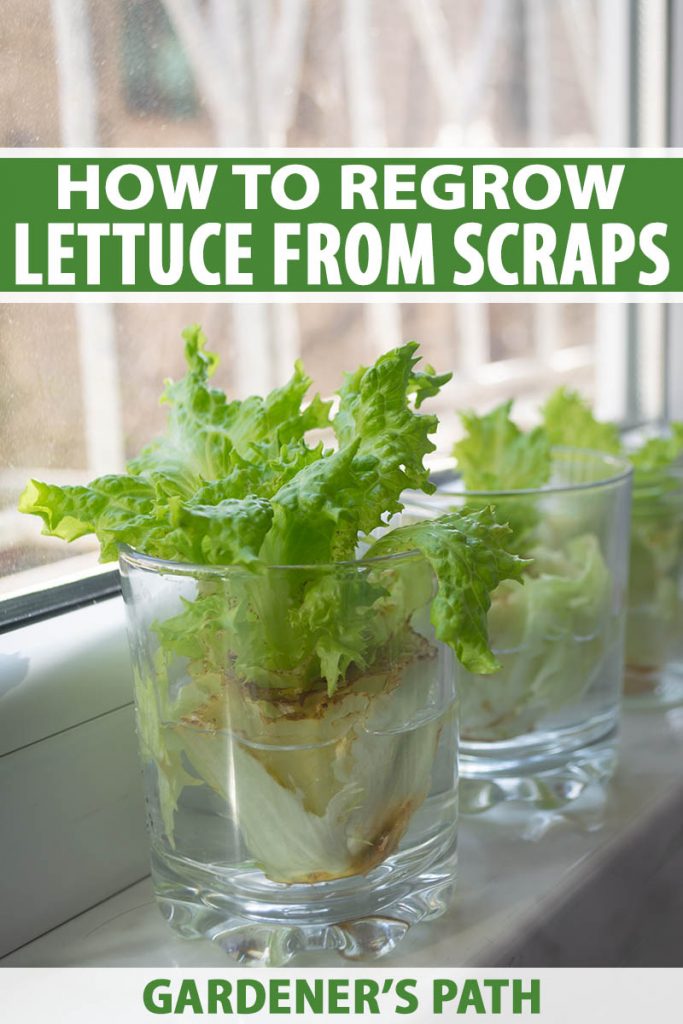
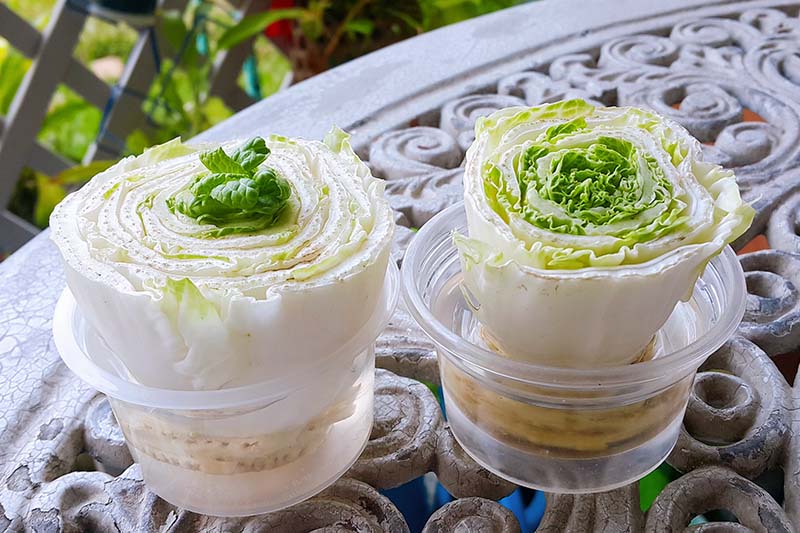
Place the stem base in a bowl or jar, with the cut side where you sliced off the leaves facing up. The size of the container that you choose to put your stem into doesn’t matter, but I prefer to use one with shallow sides. Providing some air circulation can help to prevent rot and mold issues, and you don’t want your cutting to be deeply submerged in water. I place my scraps in leftover vases from bouquets that I’ve received, while some indoor gardeners champion reusing plastic cottage cheese or yogurt containers. As long as the vessel can hold the stem and a bit of water without tipping over, it should suffice. Speaking of tipping over, you can use rocks to weigh down a light or easily tipped container. Just place a few clean rocks in the bottom before you fill it up. You can also use toothpicks to stabilize the plant inside the container, if you want. This is especially handy if you have a taller bit of stem that you’re working with. To use toothpicks, stick a pick into each of three sides of the stem at an angle, to create a little tripod stand. Maybe you’ve sprouted avocado seeds this way. This can help to hold the cutting just at the level of the water, without any risk of falling in.
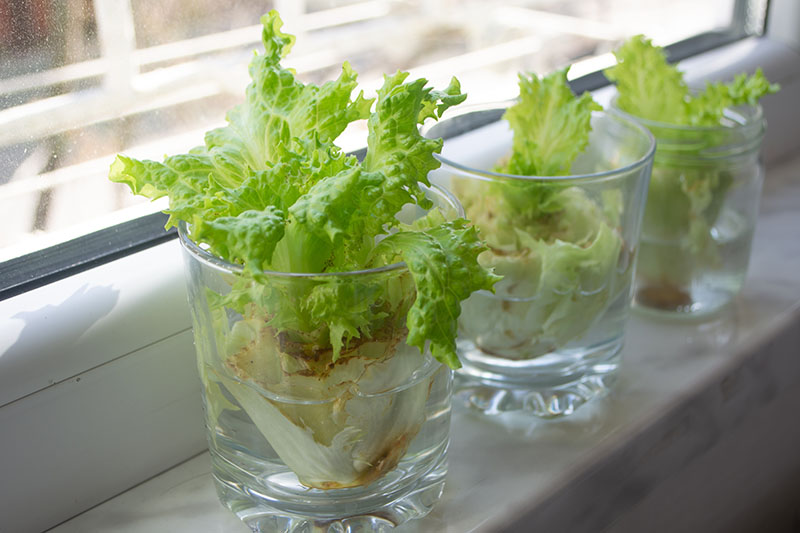
Fill It with Water and Provide Sunlight
Now, fill the container with water. It should reach about halfway up the stem of the plant.
You don’t want to cover it too much, or it will mold easily. You also want to add enough water so it won’t evaporate before you remember to refill it. Plain tap or filtered water is fine. Some gardeners recommend using distilled water in cases where tap water is particularly high in chlorine or certain minerals, but this isn’t necessary. Place the container on a sunny windowsill or under grow lights, in a location where it will receive a few hours of light a day. You can also put the container outdoors when the weather is mild, but you’ll need to watch the water level closely if you do, because it will tend to evaporate faster. Keep them out of full sun, as this may scorch the plants, particularly in hot climates. You need to provide several hours of sunlight a day for your plants to produce leaves that taste good. Plants that get just a little sun will tend to be bitter, because they’re stressed. Sunshine helps to stave off mold as well. Change the water in your container every other day. If you want your regrowing setup to be even more environmentally friendly, feel free to reuse water from your boiled peas or pasta, after it has been allowed to cool fully to room temperature. As long as the water doesn’t contain any additional salt, the vitamins and minerals in the starchy water will help to provide nutrients to your plants. Watering plants with salty water, on the other hand, will cause them to wilt and die. If you live in a dry area, mist the leaves with water once a day to provide extra humidity. Fun fact: if you toss your lettuce scraps into some water and the water turns blue, green, or red, this means the original head of lettuce was likely grown hydroponically. The color that you see is from a food-grade dye that growers use to enable them to see the dyed nutrient blend that they give to their plants moving through the growing system, and it is harmless.
Let It Grow
Other than changing the water, all you need to do is keep an eye on things, and check on your plants now and then. Within a day or two, you should see little green leaf shoots beginning to grow! If the stem develops mold, toss it out and try again. It happens. If you don’t see much activity after a week, you should also toss the scrap. It’s not likely that buds will suddenly sprout if they haven’t started already within seven days. This was my failed attempt at growing endive scraps: While the plant is doing its thing, you can also opt to add a hydroponic fertilizer to the water to provide an added boost of nutrients. Be sure to follow the manufacturer’s instructions. You’ll get bigger, tastier, and more robust leaves this way. Hydroponic Nutrients Concentrate Liquid Plant Food
Harvest Time
Your newly grown lettuce will be ready to harvest within about 12 days. Because there aren’t enough nutrients in tap water to fully nourish a giant new head of lettuce, and the cutting that you started with was already stressed for a period of time after harvest and during storage, whatever you are able to grow in 10 or 12 days is as much leafy growth as you’ll probably ever get. With added fertilizer, maybe you’ll get a bit more. My advice here is to be happy with whatever your little plants have produced, and harvest those leaves! If you wait too long, the leaves will tend to become extremely bitter. They may even turn blue. The plant will bolt as it approaches the end of its life cycle, producing bitter, narrow growth with a tall shoot developing at the center, in an attempt to flower and go to seed. When you’re ready to eat, just snip off the new leaves with a knife or a pair of scissors. Lettuce that is regrown this way tends to be a bit more bitter than what you might be used to, with leaves that are a bit smaller than conventionally grown lettuce. This makes sense, since plants have been stressed during harvest and transplant, and provided with a limited quantity of nutrients, without an adequate root structure to feed the plant. But it’s still fun!
Put It in the Ground?
Unfortunately, you can’t re-plant lettuce in the soil and expect a new full-sized plant to grow, since it lacks the root structure to make that happen.
Unless you purchased lettuce with the roots still attached, on the other hand… I didn’t experiment with this, and this particular technique is beyond the scope of this article. Most packages of lettuce that you’ll find at the grocery store for purchase that still have the roots intact were grown hydroponically, and they may not respond well to suddenly being plunged in soil. But if you do give this a try, please let us know how it goes! Nonetheless, a second harvest of tender homegrown lettuce leaves is nothing to sneeze at. I have actually had some luck getting larger, tastier, and more abundant leaves to grow when I put the sprouted lettuce stem in some dirt. Sometimes they even sprout some roots. Since soil contains more nutrients than plain water, the lettuce is able to get more of what it needs to grow new leaves. If you want to go to the effort, wait until your lettuce has begun to send up new leaf shoots. This will usually happen within two or three days. Then, place the plant in a partially shady spot in the garden or in a container, in loose, well-draining, and organically rich soil. Lettuce needs plenty of water, so be sure to water it in well. If you stick your finger into the soil and it is moist to your knuckle, the earth is wet enough. I like to add an inch of straw mulch around my plants, to help retain moisture and prevent weeds from growing. Let your cutting grow for the same amount of time that I recommended above for regrowing in water – about 12 days, watering as needed. It’s unlikely you’ll ever produce lettuce of the same quality as what you originally purchased at the store via this method, but you’ll hopefully get a big enough harvest for a small salad, or a few sandwiches.
Why Can’t I Regrow a New Head?
The bottom line here is that you’ll never get the same kind of plant that you’d be able to grow in the garden from seed by regrowing lettuce scraps in water. But it’s a good way to get a few extra leaves with just a few minutes of effort and some water.
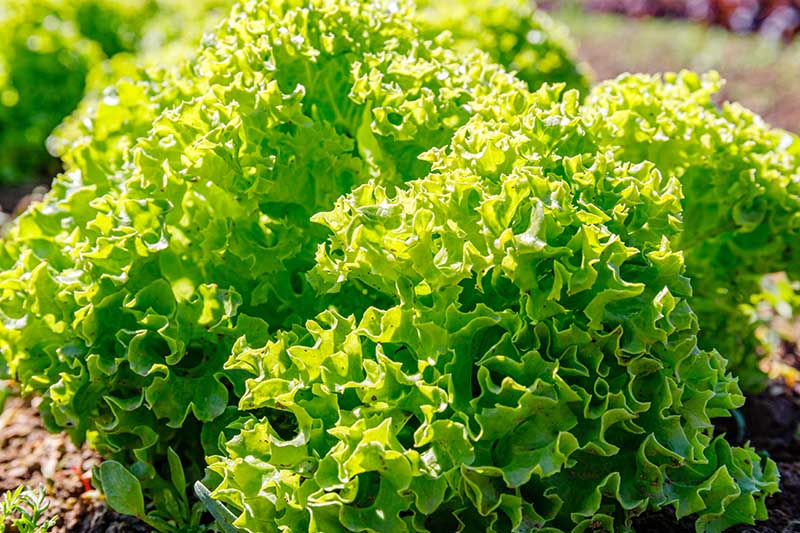
Filling our homes with growing plant life is good for our health, reusing food scraps is good for the environment, and the kids and kids-at-heart in your household will love watching their cuttings magically grow something that they can eat. The roots that your lettuce may sprout in the water aren’t the same in terms of quality as the roots that you’d get if you were growing a new plant from seed in the soil. Interested in trying this as well? While your cuttings are working hard to push out new leaves, check out our roundup of some of our favorite types of lettuce to find the type of seed that’s best for you. To get a good lettuce crop growing in water from scraps, you’d need freshly picked stems (maybe from your own garden?) and a hydroponic system. But that doesn’t mean it isn’t worth the time and effort required to pop your scraps in a bowl so you can harvest a few extra leaves! Using the water method described above, regrown lettuce is a one-and-done deal. But if you’re looking to produce a more steady supply of indoor veggies or herbs, there are some common edible plants out there that you can regrow over and over again in water, from the same plant. Try regrowing green onions, leeks, or cilantro next. We’ll cover these in future articles. Pineapple cuttings are also excellent for regrowing, and you can enjoy your own indoor homegrown ginger with just a few inches of root replanted in soil. Roots and tubers are another tasty option, since they root readily and can be regrown from slips instead of seeds. Try experimenting with potatoes that have started growing eyes, or sweet potatoes.
Give Lettuce Scraps a Grow
The ultimate locally sourced food can be found right in your trash can – er, preferably before you toss it in there! – and you can get it to grow anywhere that you have a few square inches of reliable sunlight. If your aim is to avoid going to the store, either because you’re trying to save cash, or you’re hunkering down at home, this is an easy solution to stretch your food stores. Every little bit counts. And if you need a fun project to do with the kids, this one’s a sure winner. You aren’t going to save thousands of dollars a year regrowing lettuce scraps, but if you go through a lot of greens, who knows how much you could save? Plus, you just can’t put a price on an activity that will entertain the kids, and teach them something new about gardening. I go through a ton of lettuce at my house, so this method not only saves me money, but more importantly, it alleviates some of that guilt I feel when I toss out all of those bits and pieces while I’m cooking. I’d love to hear how this method works out for you. Share any tips you have with us in the comments! And if you’re looking for even more fun gardening projects to do at home, try these next:
A Box to Call Home: Build Your Own Bat House with Our DIY Instructions Growing Citrus Indoors: Create a Little Slice of Paradise Put Your Green Thumb to the Test: Arranging Foliage from Your Garden
Photos by Kristine Lofgren © Ask the Experts, LLC. ALL RIGHTS RESERVED. See our TOS for more details. Top uncredited photo by Kristine Lofgren. Other uncredited photos via Shutterstock. With additional writing and editing by Allison Sidhu.