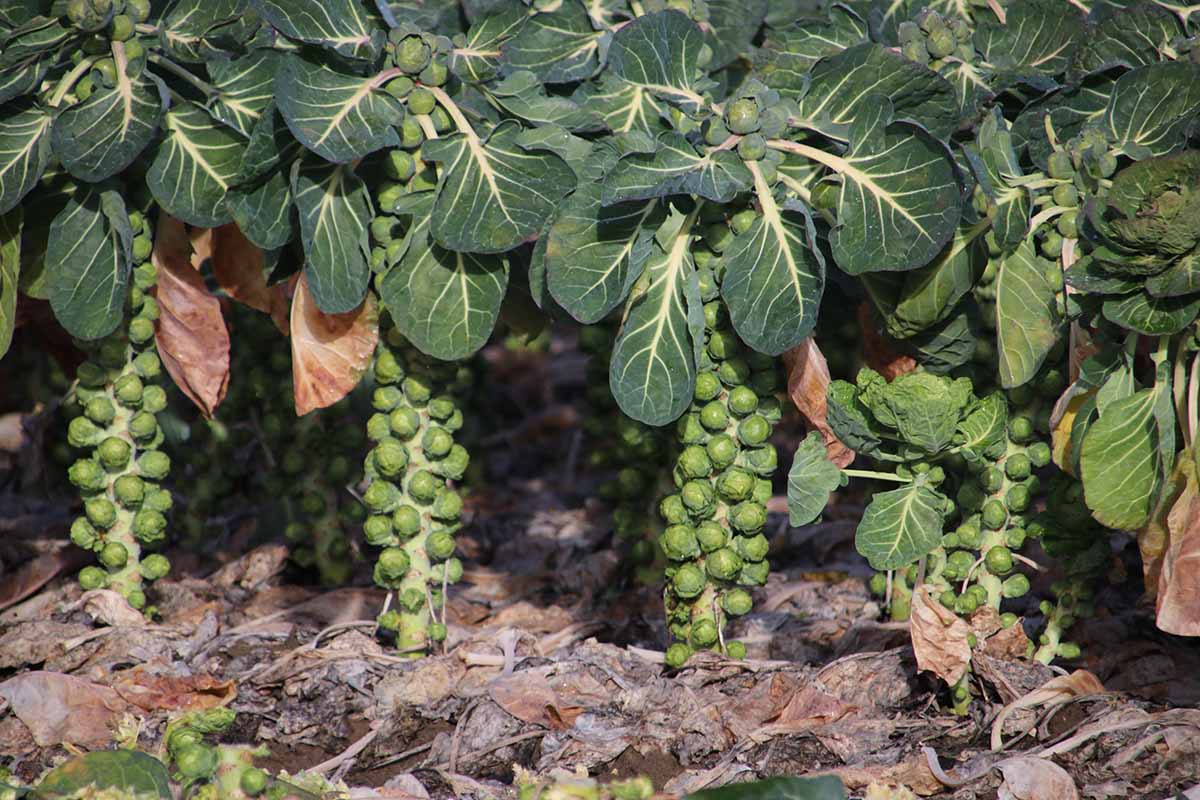
That’s a shame, because they also happen to be one of those veggies that are incomparable to the store-bought kind. The flavor is richer, nuttier, and more intense when you grow them yourself. One of the challenges in growing sprouts is knowing when and how to prune them. There’s so much information available out there that it’s hard to know what’s right. We link to vendors to help you find relevant products. If you buy from one of our links, we may earn a commission. The first is commonly known as topping, which requires removing the top of the plant at a strategic time to improve your harvest. The second practice is lower leaf pruning. This is when you snip any yellow or diseased leaves, thin the lower leaves to improve air circulation, or strategically remove lower foliage to improve your harvest. We’ll cover both in this guide. Here’s what you can expect: The good news is that pruning is one of the aspects of growing brussels sprouts that is the easiest to control – and it’s not too difficult to master. Here we go!
When to Prune the Lower Leaves
Before we get started, let’s clear up some misinformation that is floating around out there. You shouldn’t remove the lower leaves of your plant unless they are yellowing, diseased, or so crowded that they’re causing air circulation issues. You might see images in seed catalogs or gardening books of pretty stands of brussels sprouts without any lower leaves. This kind of pruning is done to make the stalks look more attractive for a photo, or to make harvesting easier for commercial growers. For the home gardener, on the other hand, there is typically no need whatsoever to remove the lower foliage from your plant. In fact, you should refrain from any lower leaf removal unless you see yellowing, spotting, browning, or signs of fungal issues. If you note one of these problems, feel free to snip away to remove the affected portions. And if air circulation is poor around the buds, you can prune away up to a third of the leaves. There’s another instance when you’ll want to snip off the leaves, and that’s when you are harvesting the buds from plants where you aren’t taking all of them at one time. As you harvest, take the leaf just under the bud with it as well. Finally, some growers practice what is known as “kiting.” Done at the same time as topping (which we’ll discuss later), kiting involves removing about a quarter of the lower leaves to encourage uniform sprout formation.
How to Prune the Lower Leaves
Before you put them to work, make sure to clean your clippers in a 1:10 bleach to water mixture to sterilize them. Then, sterilize them again in between plants. I know this seems like a lot of work for just a few snips, but trust me, it’s worth it. These veggies are prone to fungal and bacterial diseases, many of which spread via dirty gardening tools. If you are removing yellow or diseased foliage, it’s doubly important to sterilize. Wash your hands too. Better safe than sorry. To prune, take your pair of scissors or secateurs and cut off the leaves as close to the stalk as possible, starting with the lowest leaves. Work your way up the plant. Never remove more than a third of the foliage at a time. If you want to remove the lower parts to encourage a uniform harvest, wait until the ideal time to top your plants as described below, and then use your pruners to remove all of the largest lower leaves. You can remove up to a third of them.
When to Top
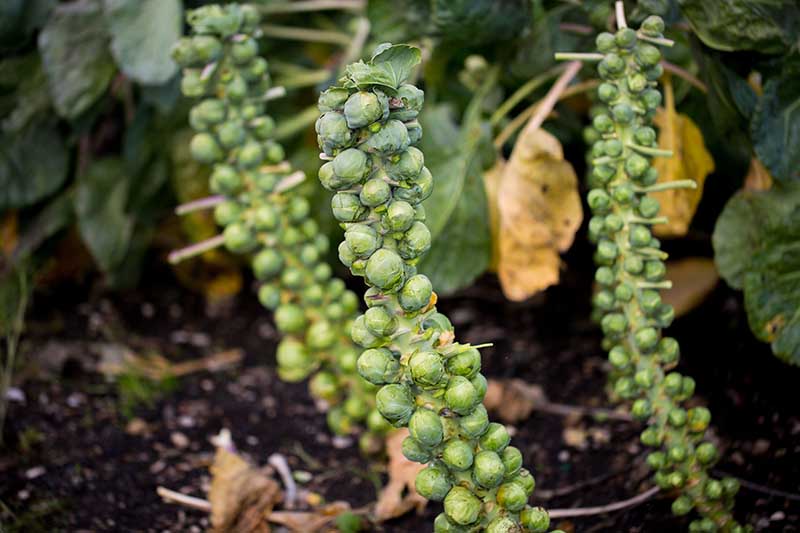
Before we jump into the process of topping, know that there are two schools of thought here. Some people believe you should never top your plants because it doesn’t have any real impact on the harvest, while others swear by it. The idea is that by cutting off the apical meristem (the tippy-top growing bit), you’re stopping all upward growth and encouraging the plant to put its resources into developing its axillary buds instead – those marvelous little flavor nuggets. The process is twofold. Not only is the plant discouraged from focusing its resources on growing foliage at the top, but the apical meristem also produces auxins that limit the expansion of the developing buds. If you get rid of the top, you get rid of the source of this chemical as well. Horticulture professor Rebecca Sideman and field specialist Oliva Saunders at the University of New Hampshire did a study in 2013 and 2014 to determine if topping had a measurable impact on yields. Though the results of their experiment differed from one year to the next, they concluded that timing is key. If you top too early, the plant will start to develop new stalks at the expense of developing buds. Anything from 60 to 85 days before the harvest date was too early. Instead, topping between 30 and 60 days before harvest was ideal. Err on the side of topping too late rather than too early. Some cultivars were developed to not require any topping, so if you’re growing one of those, feel free to skip this section entirely. This will be noted in cultivar descriptions. You should also keep in mind that topping encourages all of the buds to mature at relatively the same time. Brussels sprouts have the ability to mature gradually from the bottom of the plant up, which means you can harvest the lower buds and then come back later to pluck the buds higher up on the stalk. If you top the plant, all of the buds will mature at about the same time. This is ideal for commercial growers and those who want to harvest and use a whole stalk as a table display. But it’s not ideal if you don’t want to harvest all of your sprouts at once.
How to Top
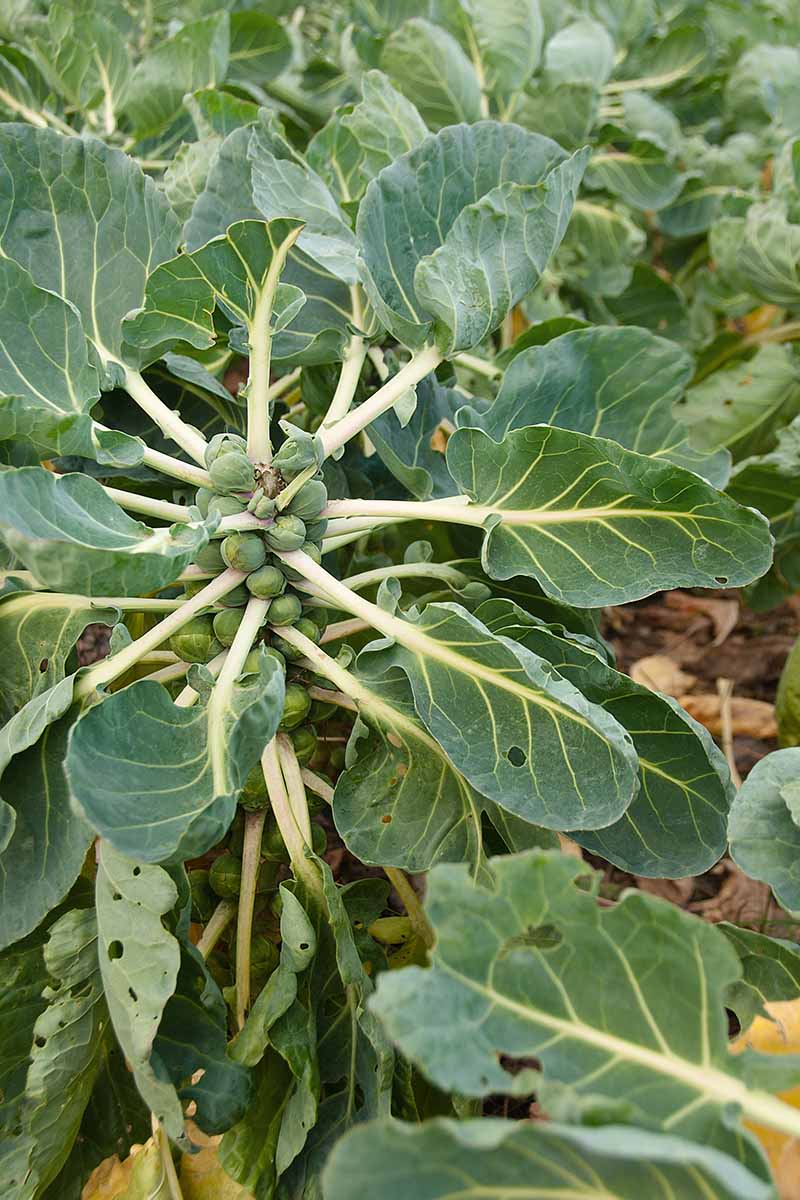
To top your sprouts, wait until the buds have started forming but before they are all mature. Remember, timing is important here. Never top more than 30 to 60 days out from the estimated maturation date. If you aren’t sure what’s what, the bottom sprouts should be close to or at their mature size, but the topmost sprouts should be small and immature. If there are no sprouts present on top yet, it’s probably too early to get out your secateurs. When it’s time, make sure your tools are clean, as described in the section above on pruning. You’re less likely to be dealing with diseased material when you top your plants, but you still don’t want to take any chances. Then, take your secateurs or scissors and snip several inches off of the growing tip. Don’t go too far down or you will stunt the growth of the plant or cause unwanted branching, which can be an impediment to airflow and makes harvest more difficult. You’re aiming to take off the tight cluster of the topmost leaves, not a large portion of the stem. By the way, you can eat the young leaves that you just snipped off as you would kale. It’s really all about timing and keeping an eye on your plants to know what they need. What kind of brussels sprouts are you growing this year? Did you opt to top or prune them? Let us know in the comments! Was this guide helpful in pointing you in the right direction for pruning your crop? I hope so! If you’re ready for more brussels sprout goodness, read these guides next:
Loose-Leafed Brussels Sprouts: What to Do for Poorly Formed HeadsHow to Harvest Brussels SproutsHow to Identify and Manage Common Brussels Sprout Diseases
