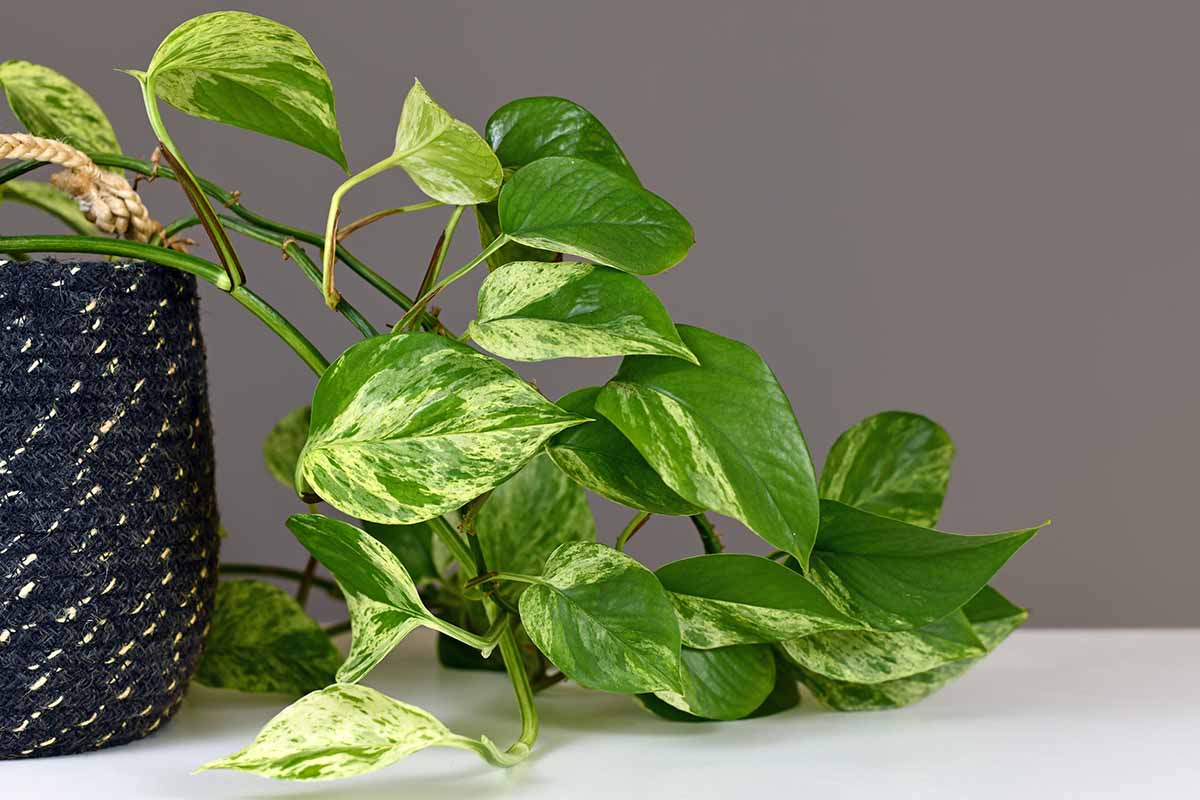
More than once, I’ve gone on vacation or gotten super busy and forgot to be the good plant parent I know I should be. But lovely pothos just forgives and forgets. That easy-going nature? It extends to propagation too. I suspect that’s why you can usually buy little transplants for a song. But you don’t even need to shell out a few bucks, because so long as you have a plant that you can steal a few cuttings from, you can make lots of new pothos babies. We link to vendors to help you find relevant products. If you buy from one of our links, we may earn a commission. Pull out some gloves, scissors, and potting soil, and let’s get to work.
Choosing a Propagation Method
It’s helpful to know how the different methods of propagation work so you can get a better handle on deciding which will work best to meet your needs. One option is to start pothos plants by rooting cuttings in either water or soil. The difference is that water-started plants produce roots more quickly, but the resulting roots aren’t as well-adapted to living in earth, so it will take them a little bit longer to become established once you transplant them. Plants started in soil take a while longer to become established, but the roots are better adapted for the conditions there, and the plant will begin to grow more quickly once the roots become established. The reason for this variation is due to the structure of the roots that form. Water-started roots have smaller root hairs, and the roots are smaller overall. They’re also more prone to rotting once they’re transferred to the potting substrate. That doesn’t mean you shouldn’t use the water method whatsoever, just know that your plant will need a little time to toughen up those roots and start thriving if you pick this option. I use the water method all the time even though I know the roots aren’t going to be as robust, and I have pothos (and monstera, and peperomia) plants aplenty as a result. Root division, on the other hand, is ideal if you need to divide a plant that is growing too big for its container, or if you have an extremely large plant that you can easily split up. The nice thing about root division is that it takes very little time for the divided plants to become established and start expanding. If you have a plant with long tendrils, you can also try layering. I love this method because you don’t have to sever the vine until it has already formed roots, so you can be sure that your new plant will take. Layering involves burying a portion of vine while it is still attached to the parent plant. The vine will form roots at the node, and at that point, you can remove the rooted portion and pot it separately. And what about growing seeds? Don’t worry, we’ll get to that. So, let’s take a look at the things we’ll need to get started!
Preparation
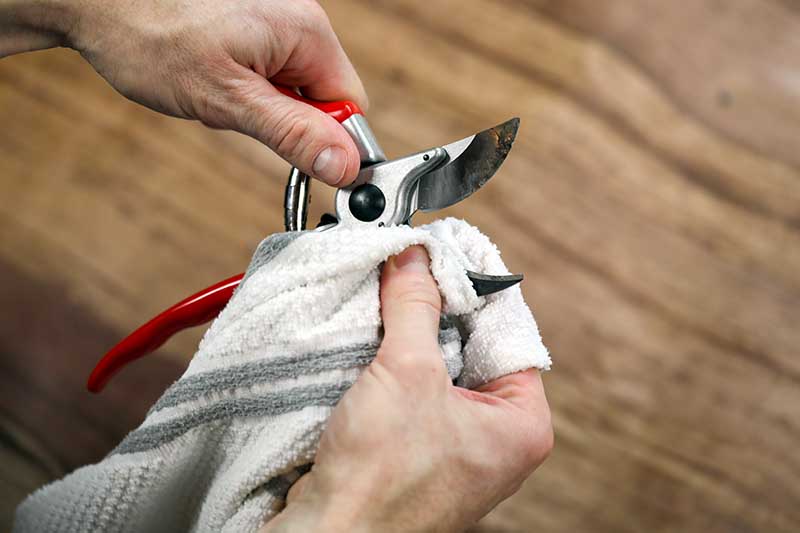
Safety first: Pothos plants contain calcium oxalate, and that stuff can be irritating to your skin. Also note that no one should ever ingest any plant parts or get the juice near their mouth or eyes. If you plan to do an indoor project with the kids using these tips, be sure to provide proper supervision. When working with these plants, you also need to protect your skin. That means wearing gloves and a long-sleeved shirt. While you’re working, remind yourself not to touch your face. Before you start to work, make sure you have all of your tools in place. A glass filled with water or a pot filled with potting soil is a good start. The more quickly you move the newly propagated plantlet or cutting from its parent to its new home, the more likely it is to thrive. You should always wipe your container with a 10 percent bleach to water solution (one part bleach to nine parts water) to sanitize it and remove any potential pathogens that could infect the plant and make it sick down the road. You should also use a fresh potting substrate, not stuff out of the garden or previously-used soil. It doesn’t hurt to wipe down your tools in the same bleach solution. Better safe than sorry. You can plant your cutting directly into the pot that you intend to grow your new friend in, or you can use a disposable or smaller container to start, if you’d like. It just needs to be able to hold about eight ounces of soil.
Rooting Cuttings in Water
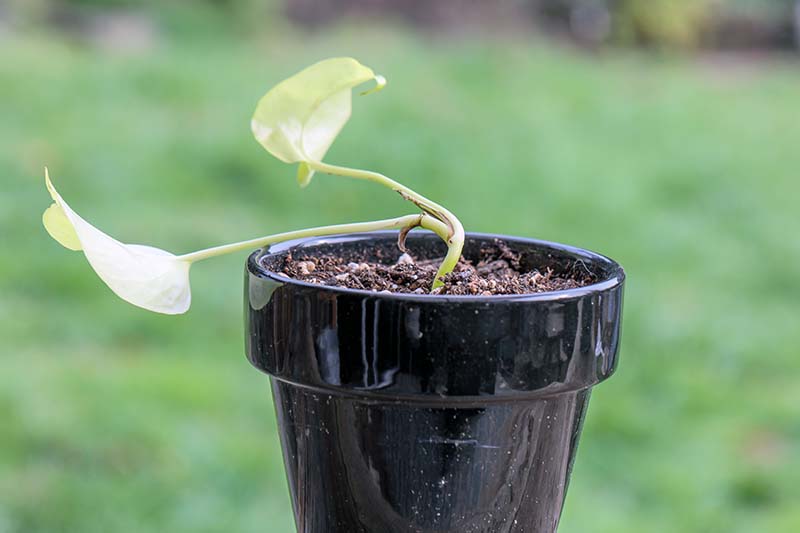
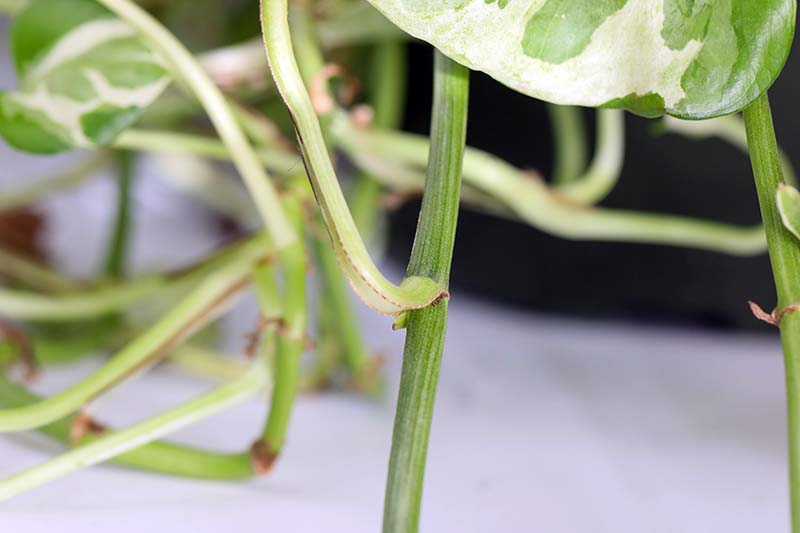
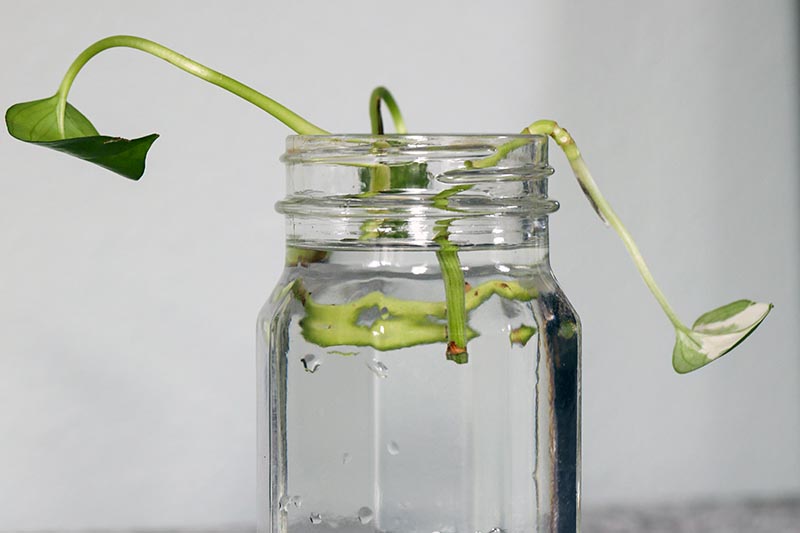
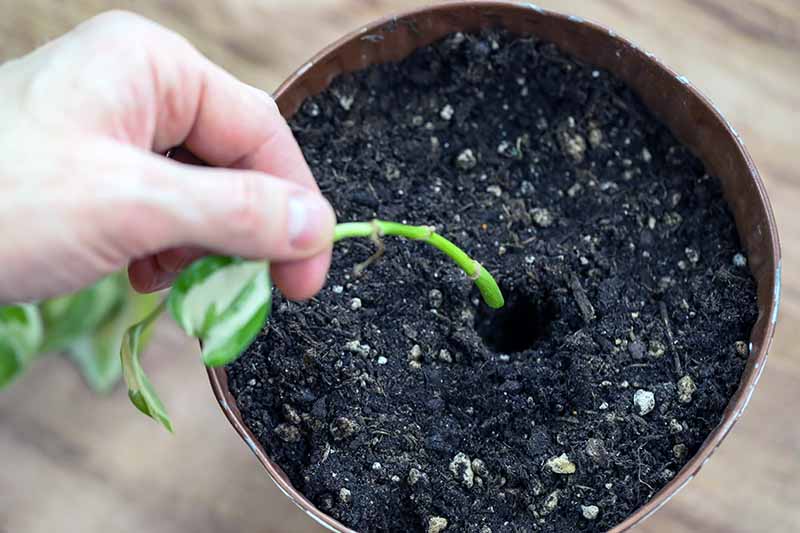
Besides monsteras, which are part of the same family, Araceae, I’ve never come across a plant that roots water as readily as pothos. Propagating a cutting simply involves taking a bit of stem and leaves, and putting them in some water to form roots. The one thing you need to keep in mind is that when you snip a cutting, you must select a piece that includes a node, or the cutting won’t form roots. Nodes are the spots on the plant where the leaves emerge from the stem. This spot has more cellular activity than the spots between the nodes, which are called internodes. Don’t worry, pothos plants are lousy with nodes, since not only do they have leaf nodes, they have aerial root nodes as well. These are dark, thick nubs that can (though they don’t always) form roots. Include at least one of these, and you’ll be in good shape. Cut a six-inch piece of stem with at least one leaf and at least one node. Stick that cutting into a glass of room-temperature water and place it in an area with bright, indirect sunlight. Change the water every couple of days, and keep a close eye out for any signs of mold forming in the glass. If you see any, clean the glass and change the water. Eventually, you’ll start to see little roots growing out of the base. Once those roots are about an inch long, it’s time to transfer your newly rooted pothos into some soil. Don’t wait too long. The longer the roots grow in water, the longer it will take the plant to adjust to soil life. To transplant, fill a container with potting soil. The container should have at least one drainage hole. Dig out a little hole in the soil and lower the cutting in. The crown, or the spot where the stem meets the roots, should be about a half and inch below the soil. Firm the soil around the roots and stem so that it stays upright.
Rooting Cuttings in Soil
Soil cuttings are similar to water-grown cuttings. You can take the same size cutting, and you need to ensure that you snip off a piece with at least one node and one leaf. Dip the cut end in rooting hormone powder and then place it in a prepared container filled with potting substrate. I find it’s easier to stick a pencil into the soil first, to poke a hole for the cutting.
Layering
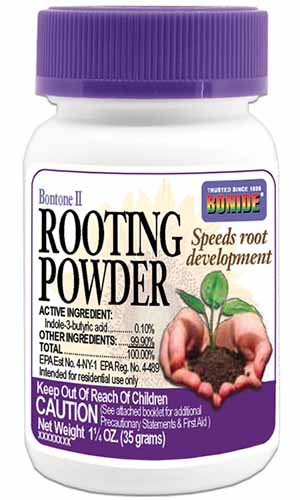
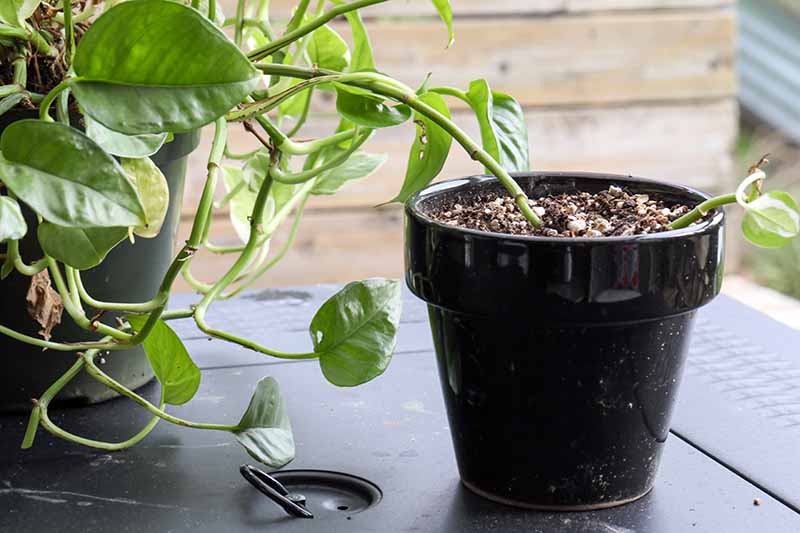
Pothos may be propagated by layering so easily that it has likely already happened at some point on its own, and you didn’t even realize it. Anywhere that a part of a vine with a node touches the soil, it can – and often does – form roots. Bonide makes an excellent product that Arbico Organics carries in 1.25-ounce containers. Bonide Bontone II Rooting Powder Pothos hardly needs the help, but if you’re eager to enjoy the fruits of your labor, a little rooting hormone can help to speed things along. Once you’ve firmed the cutting into the soil, add a bit of water. You want the soil to stay moist but not wet while the roots form. Place the container in an area with bright, indirect sunlight. Roots will form within a few weeks. You can tell this has happened by giving the cutting a gentle tug. If it resists, it’s rooted. At that point, you can transplant it into a permanent container. The easiest way to do this is to simply fill a second container with potting soil, and select a long vine from the parent plant. Drape it over the surface of the soil in the second container. Bury one node under the soil, leaving the vine attached to the parent plant. Now, just add water. Keep the soil moist and wait for roots to form, which will typically take just a few weeks. You can gently pull the plant out of the potting substrate to see if roots have formed. If not, tuck it back into the soil, and keep waiting. If you want, you can actually do what is known as compound layering, which simply means you tuck the same length of vine under the soil multiple times so you can create multiple rooted cuttings from one vine that are ready for transplanting. Once the layered portion has roots that are at least an inch long, you can transplant. You don’t have to be so exacting and dig up the plant to check the length of roots, just give the buried section a gentle tug. If it resists, it’s ready. Cut the stem on the side closest to the parent plant with a clean pair of scissors or secateurs. Snip near a leaf node. If you potted the rooting portion in a separate pot already, you’re done. Just treat the new section as you would any young transplant. If you’re removing a section that has rooted in the same pot as the parent plant, take a small hand trowel and dig up the new plant. Leave a margin of a few inches around the entire perimeter of the rooted portion, and plant this in a new pot with fresh potting soil.
Root Division
If your plant grows too large for its pot or you just want to trim it down, dividing it is an excellent way to do either. Remove the parent plant from its container and knock away as much soil from the roots as you can. Then, find a natural point of separation in the crown and gently begin to tease the plant apart, loosening the roots and stems as you go. You might need to use a pair of scissors or a gardening knife to split the roots apart. They can become quite tangled up. Plant one part back into the original container and fill in around it with soil. Put the second part into another container and fill in around it, as well. Water to settle, and add more substrate if necessary.
Seeds
Yep, pothos plants can produce flowers, and subsequently, seeds. Great news, right? Imagine creating a jungle full of pothos for the price of a seed packet! Unfortunately, only fully mature pothos plants flower, which is usually only those growing in the wild. On top of that, this is a “shy flowering” species, and there haven’t been any confirmed reports of one flowering – even in the wild – since 1962. That means the seeds you might see out there that are available for sale are probably no good. Even if they are the right species, which is extremely doubtful, there’s no telling how old they are or whether they contain disease pathogens that could ultimately destroy your seedlings if they sprout. Since seeds aren’t an option, it’s lucky that this plant is so easy to propagate using the other methods described above. Don’t worry, we won’t tell anyone about your pothos propagating secret. What method of propagation did you opt for? How long did it take for your plants to become established? We’d love to hear all about it in the comments section below. If you can’t get enough pothos, and who can blame you, you might want to take a look at a few of our other guides on the topic, including:
My Pothos Leaves Are Turning Yellow! What’s Wrong and What to DoHow to Grow and Care For Pothos HouseplantsWhy Is My Pothos Plant Stunted? 7 Reasons for Poor Leaf Growth
