And when you propagate your own, they give even more! We link to vendors to help you find relevant products. If you buy from one of our links, we may earn a commission. Here’s a quick overview of everything I’m going to cover: If you’d like even more tips for growing these conifers, be sure to check out our complete guide to growing and caring for Norfolk Island pine trees.
From Seeds
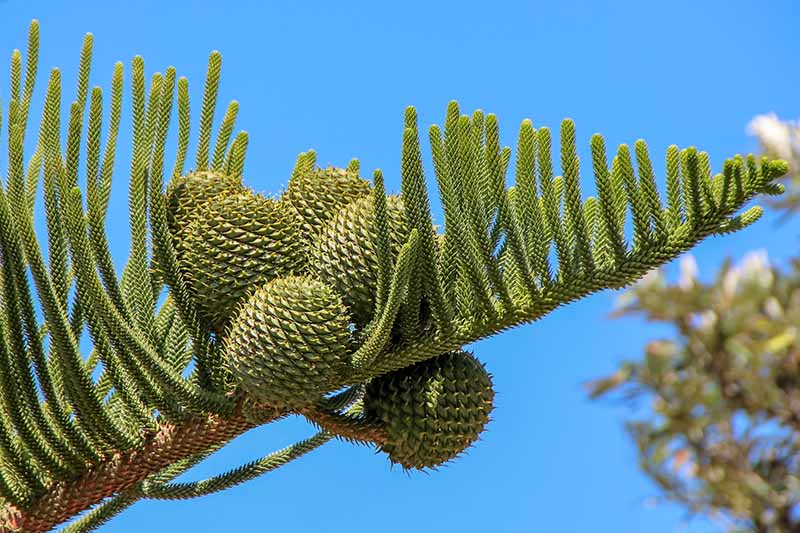
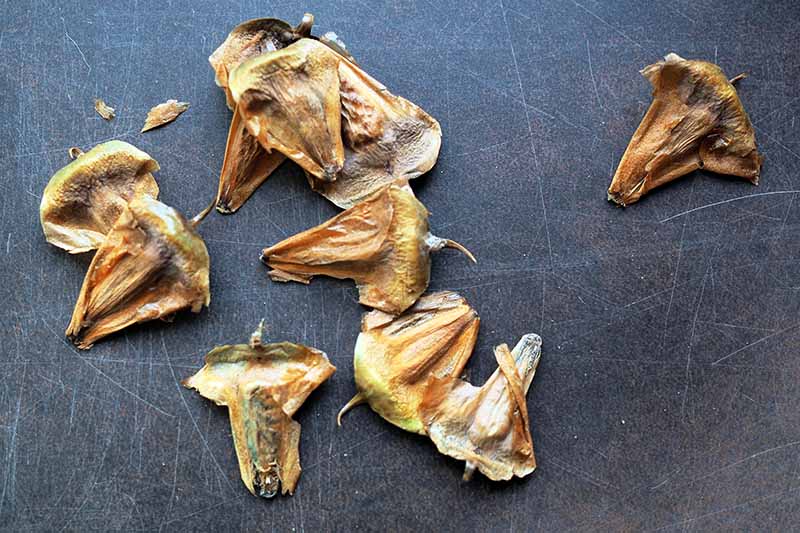
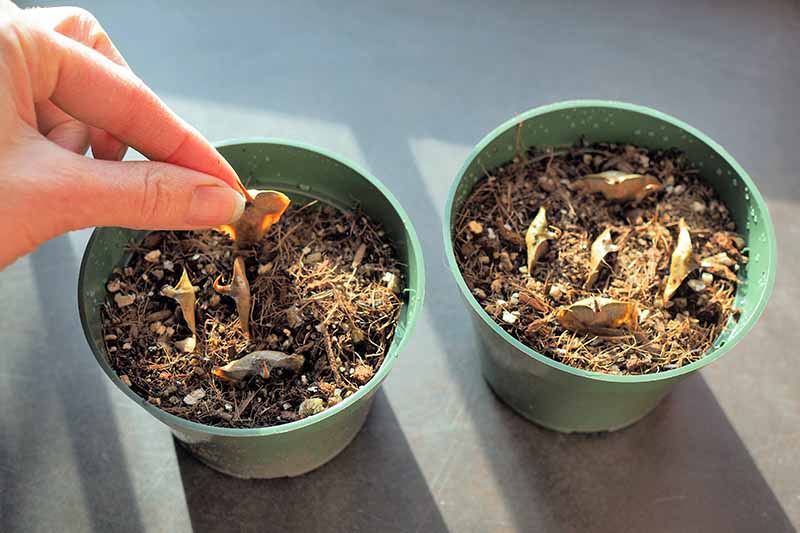
While it can be tricky to source seeds for these tropical conifers, once you have them it’s not hard to succeed at this propagation project. When you’re trying to find seeds, you might seek out an online seed exchange, or a small vendor who lives in a climate where these conifers can grow outdoors year-round. Just make sure you obtain fresh seeds, since these don’t maintain their ability to sprout for very long. Within three months, about half of the seeds will lose their viability. But before we get started with the how-to’s of this project, let’s get a better understanding of what we’re going to be working with. Norfolk Island pine seeds are produced within the plant’s cones. An entire cone is made up of dozens of seed capsules, each of which will contain a single seed if the plant is pollinated fully. If you have an entire cone, you’ll want to remove the capsules from the cone first – but there’s no need to remove the seeds from the capsules. A Norfolk Island pine seed capsule is more or less wedge shaped, with a flattish end on top and a pointed end on the bottom – its shape reminds me very much of a shark’s tooth. Knowing which end is the top and which is the bottom will come in handy when it’s time to plant these – but don’t worry, I’ll remind you. In addition to the seeds, you’ll want to gather up your other supplies. Here’s what you’ll need:
small, clean nursery potsa spray bottlea humidity tenta sterile seed-starting medium
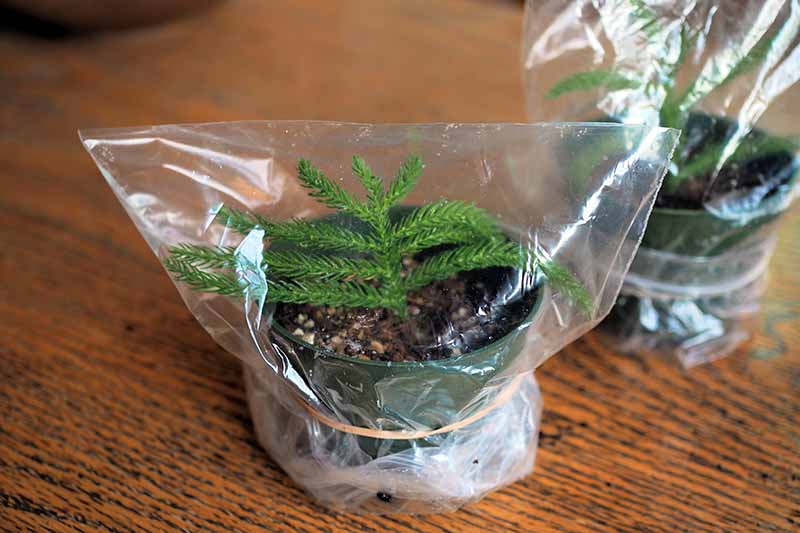
Are you thinking of repurposing some old nursery pots? This is a laudable choice, just make sure to clean them first, and then sterilize them by wiping them down with hydrogen peroxide. Tank’s Pro-Lite Seeding and Potting Mix You can purchase it from Tank’s Green Stuff via Arbico Organics. As for the nursery pots, decide whether you want a bushier looking houseplant with many individual trees growing in one pot, or a single tree per pot. If you are going the single tree route, use two-inch pots. If you’re going for a bushier look, you can use four-inch pots. This will help to ensure that you don’t unknowingly transmit any plant pathogens to your seedlings. Next, fill your pots with starter mix, leaving a half an inch to an inch of rim between the top of the surface of the soil and the top of the pot. This will help ensure that watering is mess-free. Now insert the seed capsules into the soil, pointy part down. If they were shark’s teeth, the shark would be biting into the soil. If you are sowing multiple seeds into the same pot for a bushier look as we discussed above, space them out evenly, with the seeds about a half an inch apart. On the other hand, if you’re sowing only one seed per pot, center it in the middle of your container. Once your seeds are sown, you’ll want to water them in by spraying them with your mister. This will make the top layer of the soil and the seeds moist without creating overly soggy soil. To keep humidity levels up during germination, cover the pot with a plastic baggy secured with a rubber band.
From Cuttings
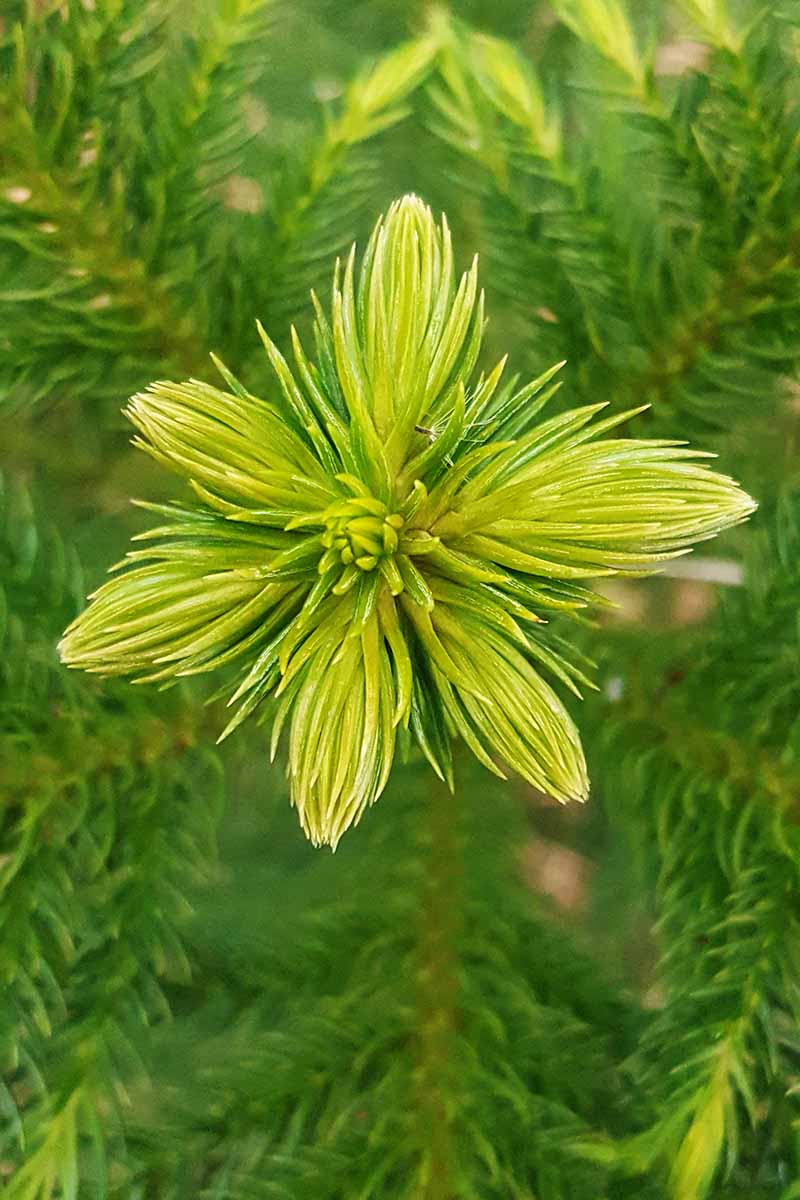
When you grow a new plant from a cutting, you’re acting as a bit of a mad scientist, creating a clone of the parent plant. But no fancy equipment needed for this cloning experiment! Bet you didn’t know you had it in you, did you? Three Pack Set of Starter Trays and Humidity Domes Once your soon-to-be-trees are watered in and enclosed to ensure high humidity, place them in a location with plenty of bright light and a temperature of around 70 to 80°F. If you don’t have a bright, warm window to use, you may want to use a grow light and a heat mat to help maintain these conditions. Jump Start Heat Mat Continue spraying your seeds and the top of their growing medium daily until they germinate. Keep the top inch of the soil moist but not soggy. Within 10 to 21 days, your seeds should sprout. At this point, you can start to remove their humidity tents, though it’s preferable to go about this process gradually, exposing your young saplings to “normal” living conditions little by little instead of all at once. As your young saplings get established, keep them at a temperature between 60 and 90°F. At this point, your saplings should be watered instead of just being misted. Water them when the top of their soil dries, being sure to water at the soil level without sprinkling the plants. As they grow, repot your living Christmas trees as needed. Although growing cuttings of Norfolk pines is certainly possible, it’s not as easy as, say, growing hoya or spiderwort from cuttings – a couple of other home experiments in cloning. One of the caveats with propagating cuttings from this conifer is that taking a cutting from a branch will result in a cutting that continues to grow like a branch. If you don’t want a new plant that grows like a branch, you can take a cutting from the central growing tip, but this may mean sacrificing the parent plant since there is only one growing tip on Norfolk Island pines. Performing such an operation will at best cause your plant to lose its symmetrical shape, and at worst, could kill it. There is, however, a reason you may want to risk such an operation – if your conifer has outgrown your home and you’d like to keep part of it alive rather than rehoming it. If you’re ready to give this project a try, you’ll need these supplies:
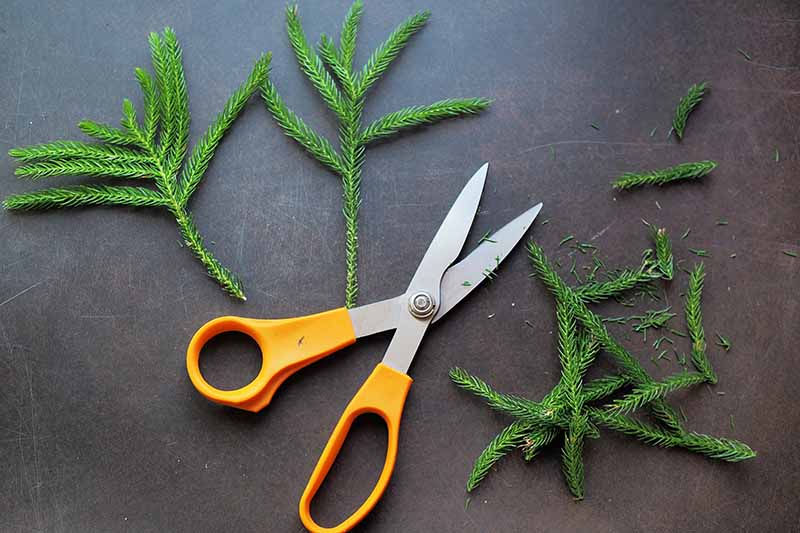
a mature Norfolk Island pine tree to take cuttings froma sterile growing mediumone four-inch nursery pot per cuttinga pair of prunersscissorsa spray bottle
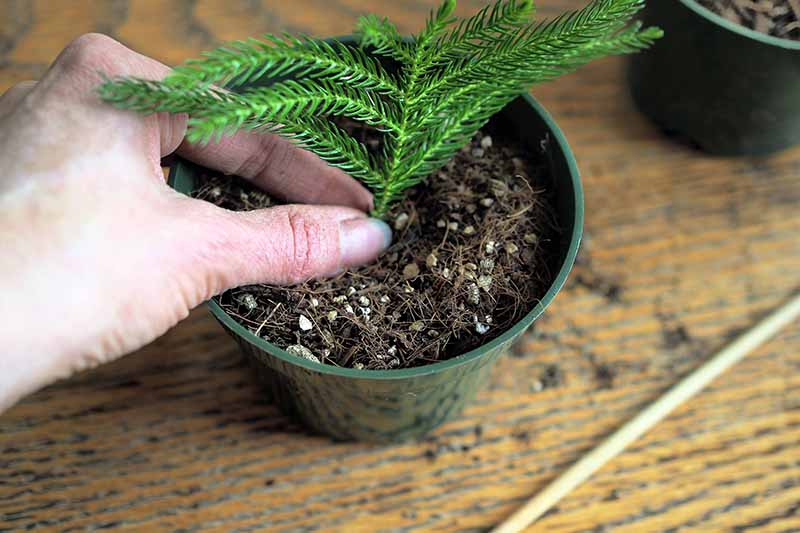
You might also want to use rooting hormone powder or gel, a plastic bag and a rubber band or a terrarium, and a pencil or chopstick. Fill your nursery pot with soil, leaving a half an inch of space or so between the surface of the soil and the rim of the pot. With clean, sterilized pruners, take a cutting from your houseplant – it should be four or five inches long. Finally, moisten the growing medium with your spray bottle so it is moist but not soggy. This will be your watering routine while the cutting roots itself. Watering in this manner will prevent waterlogging. If you are using a rooting hormone product,this is the time to apply it to the cut end of the cutting. I like Olivia’s Cloning Gel, which is available at Arbico Organics. Next, poke a hole in the center of the growing medium with a pencil, a chopstick, or your finger. Insert your cutting into this hole. If the cutting seems a little too tall in its pot and wants to tip over, use your snips to trim a bit more from the cut end until it seems stable in its container. Keep the cutting in warm soil. A heat mat, as mentioned above, can help keep your cutting warm. I also recommend using a humidity tent to keep humidity levels up. You can create a makeshift humidity tent with a transparent plastic baggy secured with a rubber band, or you could place your cutting in a terrarium or greenhouse. Water with your mister whenever the surface of the soil is dry – this may be every day or more often, depending on the conditions in your home. You’ll know your cutting is rooted when a gentle tug is met with resistance. At this point, start watering your little clone by pouring water over the soil surface, letting the top inch dry between waterings. You can learn more about watering Norfolk Island pines in our article.
Via Division
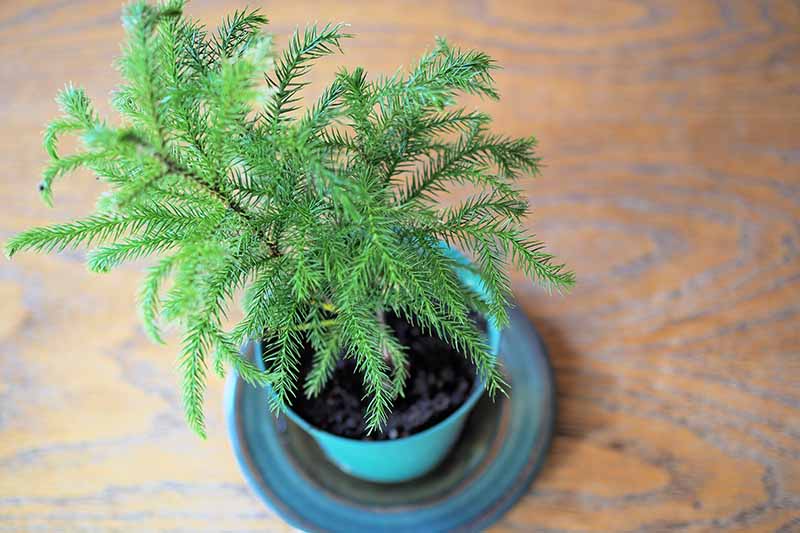
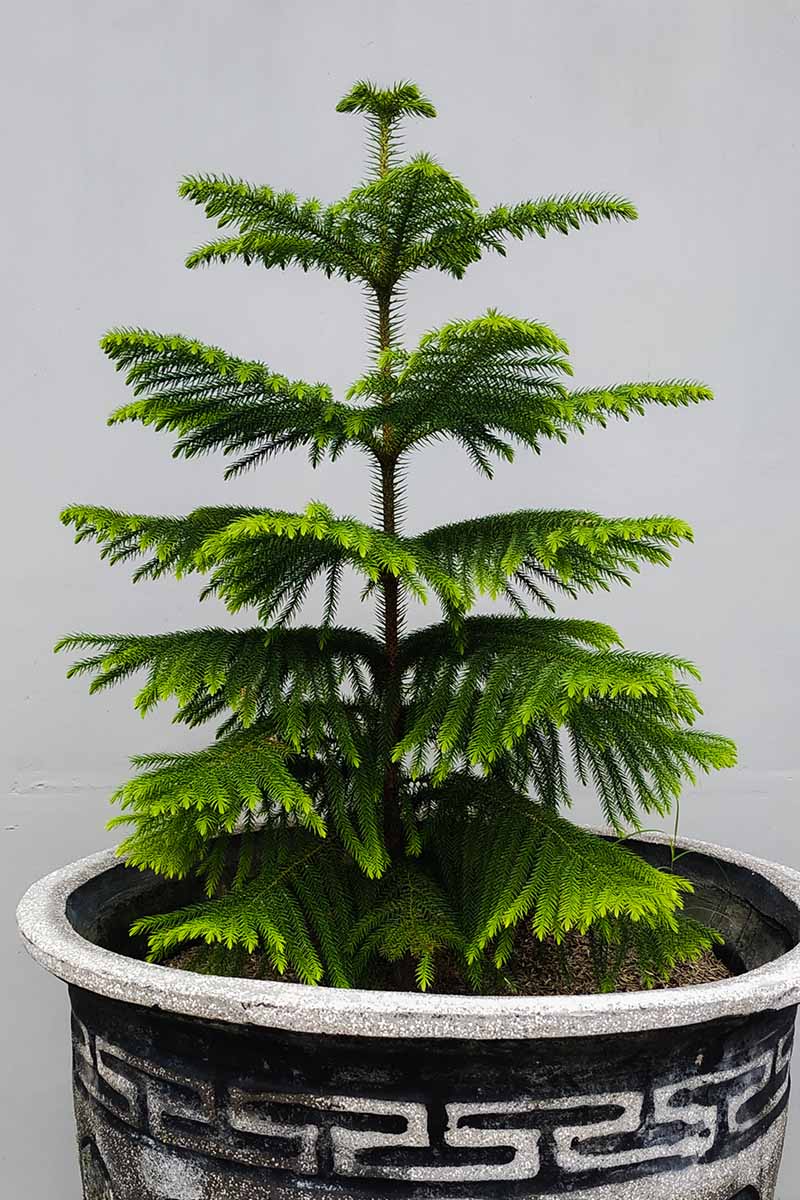
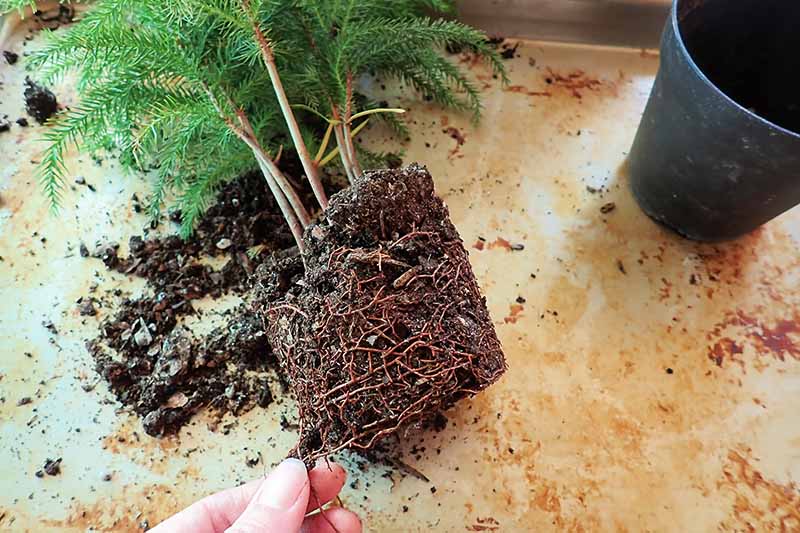
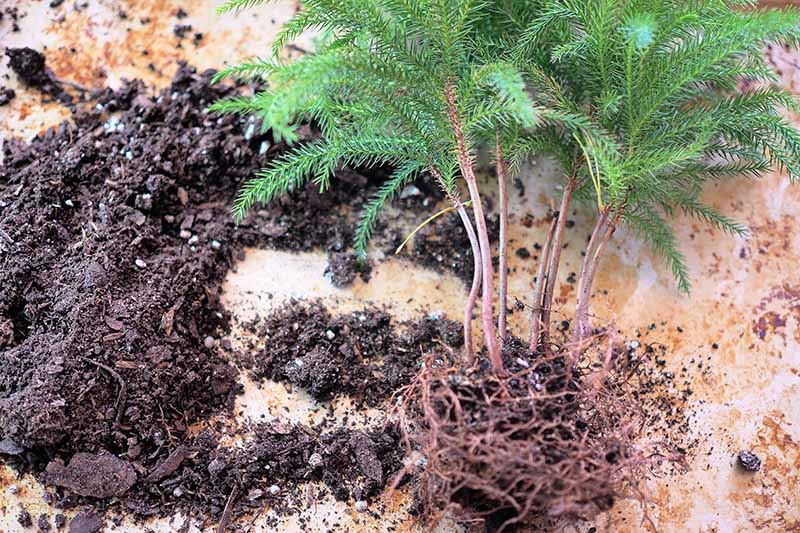
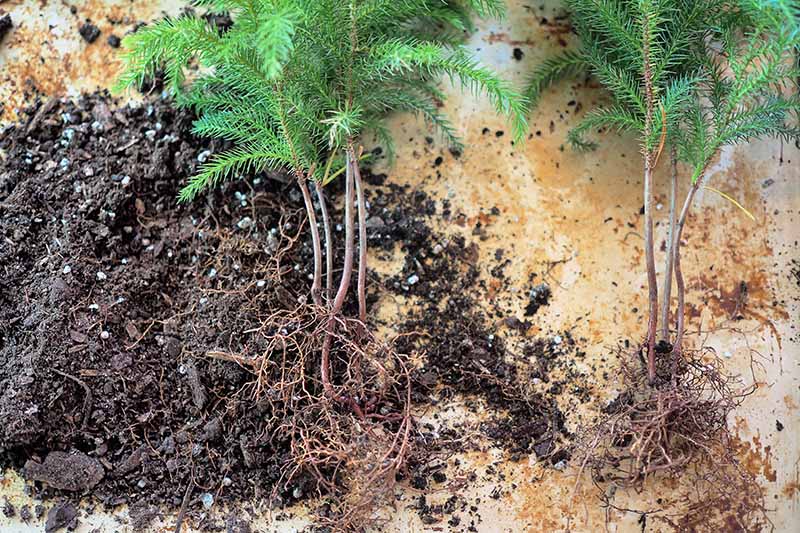
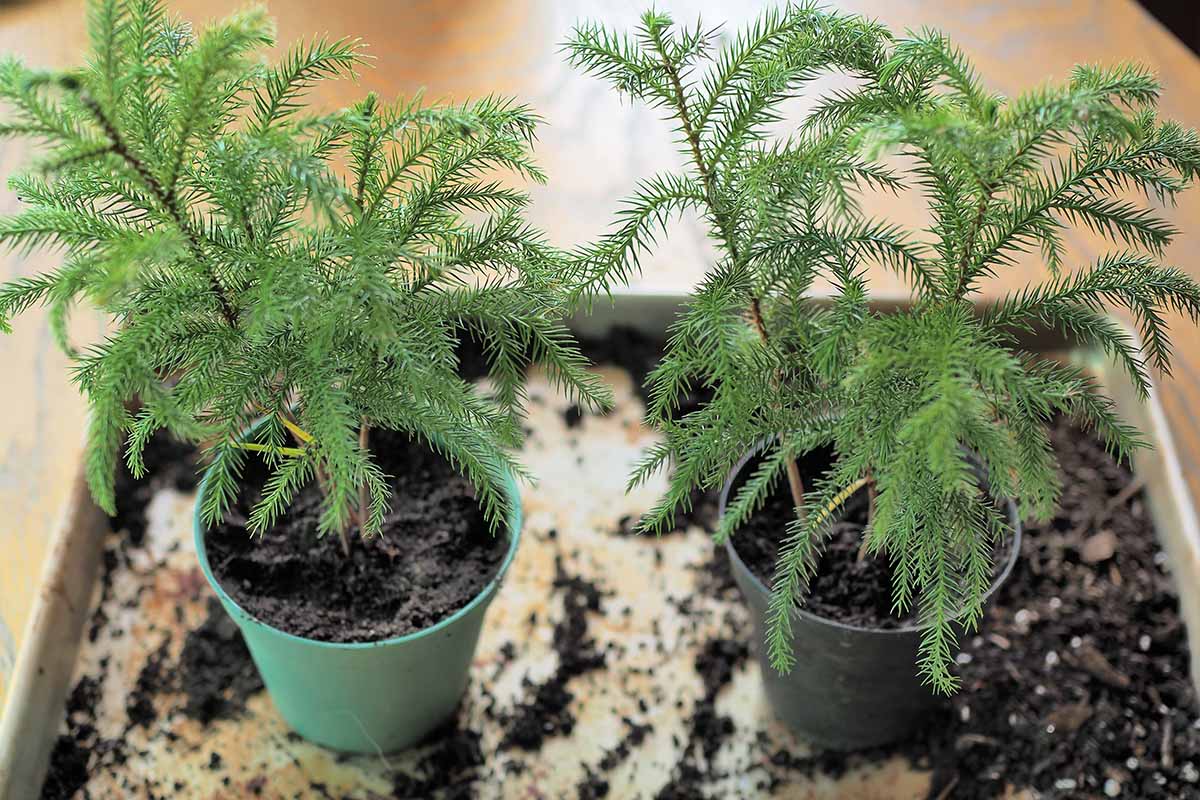
If you’re interested in propagating Norfolk Island pines to generate more plants for your home, one of the easiest ways is to divide existing plants. This isn’t a true form of division, but it is an easy way to get more specimens. Let me explain. True plant division is carried out at the root of plants, often via their rhizomes, corms, or tubers. Let’s take potatoes, for instance. You plant one potato spud in your spring garden, come back a few months later, and now you have several spuds. Each spud, if planted separately in the soil, can grow into a new plant. When we “divide” Norfolk Island pines purchased originally from a nursery, that’s not at all what we’re doing. We’re simply separating individual plants that have been grown together in one pot. Commercial growers of these conifers often grow more than one tree per pot. This technique results in a bushier, fuller houseplant – which is not actually a single houseplant at all, but rather, a clump of densely planted trees. If you don’t need or want such a bushy houseplant, you can turn your clump of Norfolk pine trees into two – or even more, depending on how many individual trees are growing in your pot. There is one caveat to this propagation project – some of the individual trees may not survive the operation, so if you proceed, handle your houseplant very gently and be prepared for some potential loss. Before you get started, examine how many stems are in your pot – that’s how many trees you have. Now decide how many specimens you want to divide your houseplant into, and have pots of soil at the ready. In many cases, this operation will be easier to perform on smaller specimens with less developed root systems than on larger ones. First, remove the plants from their pot and examine the roots. If they are so tightly bound that you can’t separate them without cutting them, you may want to explore other options for propagating this conifer so you don’t risk damaging your plant. On the other hand, if the roots are easy to work apart, then you can proceed without fear – but do so gently and be aware that each tree may not survive. If you’re going to pot up each tree individually, follow each stem down to the crown and gently untangle its roots from the roots of the other trees. On the other hand, if you want to maintain some fullness, consider dividing your clump of trees into just two or three sections. In this case, you don’t need to separate out each individual tree, just work two or three clumps apart from each other, depending on your goal. Once you have the roots divided, pot up your plants. You can find detailed instructions for potting these conifers in our article. Who needs a dying tree in the living room for the holidays when you can have a collection of beautiful, living, Norfolk Island pines? With three propagation methods to choose from, which are you going to try? Have you experimented with any of these methods on your own yet? If so, how did it go? Let us know in the comments section below! And if you’re looking for more houseplant propagation ideas, be sure to check out these articles next:
How to Propagate Poinsettia Plants from CuttingsHow to Propagate Amaryllis BulbsHow to Propagate African Violets from Leaf Cuttings