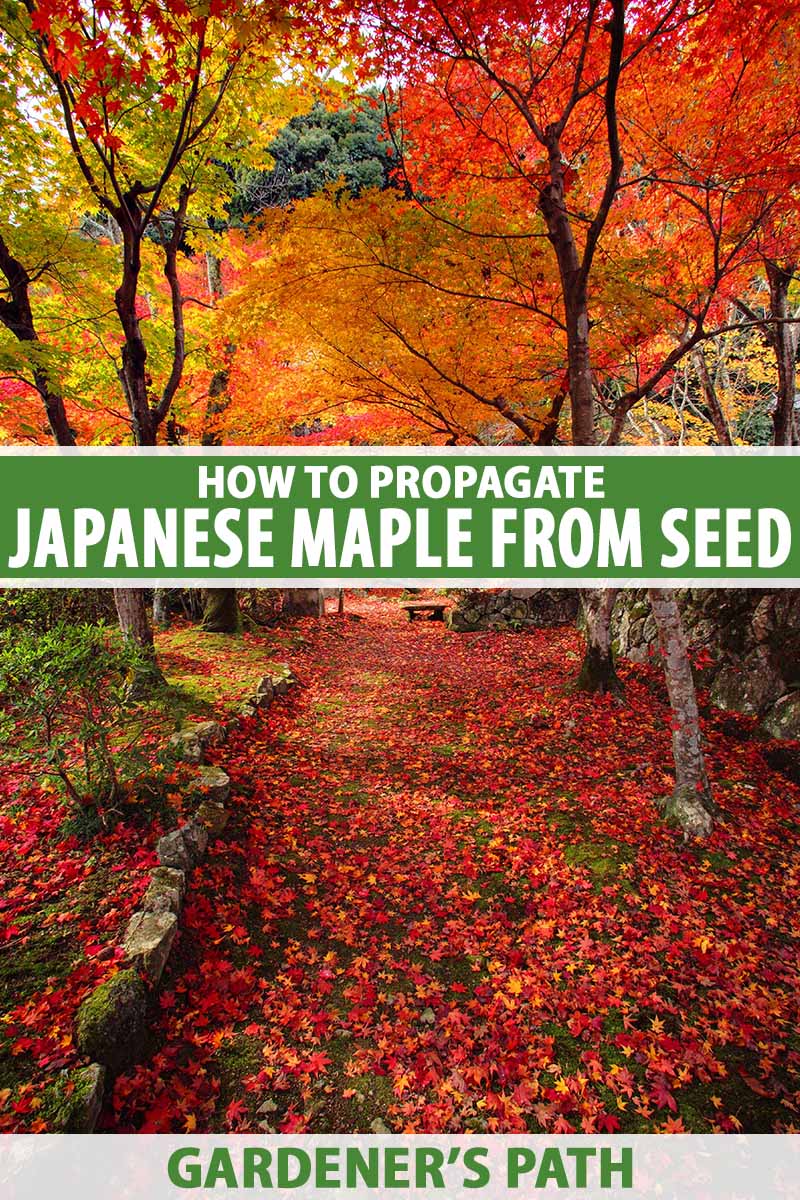
The same is true in the botanical world, as the most gorgeous of specimens can sprout from small seeds. The Japanese maple is one such plant. Acer palmatum seeds, when properly cultivated, can transform into stunning, fully-grown trees in time. We link to vendors to help you find relevant products. If you buy from one of our links, we may earn a commission. The ease and accessibility in doing so for the average green thumb can’t be understated. Plus, growing a tree like A. palmatum from seed can be quite empowering for a gardener! This guide contains everything you need to know to start propagating these plants yourself. A seed primer, reasons to use this method, and proper propagation protocols are all included. Here’s everything we’ll cover:
Japanese Maple Seeds 101
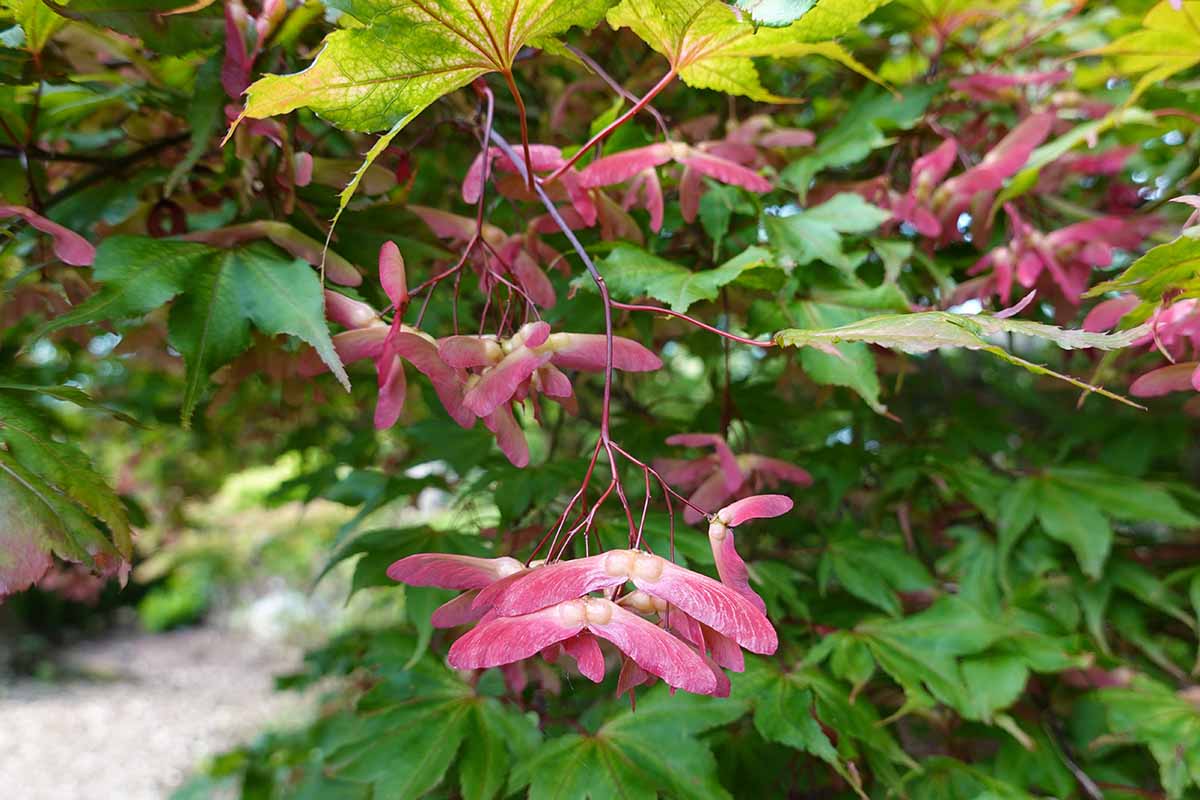
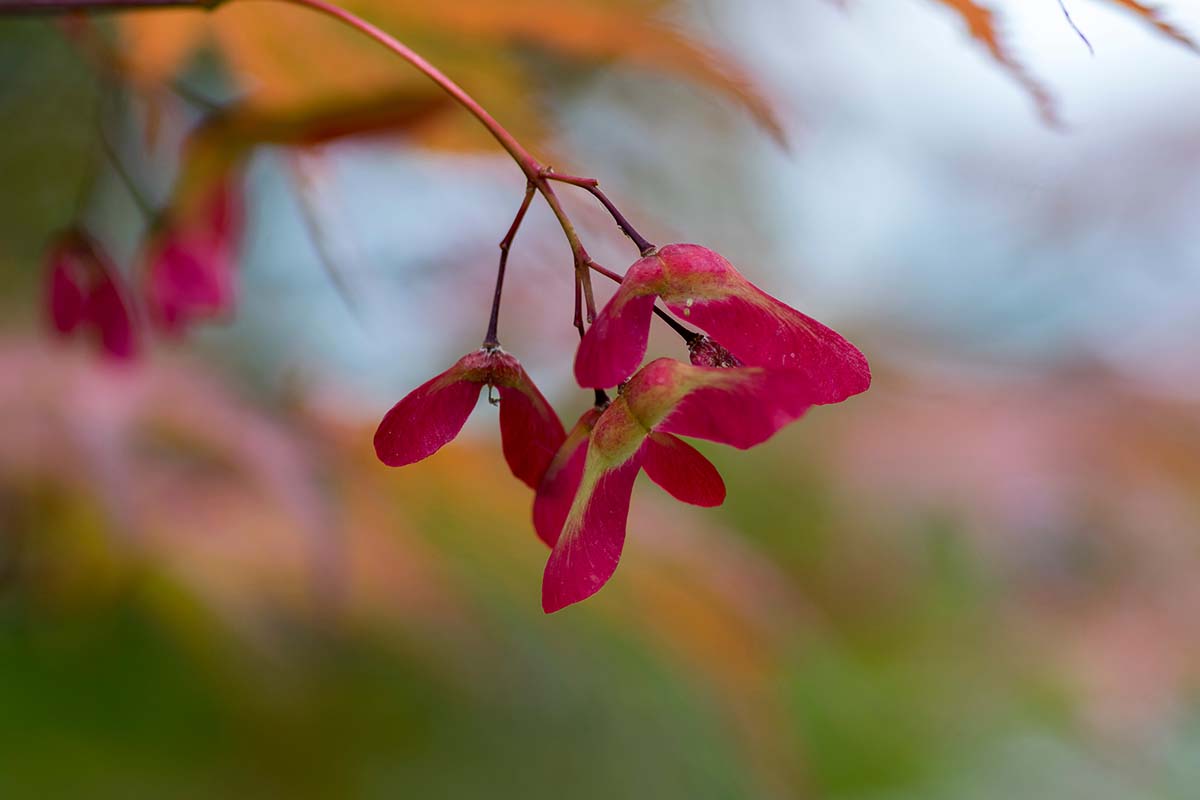
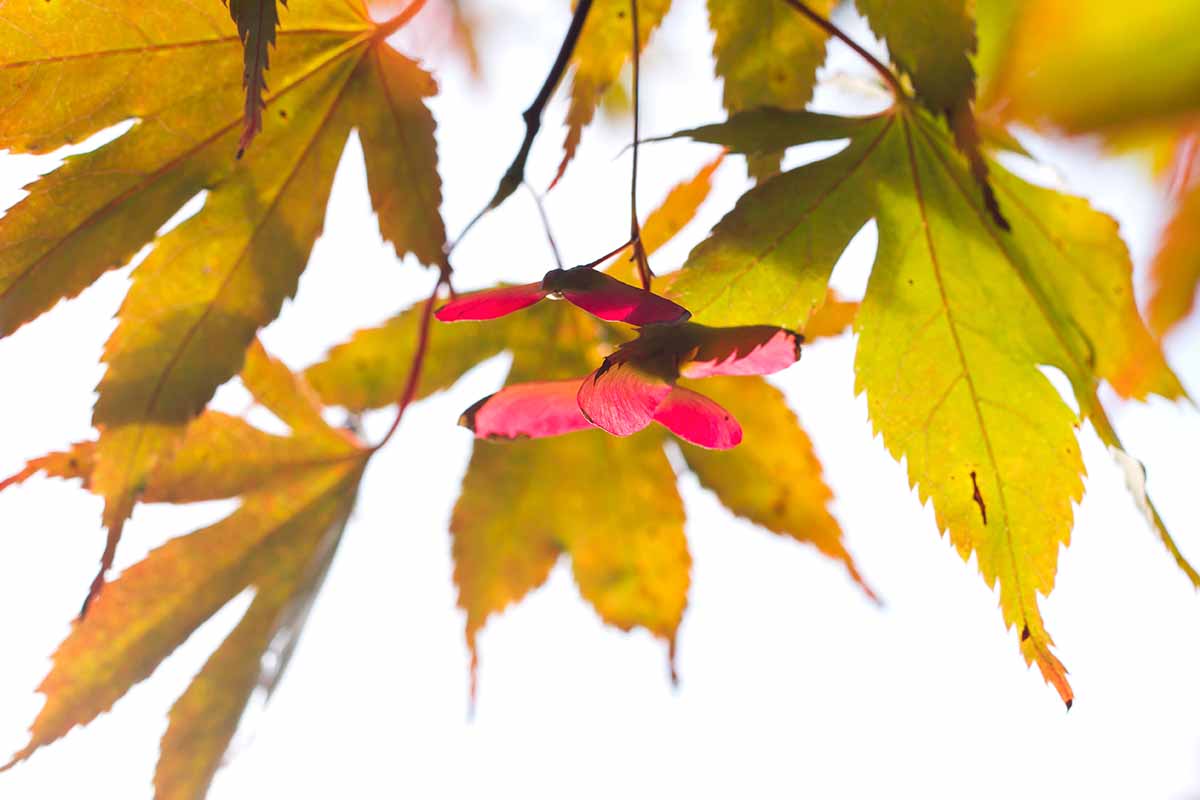
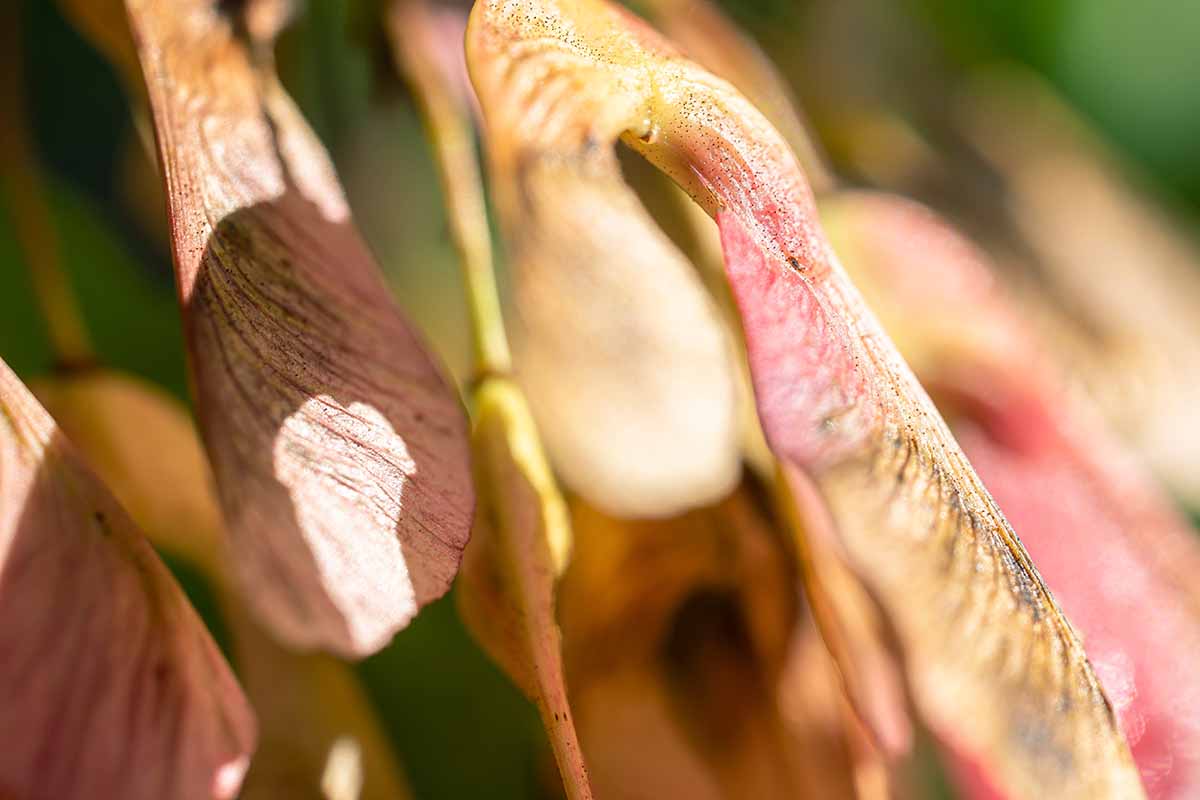
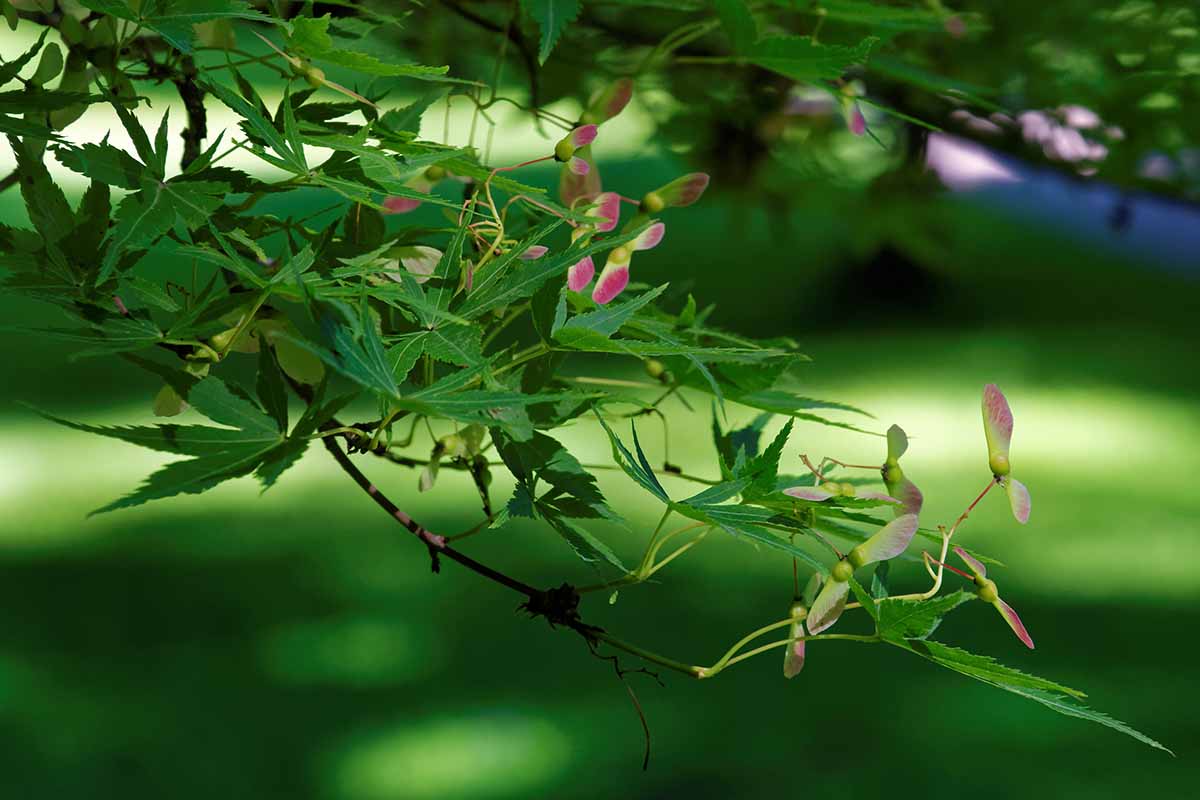
The seeds of Japanese maples are housed in samaras, which are propeller-shaped capsules that are one-half- to three-quarters of an inch in length, and a quarter-inch to three-eighths of an inch wide. Growing in pairs, they emerge in shades of green before maturing to red during the growing season. Upon ripening in September to October, they’ll look brown and crinkly. The propeller shape of the samaras is actually vital for seed distribution. As a samara falls from its tree, the “blade” of the fruit catches air currents, which spin the samara like a helicopter. This slows down its descent, while allowing the wind to carry it a greater distance than it would travel had it just fallen straight down. This “helicoptering” is quite interesting to observe in action, and can even be aesthetically beautiful if a strong enough gust sends many samaras flying through the air at once.
Why Propagate Japanese Maples from Seed?
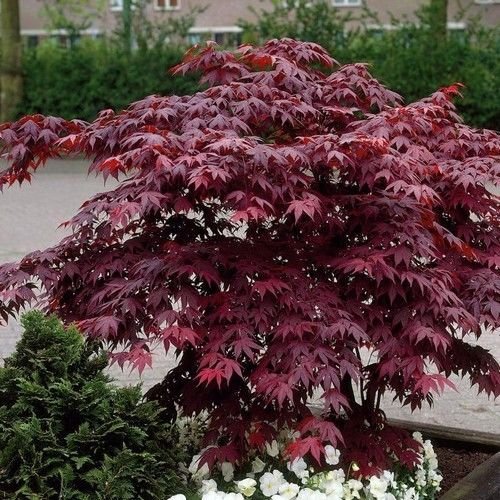
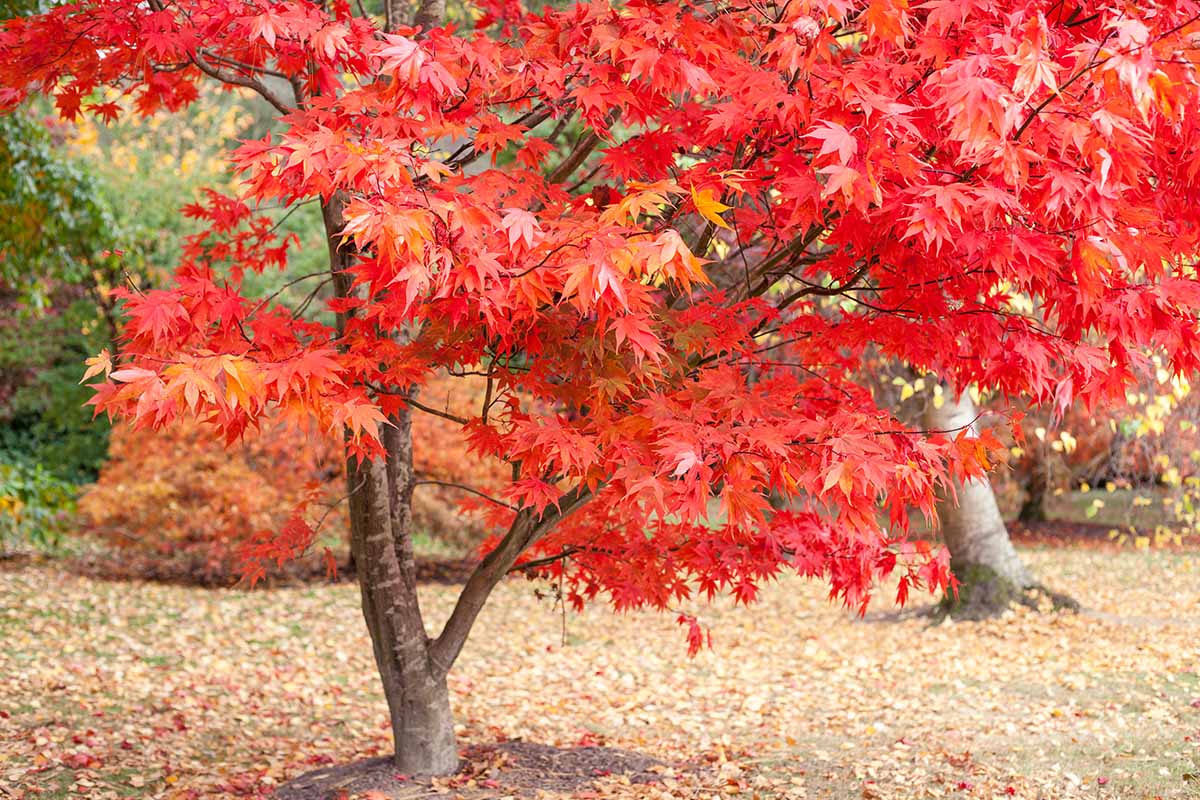
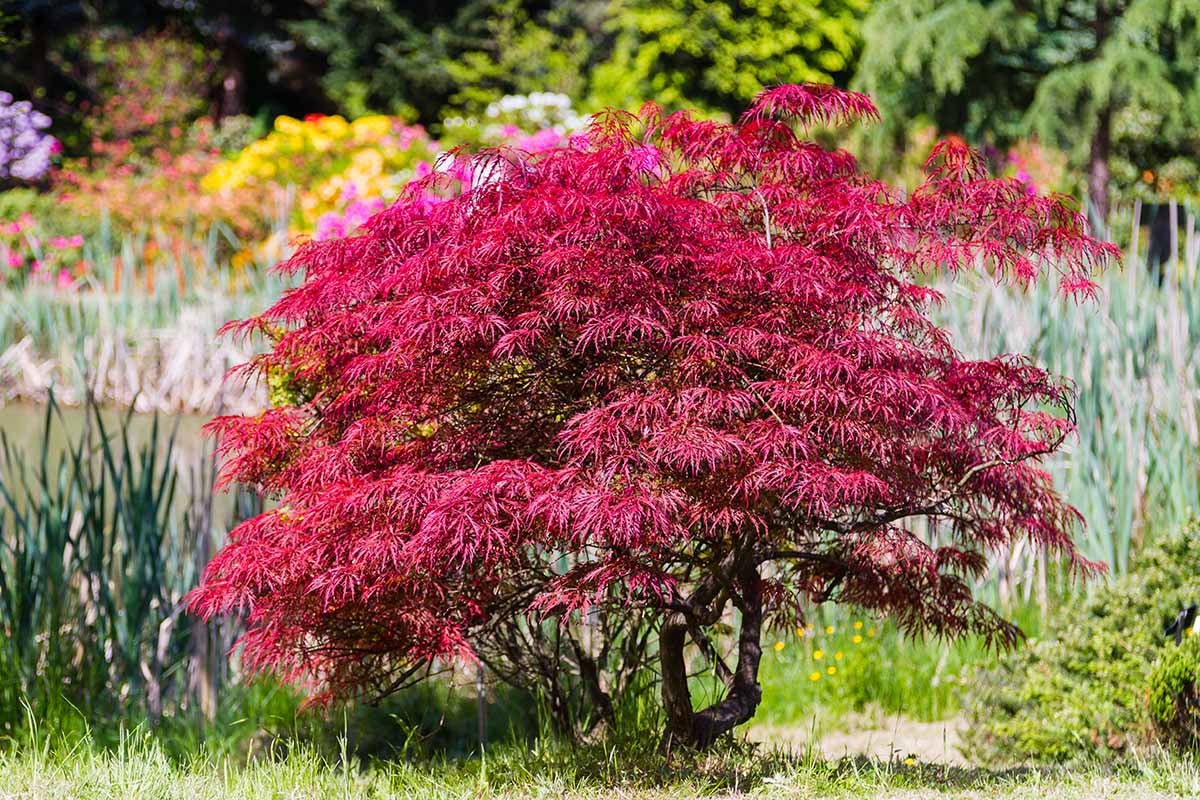
There’s more than one way to propagate an A. palmatum tree, but choosing to sow seed comes with particular benefits. With a cutting, you have to scout out a suitable branch and make a sterile cut for every single propagule you plan to take. Utilizing seeds instead is a wonderful way of saving some hard-earned dough, because collecting your own from a mature specimen doesn’t cost a dime. Even if you aren’t able to gather them yourself, they’re a heck of a lot cheaper to buy than transplants. ‘Bloodgood’
Yield
“But taking cuttings is cheap, too!” I hear you. But seeds are inherently easier to collect en masse than cuttings. But with seeds, it’s as easy as gathering mature samaras and peeling off the husks. Plus, it’s fun to try and catch them as they fall, before they hit the ground.
Diversity
Another pro of this propagation method: genetic variance. With transplants grown from tissue culture and rooted cuttings, the plant is an exact genetic copy of the parent – and this can be ideal, as long as the goal is knowing exactly what kind of A. palmatum you’ll end up with. But seeds are the result of sexual reproduction, so their genetics will vary a bit from their parents. With this method of propagation, you have the potential to stumble upon exciting new characteristics, or at the very least, raise specimens that don’t all look exactly alike.
Collection and Stratification
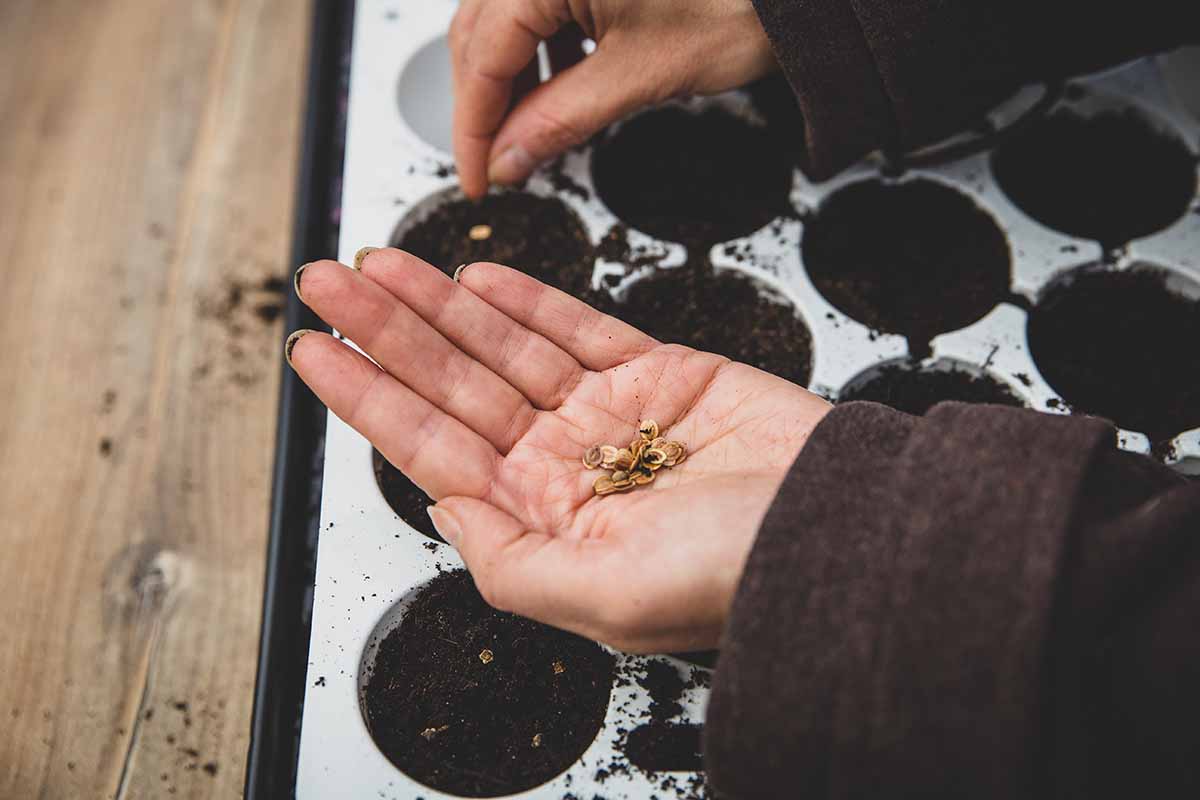
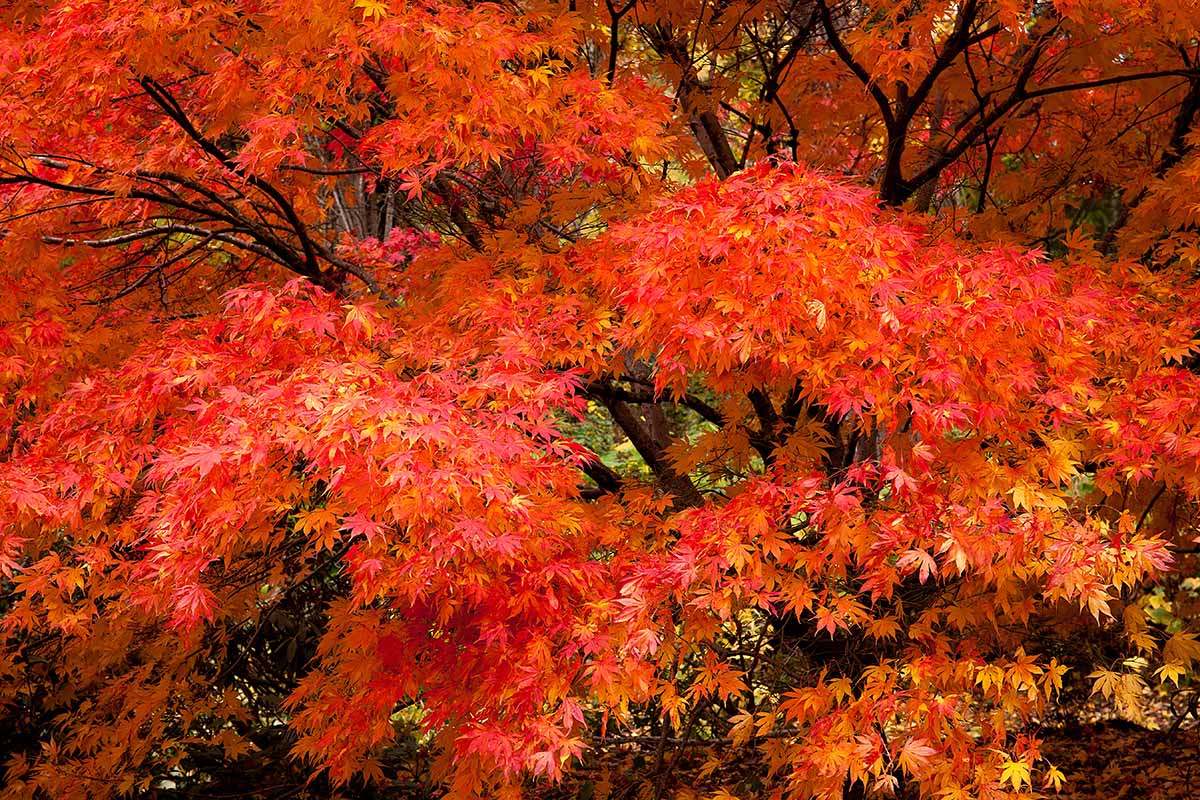
When collecting Japanese maple seeds, it’s important to wait until they’re ripe. If you pluck samaras off of the tree too early, the seeds within won’t be developed enough to be viable. Ripening typically occurs during the months of September and October. During this time, the samaras will take on a crinkled brown appearance and fall from the tree in spectacular fashion. After they’ve dropped, they should be collected as soon as possible. You can also pluck them straight off the tree, if you’d like. If the samaras have a little give and come off easily, then you timed it perfectly. But if they’re resistant to being pulled away, you should wait a little longer. Remember that sowing seeds that you’ve collected may result in genetic variations that surprise you. Whereas rooting cuttings of a specific variety of A. palmatum will produce a clone of the parent plant that shares its characteristics, as mentioned above, pollinated seed may not grow true. When you gather them, collect more samaras than you think you’ll need, since some may not be viable. To process the samaras and remove the chaff, you’ll want to tear off the wings while leaving the part at the base that contains the seeds unpeeled. Store them in a paper bag or envelope in a cool and dry place until 100 days before the intended planting date, which is ideally in early spring after the last frost. At this time, place the seeds in a bucket and soak them in warm water for 24 hours. Maple seeds have a tough coat, and may take up to two years to germinate naturally outdoors, so this will help to speed up germination. “Warm” doesn’t mean “scalding,” though – if the water is too hot for your hand, then it’s too hot for the seeds. After 24 hours, take a look at your seeds: the ones that sink are likely viable, while the ones that float should be discarded. Put the viable ones in a zip-top plastic bag filled with a moist 50/50 mix of peat moss and sand. Poke holes in the bag to increase air circulation, and place the baggie in a shallow bowl or box to catch any spills. Place this in a refrigerator set to 33 to 39°F for 100 days. Keep the media moist the entire time, opening the bag and spritzing the medium with water as needed. Cold stratification can also be done outdoors if you prefer. Instead of using a plastic bag, fill a seed starting tray with good drainage with your medium, and secure a screen on top to keep out any hungry rodents. Place the tray in an area sheltered from the wind outdoors for 100 days. It’s fine for the tray to be exposed to freezing temperatures, frost, and snow during this period.
Sowing and Cultivation
Once the 100-day cold stratification period is up – ideally in early spring – it’s sowing time. You can either provide each seed with its own nursery container, or simply plant them in soil that’s been prepared out in your garden. Either way, the growing medium should be fertile and well-draining, with a slightly acidic pH of 5.5 to 6.5. Additionally, make sure the planting area provides a partial shade exposure. Full sun could scorch your seedlings, while full shade will deprive them of necessary sunlight. Sow each one three-eighths of an inch deep, and water them in. Be sure to give them enough space in their permanent location to accommodate their full size at maturity. The soil will need to be kept moist in the planting area for the first few years of each tree’s life. After plants become established, you should only irrigate when the top two inches of soil dry out. For further instruction, we’ve written a guide that will help you care for your Japanese maple as it grows and matures. This method of propagating Japanese maples is a cool botanical hack to learn as a gardener. Sure, it takes time and effort, and specimens require years to mature. But how awesome is it to be able to grow an entire tree from a single, itty-bitty seed! Very much so, I say. If you have questions, or tips and tricks of your own to share, the comments section below is just the place to put them! If your A. palmatum interest has been piqued, stoke that intellectual fire with some more Japanese maple guides:
21 of the Best Japanese Maple VarietiesA Guide to the Different Types of Japanese Maple TreesHow and When to Fertilize Japanese Maple Trees