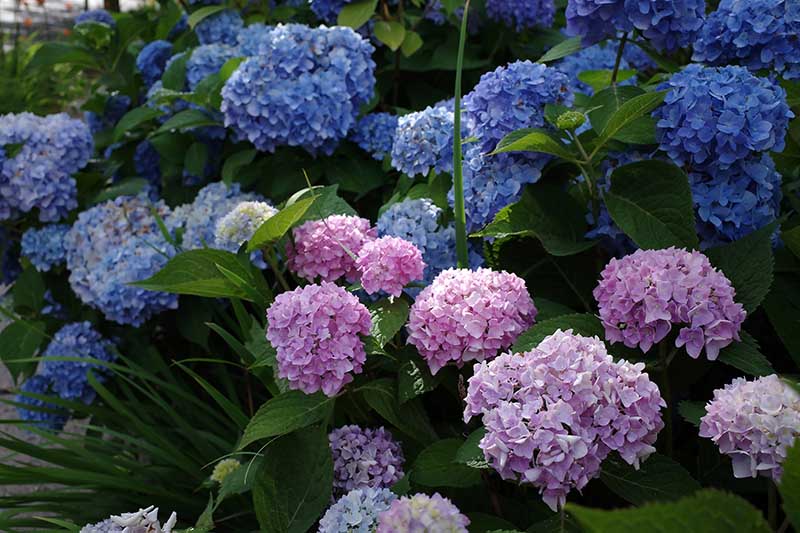
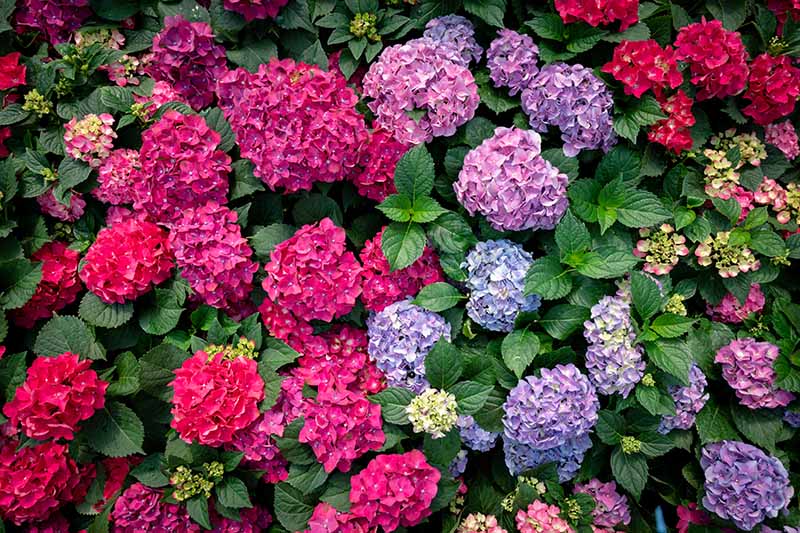
If you want to grow this classically beautiful shrub but don’t want to bother with expensive nursery starts, great news! Hydrangeas are very easy to root from cuttings. You can just find a friend or neighbor with a healthy shrub and you are ready to get started.
When to Take Stem Cuttings
Hydrangeas are deciduous perennial shrubs that grow and bloom throughout the spring and summer months. You can take cuttings any time from late spring after the plant has leafed out until early fall.
If it is late in the growing season, make sure foliage is still green and that you have enough time for roots to fully form before the ground freezes, as it can be challenging to keep newly established plants indoors through the winter. Plan for about six to eight weeks for cuttings to take root before they will be ready for planting out in the garden.
Preparing Cuttings
Make sure to start with shrubs that are healthy and disease-free. Cuttings will produce clones of the parent plant, so choose one with characteristics you like.
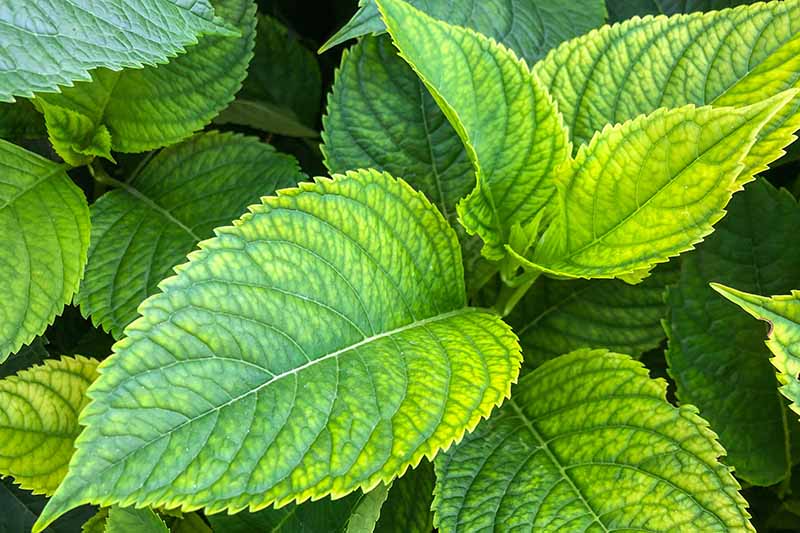
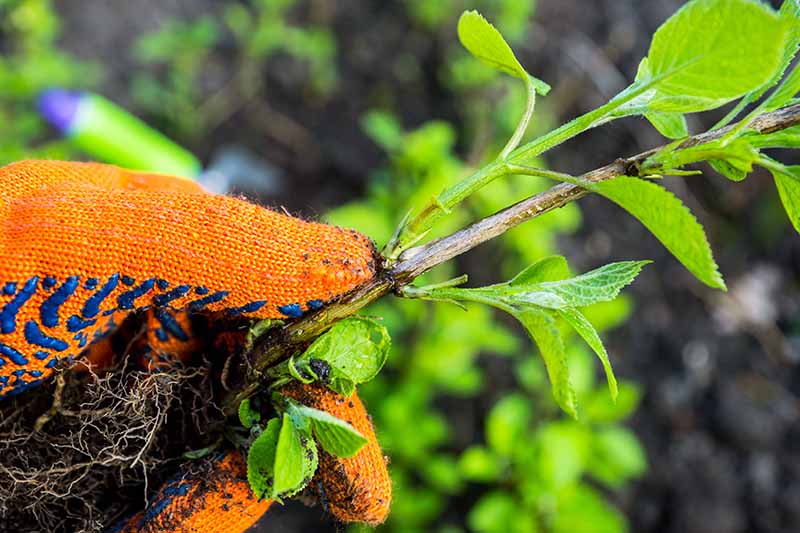
To take a cutting, find a branch that is about six inches or longer in length. It is best to choose a new growth stem with no flowers. New growth will be bright green in color.
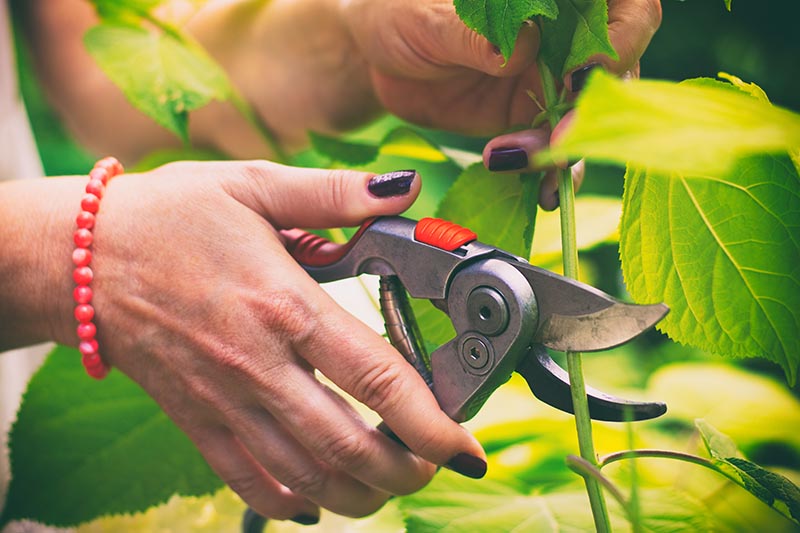
When you identify an appropriate branch, use a sharp pair of garden shears to make your cut just below a leaf node. Cuttings should be three to five inches long and contain at least three sets of leaf nodes.
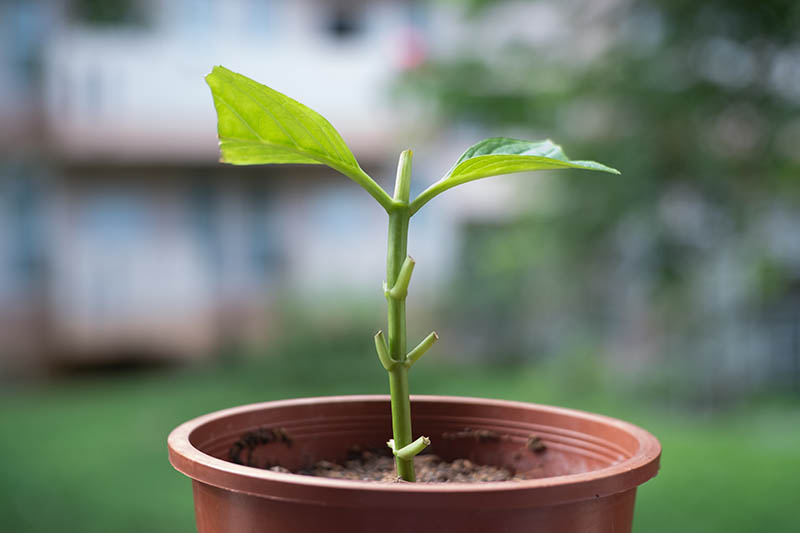
Next, carefully strip off most of the leaves, leaving a pair at the tip of the cutting. The new roots will form at the nodes where the leaves have been removed. If your chosen hydrangea is a variety with large leaves, you can also trim the remaining two leaves by cutting them in half. This will decrease the amount of water needed to support the foliage, reducing stress on the cutting while it is developing its roots. This step is not necessary if leaves are less than three inches long or wide. Throughout this process, it is important to keep the cut stems from drying out. Be mindful, work quickly, and avoid setting them in direct sunlight. You can wrap cuttings in a damp paper towel and place them in a plastic bag until you are ready to pot them up. When you have taken all the cuttings you require, you can choose to dip the cut ends of each stem in powdered rooting hormone. This step is optional, but it may speed up the rooting process.
Potting in Soil
Fill one or more six-inch-wide containers with damp sterile potting soil, or a soilless mix containing half peat moss and half perlite. Avoid using soil from the garden or any soil that is rich in fertilizer. The excess nutrients could cause the cutting to rot before rooting can occur.
Moisten the potting medium, then make holes with a pencil or your finger, and place the cuttings in the pot one by one, burying at least two sets of leaf nodes below the surface of the soil. Tamp the potting medium down around each stem until it is snug. You may plant multiple stems in one container, spacing them at least two inches apart. Water well, allowing the soil to drain thoroughly. The soil should be moist but never soggy. The next step is to create a humidity dome over the cuttings. You can do this by covering the container with a plastic bag, and using stakes to keep the bag from touching the leaves. If you don’t want to use a bag, you can also cut off the top of a milk jug or plastic water bottle and place it upside down on top. Place the pot in a sheltered area out of direct sunlight. Check on it every couple of days, watering when the top of the soil feels dry. Avoid overwatering as this could lead to rot. Roots should begin to form in about two to three weeks. This could happen in as little as a week in warm humid weather.
You can check to see whether a cutting is rooting by pulling gently on the stem. If you feel some resistance, this will indicate that roots are developing. After a few weeks, when you are certain the stem has begun to root, you can remove the bag or humidity dome. Continue to monitor closely and water when the soil feels dry.
Transplanting
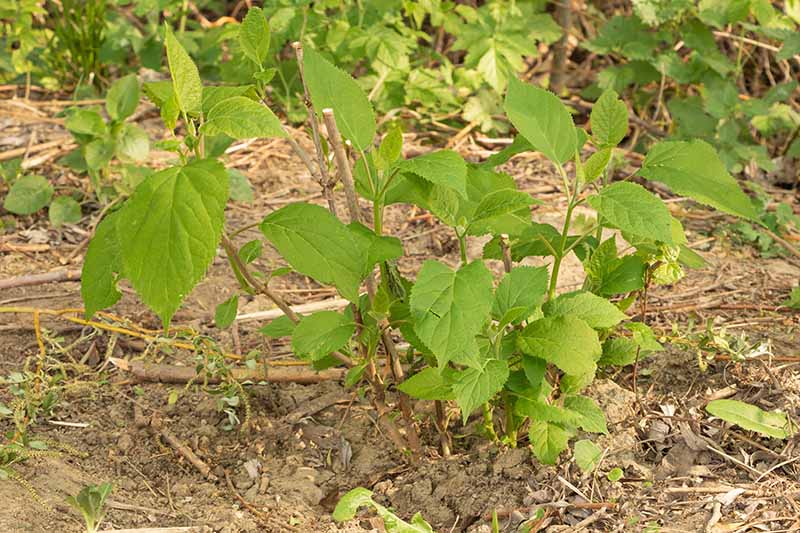
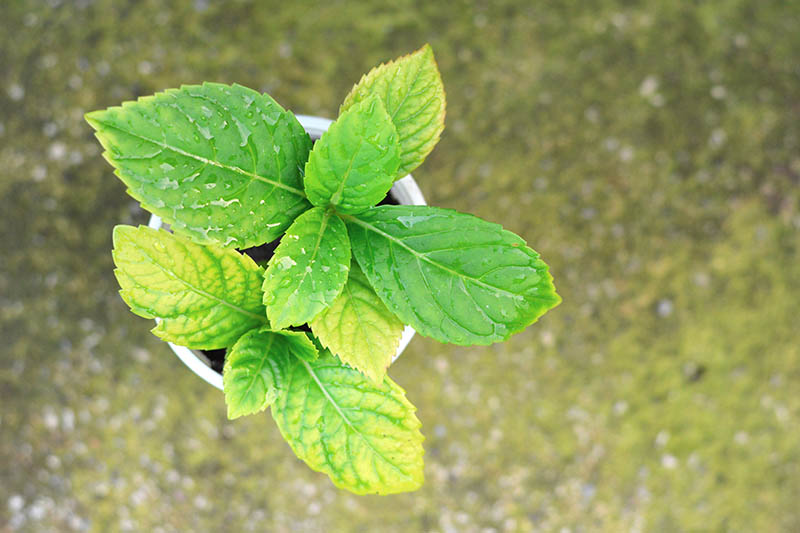
After four to eight weeks, roots should be fully formed. Your new hydrangea is ready to plant out in the garden or to move to a larger, more permanent container.
Water well for the first couple of weeks after planting. You can learn more about how to grow and care for hydrangeas in our guide. If plants are not robust enough for planting before winter, you can keep them protected until spring either by placing them in a greenhouse or by sinking pots into the ground and covering with a thick layer of mulch.
Spread Those Blooms Around
Why spend the money on a hydrangea when it’s so easy to propagate one yourself? You can have fun picking out different varieties from all of your friends’ gardens, and before you know it, you will have big beautiful blooms and cuttings of your own to share.
Have you had success propagating hydrangeas from cuttings? Share your tips in the comments below! And for more information about growing hydrangeas in your garden, have a read of these guides next:
7 Reasons Why Hydrangea May Not Bloom How to Grow and Care for Panicle Hydrangea How to Identify and Treat Hydrangea Diseases How to Change the Color of Hydrangea Flowers
© Ask the Experts, LLC. ALL RIGHTS RESERVED. See our TOS for more details. Uncredited photos: Shutterstock.
