And I love these tasty flavor bombs, so it’s a battle between the taste buds of the present and future. We link to vendors to help you find relevant products. If you buy from one of our links, we may earn a commission. That’s where the bulbils come in. Leave a few scapes alone and you’ll end up with ten to 100 tiny aerial cloves from each one to plant in your garden in the fall. How does this type of propagation work and where do you start? Read on to find out! This is what we’ll cover:
What Are Garlic Bulbils?
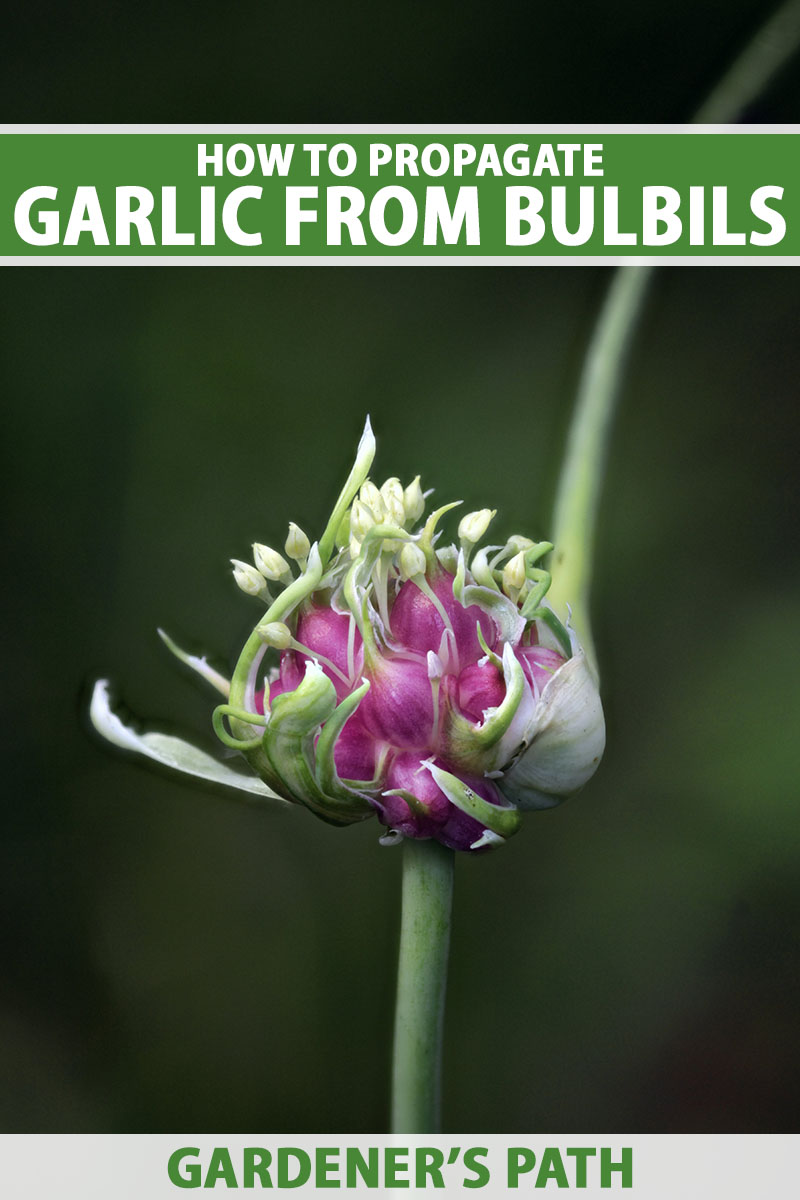
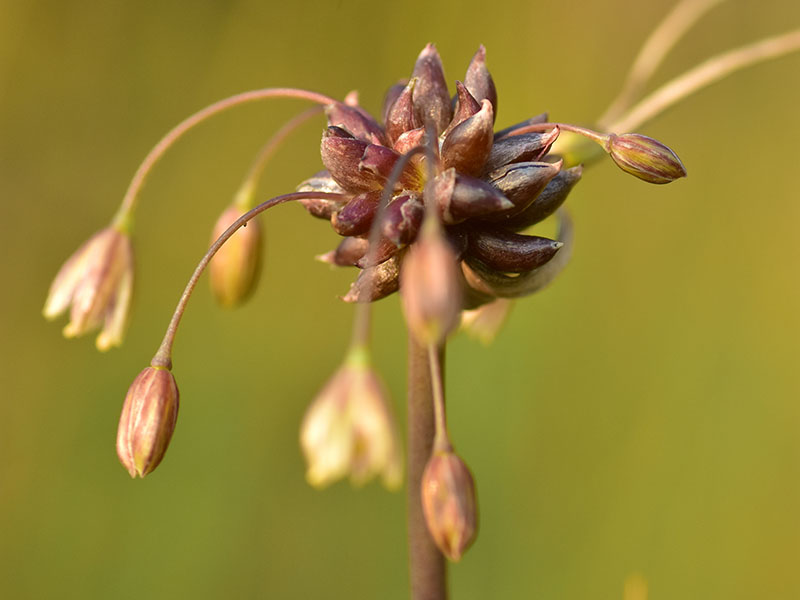
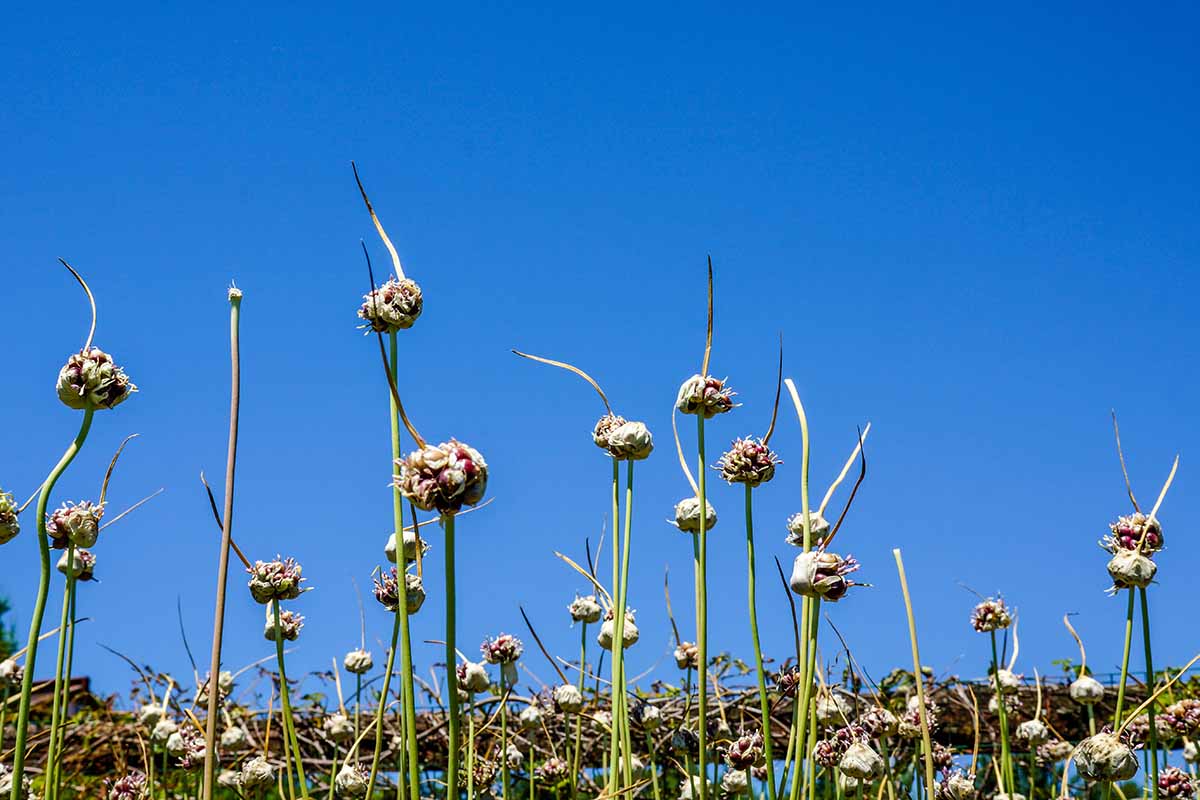
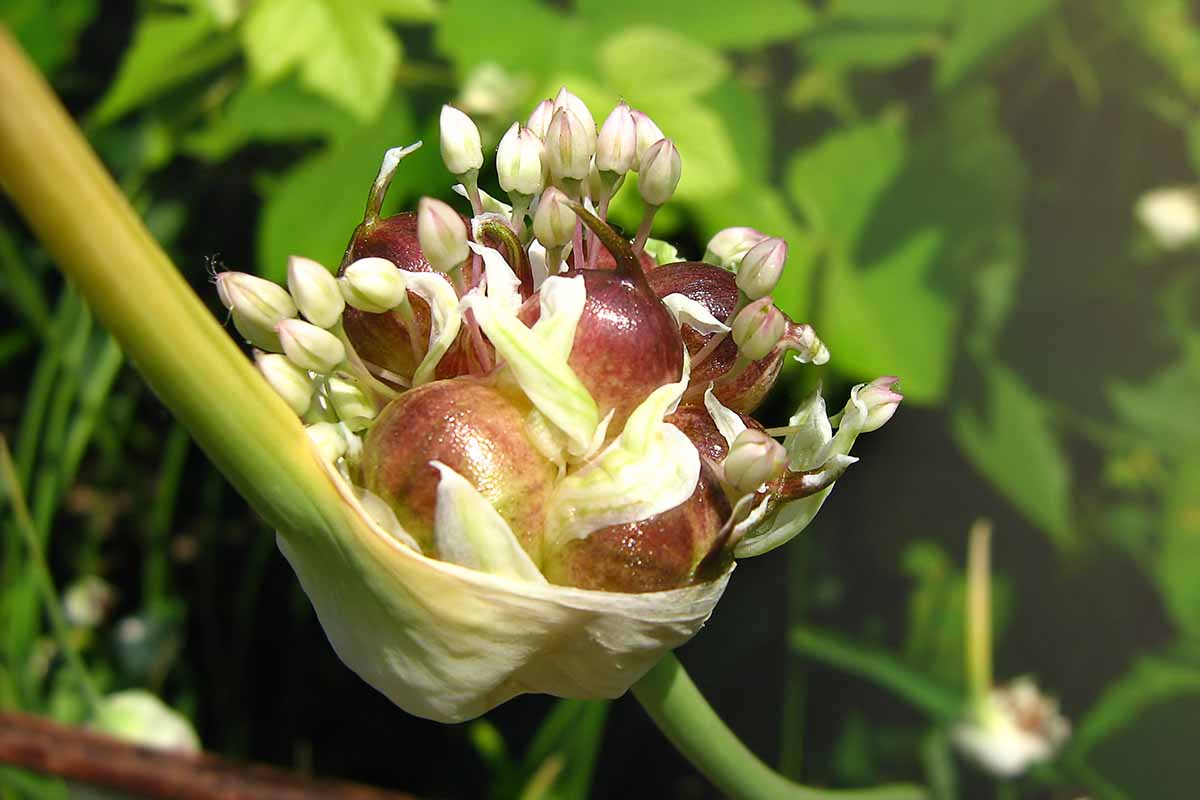
You know those delicious scapes that sprout from your hardneck garlic each spring? If you leave them be, rather than cutting them to use in pesto or stir fries, each one will eventually produce an umbelliferous bloom. In the late summer and early fall, the scapes will produce mini cloves known as bulbils. These little guys can be collected and either eaten – although it’d take a lot of the rice-grain-to-pea-sized bulbs to flavor a given dish – or planted out like seed garlic. Bulbils, or bulblets, are not seeds produced via sexual reproduction. Scapes are not true flowers, and their reproductive parts only form partially – so they aren’t viable, and there’s no cross-pollination involved here. Each one is a clone of the parent that offers a different way for the plant to vegetatively propagate, as is dividing your bulb harvest into cloves that you’ll replant. However, that method only yields four or five underground cloves each, while each scape can produce 10 to 100 of these mini aerial bulbs – and you can sow all of these out. Not only are they free of any soilborne diseases that may be present in the ground-grown seed garlic you’d normally put back into the garden in the fall, but you can increase your planting stock much faster than if you’re saving soil grown cloves to plant out. It’s worth sacrificing two or three scapes worth of pesto for that, in my opinion! Note that softneck varieties not form scapes so this propagation method can only be used with hardneck types, like ‘German White.’ You can learn more about the different types of garlic in our guide.
Collection and Storage
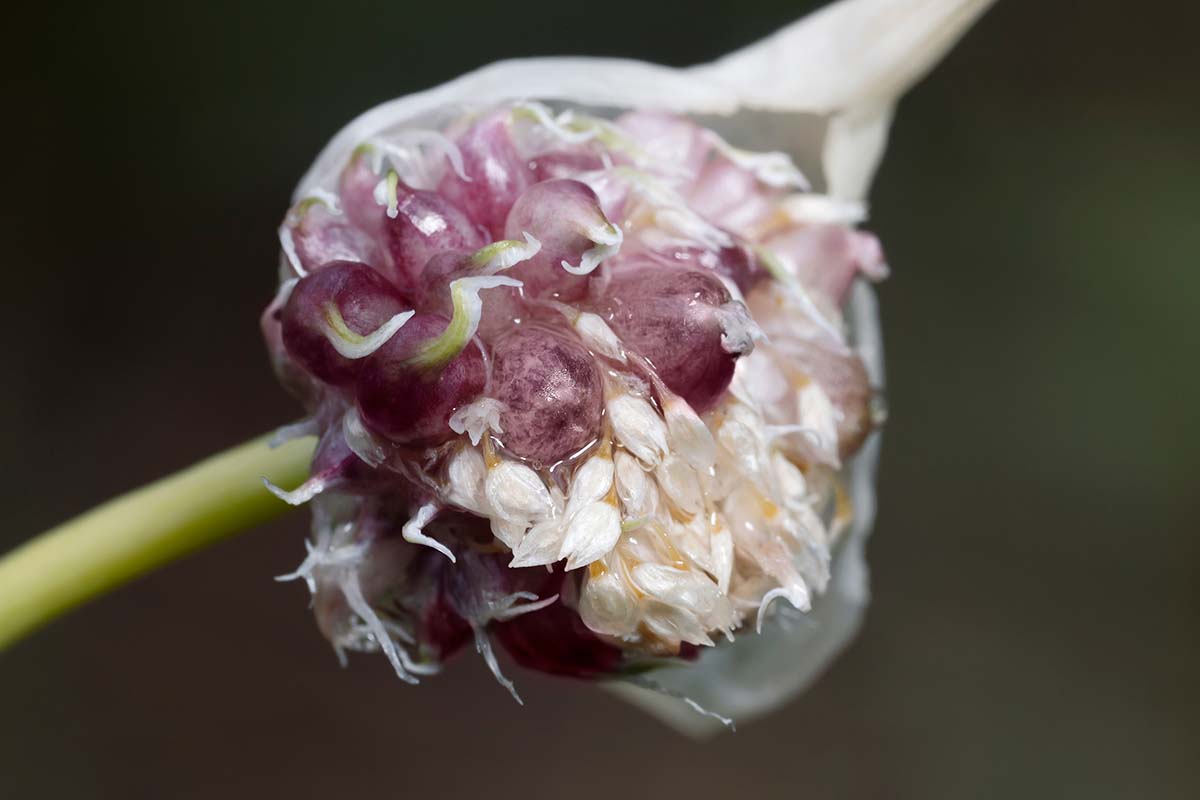
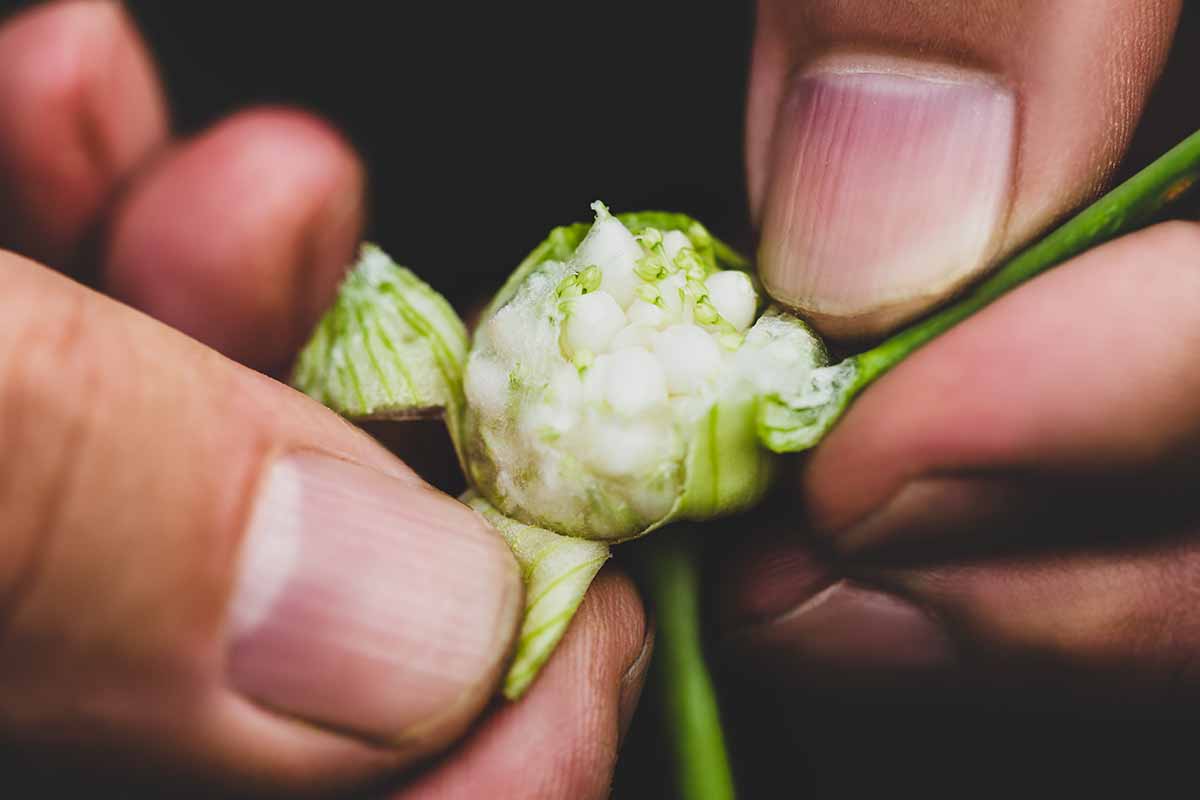
Once the bulbil pod develops a crack, cut the entire scape and hang it to cure in a protected, well-ventilated area. You’ll know they’re sufficiently dried when there is no green left on the scape, and the stem and outer layers are brown and crispy. This can take about a month, so be patient! Once they are dried, break the pod open the rest of the way and rub with your finger to remove the bulbils. They should easily drop off when they’ve dried and cured sufficiently. Store in a cool dry place until you are ready to plant them out.
Planting and Harvest
Add these to your garden as you would regular seed cloves. Plant them out in the fall with their wrappers intact, in a mulched, weed-free bed. You can also root them in containers filled with sterilized soil or potting mix. The only marked difference between sowing seed cloves and bulbils has to do with planting density. Since these are so small and won’t grow as large as a full clove does in one season, leave six to eight inches between rows. Place the larger ones four inches apart, and smaller ones can be planted two inches apart. Different varieties produce bulbils of different sizes, so be mindful of this and plant appropriately. They will emerge in April or early May and will be ready to harvest when the bottom leaves turn yellow and the stems flop over. Gently pull them from the ground. The resulting roundels (or single cloves) are not as strong as those produced from planting a full-sized clove, so be careful! You want the stem to remain intact so you can hang them to dry. Just like the bulbils, these roundels will need to be cured, so hang them in a cool, dry location as you did with the scapes originally. You can learn more about the process of curing garlic in our guide. Replant the individual roundels in the fall, providing increased spacing as needed depending on their size. It can take two to five years, depending on their size and the local conditions, to go from bulbil to a full-sized crop that you can harvest and use in your culinary adventures. But just imagine how much garlic you’ll have down the line, propagated for free! The solution to increasing planting stock without buying more seed cloves is to leave a few scapes to produce these aerial cloves, and they’ll be disease-free, no less! Sure, it takes longer to get a usable crop with this propagation method. But within a few years, you’ll have more than enough to eat and to plant out for an abundant harvest the next year. Have you ever noticed bulbils on scapes you’ve left to flower? Let me know if you’re planning to plant them this year in the comments below! In the meantime, read these helpful garlic-growing articles to aid you in your quest:
How to Plant and Grow Garlic in Your Veggie PatchWhen and How to Harvest GarlicHow to Identify and Control Garlic Pests