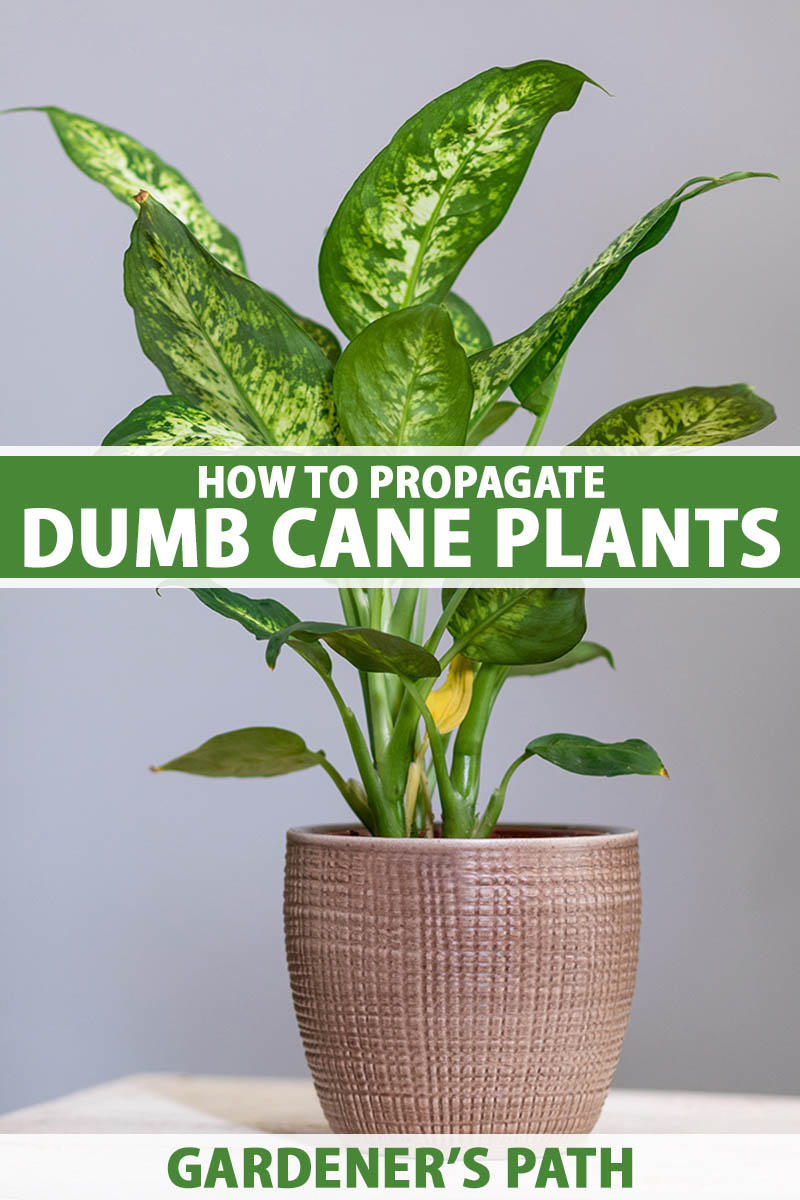
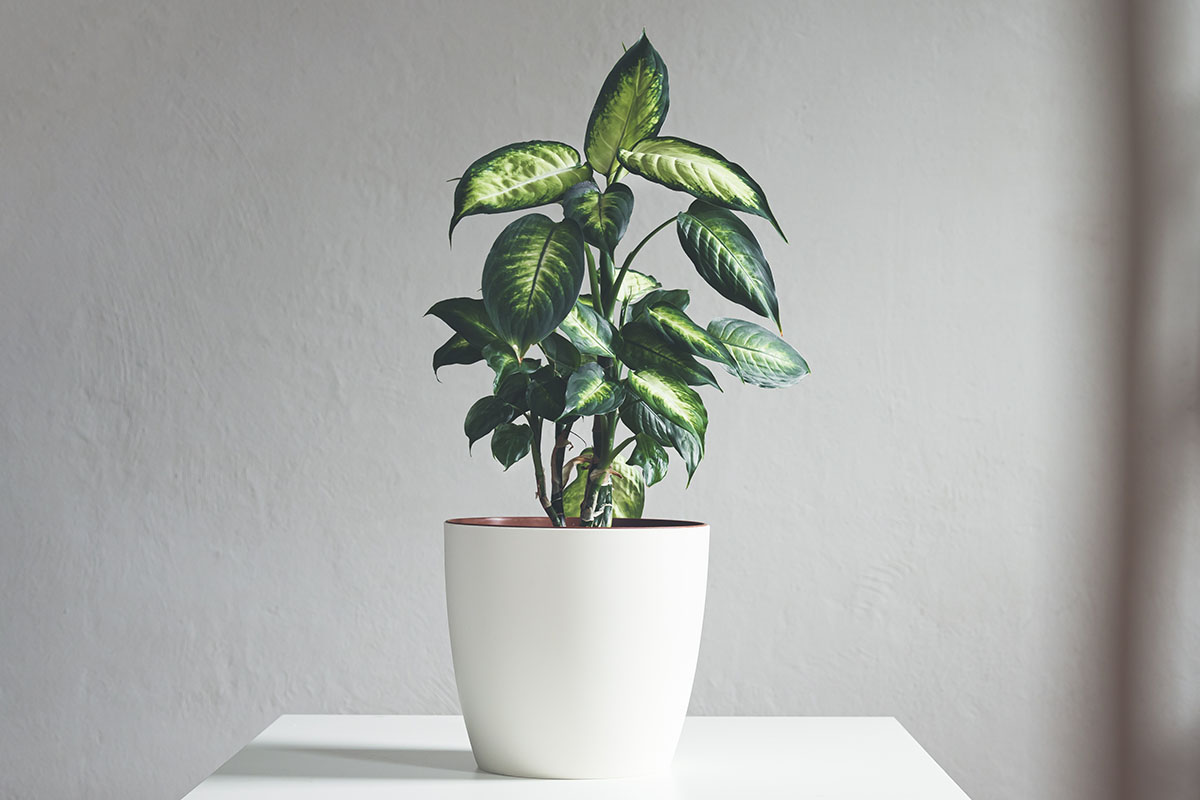
But if you’re like me, you’d rather spend your hard-earned cash on a new pair of secateurs or some good gardening gloves – especially when you can start new plants for the cost of some fresh potting soil. Propagating houseplants is a relatively straightforward process, but it’s absurdly simple with dumb canes. In the past, I’ve snipped off the tip of a cane that had lost its leaves, plopped it in some soil, watered it, and then forgotten about it. A few weeks later, I had a rooted cutting ready to go. Wherever there is a node on the plant, there is the potential to encourage new roots and leaves to grow. And these plants are absolutely lousy with nodes. We link to vendors to help you find relevant products. If you buy from one of our links, we may earn a commission. Here’s what to expect: If you want to learn more about these fascinating plants, our comprehensive guide explains the history and the particular needs of dieffenbachias. Once you’re familiar with what these plants need, let’s get started!
Necessary Tools
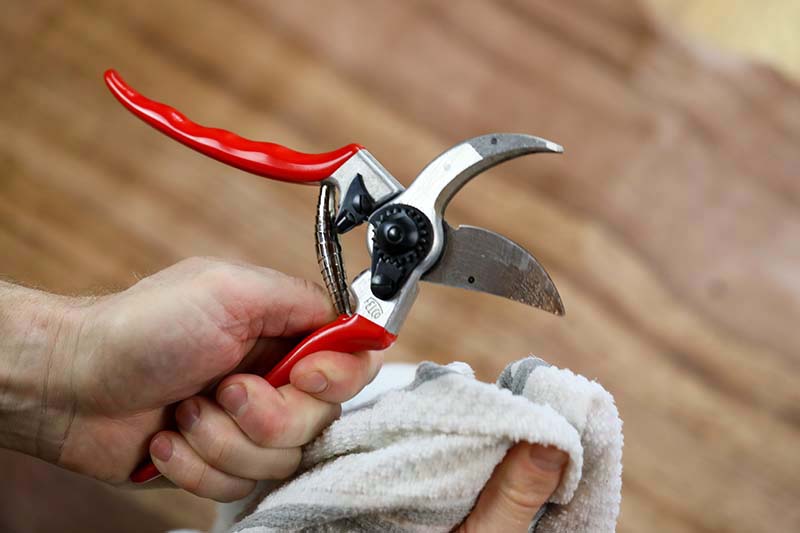
It doesn’t take much to propagate new plants, but you will need a few tools, and you should prep them in advance. First of all, save yourself some trauma and be sure to wear gloves. Dumb cane contains oxalate crystals in its sap. These crystals are what cause people who ingest dumb cane to experience swelling in the mouth and throat. The same crystals can also irritate your skin. If you’re super careful to avoid getting any sap on your skin, you should be fine. But it’s pretty easy to accidentally touch some sap, or for your hand to slip, and now you’re dealing with dermatitis. Gloves and long sleeves are your friends here. You also want to have a clean pair of secateurs ready. It’s important to clean your tools before you use them because you never know what pathogens could be lurking on them. Maybe you used your secateurs to prune a plant that had a fungal disease and you didn’t realize it. Now you’ve spread that fungus to your dieffenbachia, and all the new little plants you’re trying to make. The easiest way to sterilize your tools is with a solution of one part bleach to nine parts water. Use this mixture to wipe your tools down thoroughly before use. If you’re taking cuttings from multiple plants, wipe them down in between plants as well. It’s a little time-consuming, but it will minimize the risk of problems down the road. Finally, it’s easiest if you have your pots already filled with potting medium and ready to go. Also, if you’re reusing containers, be sure to wipe them down with that same bleach and water mixture to sanitize them first. You can plant directly into whatever container you intend to grow in, or you can invest in some small seed-starting containers for propagation.
Air Layering
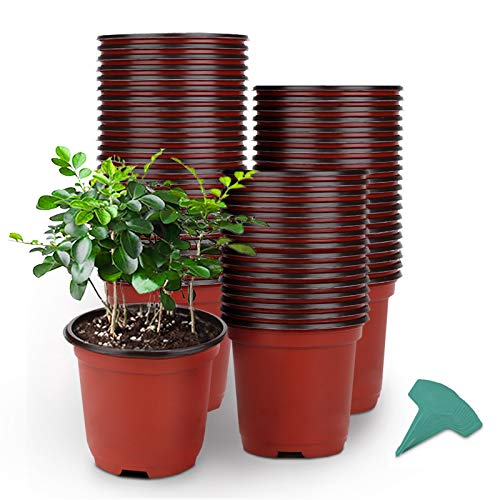
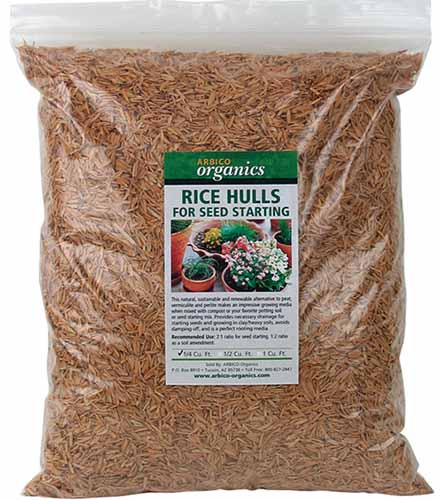
This is the most complicated method for propagating dumb cane, and it can only be done on plants that are a bit older. Thin plastic nursery pots with good drainage are handy to have around if you plan to do lots of propagation. You can also reuse them multiple times if you’re careful not to crack them. Plastic Nursery Pots When it comes to selecting an appropriate potting medium, standard potting soil will do. However, I like to work in some rice hulls to improve drainage and water retention. Rice hulls work in the same way that peat moss does in the soil, but they’re far more environmentally friendly. Rice Hulls If your local nursery doesn’t carry rice hulls, you can always grab some at Arbico Organics in quarter-, half-, or one-cubic-foot containers. You need a cane that is at least a foot tall and as thick as a pencil for it to be strong enough to support the weight. The benefit of choosing this method is that even if the layering doesn’t take, you haven’t destroyed part of your plant, as you can potentially do when propagating stem cuttings if they fail. Once you find a cane that’s the right size, strip the leaves off of the bottom two-thirds. Next, make a small cut about halfway up the cane. The cut should go about a third of the way through. Break a toothpick in half and wedge it into the cut to hold it open. Wrap moistened sphagnum moss around the cut, and wrap clear plastic around the moss. Tape the base of the plastic securely, and secure the top of the plastic with something you can open and close repeatedly, like a twist tie or a piece of string. You need to be able to open the top so you can feel the moss and determine if it’s still moist. If it isn’t, you should use a spray bottle to re-moisten the moss. It needs to stay wet but not soaking as the air layered portion sprouts new growth. Once you start to see roots forming inside the plastic and moss, it’s time to separate your new plant from the parent. Remove the plastic and the moss, and cut the cane just below where the roots have formed. Plant this rooted cutting and continue to care for it as you would a transplant, in its own container filled with potting medium. The roots and about an inch of the base of the cane should be buried in the medium. Water well, and add more potting medium if the soil settles.
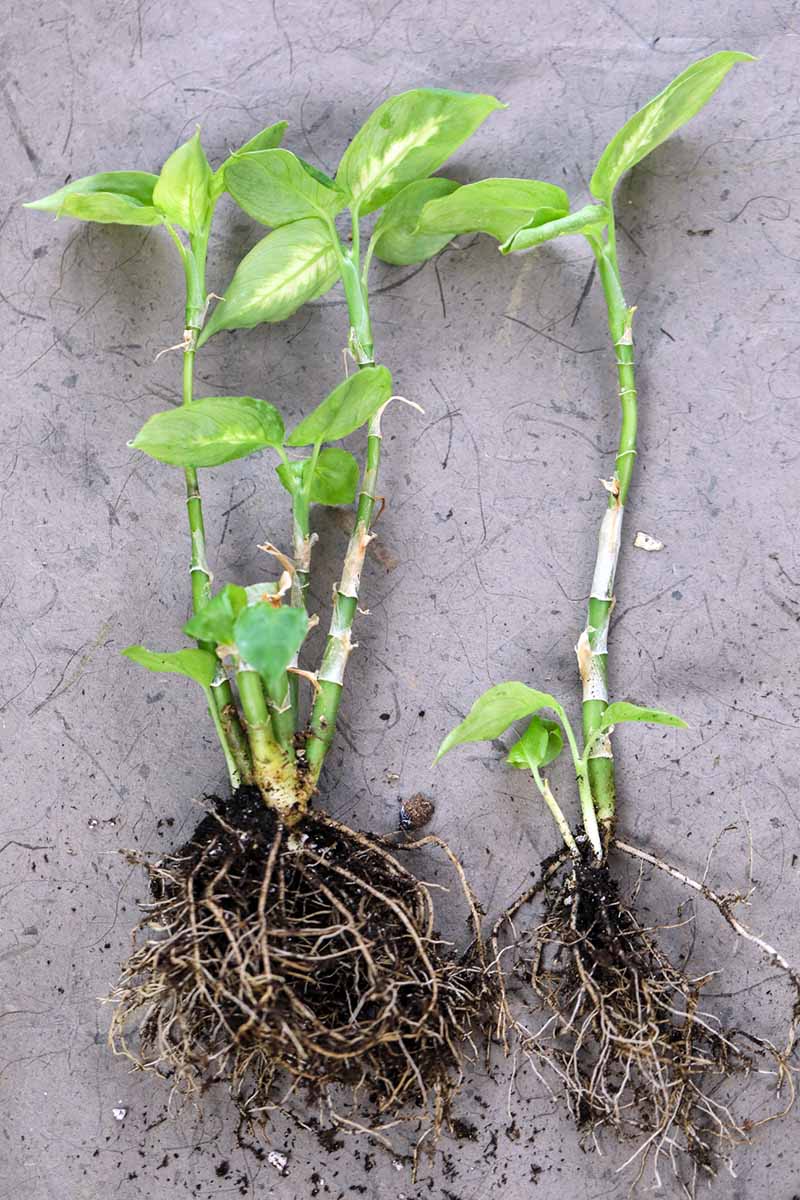
Division
If your dieffenbachia has multiple stems, as most do, you can divide these to create multiple plants. This is an excellent method if your plant is growing too big for its container and you want one or two additional plants. To start, gently pull the plant out of its container. For rootbound plants, you might need to run a butter knife around the rim to loosen up the root ball. Once the plant is free, knock away as much soil as you can. The less soil that is hanging out in the root ball, the easier your job will be. Now that you’ve cleared out the soil, gently tease apart the stems, taking care to include as much of the roots that are attached to the stem as possible. You might need to use some scissors to snip apart some of the roots, which can become quite tangled up as they grow. Each stem with attached roots can be planted on its own in an individual container. Set the division gently into a clean container so that it is sitting at the same height it was before. Gently fill in around the roots with potting soil, and water it in. If the soil settles after watering, add a bit more.
Stem Cuttings
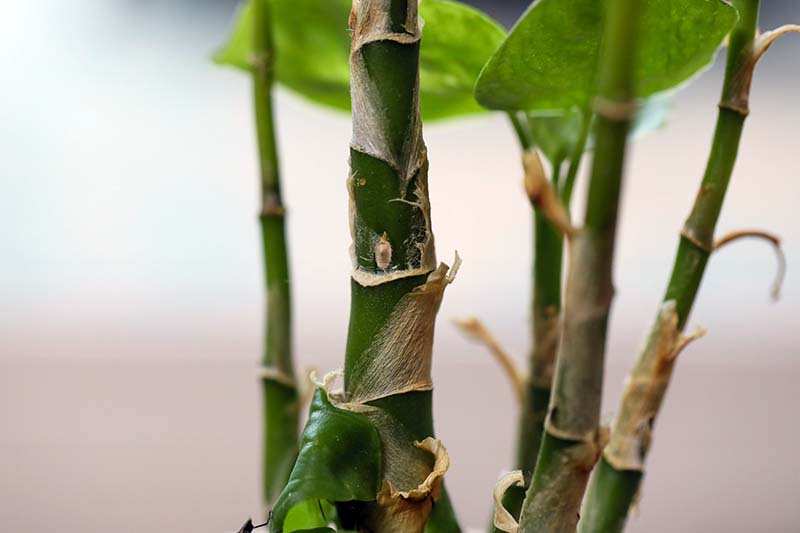
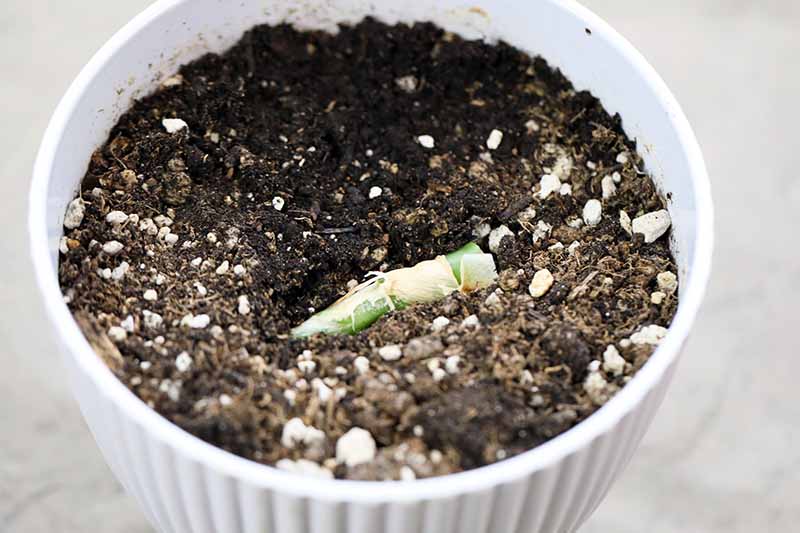
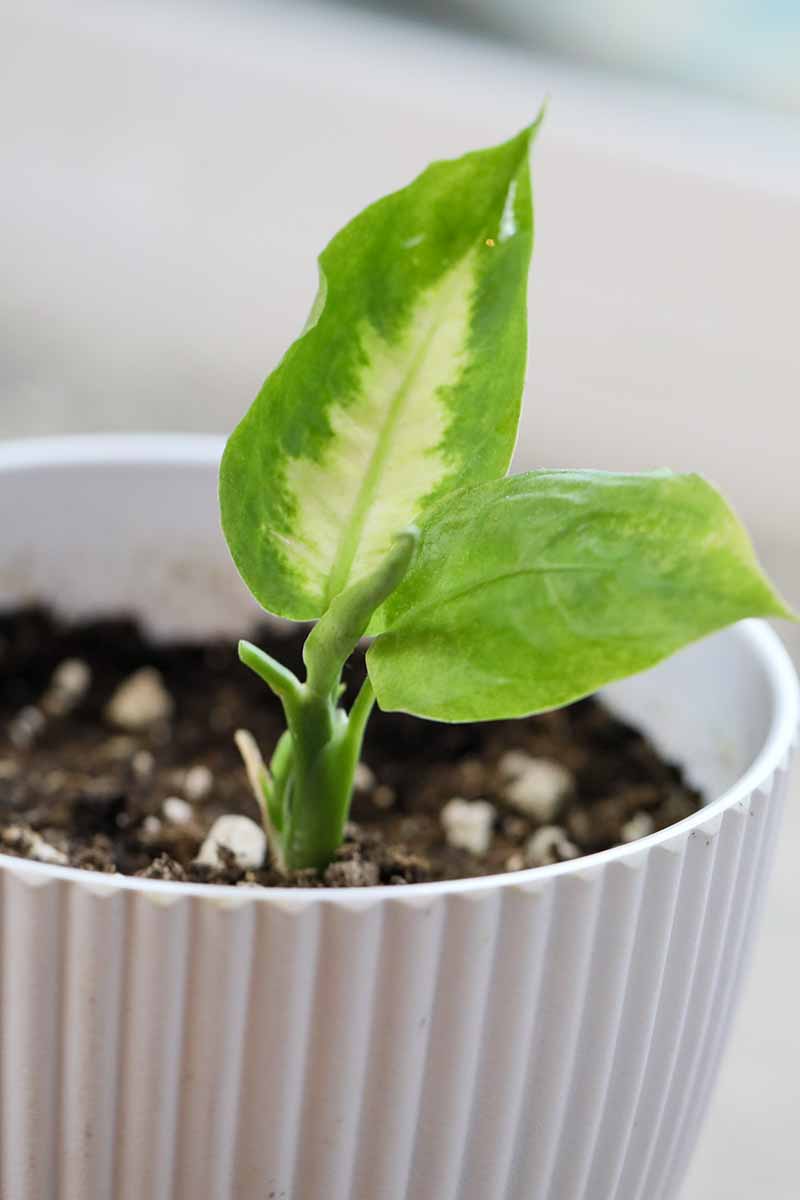
If you want to propagate many new dieffenbachia plants all at once, this is a good way to do it, because you can turn a single stem into three or more. It’s also useful if you have a stem that has become tall and bare at the base, as dieffenbachias are prone to doing as they age. Start by clipping the stem at your desired height. The stem will form new leaves at the first node below where it was cut, so be sure to clip it just above a node. If you aren’t familiar with the appearance of nodes on dieffenbachia plants, these are the parts of the stem where the leaves emerge. Each node looks like a raised ring around the stem, and it is usually lighter green than the rest of the stem, or even brownish-yellow. Take the stem that you removed and cut it into two-inch pieces, each with at least one node. Each cutting should be placed sideways or upright in its own container filled with potting medium. Those placed on their sides should barely be covered with soil. Those placed upright should be buried about halfway so that a node is under the soil – it doesn’t matter which way up they are planted, provided the node is covered. Water the medium well so that it feels like a well wrung-out sponge and place the containers in bright, indirect light. Keep the soil moist. You should start to see new foliage and canes emerging within a few weeks. At that point, treat as you would any young dumb cane. So long as you provide soil, water, and sun, the chances are extremely high that you’ll be enjoying your new dieffenbachia babies in no time flat. Which method did you opt to go with? How did the process go? If you run into any trouble, be sure to hit us up in the comments below so we can help. Want to make more plant babies? If you found this guide helpful, then you may want to check out some of our other houseplant propagation guides, including:
How to Propagate Dracaena Houseplants3 Foolproof Ways to Propagate Pothos Plants (And One That Doesn’t Work)How to Propagate ZZ Plants from Leaf Cuttings