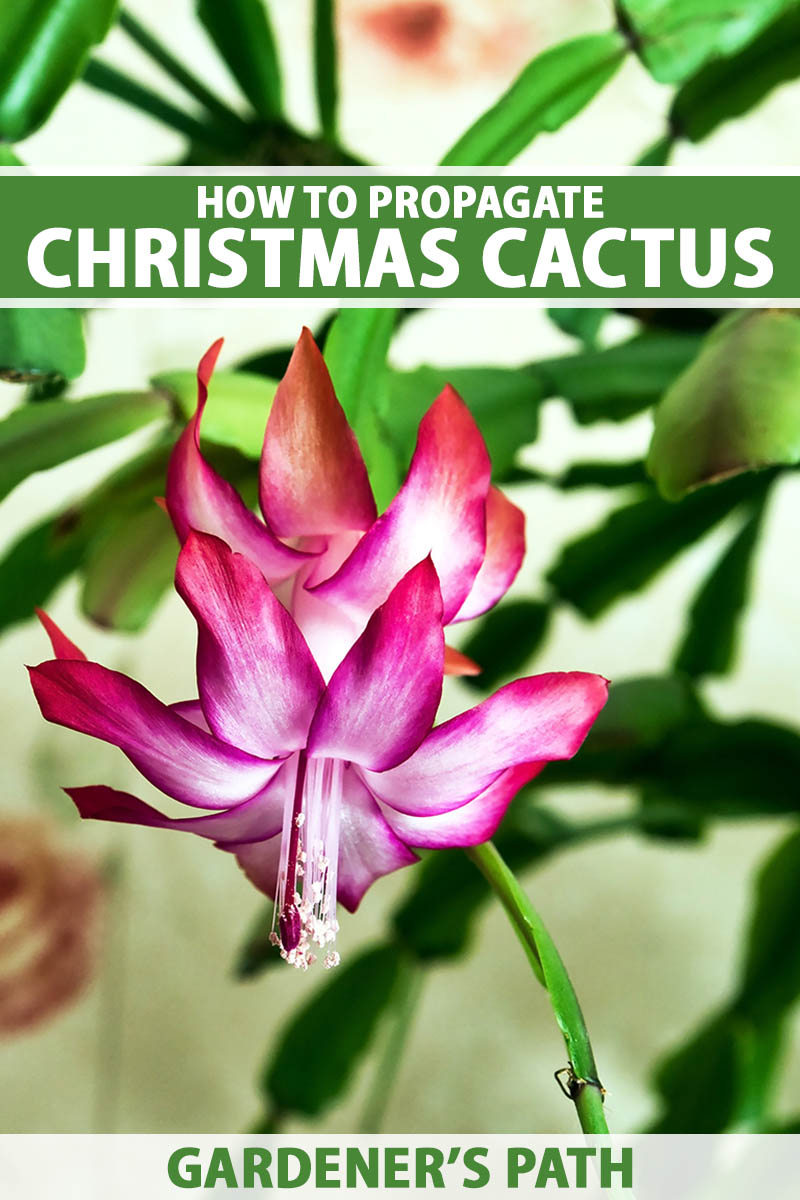
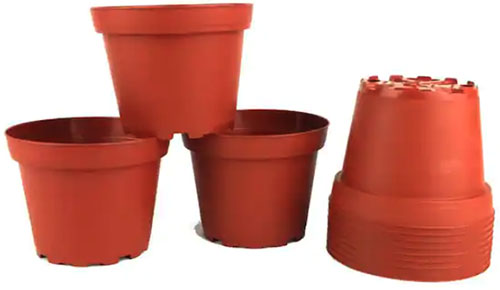
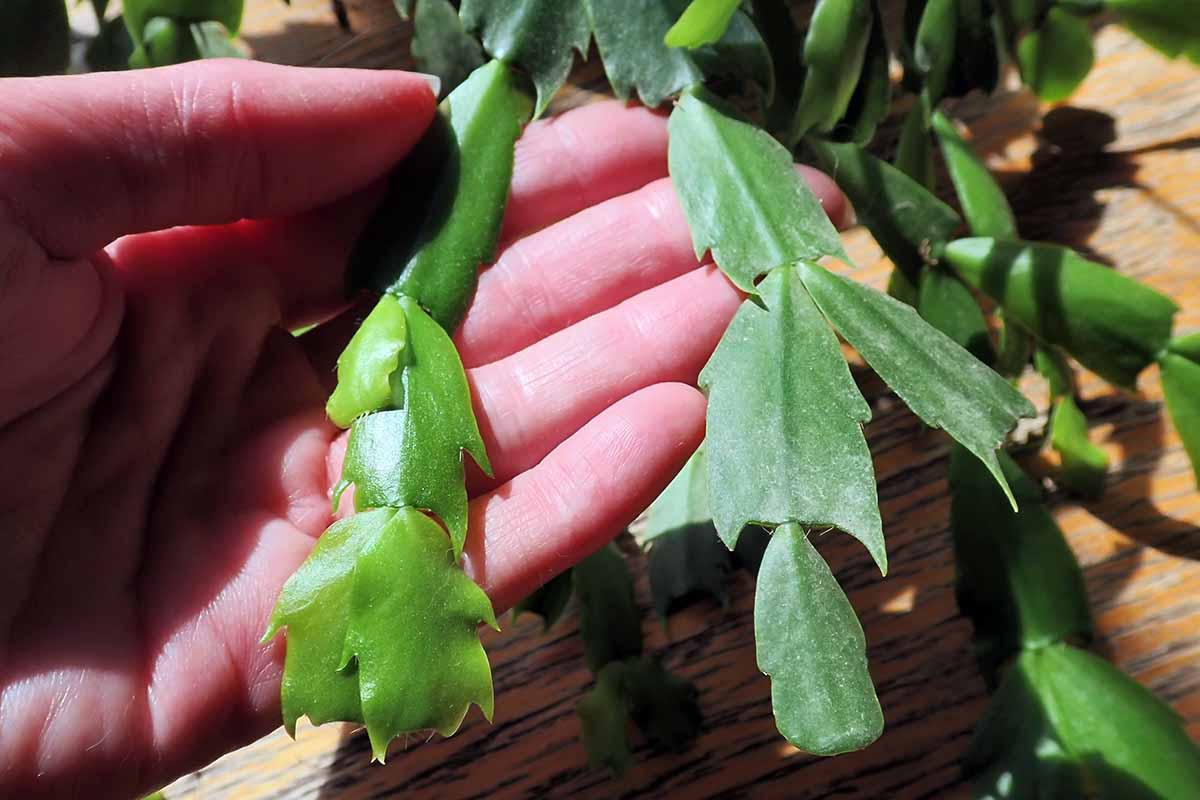
Whether your goal is growing new specimens to offer as gifts, or expanding a collection with new cultivars, this propagation method is a must for fans of these houseplants! We link to vendors to help you find relevant products. If you buy from one of our links, we may earn a commission. And it’s a good thing, because many houseplant parents aren’t quite sure which type of holiday cactus they have in their possession. For the purposes of this article, it doesn’t matter – species of Schlumbergera and Rhipsalidopsis that are commonly cultivated in pots indoors can be propagated in the same way! Ready to learn how to propagate these houseplants from cuttings in just five steps? Here’s sneak peek at everything we’ll cover up ahead: Before we get started with the simple step-by-step process, let’s have a quick, cozy chat. Why propagate via cuttings, anyway? Well, there are a few different reasons why you may want to add this skill to your indoor gardening toolbox. You may want to prune your houseplant every once in a while, to shape it up or encourage branching. Once you complete the pruning job, you may find you’re not certain what to do with the trimmings. Sure, you could toss them into your compost pile. But why do that when you can turn that pruned material into new plants? Extra specimens can be offered as gifts, or enjoyed as additional houseplants. Maybe you’ve accidentally broken off a few stems when dusting your houseplant or moving it to a new location. Succulents reproduce readily from fallen plant material in appropriate conditions in the wild, and stems of certain varieties tend to break off easily. If such an accident occurs, it’s fun to turn the broken portions into new specimens. Another reason to propagate these jungle dwellers is that there are seemingly endless numbers of holiday cactus cultivars available with different bloom colors. Any indoor gardener would certainly be forgiven for wanting to indulge in cultivating more than one type of holiday cactus. Don’t you agree? For those who want to expand their Christmas cactus collection, procuring cuttings can be much cheaper than purchasing a new plant. And sometimes it’s actually easier to find desired cultivars available as cuttings rather than potted plants. Now that you are primed and know why propagating from cuttings is such a brilliant idea, we’re ready to get started. Unless, of course, you need a few reminders on how to care for these houseplants – if so, here’s a gentle hint to review our complete article on how to grow Christmas cactus plants. Let’s begin! New growth has a shiny, bright green appearance, while mature growth has a matte appearance. In order to grow these houseplants from trimmings, you’ll need an appropriate growing medium, nursery pots, and of course, some cuttings! If you don’t have a parent plant to prune, you can find one available for purchase – just choose a cultivar with flowers that you like. Pack of 3 Apricot Thanksgiving Cactus Cuttings When choosing a pot for this propagation project, you will have some flexibility in terms of size. But a good place to start is with five cuttings in a six-inch pot, or three stems in a four-inch pot. 12-Pack of 4” Terra Cotta Colored Plastic Pots You can find a 12-pack of four-inch plastic pots available for purchase from Teku via Home Depot. These are terra cotta colored and made with recycled plastic. If you aren’t sure what size pot to use, err on the side of going a bit small. Some professional growers plant these densely, with two to four stems per two-inch pot. As for the growing medium, some sources recommend using straight perlite or sand to root stems, but doing so will eventually require an extra step – repotting into a richer medium. Instead, I prefer to skip the extra work and start with the same growing medium that I use for my mature holiday cacti and epiphyllums, Tank’s Pro Cactus and Succulent Mix from Tank’s Green Stuff. Tank’s Green Stuff Pro Cactus and Succulent Mix Alternatively, you can also buy the materials separately and make your own Christmas cactus potting mix! You may want to use scissors or garden snips to take your cuttings – just be sure to sterilize them before use. There is just one more item I recommend for this project, though it’s optional. Using a spray bottle is a good way to water rooting specimens without the risk of making the growing medium super soggy. 16-Ounce Refillable Glass Spray Bottle
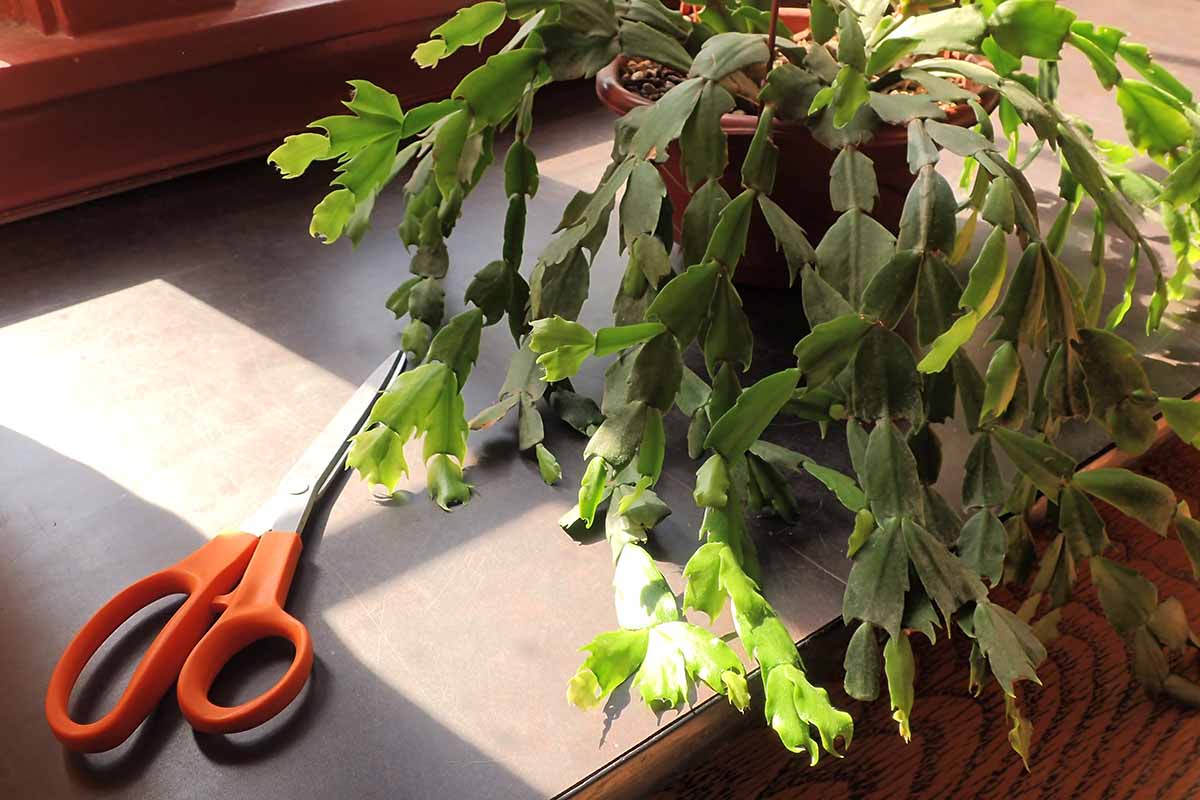
2. Take Cuttings
You can root stems at any time of the year – who knows when an accidental breakage is going to happen, after all? However, there is a best time to embark on this project, and that’s in May or June, when plants are starting to put out new growth. That doesn’t mean you can’t root prunings at other times of the year, just that new plants may take longer to get established at those times. Cuttings should be two to five segments long. For best results, be sure to choose mature stems rather than new growth. When taking cuttings, you can either use a pair of sterilized scissors or garden snips to remove lengths of segments, or you can simply twist them off, making your cut or twist between two segments.
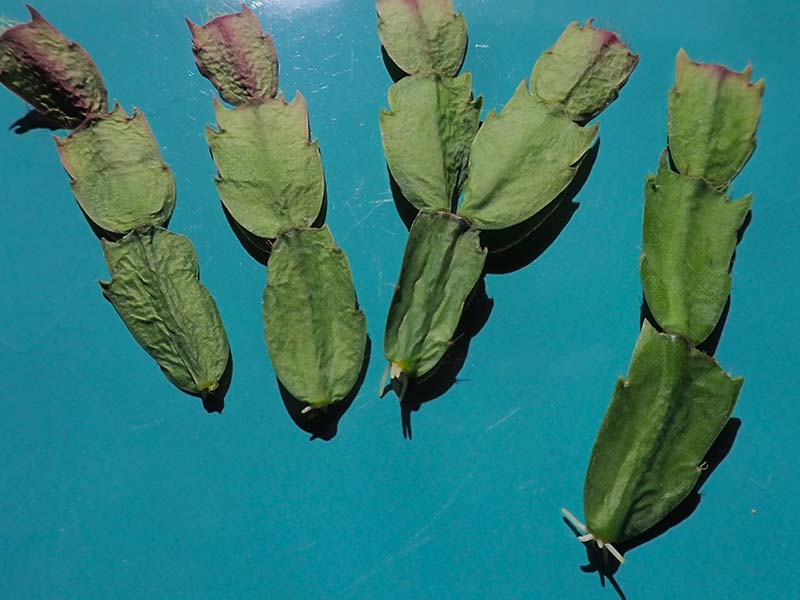
3. Allow to Callus Over or Form Roots
Some sources will instruct you to allow prunings to callus over for a few days before rooting them, and that is a viable approach. However, I personally prefer to let them callus over and form roots, so that I know the roots have formed before I even plant the stems. Some growers like to do this for propagating other types of succulents as well. While forming a callus at the cut end can take two or three days, roots should appear within two to three weeks. Place the stems in a location with bright, indirect light while allowing them to callus over or form roots.
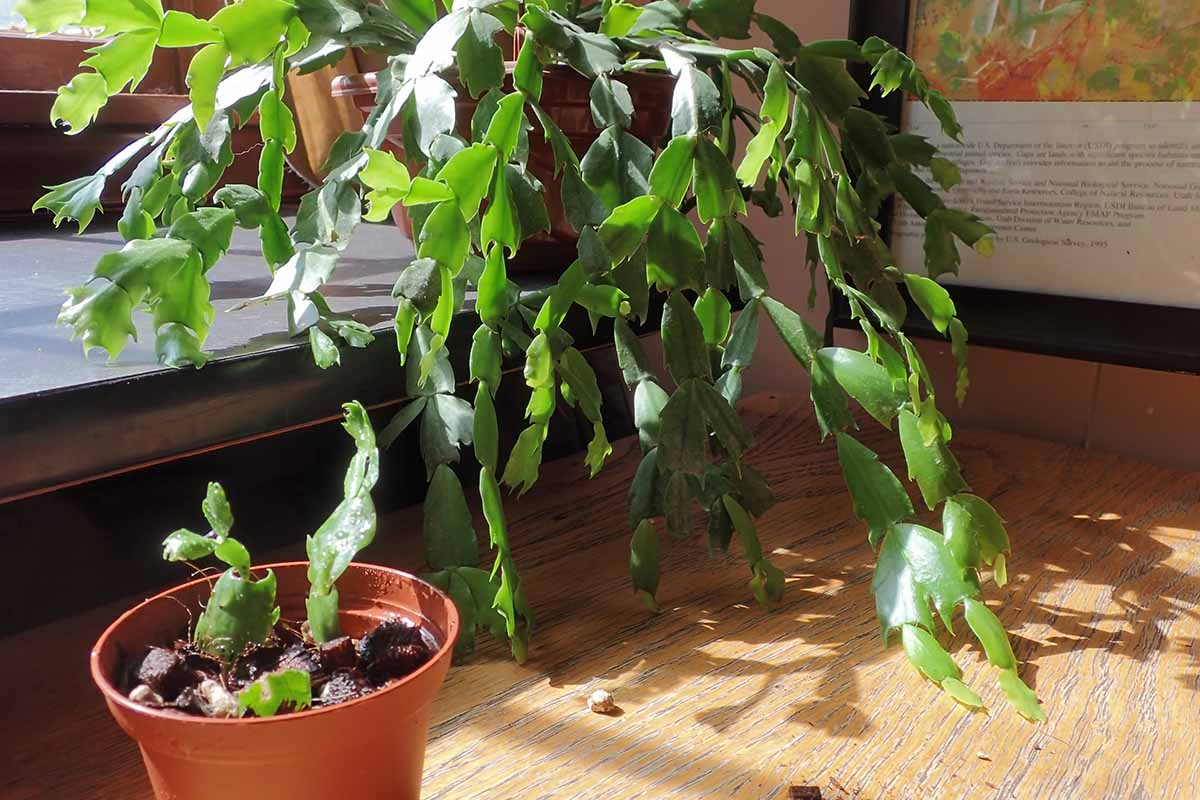
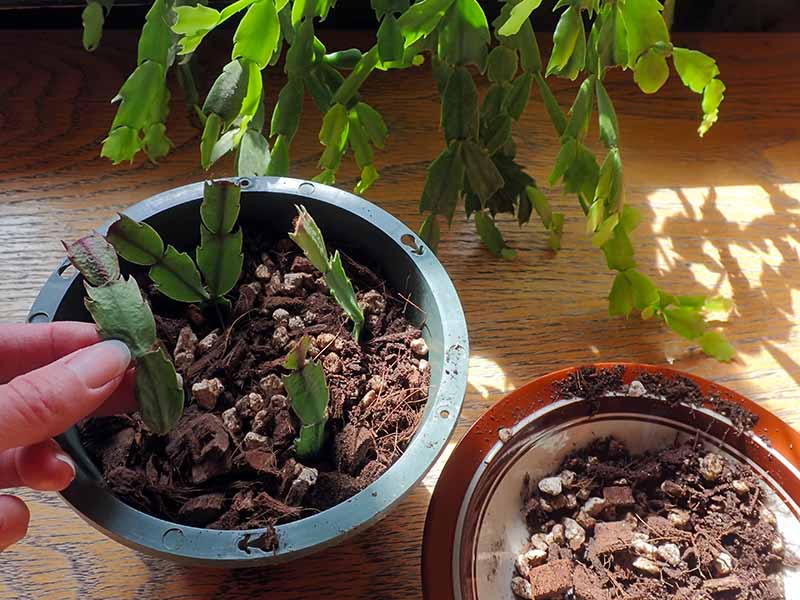
4. Pot Cuttings
Once you have allowed your prunings to callus over or produce roots, they’re ready for potting. Fill the nursery pot with your growing medium, leaving an inch of space between the surface of the soil and the rim of the pot. This will help to facilitate easy watering without spilling over the edge. Next, insert the stems into the growing medium with the cut end submerged about one inch deep. Firm up the growing medium around each cutting so it will remain upright, then water the medium with the spray bottle.
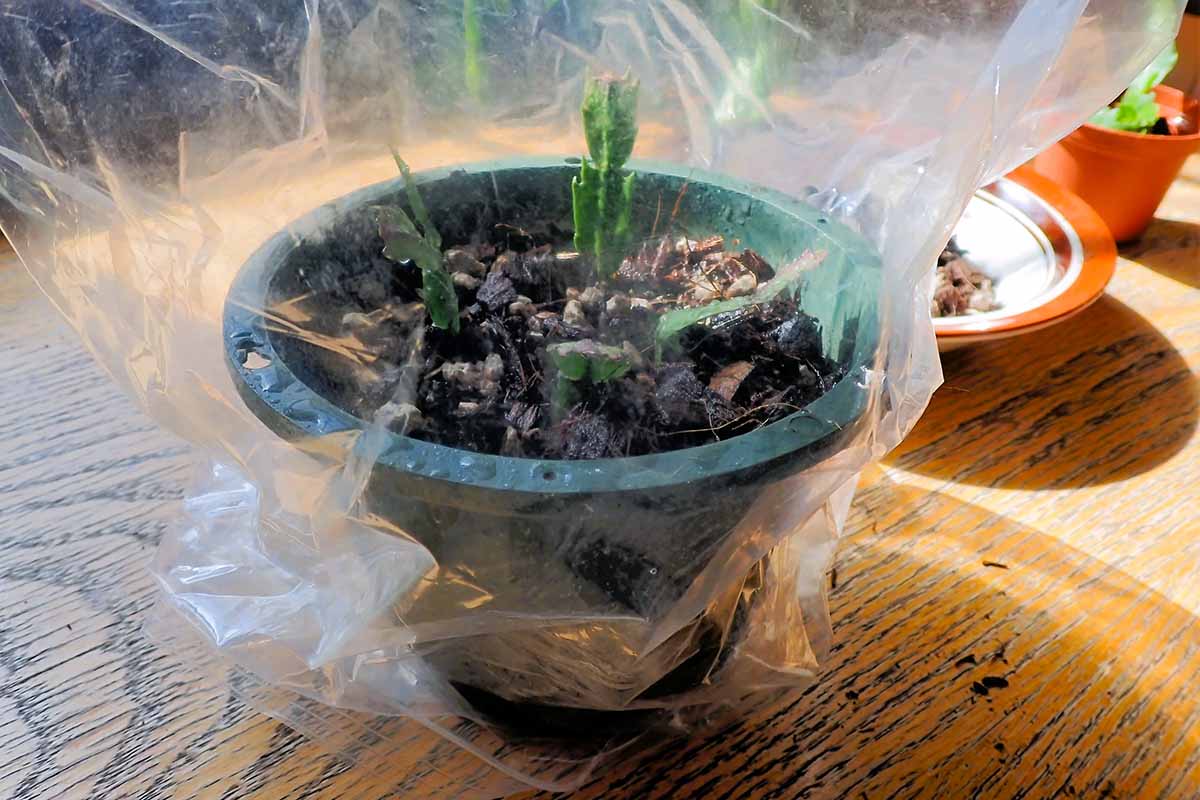
5. Keep Warm and Moist
Place the potted cuttings in a location with bright, indirect light and keep the rooting medium moist. Increasing humidity around the new specimen can help keep conditions moist, as well as reducing the need for watering. Try covering the pot with a resealable plastic bag. You can also start watering with a houseplant-adapted watering can rather than a spray bottle. Be sure to water the soil, not the foliage. If you do a lot of propagating or annual seed starting, a heat mat is a great tool to have available. I like the Seedling Heat Mat, available in three sizes from Gardener’s Supply. Seedling Heat Mat It may take up to two months for the stems to root, depending on exposure to warmth and light, the time of year when you carry out this project, and whether your cuttings start with roots or not at planting time. Once you start to notice new growth on the stems, you can gradually begin to remove the plastic bag, lowering the humidity surrounding the rooting specimen. Christmas cacti prefer to be rootbound, so your specimens should be allowed to continue growing in their nursery pot for about three years. If you have any questions about the process, or just want to show off your handiwork, leave us a message in the comments section below – and don’t forget to post your photos! And while you’re here, how about a few more articles about holiday cacti to help you expand your knowledge and appreciation of these beautiful houseplants? We think you’ll enjoy these:
How to Make Your Christmas Cactus BloomWhy Do I See Hair-Like Roots on My Christmas Cactus?Is Christmas Cactus Toxic to Cats?