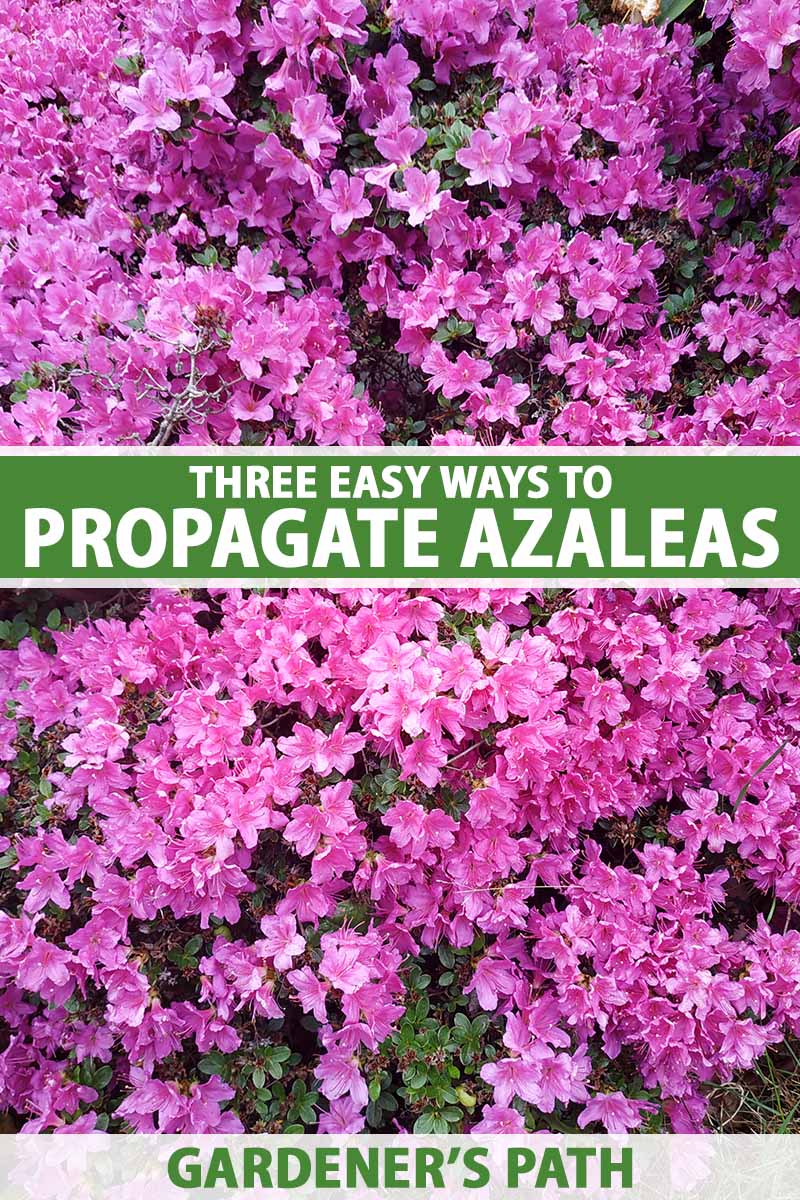
These members of the Rhododendron genus are highly popular, with over 10,000 registered cultivars. This is great for selection, but unfortunately, plants started from the seed of hybrids don’t grow true to the parent plants. They won’t have the same disease resistance, flowering habits, or hardiness of the parent stock. For new plants that are genetic clones of the parents, azaleas are best propagated vegetatively. We link to vendors to help you find relevant products. If you buy from one of our links, we may earn a commission. Any one of these methods can be used reliably to create new plants. Here’s what we’ll cover: For evergreen azaleas, taking stem cuttings is the preferred method for propagation. But for deciduous types, stem layering is the method you should choose for best results. And a third technique called air layering is a good option for larger shrubs.
Stem Cuttings
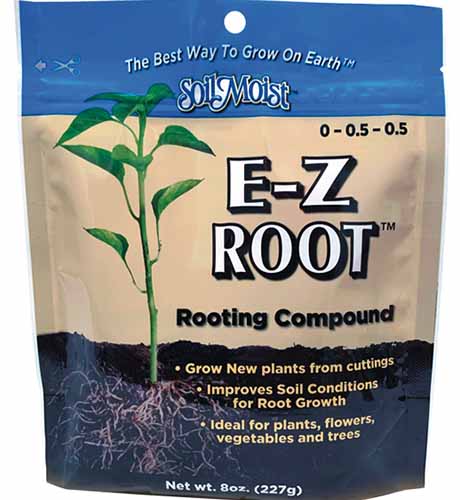
In spring right after flowering, or at any point from late summer to early fall, choose semi-hardened wood for cuttings. E-Z Root is an organic rooting compound formulated without hormones that you might like to try.
E-Z Root It is available at Arbico Organics. Select parent plants that are healthy and vigorous. Give them a long drink of water before taking cuttings to ensure they’re not water stressed. Semi-hardened wood is new growth that’s hardening off but still has some flex and bends fairly easily. Proceed as follows:
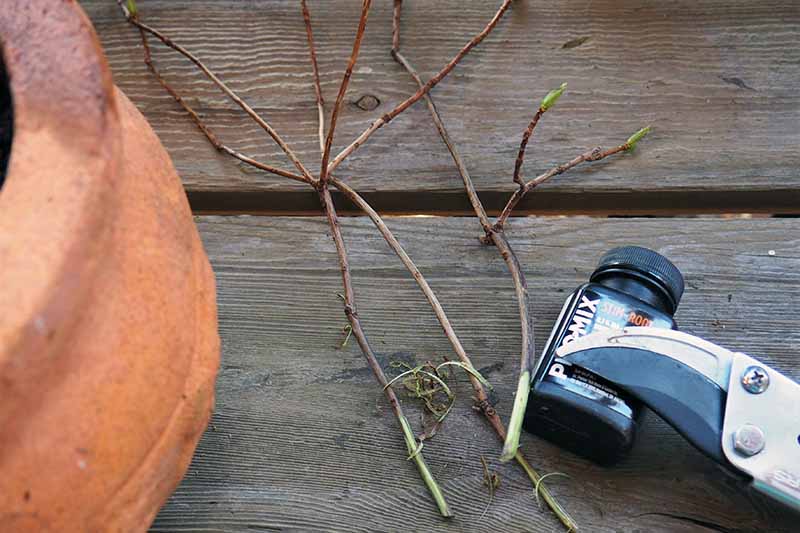
If needed, clean and sterilize your containers with a solution of one part household bleach to 10 parts water. Add drainage material to the bottom of the containers and fill to one to two inches from the top rim with a commercial rooting medium. Or create your own soil blend using one-third peat moss, perlite, or vermiculite; one-third aged compost; and one-third landscaping sand. Wet the soil mixture thoroughly. With clean, sterilized garden pruners, snip off the branch tips so each cutting is five to eight inches long. Remove all leaves from the lower third of the stems and trim the cut ends to just below a leaf node. Using a clean knife or pruners, lightly pare away the bark on the lower two inches of the stems.
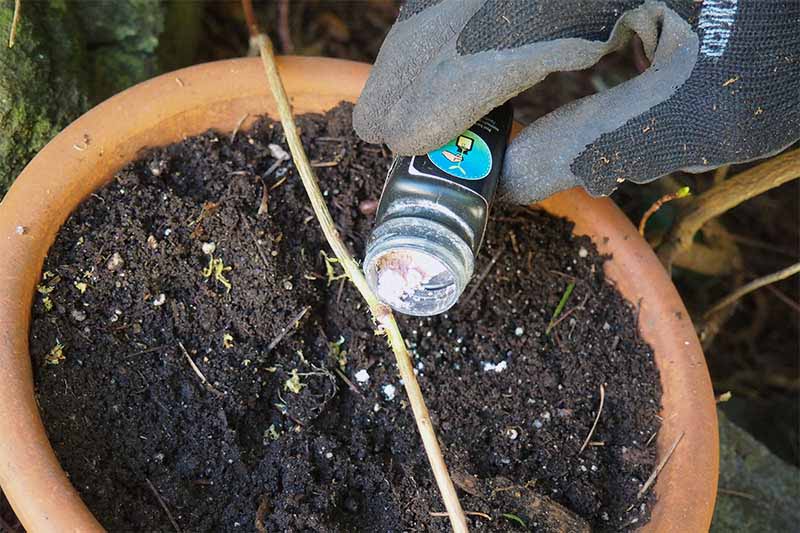
Remove any flower buds if present. Dip the cut end of each into rooting compound and gently shake to remove the excess. Insert the lower third of each cutting into the soil and firm gently in place.
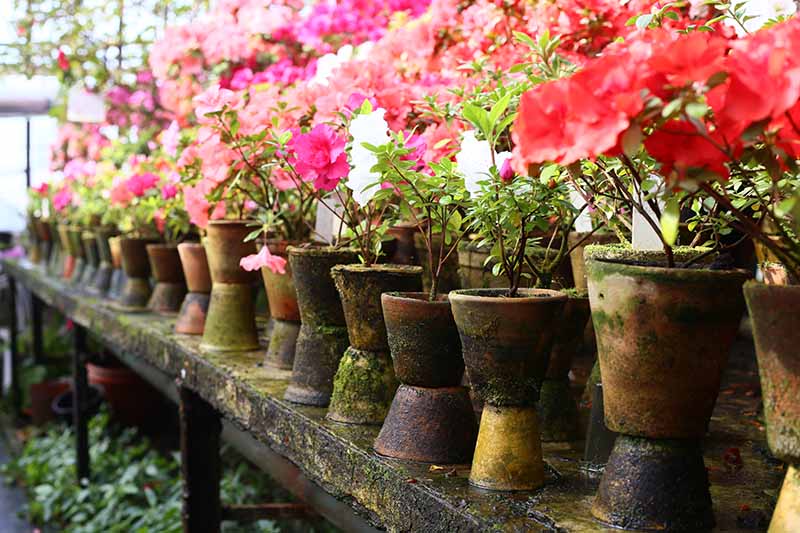
You may plan to add a single cutting to four-inch containers, two cuttings to six-inch containers, and three or four cuttings to an eight-inch container.
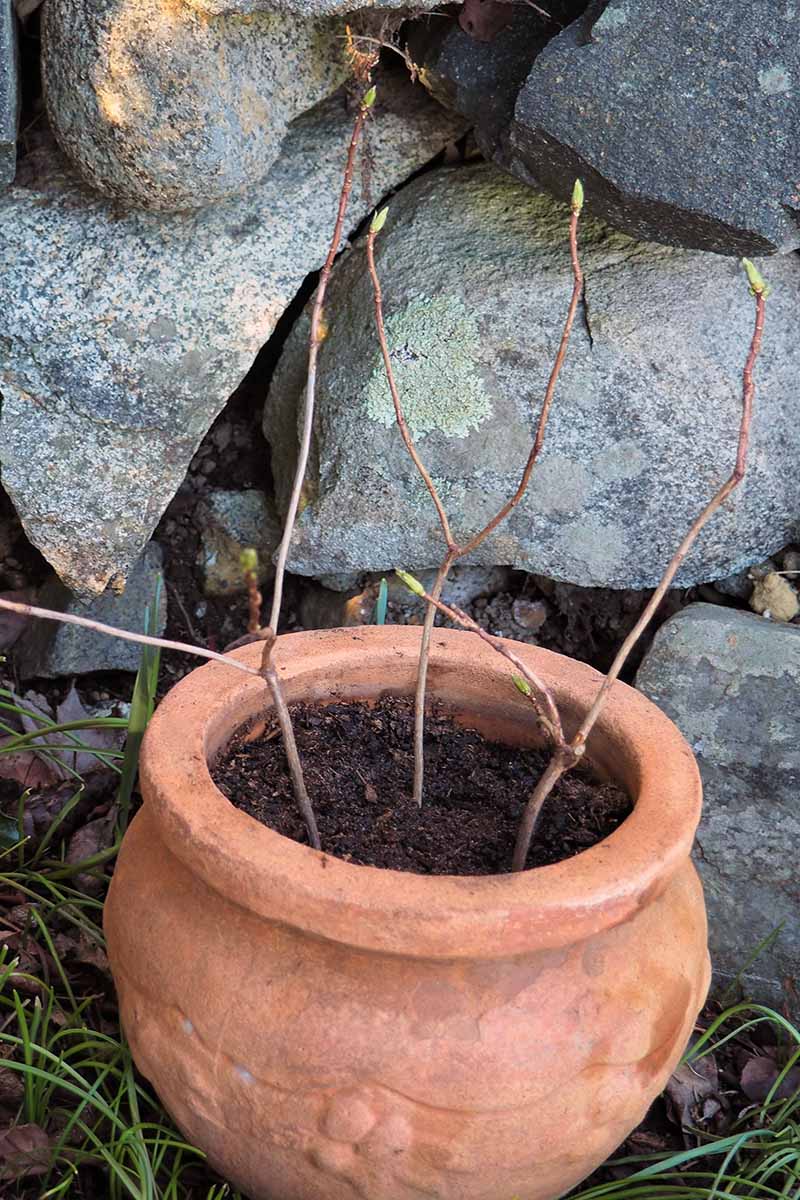
To retain moisture, cover the cuttings loosely with a plastic bag or use a cloche. Place containers in a sheltered spot in the garden with bright, indirect light.
Check the soil moisture regularly and water when the top half inch is dry. Don’t allow the soil to dry out. Allow four to six weeks for roots to form, then remove the coverings and move plants to a location where they can receive a couple of hours of morning sunlight per day. To check for root growth, tug the stems gently. If you feel resistance, roots are forming. After roots form, transplant to larger containers as needed. Provide adequate cold protection in winter. In cold regions, create a snug bed for new plants with a four to eight-inch layer of protective materials like leaves, straw, and small evergreen boughs. Nest small containers into the bed and cover with extra material during cold spells. In all regions, add a two- to four-inch layer of winter mulch on top of the container soil. Choose natural materials such as leaf mold, pine needles, or straw as a mulch.
Cuttings are ready for planting out into the garden in one year, and typically flower in two to three years.
Stem Layering
Native North American species and deciduous cultivars may be propagated the most successfully via stem layering. Layering is an easy method that mimics a rooting process that occurs in nature when low-growing stems touch the ground and root in place. The contact stem is still attached to the parent plant, and as new roots are forming, they continue to receive a steady supply of nutrients. For stem layering, you need a clean, sharp knife, rooting hormone powder or gel, and a landscape pin or rock to hold the stem in place. Here are the steps for stem layering:
In spring before leaves emerge, or in early fall, choose a low branch that has enough flexibility to bend to the ground and make contact for a few inches. The stem should also extend past the contact area for six to eight inches. If branches can’t reach the ground, use a container filled with well-draining garden soil and place it underneath the parent shrub. Lightly scrape the bark around the contact site for about two inches. Dust the scraped wound with your choice of rooting compound and gently shake off the excess.
Prep the contact site by loosening the soil and creating a shallow trench that’s three to four inches long. Lay the wounded section of stem in the trench and cover with two to four inches of soil. Use landscape pins or place a rock on top of the contact site to keep the stem buried. Water gently and thoroughly after burying the contact stem. Regularly check the soil moisture so that it stays moist, but not wet.
Roots form in six to 12 weeks, and after they’re well established, layered stems can be transplanted. Or, they can be left in place for one to three years, if you prefer to wait for larger plants with ample flowers. Cut the stem from the parent plant close to the contact site. Use a trowel or small spade to loosen the soil around the plant’s drip line, then lift the root ball carefully so as not to disturb the roots, and move it to its new location. Stem layered plants often flower in their first year.
Air Layering
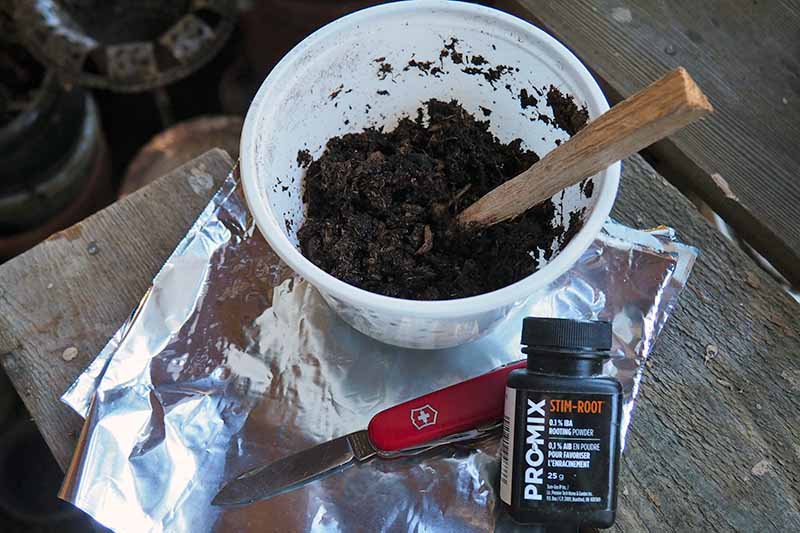
Air layering can be used on larger plants, and is a good option when stems can’t easily bend to reach the ground or a container. For air layering, you need about a cup of moistened peat moss (or a half-and-half mix of peat and compost), two 10-inch squares of aluminum foil, a clean knife, and rooting compound.
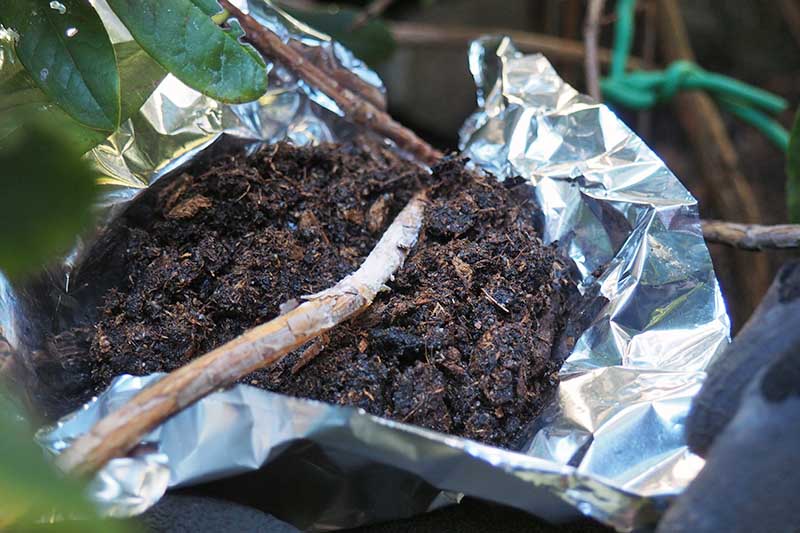
In early spring, select a mature stem of hardened wood from a healthy plant. Choose a layering site located 12 to 24 inches from the branch tip. Remove any leaves from the layering section. Using a clean, sharp knife, lightly make two parallel cuts at either end of the layering site. Slice around the circumference of the stem, cutting just through the bark. Make the ring as wide as twice the thickness of the branch being layered. Make a third cut horizontally between the first two. Gently loosen the bark with the knife edge and pare or peel it away from the stem. With your knife, gently scrape away any remaining cambium – the thin layer of green tissue between the hard outer bark and the softer inner sapwood. Dust the wound with rooting compound. Ensure the top edge of the cut (the end closest to the growing tip) is coated, as this is where most of the new roots will emerge. Gently shake off any excess. Place the moistened peat moss in the center of a foil square. Use the side of your palm and make a small trench down the center of the peat. Press the foil packet against the underside of the layering site, nestling the branch into the peat.
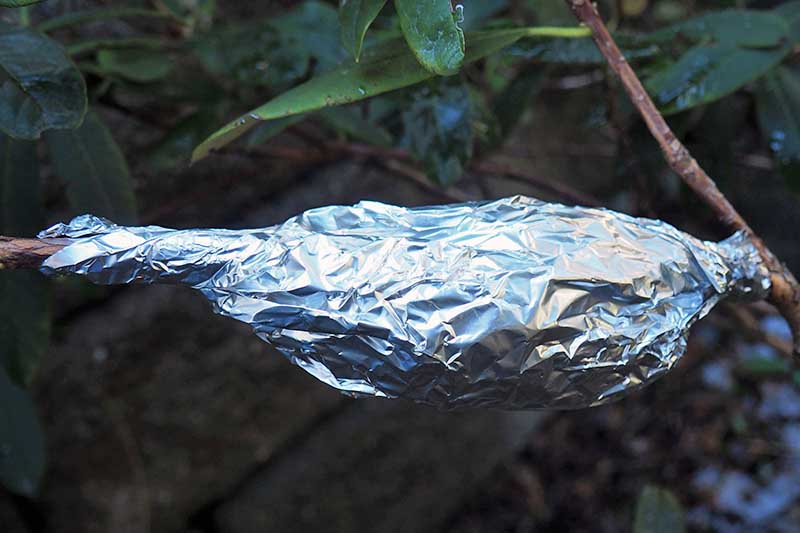
Wrap the foil, including the peat, around the branch snugly, twisting the ends firmly in place. Wrap the second foil square around the first, encasing it tightly. Water the stem regularly with a gentle spray, allowing the water to trickle into the foil pack.
Roots typically form in six to 12 months. At the end of summer, gently unwrap the foil and check the root growth. If there’s an abundance of new white roots in the peat moss, use clean, sharp pruners to cut the branch from the mother plant. Leave the peat in place and make the cut two to four inches below the layering ring. Soak the new root ball in water before transplanting out to a permanent container or garden site. If roots need further development, rewrap with foil and leave it in place. Check again the following spring. Continue watering through hot, dry weather but withhold water in winter. Air layered shrubs often flower in their first year. But removing flower buds in their first growing season is advised to concentrate energy into strong root development.
Our three methods for creating new shrubs are easy, reliable, and budget friendly ways to quickly add more beautiful azaleas throughout your landscape! Choose stem cuttings for evergreen azaleas, and stem layering for deciduous or native cultivars. For bigger plants, including rhododendrons, air layering gives dependable results. Do you folks have any propagation questions? Drop us a note in the comments below. And for more information on growing azaleas in your garden, be sure to check out these guides next:
Beautiful Blooms: How to Add Azaleas to the Garden How to Grow and Care for Azaleas in Containers 21 of the Best Azaleas Varieties Azalea Bloom Times and Flowering Groups
Photos by Lorna Kring © Ask the Experts, LLC. ALL RIGHTS RESERVED. See our TOS for more details. Product photo via Arbico Organics. Uncredited photos: Shutterstock.