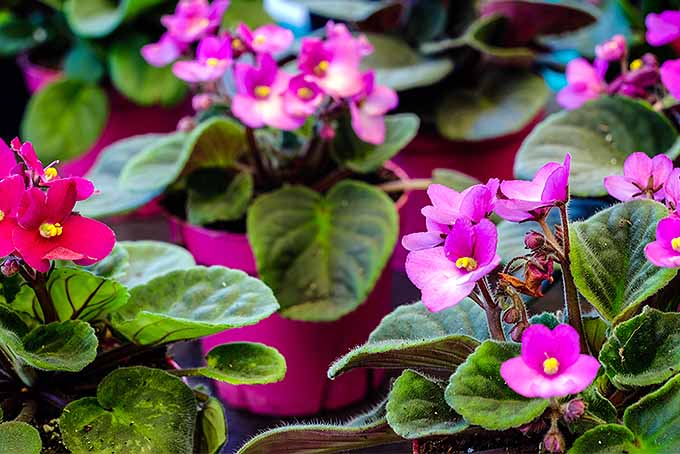
When I was in charge of maintaining greenhouse stock at an old job, I took special pride in the condition of the African violets. For close to four years I was handling hundreds of plants (in addition to the rest of our stock) and am proud to say I lost a mere handful. They were also a favorite plant to bring home, and in the years I’ve spent caring for these tough yet delicate plants, I’ve learned the ins and outs of the African violet. We link to vendors to help you find relevant products. If you buy from one of our links, we may earn a commission. Whether you need more violets in your own home, or are planning ahead towards Christmas, Mother’s Day, or Easter, establishing African violet cuttings is a surprisingly easy exercise. By the time you’re finished reading this, you’ll be armed and ready to start your own African violet assembly line!
Supplies and Equipment Needed
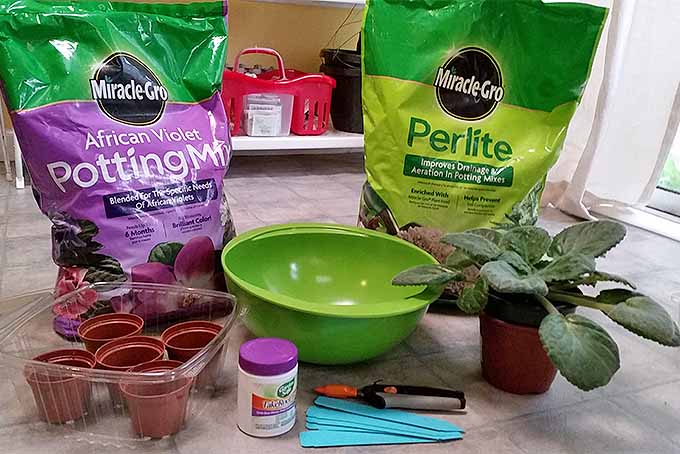
Propagating Saintpaulia is relatively easy. You only need a few items for the project:
A host plant to harvest leaves fromRooting mediumRooting hormone (optional)A sharp knife, your pinching fingertips, or a pair of fine-tipped prunersA bowl for mixing soilPlastic 2-inch potsPlastic plant tags or other waterproof supportsA clamshell to-go container made of clear plastic
Auxins are a plant hormone located in the tip of a stem that encourage elongation. Applying a rooting hormone to plant cuttings artificially beefs up the supply of auxins and helps the plant to grow stronger roots. Garden Safe TakeRoot Rooting Hormone For the rooting medium, I made my own. But you can also pick it up at your local nursery, or find a suitable mixture online. I suggest Miracle-Gro Perlite combined with Miracle-Gro’s African Violet Potting Mix. I’ve always defaulted to perlite in the past. The difference between it and vermiculite is insignificant, and I can also readily buy perlite in convenient eight-quart sized bags. Miracle-Gro’s African Violet Potting Mix is excellent for many young plants. It offers a slightly acidic composition that drains well and is full of rich organic material, making it useful for more than just African violets. I’ve used it for other small projects when in a bind and it works just fine! To stir it up, any household mixing bowl will do. (Shh, I used one from our baking set; don’t tell my fiance!) A bucket or planting container without drainage holes will also do the job. I used a few two-inch pots that were leftover from some succulents I purchased a few months ago. Always save those pots! You never know when you might need them. Fiskars Nonstick Softgrip Micro-Tip Pruning Snips As for those plastic pots, drainage holes are a must, and you’re looking for something small. For each leaf, you’ll require one pot around the 2-inch size for this project. Another lesson in Reduce, Reuse, Recycle – for those plastic supports, I used old plant tags. There always seem to be a few lying around. But plastic forks – or even toy Army men – could be used. Finally, to create a mini greenhouse for your cuttings to grow inside, you will need a clear plastic to-go container, the clamshell variety. It will need to be large enough to place your pots inside, and for the pots and the leaves they contain to remain upright when the lid of the container is closed. I got mine from the salad bar at a local grocery store.
10 Steps to Propagating African Violets
Now, let’s get started!
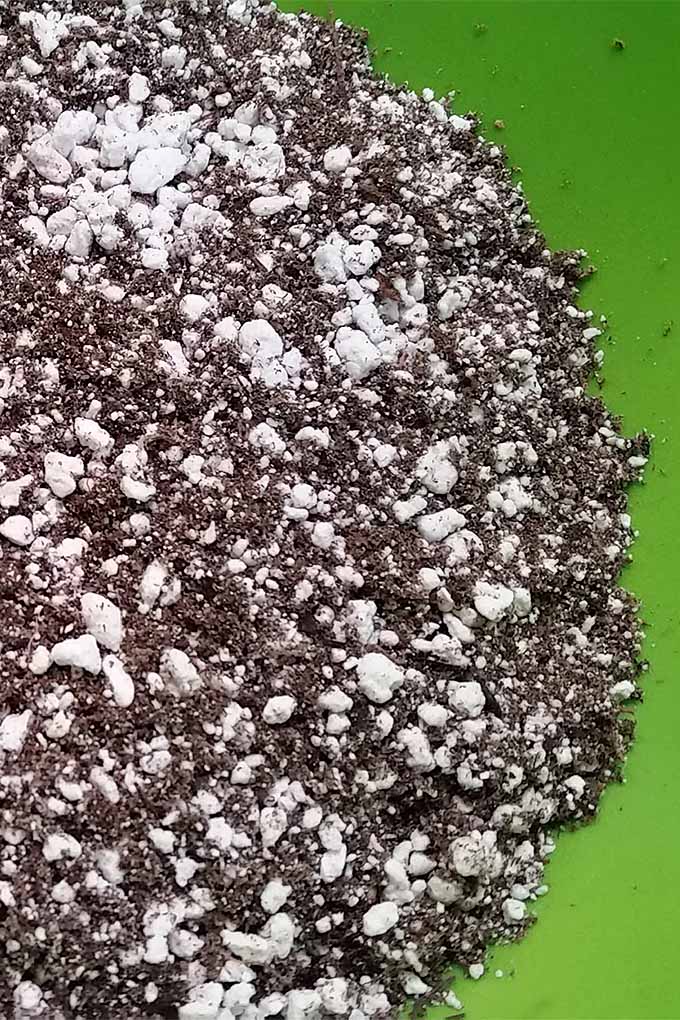
Step 1 – Prepare Your Rooting Medium
Saintpaulia prefers well-drained soil, but cuttings are even more particular. For this project I mixed two parts perlite to one part African violet potting mix. It should look like a delicious crumbled cookie concoction.
Step 2 – Add Water
Add some water to the rooting medium, just enough to be able to clump the mixture together into a barely-there clump. Some people say to imagine it’s like oatmeal, but I’ve never grabbed a handful of oatmeal before. It feels more like a handful of sand when you’re building the perfect sandcastle.
Step 3 – Fill Your Pots
Fill the two-inch pots (or whatever size you have) with the rooting medium. Use a pencil or any similarly-sized object to poke holes through the soil. You’ll be placing the leaf stems in here.
Step 4 – Choose Leaves
Remove mature and healthy leaves from the host plant. These leaves should be well-developed and free from any signs of pest or disease issues. Select leaves from the middle row of the plant to use as cuttings. The leaves forming from the very center of the plant are the youngest, and the largest leaves on the outside are the oldest. The leaves in those middle rows are the best candidates for cuttings. Make sure to remove as much of the leaf stem as possible from the crown to prevent rot in the host plant.
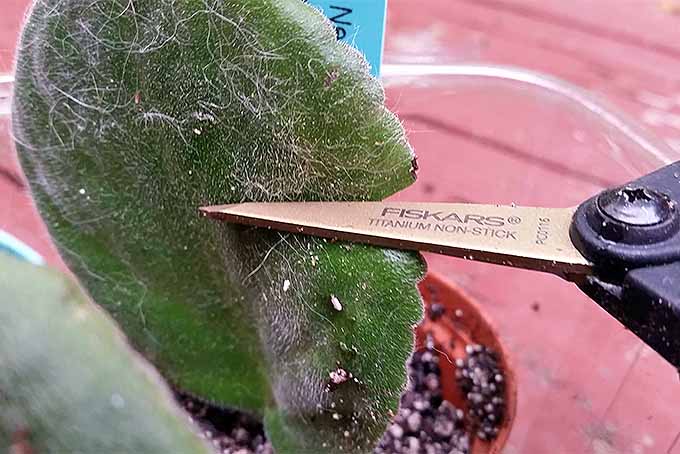
Step 5 – Prep Leaves
Shorten the leaf stems to a length of about one inch using a knife, your fingernails, or sharp snips.
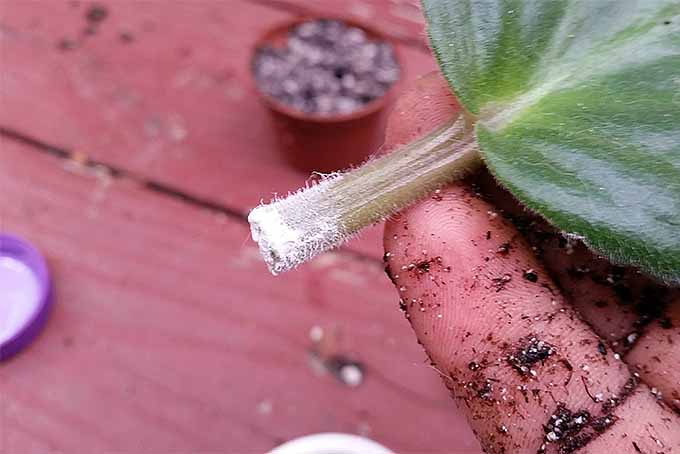
Step 6 – Apply Rooting Hormone
Before we get started with this step, recognize that rooting powder is a very mild irritant. If ingested, it can cause stomach discomfort and it can irritate any mucous membranes it comes into contact with. Gloves and eye protection are always a safe precaution, but not a requirement. Lightly dip each stem into the rooting hormone. I’ve always dipped my cuttings right into the bottle of hormone powder, but you can shake some of the hormone onto a flat surface if you prefer. You don’t need to coat the entire leaf stem in hormone powder, as long as about half of the length of the stem gets a fine coating. You don’t need much, only a light coating. Carefully tap off the extra powder from the leaf stem. Like soy sauce, a little rooting hormone goes a long way.
Step 7 – Potting Up the Cuttings
Carefully place the stem of each leaf into the rooting medium. The blade of the leaf should just touch the surface of the rooting medium. The new plant rosettes will form from this area. Firm the medium around the stems so that the leaves are upright and in place.
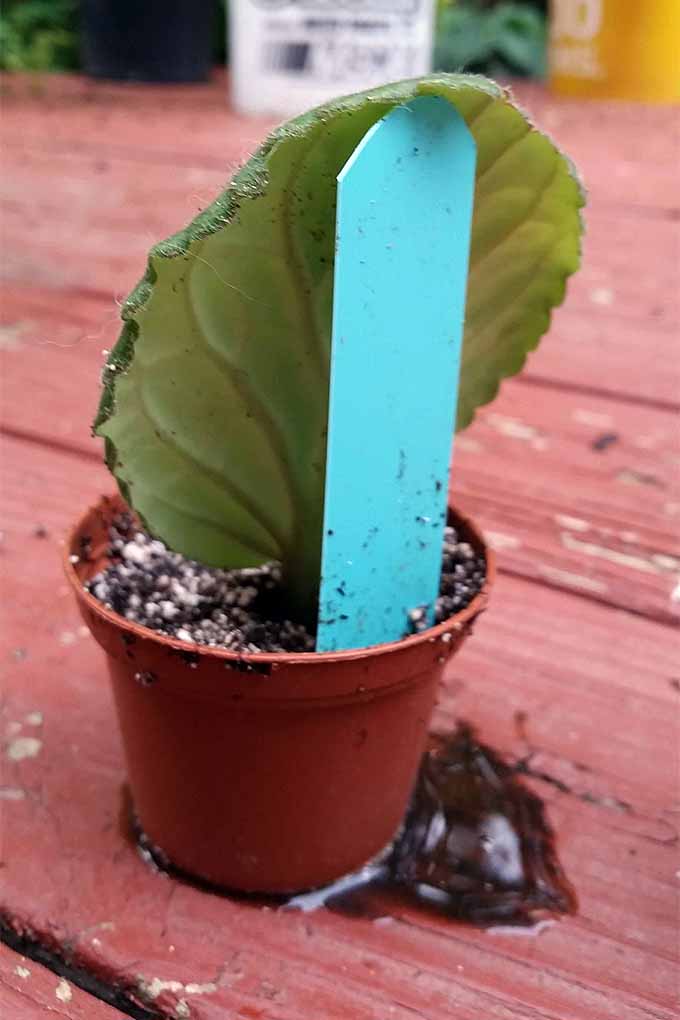
Step 8 – Add Support
Use the plastic plant tags (or whatever support you have chosen) to act as a stand, ensuring the leaves do not collapse into the soil. If the leaves you cut are too tall to fit inside the container, there’s an easy fix for that. You can make one clean cut across the top of each leaf, effectively slicing away the top half of the leaf. This will not affect its ability to take root.
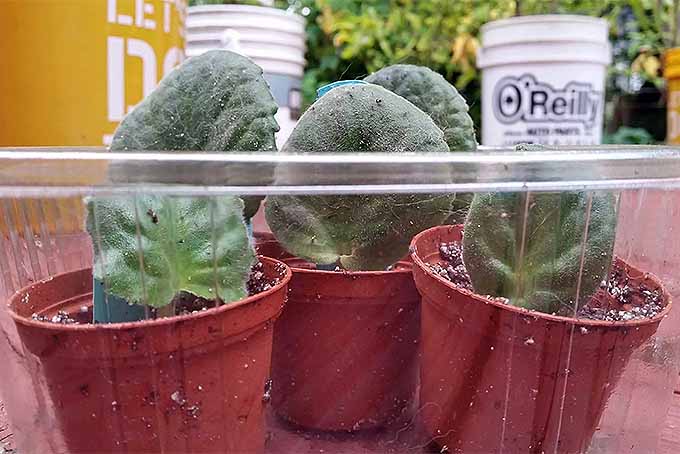
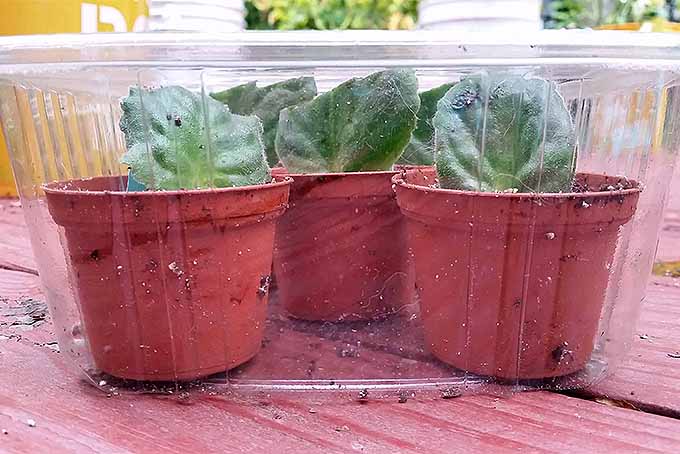
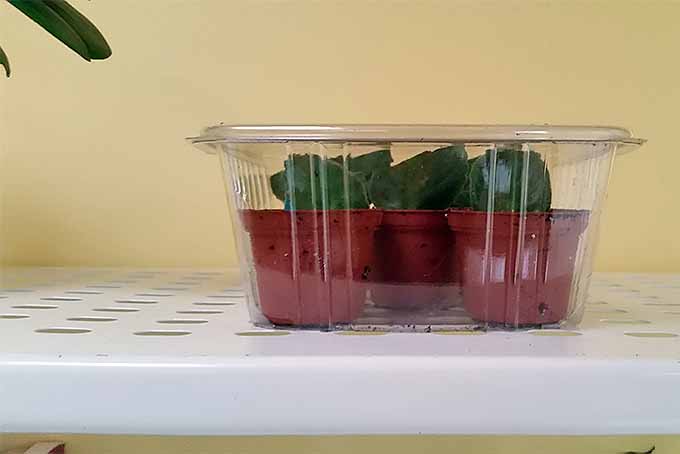
Step 9 – Create a Mini Greenhouse
Place the potted and soon-to-be-beautiful African violets into the clamshell containers. Carefully close the lid tight, ensuring that the cuttings and pots all fit inside of the container. It is vital that the container can close tightly, locking up the potted cuttings in a warm and humid environment. Position this container in an area that is bright, but not hot. Your ultimate goal at this point is to do your best to mimic the natural habitat Saintpaulia originates from. By placing the plants in a well-drained rooting medium and containing them in a mini-greenhouse with some bright light, you are effectively duplicating their native cloud forests. Open the container occasionally to air out excess moisture or to add more, as necessary. Find more tips on creating indoor mini-greenhouses here.
Step 10 – Transplant Your New Violets
After a period of approximately eight weeks, your leaves should be developing into proper violets. They should have developed a few baby leaves at the base of the plant (seriously, they’re adorable) and have reached a height of about two inches. Transfer these plants into a one-size-up container with a one part African Violet Mix and one part rooting medium mix, the same as the one we put together for the cuttings.
And in a few months I’ll have perfectly fine gifts to give to people for holidays and birthdays – and you can bet your bottom dahlia I’ll teach them how to propagate their own cuttings. Then we’ll all have something in common. How are your cuttings doing? Please share with us in the comments section below! And if you love home propagation, check out these articles next:
Propagating Succulents in 5 Easy StepsHow to Propagate Amaryllis BulbsEasy Bulb Propagation for the Home Gardener