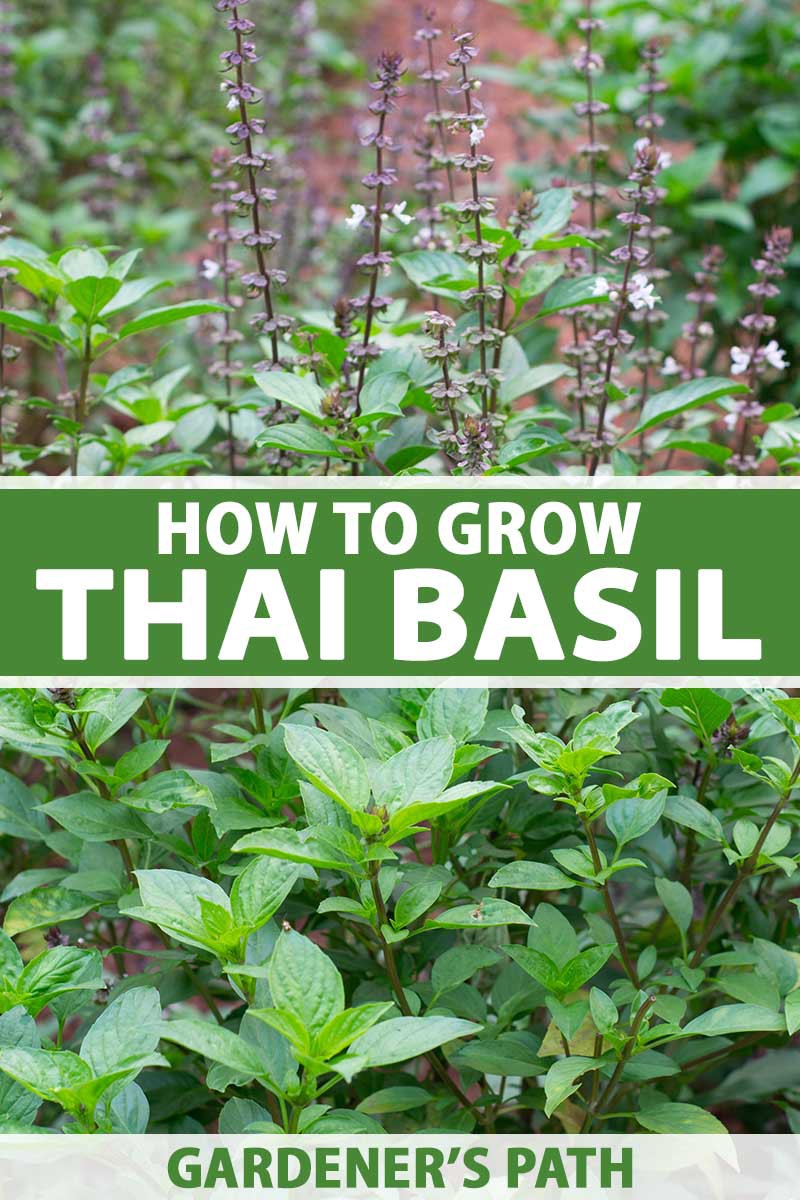
So I distinctly remember the day when I ate at the home of a friend from Thailand, and tasted my first nibble of Thai basil. Obviously, I’d had good old sweet basil before, so I was expecting something similar. But the pungent bite of licorice in the larb gai we had for dinner made me feel like fireworks were going off in my brain. I asked my friend to track down some seeds for me (there weren’t any to be found at my local store) so I would never have to be without Thai basil again. We link to vendors to help you find relevant products. If you buy from one of our links, we may earn a commission. And if you’re like me (a lover of Thai basil, not someone who grew up in a woefully beige culinary environment), you might want to know how to grow your own so you can have fresh leaves on hand any time you want. If so, you’ve come to the right place. Up ahead, here’s what we’ll discuss so you can start on the right track with your herby wonders. It makes a lovely indoor or outdoor herb, it’s highly productive, and it’s versatile in the kitchen. What’s not to love, right? Let’s go!
What Is Thai Basil?
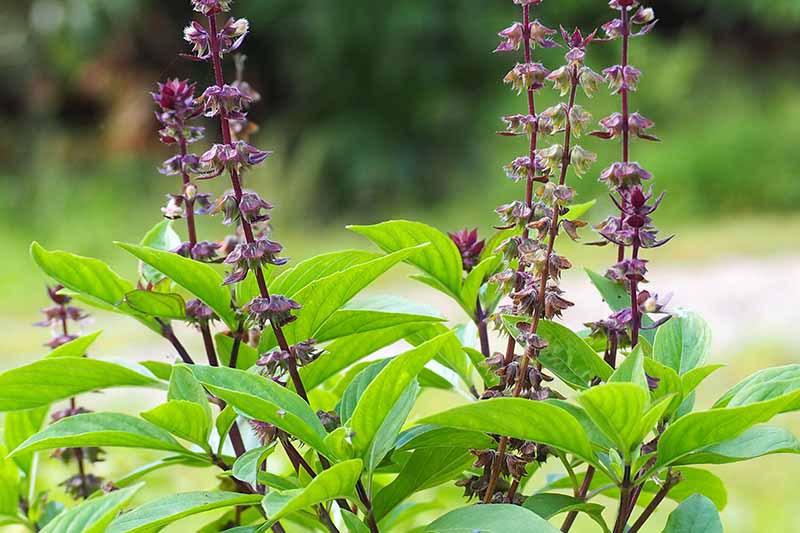
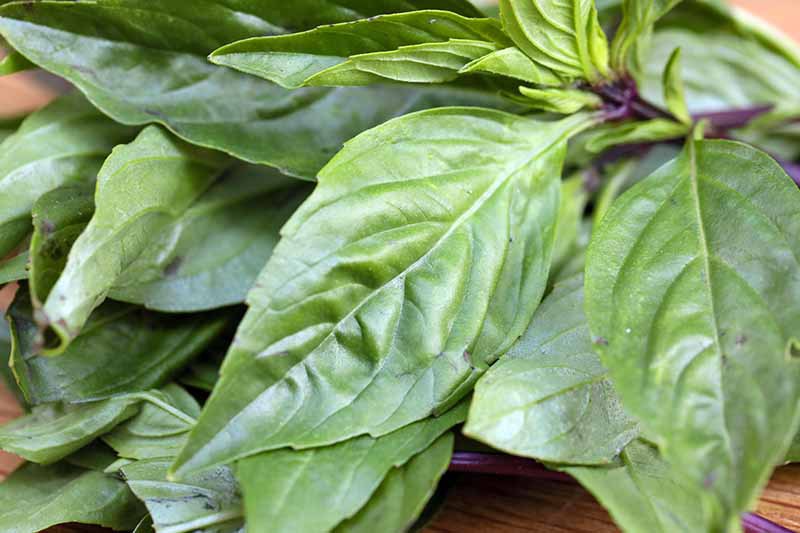
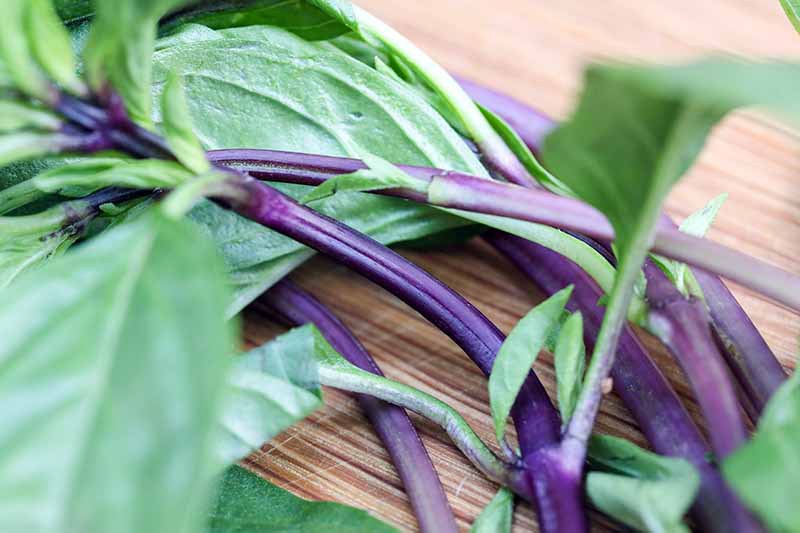
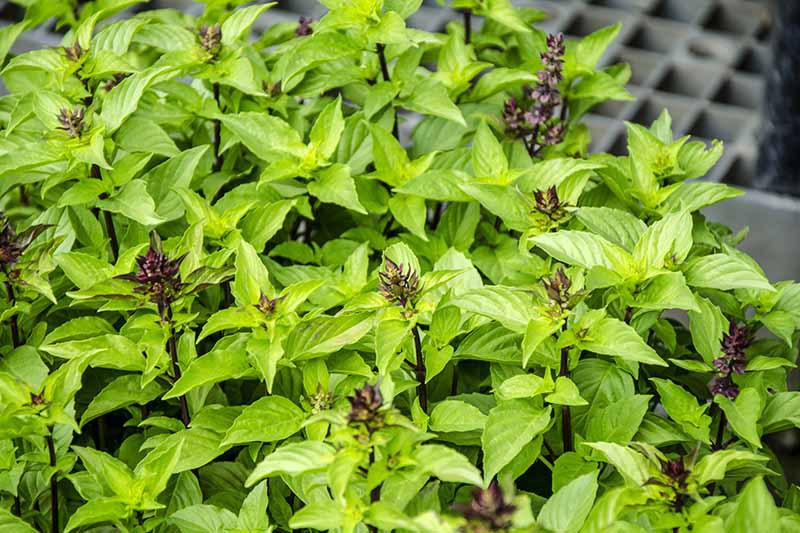
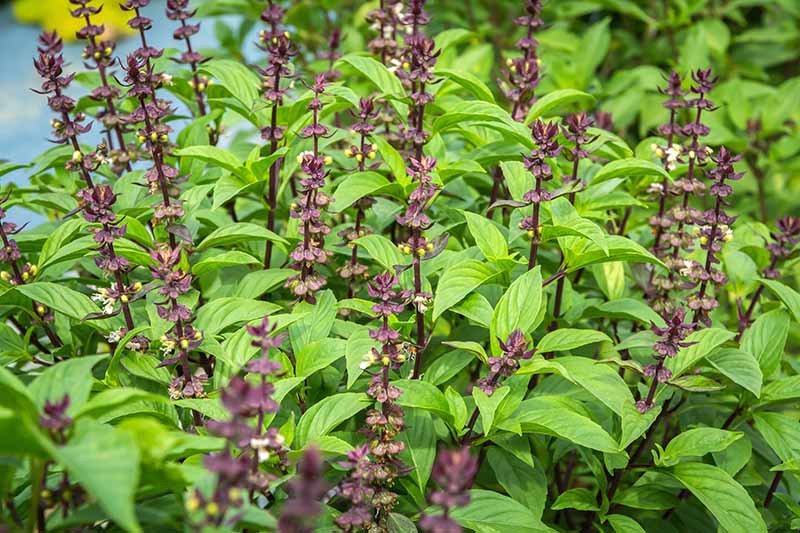
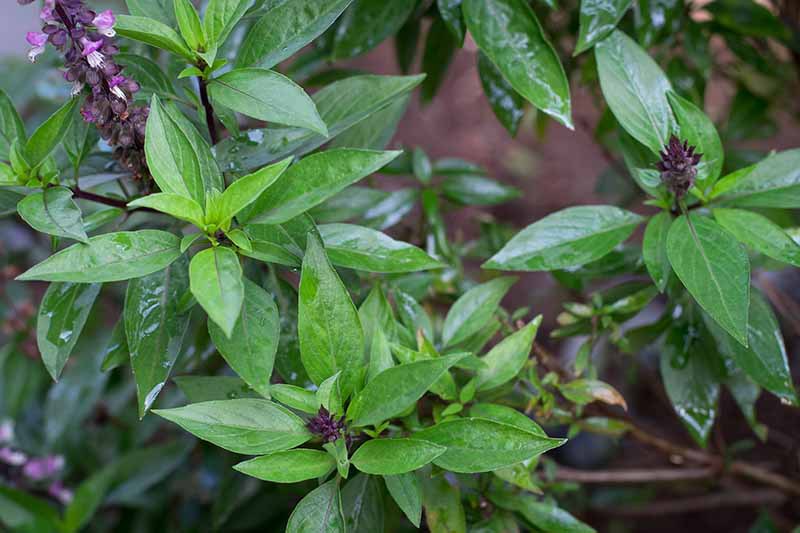
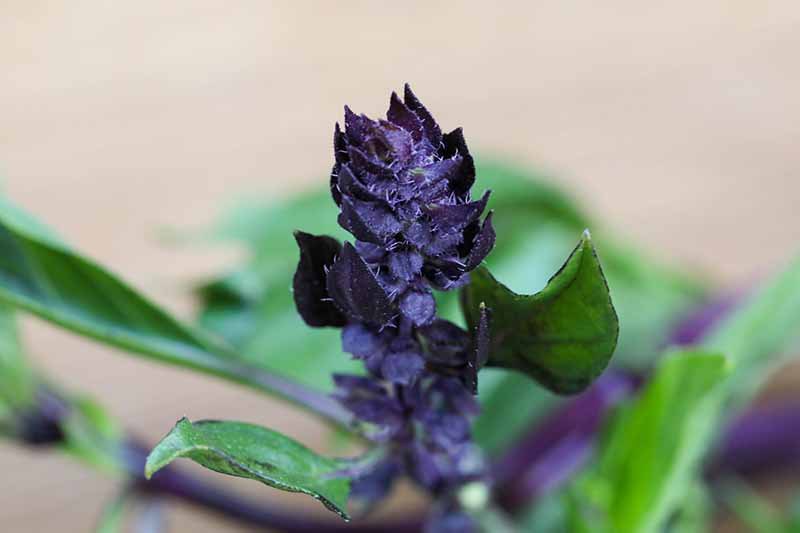
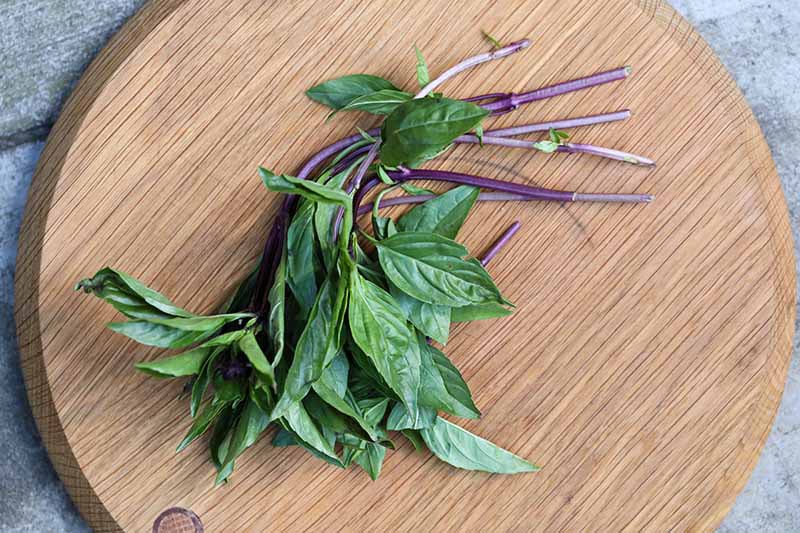
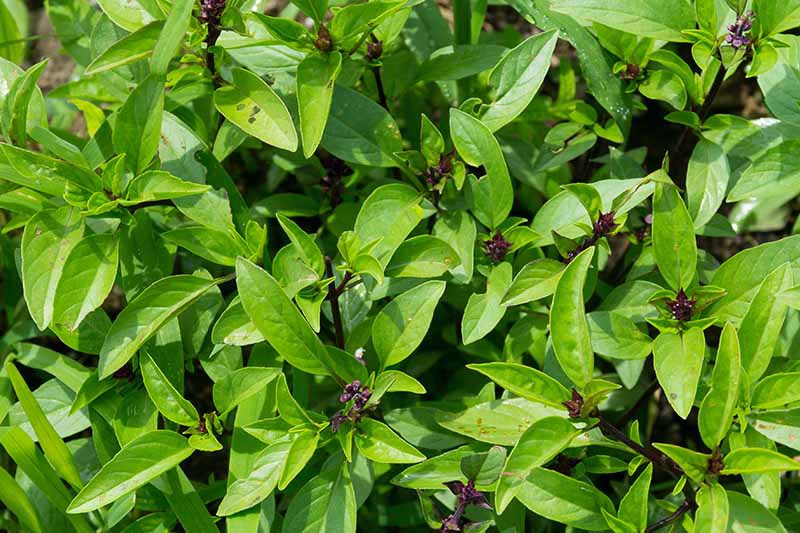
To begin, Thai basil isn’t just one specific plant. Unofficially, basils are generally grouped into three categories, though there isn’t any hard and fast rule to define these. The three are: sweet (Ocimum basilicum), Thai (O. basilicum var. thyrsiflora), and holy (O. tenuiflorum). Thai basils are a group of cultivars that have a spicier flavor than sweet, with notes of anise or licorice. Sweet basils are the common green plant that most Westerners recognize, and that you’ll often find available as a live plant in chain grocery stores. This group includes the ever-so-popular Genovese type, along with ‘Lettuce Leaf’ and ‘Opal’ cultivars. Holy basil, a different species from Thai – and sweet – that’s commonly known as tulsi, has a hint of clove and citrus flavor that’s lacking in the other two. In Thailand, Thai basil is called โหระพา (horapha in the Latin alphabet), which simply means “basil.” In Malaysia and Indonesia, it’s called daun kemangi. In Vietnam, it is called húng quế, which translates to cinnamon basil. That’s why O. basilicum var. thyrsiflora is sometimes confused with the cinnamon cultivar (O. basilicum ‘Cinnamon’), also known as Mexican spice basil. Speaking of getting confused, don’t conflate Thai with licorice (O. basilicum ‘Licorice’), also known as Persian basil. This is a type of sweet basil with a licorice flavor. So how does O. basilicum var. thyrsiflora differ from the species plant, O. basilicum? For one, it has smaller leaves that often have serrated edges, as well as a stronger flavor. On top of being bolder in flavor all around, the leaves and flowers also have a hint of licorice or anise flavor that sweet and holy basil varieties lack. The stem is usually purple or red, and the flowers are also purple or red. Thai can withstand heat better than sweet basil. As with the other two types, the flowers, stems, seeds, and leaves are all edible.
Cultivation and History
All Ocimum species are thought to have emerged in India, Southeast Asia, the Middle East, or western China, though they’ve been a part of human culture for so long that the history of cultivation isn’t well-documented. There’s some speculation that it originated in central Africa and gradually shifted across the globe. We do know that these herbs were used in ancient Egypt and Greece, and in Jewish traditions. At some point, sweet cultivars diverged from Thai, and the latter – along with tulsi – became more widely used in certain Asian cuisines, particularly in southeast Asian food, while the sweet kind became more common in Western recipes. Today, Thai is more commonly used in Western recipes for Vietnamese, Thai, and Malaysian food than sweet or holy basil, even where tulsi would have been the original herb of choice.
Propagation
Like its other relatives, this type can be propagated by cuttings or seed. We have an entire guide on propagating this kitchen essential that I encourage you to read for the full run-down on planting seeds or cuttings. Prior to planting in the ground, work in some well-rotted compost or manure to enrich the soil. This is particularly useful if you have sandy or clay earth.
From Seed
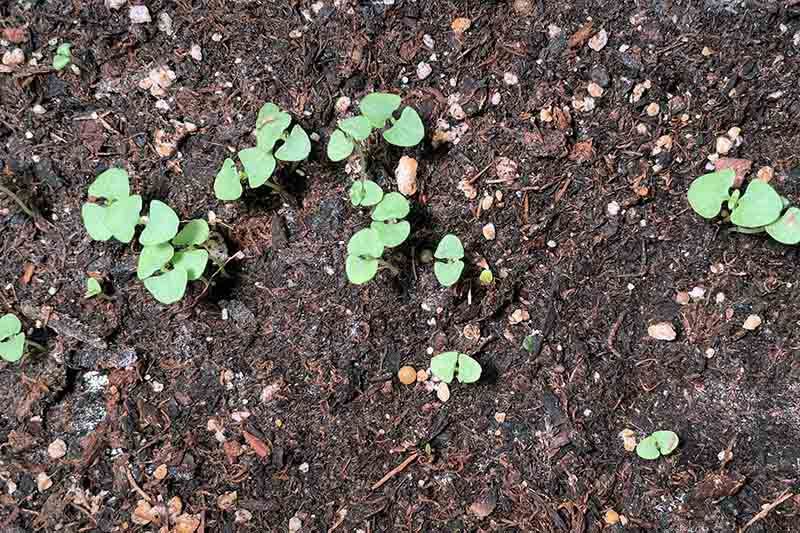
This herb grows readily from seed, though I’ve found that the seeds have a low germination rate. About a quarter of them never emerge, so plant a few more than you think you’ll want. Seeds should be planted about a quarter of an inch deep and 12 inches apart, depending on which hybrid you are growing. Be sure to check seed packets for recommendations. Seeds should emerge within 10 days and will first have two cotyledons before growing true leaves. You can start seeds indoors or sow directly outdoors once the risk of frost has passed in your region. Read more about growing basil from seed.
From Cuttings
This plant roots from cuttings with practically no effort on your part. All you need is a stem with a few leaves on it. Finished up your pho and have a stem of basil (complete with a few leaves) left? Bring it home and turn it into a whole new plant! You can also cut a stem from your or a friend’s existing plant. Try to take about four inches of stem and cut just below a leaf node. Place the cutting in a glass of water. In a few weeks, you should see lots of healthy roots. At that point, it’s time to put the cuttings up. There are plenty more details on nailing this propagation method available in the guide mentioned above, so be sure to check it out!
From Seedlings/Transplanting
Thai basil needs well-draining, loamy, rich soil to thrive. If you aren’t blessed with perfect soil (join the club), you’ll need to do a little work. Whether your soil is sandy or leaning towards the clay end of the spectrum, work in some well-rotted compost before you plant. If you start seedlings indoors, harden them off for a week before putting them in their outdoor home. Plants purchased from a nursery are usually good to go straight into the garden so long as the last expected frost date has passed. To harden off, put the plant outside in a sheltered spot for an hour and then bring it back indoors. The next day, add another hour, and another on the next day, and so on. Once you’ve done this for a week, it’s time to plant. Dig a hole a few inches wide and deeper than the container that your herb is growing in. Then, fill in the bottom of the hole with some well-rotted compost so that your seedling sits at the same height it was in the container, and to give the new plant a nutrient boost. Fill in around the sides with soil, gently tamp down, and water well. A quick note on planting the live basil you buy at the grocery store. Usually, the containers you pick up at your local store don’t just contain one plant, it’s actually several of them all crowded into that one container. This is fine if you plan on using up the leaves quickly, but if you want to transplant them, you’ll need to divide them up or your plants will rapidly become overcrowded and will die.
How to Grow
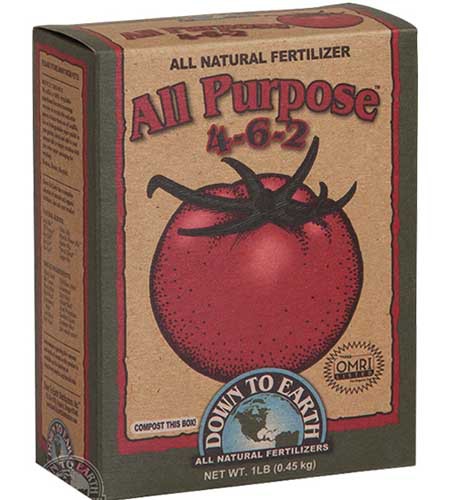
The majority of gardeners tend to grow these herbs as an annual, but you can grow them as perennials in USDA Hardiness Zones 10 and 11. Just keep in mind that the flavor deteriorates as the plants get older, so it’s best to pull them and start fresh each year. This herb prefers full sun, at least six hours or more of direct sunlight each day. It can survive in partial sun, but the herb may grow leggier and produce fewer leaves in lower light conditions. It does best when the soil stays consistently moist. Too little and the leaves will turn yellow, and the plant will look all droopy and sad. The best way to figure out if the soil is moist enough is the old-fashioned way: stick your finger in the soil. Imagine a well-wrung-out sponge. That’s what the soil should feel like. If it feels wetter, let the soil dry out a little more between waterings. If it feels dry, bust that watering can or hose out. This herb needs well-draining, rich soil with a pH between 6.5 and 7.5. If your soil isn’t ideal, working in some well-rotted compost can make a world of difference. If you worked compost into the soil at planting time, there’s no need to add additional fertilizer early on. Otherwise, add an all-purpose fertilizer a month after planting. Thai basil is perfect as a container herb. If you grow it inside, just make sure the container holds about a gallon and put the plant where it will receive six hours of sunlight. Down to Earth All-Purpose Fertilizer Arbico Organics has one-pound and five-pound boxes available if you need to pick some up. This herb grows well with tomatoes, parsley, cilantro, and chives. Don’t grow it with plants that prefer dry conditions like bay, rosemary, and sage.
Growing Tips
Give plants full sun, at least six hours per day.Keep soil evenly moist.Fertilize once early in the growing season, monthly if not using slow-release fertilizer.
Maintenance
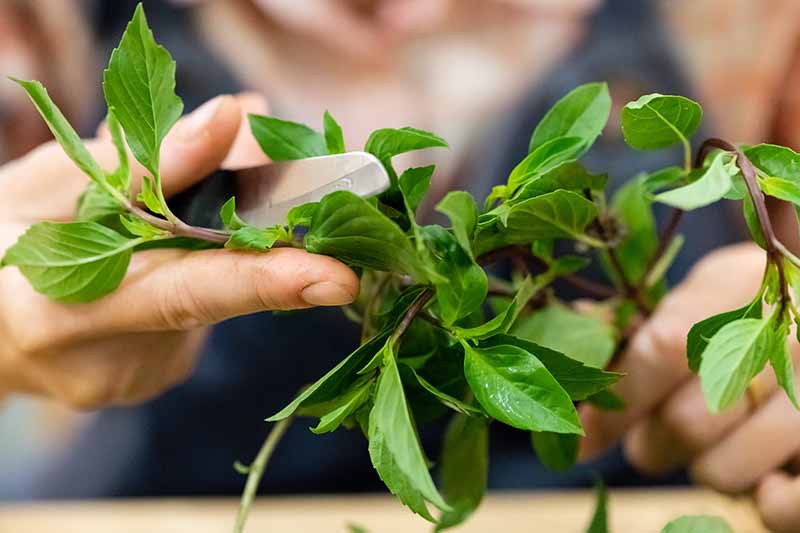
Pinch stems back to encourage bushier growth. You can easily do this any time you need a few leaves. Just cut them off right above a leaf node and the plant will send out new branches. Pinch off any flowers that form to encourage the plant to focus on growing foliage. If you want to harvest the seeds from the plant, you can let it go to seed rather than pinching the flowers. Just remember that your new plant might not grow true to type. To harvest seeds, wait until the flowers have formed seeds and turned brown. Cut the heads off and put them in a warm, dry, protected location to dry for a few days. Rub the heads between your hands over a bowl to separate the seeds from the rest of the plant. Gently blow on the debris to get rid of the old petals, leaves, and stem, leaving just the seeds behind. Store these in a dark, sealed container in a cool, dark place. Plant them within a year.
Managing Pests and Disease
This herb suffers from most of the same pests and diseases that other types of basil do. However, it is less susceptible to downy mildew (thank goodness).
Cardinal
‘Cardinal’ has such pretty blossoms that it does double-duty as an ornamental. The flower heads are large, compact, and a dark, deep red. The stems are a vibrant burgundy. ‘Cardinal’ This one grows about a foot wide and up to two and a half feet tall when the plant is blossoming.
Queenette
This variety has a compact growth habit and long violet stems that are packed with vibrant flowers during the summer, so it makes an ideal edible ornamental. The plant reaches 18 inches tall and a foot wide when mature.
Siam Queen
‘Siam Queen’ is an extremely popular cultivar that grows to 20 inches tall and 10 inches wide. It has large leaves and a distinct licorice flavor. ‘Siam Queen’ This cultivar was an All-America Selections winner in 1997 in the veggie category. Pick up a pack of 200 seeds for your herb garden at Eden Brothers.
Thai Magic
‘Thai Magic’ has large leaves that are bigger than most Thai basils. It also has a milder flavor and tends to blossom later in the season, so you can harvest more leaves before the plant goes to seed. ‘Thai Magic’ When mature, it grows to almost two feet tall and a foot wide.
Insects
Many of the usual suspects – including aphids, beetles, and slugs – like to take a nibble out of your plants.
Aphids
I’ve heard people say that this herb repels aphids, but apparently, the aphids in my garden didn’t get the memo. I’ve had to deal with these extremely common pests year after year. If you don’t know what aphids look like or how to deal with them, read our article on how to control and eradicate these pests.
Japanese Beetles
Japanese beetles are voracious, and they love nothing more than to skeletonize your plants. Check out our guide on how to battle these annoying pests if they come for your herb garden.
Slugs and Snails
Every spring, just as my plants just start to grow big enough that I can pluck the leaves for my recipes, I’ll come outside and find that my old enemies have returned. Slugs and snails can completely devour an entire plant in one evening. Don’t let it happen to you – we have some excellent tips for getting rid of gastropods so that you can keep your harvest for yourself in our guide.
Disease
Thai basil is resistant to the scourge of downy mildew, but you might have to deal with a few other fungal diseases.
Damping Off
There’s something so aggravating about damping off. This disease, which is caused by fungi in the genera Alternaria, Rhizoctonia, and Pythium, hits your seeds and seedlings just as they’re getting started. In other words, I’m all full of hope and excitement for my new plants, only to be cruelly disappointed when they flounder. So what is damping off? The fungi that cause it attack seeds and seedlings. Cruelly, this can cause your seedlings to fail to emerge, or if they do, they will be weak. Seedlings will often be thinner and appear to have a water-soaked band at the base, and even if your seedlings do survive, they’ll never become robust plants. The moral of this story is that you should do your best to keep from letting it take hold in your garden. The first step is to clean everything. Clean your tools, clean your containers, and use clean seed-starting or potting soil. You can wipe tools with a 1:10 bleach to water solution and soak containers in the solution for 30 minutes. Warming mats placed under seed trays can help, and it’s a good idea to use warm (not cold) water that’s around 68 to 77°F when watering your seeds. Make sure they have plenty of direct light.
Fusarium Wilt
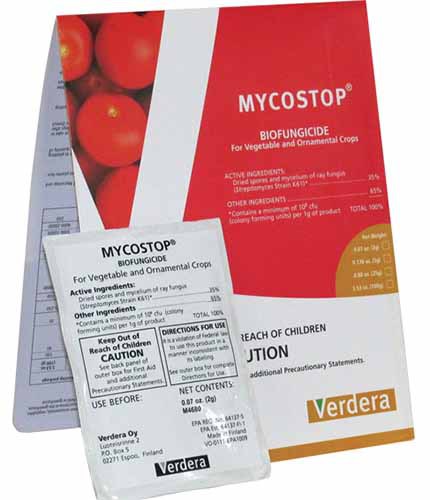
Fusarium wilt in basil is caused by the fungus Fusarium oxysporum f. sp. basilica. If your herbs contract this disease, the leaves may become yellowed and malformed, curling inward or sometimes growing asymmetrically. Mycostop Biofungicide Go buy five grams (or 25 grams!) of the stuff at Arbico Organics and thank me later. You may also see a pinkish fuzzy mold on the stems. Cleaning your tools and pots as described under the section above on damping off is a good place to start in preventing this disease. You should also make sure you’re spacing your plants appropriately. Remember that Mycostop I mentioned above? It’s an excellent treatment for this disease, as well.
Harvesting
You can pluck the stems and leaves any time, as long as the plants are more than six inches tall. Harvest in the morning by pinching off the leaves or trimming with a pair of scissors. Trim right above a leaf node. Pinch back flowers to use any time they appear. Or, if you want to harvest the seeds, allow the flowers to form and go to seed. Once the heads turn brown, cut them off the plant. Allow them to dry a little on a countertop for a few days. Next, rub the seed heads between your hands over a large bowl. Pick out any stems or leaves and then blow gently to remove the rest of the chaff. You might want to do this step outside, unless you’re a big fan of vacuuming. Store the seeds in an envelope in a cool, dark spot and use within a year.
Preserving
If you want to keep your harvest around longer, you have a few options. Personally, I prefer freezing, but you can also dry the leaves. To freeze, remove the leaves from the stem and quickly blanch them in boiling water for a second. Then transfer the leaves to a bowl filled with ice water to shock them and stop the cooking process. Place the leaves on a towel and let them dry completely. Then lay the leaves on wax paper and put them in a resealable container or bag in the freezer. Learn more about how to freeze fresh herbs in our guide. If you want to go the drying route, wash and dry the stems and then remove the leaves from the stem. Line a baking sheet with parchment paper and place the leaves in a single layer on the sheet. Bake in the oven on its lowest setting until the leaves are completely dry. This usually takes around three hours. Store the leaves whole or crumbled in airtight containers in a cool, dark spot. Learn more about drying and storing herbs in our guide.
Recipes and Cooking Ideas
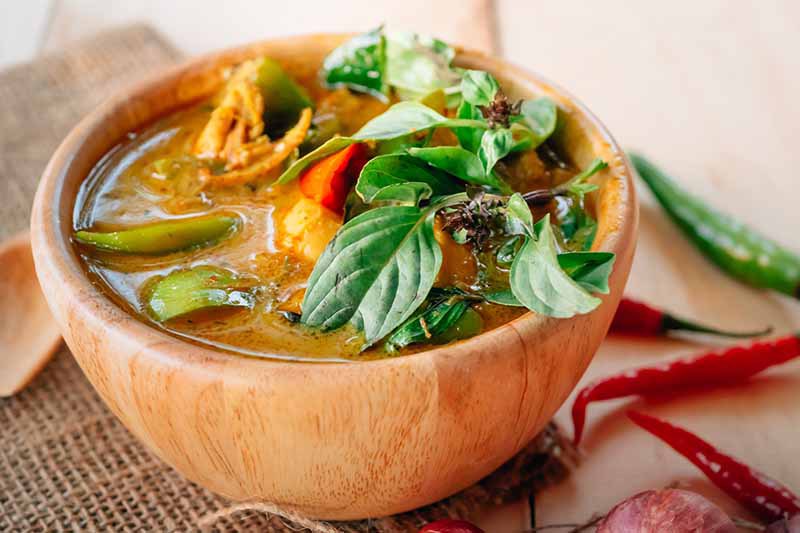
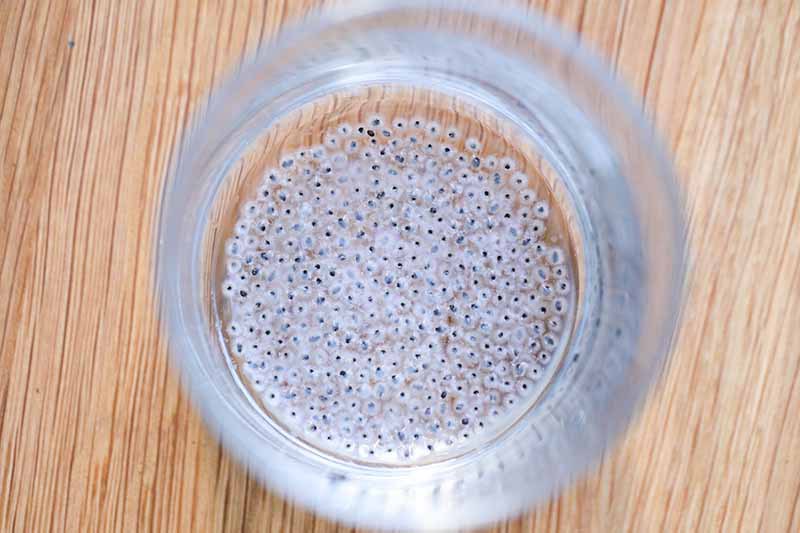
The leaves can be used in salads, curries, noodle and rice dishes, soups, sandwiches, and more. You can eat them both cooked and fresh, but if you decide to cook them, add them at the last minute so that the leaves are gently wilted and not overly cooked. While most people toss the stems and flowers, you can chop up and eat both. I also love to use the flowers in salads and I mix the chopped stems into rice. Our sister site, Foodal, has a fantastic recipe for shrimp pad Thai. Just substitute the cilantro with Thai basil. While this trend hasn’t widely caught on in Western culture, the seeds of the plant are phenomenal after they’ve been soaked in water and added to drinks and desserts. They take on a gelatinous texture similar to chia seeds soaked in water. To make this treat, rinse half a cup of seeds and cover them with water. Let them sit for a few hours. The seeds will be covered in a gelatinous shell at this point. Drain any excess water, leaving the gel and seeds behind. Stir a half cup of sugar into two cups of water until dissolved and add the soaked seeds. You can also squeeze in a little lemon to taste, or add some cardamom and pear, or pureed raspberries, to the mix. Delicious! Once you have your plants in the ground and growing, come back and let us know how it all went. We’re always happy to hear about the adventures of our fellow herb lovers in the comments section below! Now that you’re armed with the knowledge to keep this herb happy in your home, you might want to check out some of our other guides to growing basil next:
How to Grow Basil in Your Herb GardenHow to Harvest and Save Basil SeedKeeping Basil When it Gets Chilly: Fall and Winter Growing Tips
