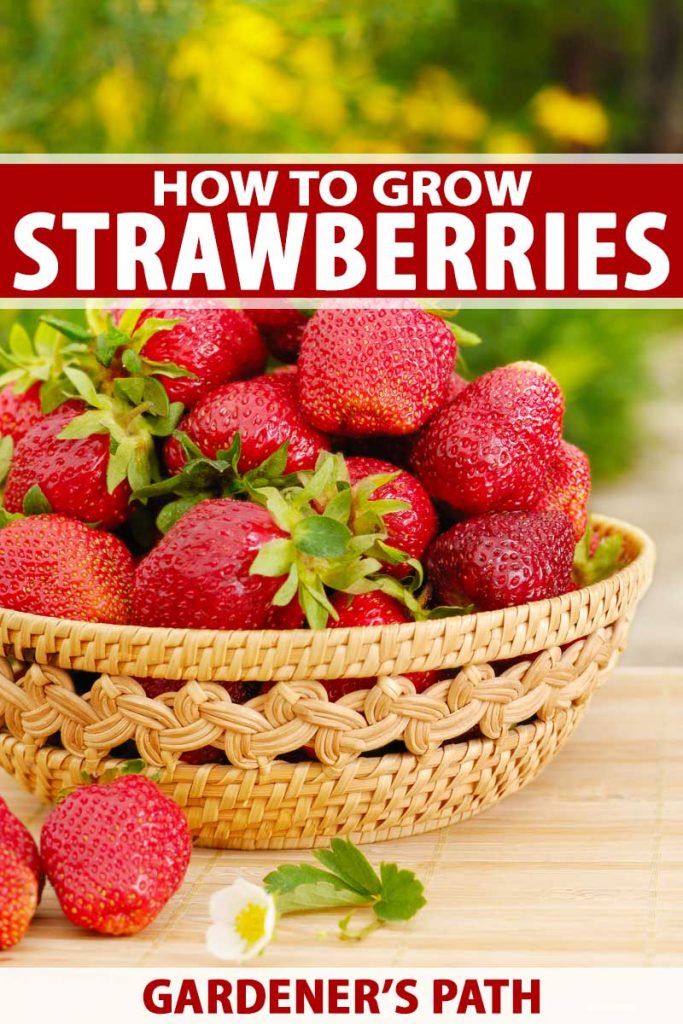
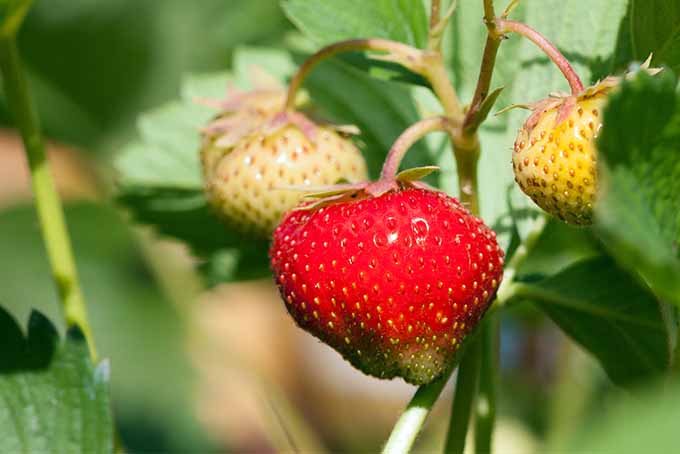
And when we get a nice, sweet, juicy batch we inhale them within a day. Well, if the best tasting strawberries are what you’re after, growing your own is the way to go. You will never taste a sweeter strawberry than one picked fresh from your own garden. There are multiple varieties to choose from, and as perennials that are hardy in zones 3 through 10, they’ll come back year after year. And many varieties can be harvested from spring until frost. We link to vendors to help you find relevant products. If you buy from one of our links, we may earn a commission. Plants will survive almost effortlessly, but getting a bountiful harvest takes a bit of work. With a little knowhow, patience, and persistence, you’ll be on your way to enjoying fresh picked, delicious strawberries right out of your own yard. There are three different types of strawberries, and to get the best harvest you need to know about them. But first, some general information. Here’s what’s to come in this article: Keep reading to learn everything you need to grow this beloved fruit.
Growing From Seed vs. Buying Starters
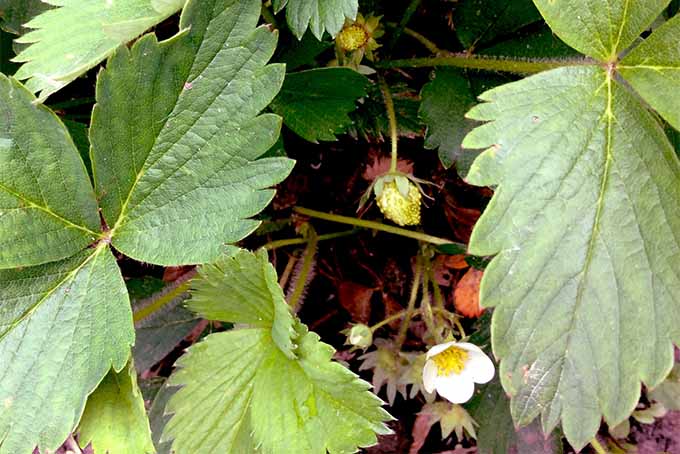
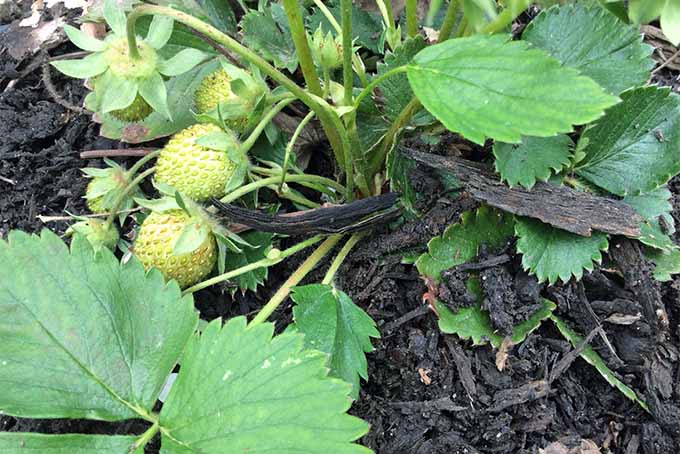
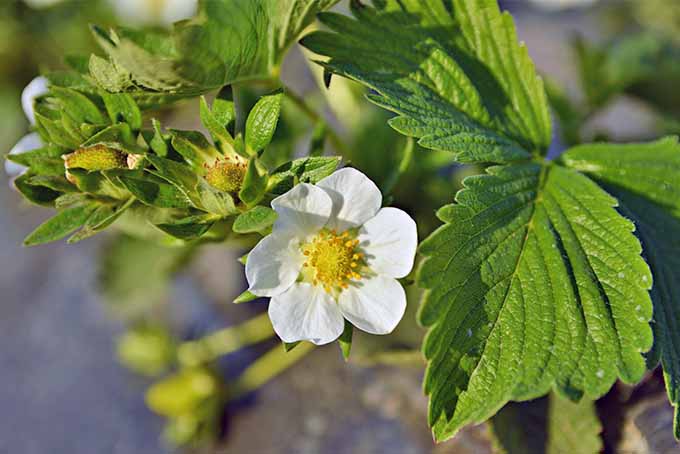
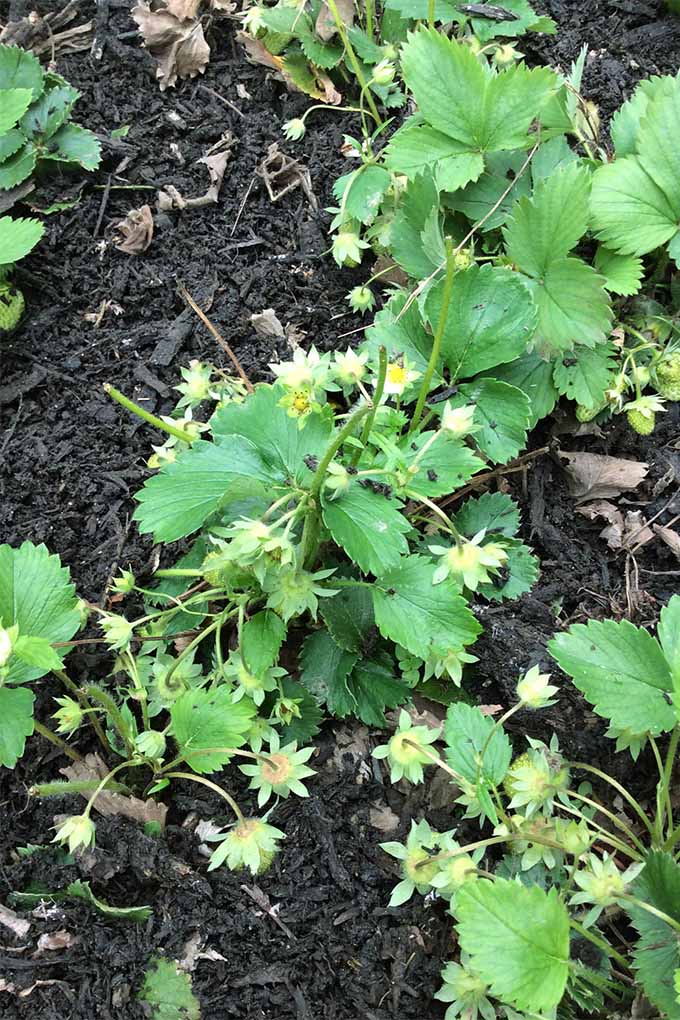
While growing strawberries from seed is possible, it’s much more common and effective to purchase plants or bare roots. However, if you’re interested in growing a less popular variety, you may have to start plants from seed. If this is the route you take, sow seeds directly in the garden in early spring. Be prepared to wait for up to month to see any signs of germination. Plants generally won’t produce any fruit until the following year, so you’ll have to wait. Honestly, though, if you’re dedicated to achieving the ultimate harvest, you’ll have to wait for a year anyway. Standard practice for growing strawberries is to remove all the flowers the first year – yes, ALL of them. So sad, I know! But you’ll be grateful you did the following spring, when plants are larger and stronger, and able to produce a much larger harvest.
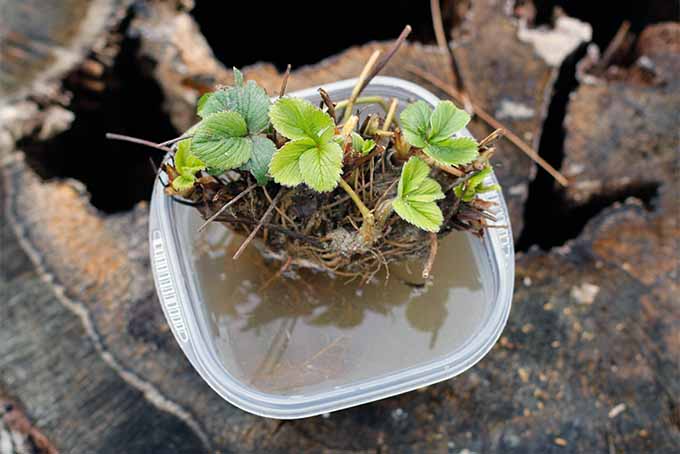
Okay – I got ahead of myself. Let’s get back to purchasing plants… Strawberries are usually sold as individual potted plants, or in bags as bare roots. Bare roots are just dormant plants. They almost look dead, but they aren’t – or at least, they shouldn’t be! Here are a couple of things to look for so you know you’re buying a healthy bare root, and not a dead one:
First, check for signs of rotting or mold and reject the plant if you find these. Crowns should be intact. Roots should be vigorous.
Once you’ve chosen your plants, it’s time to get them in the ground!
Planting Strawberries and Keeping them Happy
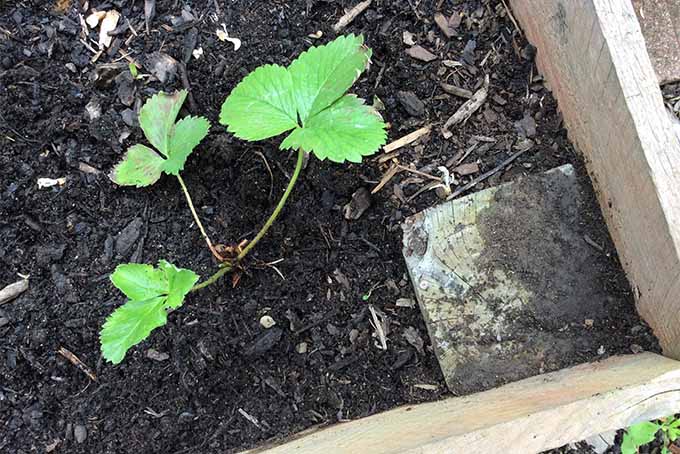
Strawberries can be placed in the ground in early spring as soon as the soil is workable. Choose a site with loamy, well draining soil. A pH between 6 and 7 is ideal. And full sun, at least 6 hours, is necessary for high yields. Strawberries will tolerate less than ideal conditions, however, and even do okay in partial shade – you just won’t enjoy as large of a harvest. Heavy clay soils with poor drainage will be particularly detrimental to overall growth. Because soil drainage is so important, raised beds are often used for growing strawberries. You can also plant them in containers and hanging planters. Just be certain not to use old tires as they can leak toxins! Working two to three inches of compost into the soil before planting will improve soil health and water retention, as well as drainage. A soil test is really the only way to know if your site needs any special attention. If you’re interested in using a general all-purpose fertilizer, use one with an N-P-K (nitrogen, phosphorus, potassium) ratio of 10-10-10. Before putting bare roots in the ground, remove any old leaves from the crowns and soak the roots in water for a good hour. When placing roots in the ground, it’s especially important to pay attention to depth. The crown of the plant, where the leaves originate, should sit just on top of the soil. Too deep and it will rot. Too high and it will dry out. It has to be just right, so think Goldilocks here and plant accordingly. Also, make sure there is plenty of space for the roots and that they are spread out before covering them with soil. Keep plants watered well until established. Once roots are established, runners will start to form – but we will get into how to deal with those when we talk about the different types a little later. It’s also important to thoroughly weed the area ahead of time, and keep it weed free throughout the growing season. Weeds can easily outcompete the shallow roots of strawberries for water and nutrients. Once in the ground, it’s best to cultivate the soil around strawberries regularly with a hoe. Work along the soil surface, uprooting any weed seedlings. Be careful not to disturb the soil more than an inch below the surface – you might damage the roots. Not to mention, new weed seeds will find their way to the soil surface where they’ll be able to germinate.
Protecting and Replacing Plants
If your area experiences particularly cold winters, choose a fitting variety. Also consider adding a layer of mulch, like straw, over your crop in the winter to protect the crowns. You can read more about winter care for strawberries here. Flowers that show up the earliest tend to produce the largest fruit. But flowers are susceptible to frost early in the season. So, it’s in your best interest to cover your strawberry patch if temperatures dip below freezing in the spring. Even though strawberries will keep coming back year after year, they’re most productive within their first 2 to 5 years of life. It’s common practice to replace them every few years, as you notice a drop in productivity. Purchase new starters – don’t dig up runners from the old patch. This way you can guarantee healthy, disease-free plants. Also, pick a new site for your replacements, which will help to avoid any pests and diseases that may have built up in the soil over the years. Be careful to avoid areas of the garden that eggplant, peppers, tomatoes, or potatoes have recently inhabited. They are all prone to verticillium wilt, which can also infect strawberries.
The Three Types
Strawberries fall under one of three types: June-bearing, everbearing, or day neutral. Pay attention to the type you buy, and hold on to the tag so you won’t forget. If the tag doesn’t make clear which type it is, do some research online. Knowing the type will make all the difference in your efforts to produce a delicious harvest that meets your needs.
June-Bearing
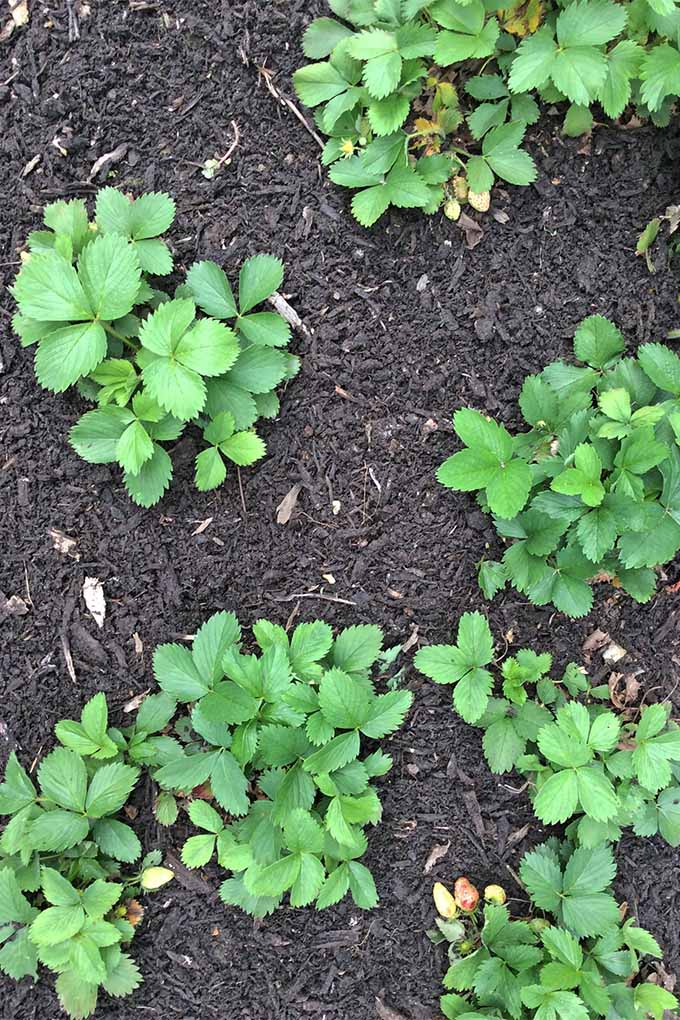
This is the most commonly grown type. Buds form in the fall and then bloom the following spring, producing one large harvest, typically in June. This is great if you want to make jam or freeze large batches of fruit. Runners, which are above-ground stems that form from the crown, take root and produce new plants. Runners on June-bearers can be left to root, forming a thick mat of green growth, referred to as the “matted row method.” Just don’t let your row get too wide. Ideally, it should be less than 18 inches across. Within the row, plants should be spaced 18 to 24 inches apart. June-bearers especially benefit from removing all of the flowers in the first year. This way, they can focus all their energy on producing more runners. After harvesting each year, they need to be “renovated” – which refers to the process of mowing or cutting leaves back to just an inch or so above the crown. You’ll also want to narrow the rows to about a foot wide, and remove any old plants that aren’t producing as well. Rake out all leaves and compost them if they’re healthy, and weed the area. The idea is to encourage new growth, especially new runners, since young plants produce the most fruit. Since runners are allowed to regenerate the crop, June bearers typically produce a good harvest for a number of years.
Everbearing
Everbearing varieties form buds when days are long, which usually results in two main harvests – one in June and another in early fall. Plants should be spaced 12 to 15 inches apart, about three to four rows wide. For the largest harvest, runners of everbearers should be pinched off. Runners on this type of plant aren’t very vigorous, and if left to grow, you’ll just end up with smaller, less productive plants overall. Instead, you’ll want to encourage the growth of one large, healthy plant. To further encourage well-established roots, remove the flowers. Feel like your patience is being tested? There’s a bright side with this one: You can start letting flowers bloom in July and beyond. Come August, you should be able to enjoy your first harvest, which will continue on until frost. So, that’s the bright side. There’s also a not-so-bright side… Because you’re preventing runners, which are the mechanism by which these plants naturally regenerate themselves, you will likely notice a dip in fruit production within just a couple of seasons. Because of this, it’s standard to replace everbearers every two to three years.
Day-Neutral
Day-neutral strawberries are different because they don’t rely on the length of day to begin flowering. Instead, they are sensitive to temperature. They will produce fruit in temperatures as low as 35°F, but anything above 75°F and flower production will stop. In cooler areas, this is great! You’ll be harvesting fruit from early spring until frost.
In areas with warmer summers, harvest periods will be similar to that of everbearers – one in spring, and one in late fall. General requirements for day-neutral varieties follow the same recommendations as everbearers, including removing runners and flowers. Let flowers go to fruit once you reach July though, for a late summer/early fall harvest!
Not Without Their Issues: Pests and Diseases
There are a number of diseases that can infect strawberries, including leaf blight, leaf scorch, leaf spot, verticillium wilt, and powdery mildew. Are you trying to find the best type for your location? If so, check out our 35 of the Best Strawberry Varieties for Home Gardeners to find the right cultivar for your berry patch. Gray mold, or Botrytis fruit or Botrytis flower rot, is one of the most common and difficult strawberry diseases to control when the conditions are right for infection. We have an entire guide on gray mold on strawberries here. Many of these pathogens can be greatly reduced by picking the right location for plants. Full sun and well-draining soil go a long way to reduce the occurrence of diseases. Keep rows narrow and weed free to improve air circulation. Also, avoid watering at night. Wet leaves in the cool of night are an invitation to many diseases and fungi. Look for disease resistant varieties if possible. Slugs bite chunks directly out of the fruit, and weevils bore into buds with their curved snouts and suck the pollen out. Gardener House Berry Netting, 7′ x 20′ Birds are great at getting to your delicious fruit the day before you plan to harvest. Netting can help to avoid that pang of disappointment. Deer might take a bite or two out of plants as well, like in my case where there are plenty of them living in the area. Intruders that are smaller but often just as damaging include slugs, spider mites, bud weevils, and spittlebugs. Healthy plants can handle some damage. But slugs and weevils in particular have the biggest impact on harvest. If the problem is severe, look into using diatomaceous earth for slugs and horticultural oils for weevils. Also, pick off any buds if you notice they’re damaged or aren’t producing a berry.
Harvest and Delicious Uses
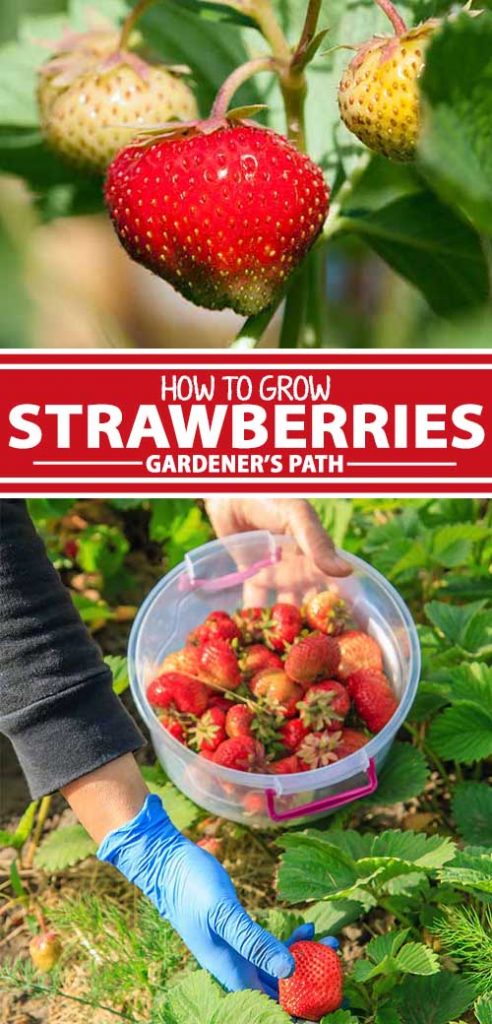
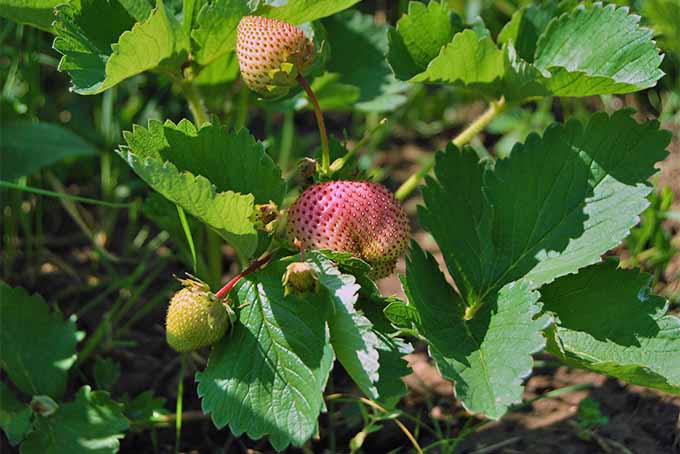
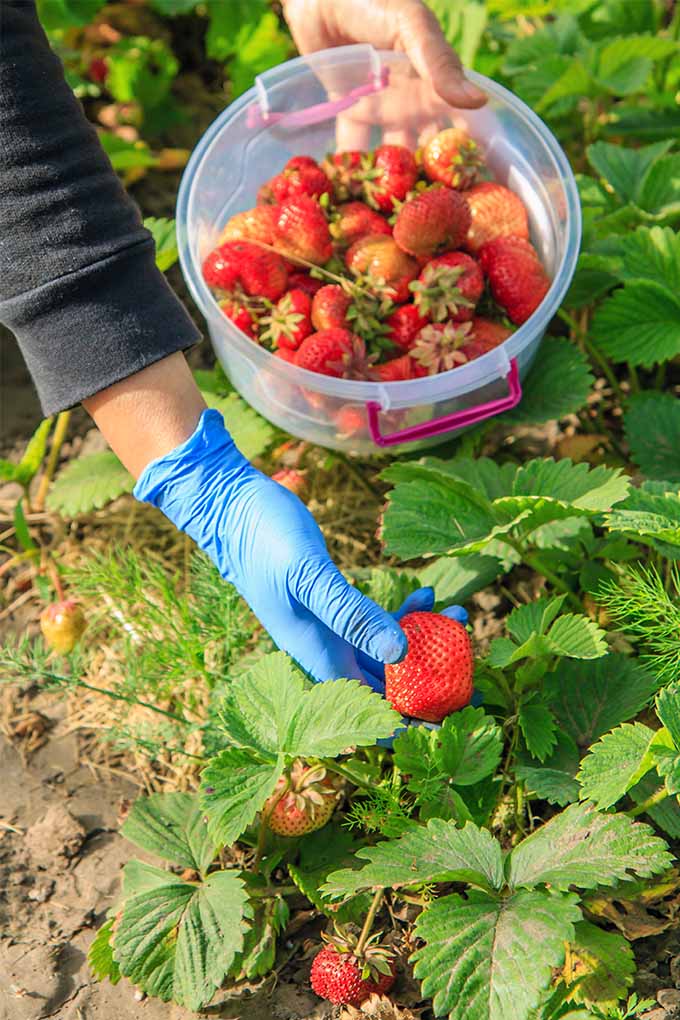
You’ll know that your berries are ready to harvest when they’re red all over and fully ripened. Pay attention to the days to maturity on the plant tags that they came with, so you’ll have a rough idea of what to expect. Be careful not to damage the plants or pull them out of the ground when you’re harvesting. Rather than pulling on the berries, keep those green tops intact and snip the stems with clean scissors or pruners. Wait a few days between harvests if you can, to avoid stressing the plants. And pick in the cool of the morning since your fruit will bruise less easily than it will when the sun is beating down in the afternoon.
Keep freshly picked berries cool and wait to wash until you’re ready to use them. If you have enough plants to get a big yield, there are so many wonderful things that you can do with strawberries beyond eating them out of hand. Here are a few tantalizing suggestions: First, try a strawberry blueberry crumble for dessert, or a slice of classic strawberry rhubarb pie. Both of these recipes can be found on our sister site, Foodal. And to grow your own rhubarb alongside the berries, read our article for expert tips. Not in the mood for pie? Try this strawberry rhubarb butter from Erika’s Gluten Free Kitchen. Or, if it’s too hot to bake, you can’t go wrong with a simple strawberry fool, like this one from The Magic Saucepan. A bright and tasty strawberry balsamic vinaigrette makes a tasty addition to garden fresh salads. Try this version from our friends at The Fitchen. Summer strawberry popsicles are a tasty combo made with lime and watermelon. The Domestic Dietitian shares the recipe for this one.
No Going Back
This classic, beloved fruit is in high demand. And, ranked as number one on the EWG’s ‘Dirty Dozen’ list, buying organic can be pricey. But let’s be honest – picking strawberries out at the grocery store is a gamble. In my experience, they are almost never as sweet and juicy as I imagine they will be, especially when they are out of season.
Once you get a taste of fresh picked, homegrown strawberries, you’ll want more. And more. And more. You know what they’re like? Delicious. Every. Time. It may take some trial and error, but as perennials, strawberries are a little more forgiving than annual edibles. And even if you don’t get a great harvest with your first go, you’ll still likely get a little something sweet to snack on. For more berry growing inspiration, you’ll need these guides:
How to Grow Elderberries The Ultimate Fall Berry Planting Guide How to Plant and Grow Ground Cherry How to Grow Blueberries
Photos by Amber Shidler © Ask the Experts, LLC. ALL RIGHTS RESERVED. See our TOS for more details. Product photo via NaiteNet. Uncredited photos: Shutterstock. With additional writing and editing by Allison Sidhu.
