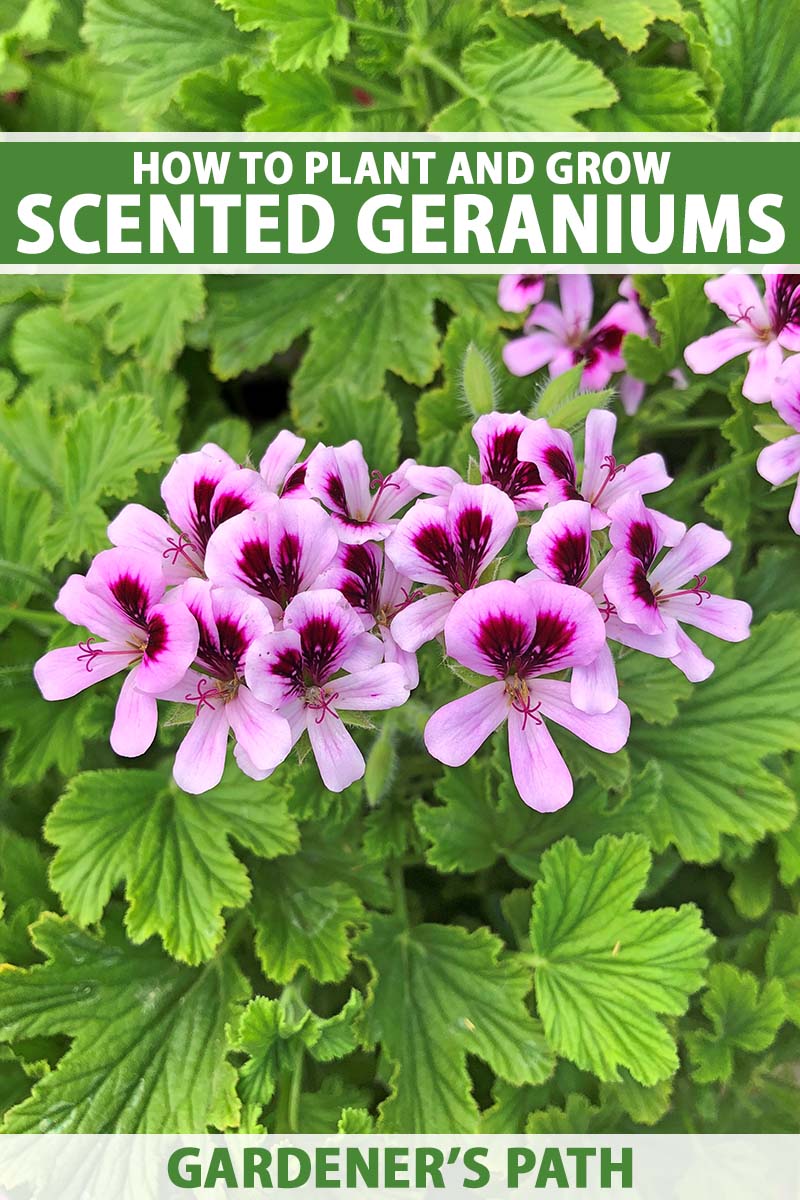
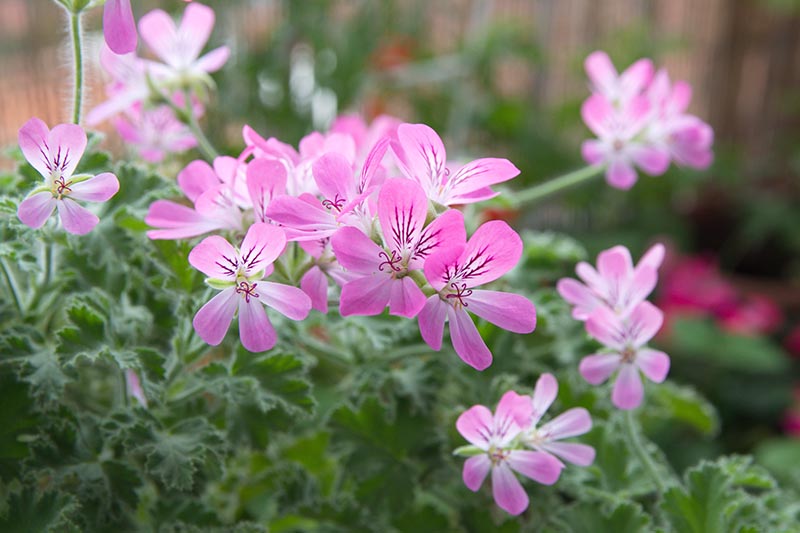
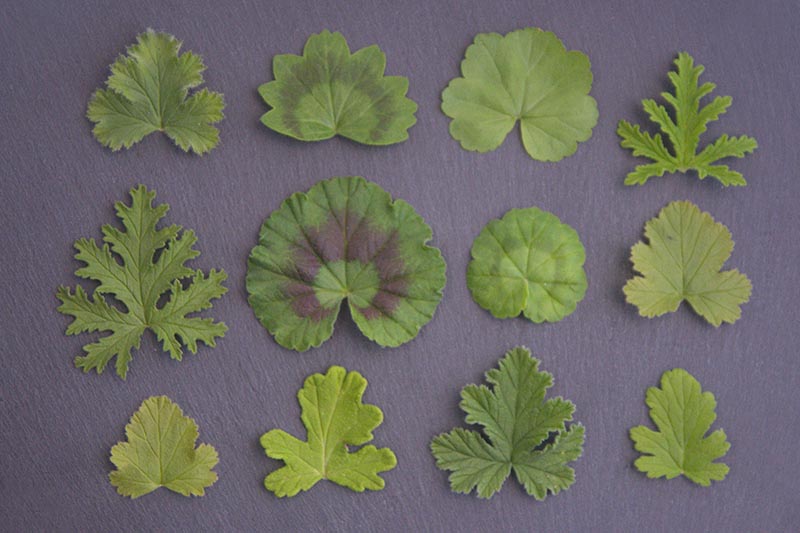
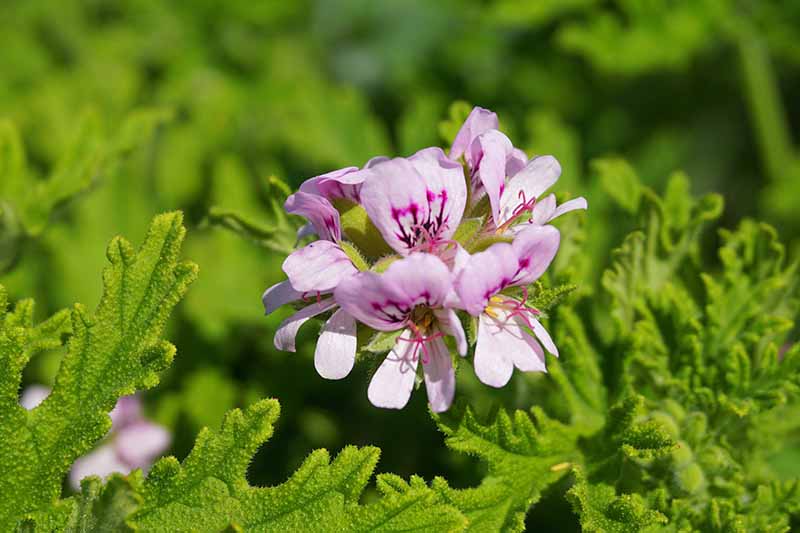
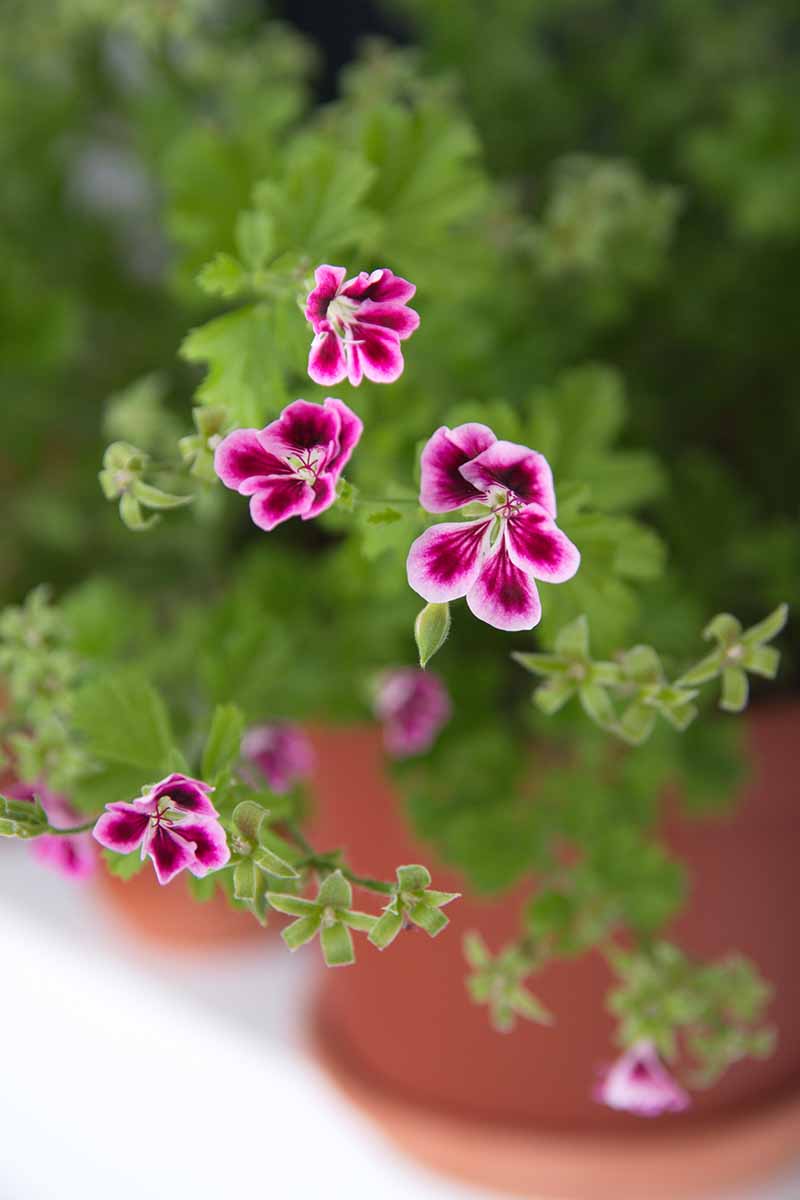
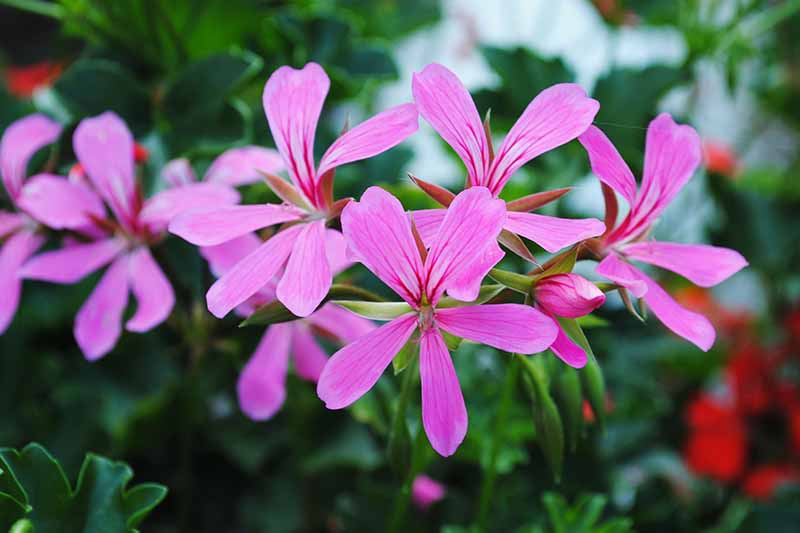
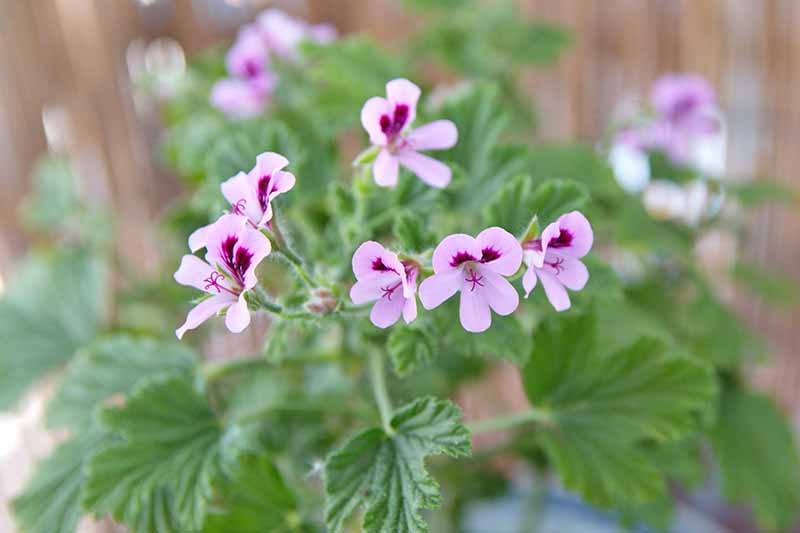
Also called rose geraniums, sweet geraniums, or old fashioned rose geranium, scented geraniums are beautiful evergreen plants that all have various unique scents to their leaves and blossoms. Plants can range from low-growing foot-tall specimens to bushy three-feet-tall versions, and they can spread from a foot wide up to eight feet or more. Blossoms can be tiny and plain to large, vibrant, and multi-colored. Some have small or deeply-lobed leaves, while others have large, round leaves. We link to vendors to help you find relevant products. If you buy from one of our links, we may earn a commission. While they vary in appearance, they all like the same conditions: warm, sunny, and somewhat dry. I think it’s a real shame that these marvelous plants have fallen to the wayside as their more famous cousins have gained in popularity. If you agree and want to learn more, here’s what we’ll chat about in the coming article: Let’s get this pelargonium party started!
What Are Scented Geraniums?
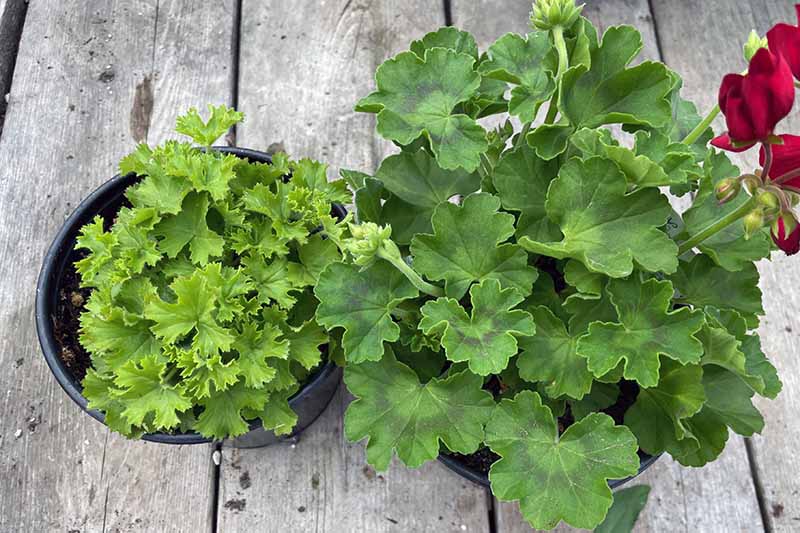
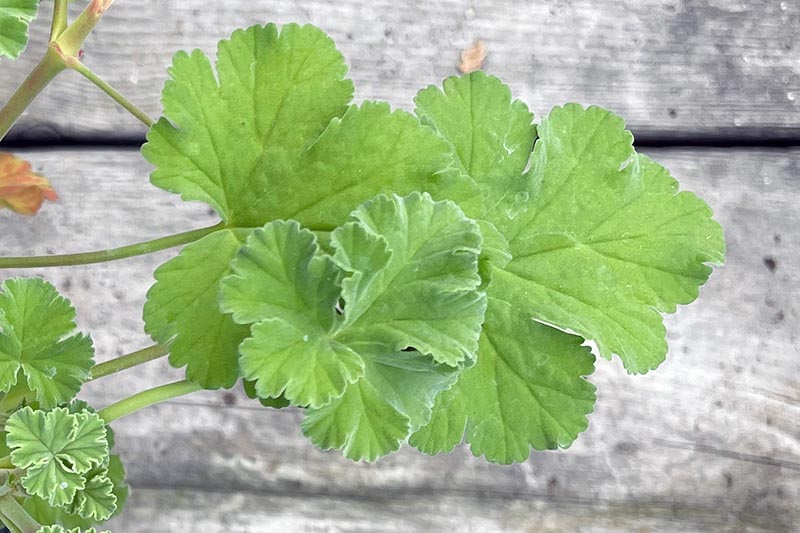
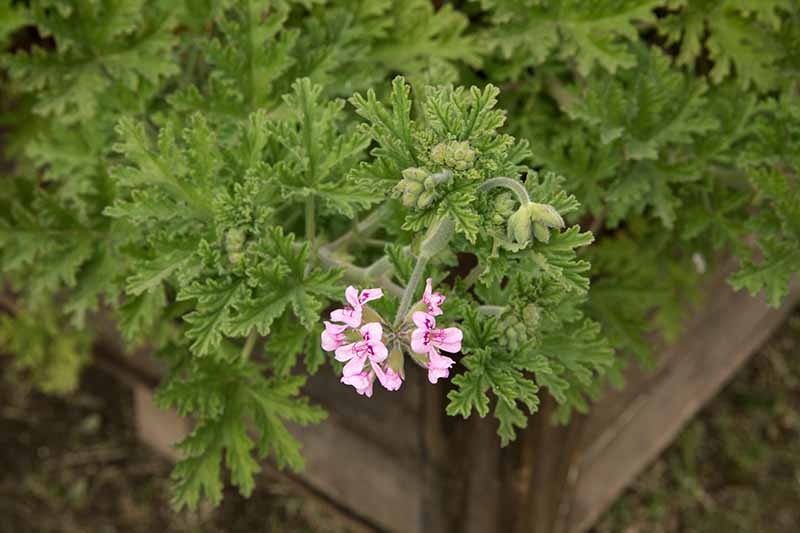
“Scented geranium” is used as a catch-all term for plants in the Pelargonium genus that have scented leaves and/or flowers. These species and cultivars typically have smaller leaves and flowers than those of the garden geranium (P. x hortorum). To illustrate, the plant on the right in this photo below is a zonal geranium, while the one on the left is a “lemon” scented geranium. These plants have glands where the scented oil is produced. If you crush or disturb the leaves, the oils are released and you can smell that lovely scent. Scented geraniums are usually grown as annuals, though they are perennials in USDA Hardiness Zones 10 and 11. If you don’t live in one of these areas and you’re loath to give up your gorgeous plants to the compost heap every year, you can bring them indoors during the winter. Obviously, scented geraniums can’t handle much cold, but there are some plants that can grow down to Zone 8, particularly the smaller-leaved varieties. Others can grow in Zone 12. The plants that can grow in Zone 8 will typically die back to the ground in the winter and re-emerge in the spring.
Cultivation and History
Almost all plants in this genus that are cultivated in Europe and the US started out in southern Africa (where they still grow wild in the understories of forests) before making their way to Europe in the 17th century.
From there, they spread across the world. By the Victorian era, they became a staple in bouquets before fading in popularity in favor of their well-known cousins. These days, there are dozens of cultivated versions of the original wild plant, with scents that range from unusual (nutmeg) to classic (rose). All geraniums are sometimes, more accurately, called pelargoniums. They were originally grouped with plants that are now separated into the Geranium genus after they were brought from the African continent to Europe. Today, botanists separate the hardy perennial shrubs in the Geranium genus, typically called cranesbill geraniums by English speakers, from pelargoniums, which are now classified in the Pelargonium genus.
Propagation
Buying lots of individual live plants can add up quickly, so propagating your own through cuttings or from seed is an easy way to save yourself some cash. Using cuttings is the faster and easier of the two. You can also purchase transplants at most nurseries. Watch for spring sales to get a bargain.
From Seed
You can start scented geraniums from seed, but keep in mind that many are hybrids and so you need to grow them from stable purchased seeds, seedlings, or cuttings if you want them to grow true to type. In other words, don’t try to grow saved seeds from an existing plant. Geranium seedlings are also slow to mature, flowering about four months after planting. But don’t let that put you off entirely. It can still be a fun project. To plant, fill a seed plug flat with a soilless medium to half an inch from the top. Scarify the seeds by rubbing the outside with a nail file. Place seeds on the surface and cover with 1/8 inch of soil. Soak the medium with a spray bottle until it feels like a well wrung out sponge. Cover the tray with plastic wrap and poke holes in it spaced every few inches. Place in a warm spot indoors with indirect light. Keep the medium moist while the seeds germinate. You might need to use a heat mat under the tray, since soil temps should be about 70 to 75°F. Once the seedlings pop up, which takes about 10 days, remove the plastic covering but continue to keep the soil moist. After seedlings are about four inches tall, harden them off outdoors. To do this, place them in a sheltered spot outdoors for an hour and then bring them back inside. The next day, put them outside for two hours, and then three hours on the third day, four on the fourth, and so on. After a week, they’re ready to go in the garden.
From Cuttings
Just as you can propagate garden geraniums from stem cuttings, scented types can also be propagated this way. Read our guide on how to propagate geraniums from stem cuttings for more details.
From Seedlings or Transplanting
Purchased plants can be put into the ground any time after the last expected frost date has passed in your region. Dig a hole twice as wide and twice as deep as the container that your plant is growing in. Place some gardening soil mixed with equal parts well-rotted compost in the base of the hole so that the plant will sit at the same height as the container it came in. Gently remove the plant from its nursery container and loosen the roots. Place in the hole and fill in around it with the soil/compost mixture. Tamp down lightly and water well.
How to Grow
Geraniums prefer slightly acidic soil with a pH of 5.8 to 6.5. They aren’t too picky about the type of soil they’ll grow in, whether it’s a bit sandy or more on the loamy side, but they can’t tolerate wet roots, so clay is a no-go. As a general rule, I like to amend the soil with a bit of well-rotted compost because it creates a good base and provides nutrients for new plants. New transplants need regular water. The soil should feel like a well wrung out sponge, and only the surface of the soil should be allowed to dry out in between watering. Once they have been established for a few weeks, your geraniums aren’t going to be demanding constant water. You can let the top inch of the soil dry out before watering again. If the leaves start to droop and wilt, you aren’t giving the plant enough water. A moisture meter can help you determine when your plant needs a drink. Always be sure to water at the soil level rather than on the leaves to avoid fungal diseases. A good layer of mulch at the base of plants can help retain water, suppress weeds, and improve drainage. A half-inch of aged leaves should do the trick. Most scented geraniums grow best in full sun, but some need part sun, especially variegated varieties. Plants that aren’t getting the sun they need will not only become leggy, but they also won’t develop as many essential oils, so they smell less pungent.
Container Growing
Scented geraniums do well in pots, particularly since they don’t need constantly moist soil. The container size required varies depending on the type that you’re growing, but you can get away with a pot as small as eight inches wide and deep if you’re only planning to keep the plant around for one growing season. Otherwise, plan on repotting every year or so. Make sure that you fill the pot with a well-draining, container-specific medium.
Growing Tips
Plant in well-draining soil in full or part sun.Fertilize monthly for improved foliage and blossoms.Mulch with aged leaves to help retain water.
Maintenance
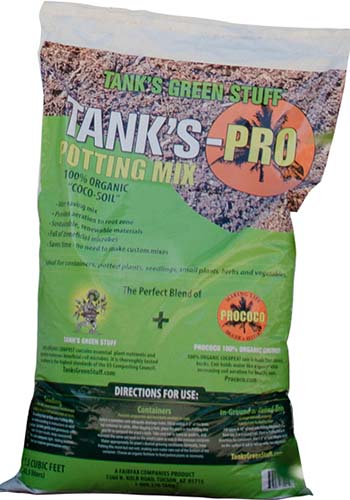
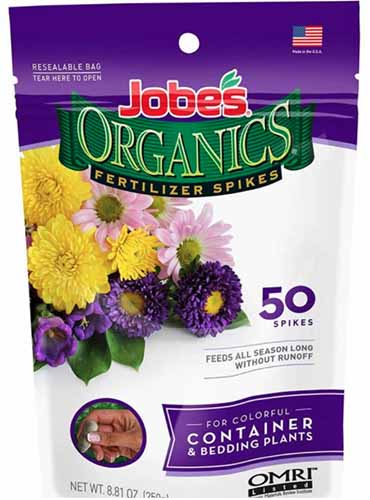
Pinch back the plants as they grow to encourage bushier foliage and deadhead regularly to encourage more blossoms. Tank’s Pro Coco-Soil Potting Mix Fertilize monthly with a container-specific, all purpose mix. I like to use fertilizer spikes because they feed continually and you don’t have to keep track of when you fed your plants last. Jobe’s Organics Fertilizer Spikes Jobe’s Organics makes container-specific all purpose fertilizer sticks. Pick up a bag of 50 spikes at Home Depot if this sounds like an option you’d like to try. Repot every two years to a larger container to accommodate the growing plant. In climates where these can grow as evergreens, prune any long or leggy stems in the fall to encourage bushier growth in the spring. If your perennial plant starts to grow a bit too large for your liking, prune it back by up to a third in the spring.
Winter Care
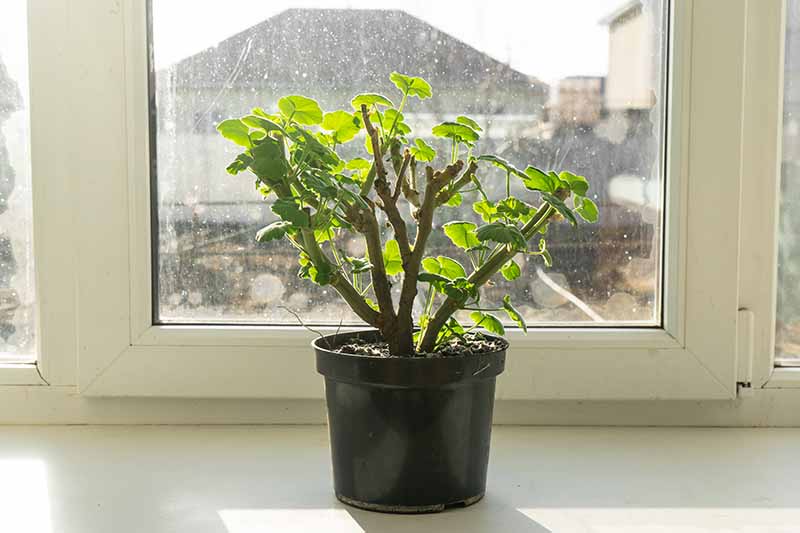
In Zones 8 and 9, if your plants die back, trim away any of the dead leaves, but leave the stems in place. They may look dead, but most of them are alive and will produce new offshoots and leaves come spring. Down to Earth’s All Purpose Mix Arbico Organics carries this essential, which I can’t imagine gardening without. Once the plant has leafed out in the spring, remove any dead stems that haven’t produced new growth. If you decide to overwinter your geraniums indoors, you have a couple of options. I usually store them as bare roots so I don’t have to take up my precious window real estate indoors. To use this method, you need a spot that stays between 33 and 45°F. Right before the first frost, dig up the plants or remove them from their containers and shake off as much soil as you can. Prune away two-thirds of the foliage. Let them sit for a day or two to allow the rest of the soil to dry out and then shake them to remove the rest of the soil. Wrap the plants in newspaper and put them on a shelf or place them in a cardboard box. You can also secure the newspaper with twine and hang them from the ceiling or a shelf. Or you can place them in paper bags instead if you like, and hang the bags. All of these methods have worked equally well for me, but hanging them individually from hangers in bags enables you to check frequently for mold or dead branches more easily, since you don’t have to unwrap them. Speaking of which, every few weeks, check the plants for mold or for dried, shriveled, or yellowing stems. Trim those off if you see them. Then, give the plants a soak in lukewarm water for an hour. Let them dry completely and then return them to their storage spot. Be sure to keep track of the color of the flowers so that you know what you have next year. I loosely wrap a piece of masking tape with the color written in marker around the stem. In the spring, put them in potting soil in a container, harden them off, and plant them as described under the section above on transplanting seedlings. If you prefer to enjoy your plants during the winter, you can dig them up and pot them inside. This method is even easier if you’re already growing your plants in containers. Prune plants back by half and cut away any diseased, dead, or damaged bits. Put the container in a spot that is about 65°F with at least six hours of sun. Let the top inch of soil dry out between watering and keep an eye out for any indoor pests like spider mites or aphids. When the last frost date has passed in the spring, harden the plant off and plant it as you would a transplant. You might be wondering, why go to all this effort when spring nursery sales sometimes have small pots of geraniums for under a dollar? I thought the same thing – until I overwintered one of my favorite peppermint geraniums. The first year, it grew about a foot tall before the frost hit. The second year I put it in the ground, it exploded and quickly reached two feet tall by early summer. It also had more foliage and blossoms than any other peppermint geranium I’d ever planted in my garden. It was practically a geranium bush! I’ve never even seen a scented geranium that size for sale at a nursery, let alone got one to grow that big in my garden. For me, it is well worth the effort to overwinter (forget saving a few dollars). For more tips on overwintering geraniums, read our handy guide.
Species and Cultivars to Select
There is a seemingly endless range of species and cultivars that fall under the “scented geranium” umbrella. You can find ones with big flowers that smell like a cedar forest, and others with petite blossoms and leaves that will remind you of the scent when you open a fresh jar of nutmeg. Here are two of my favorites, but if you want to know more, we have an entire guide all about the many scented geraniums out there.
Chocolate Mint Hybrid
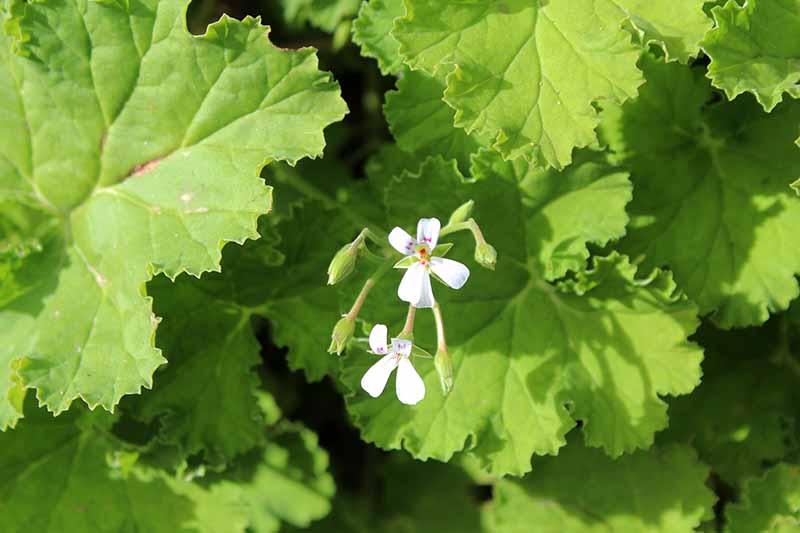
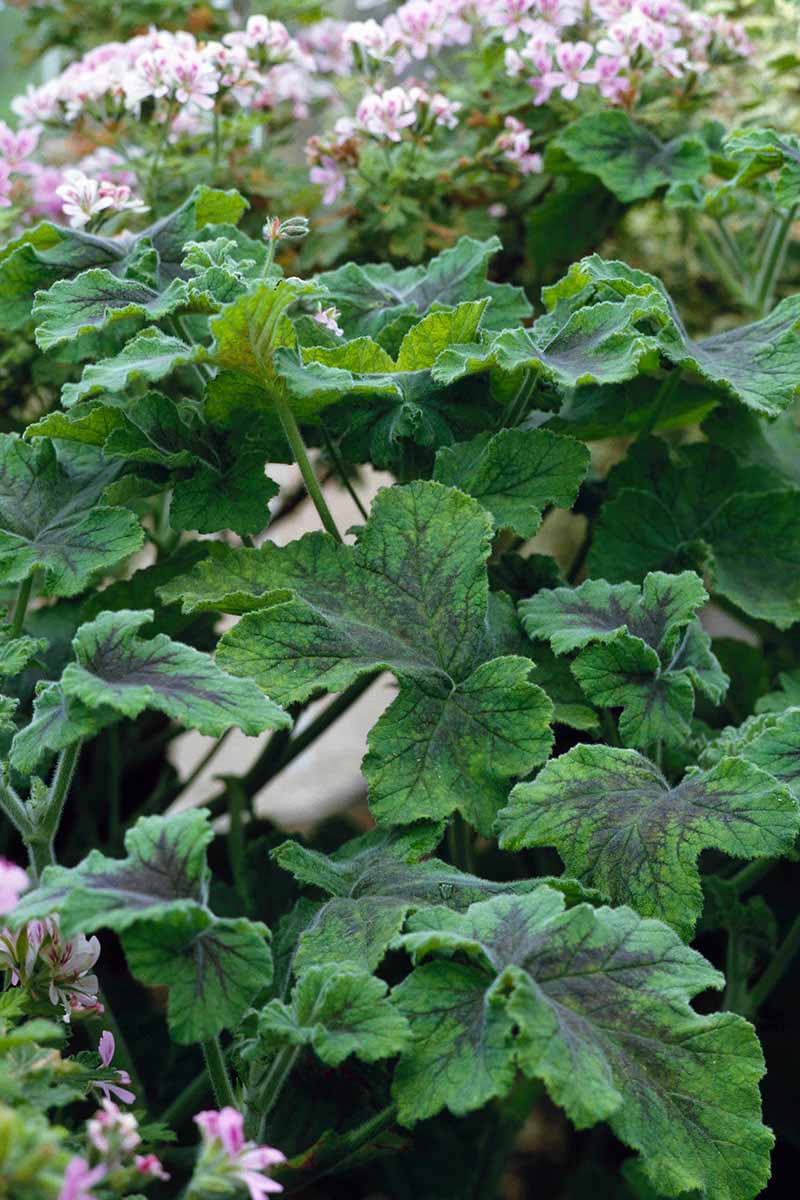
The first time I smelled this one, I was convinced that I was looking at some weird mint plant – that’s how intense the scent is. A hybrid cross of P. quercifolium and P. tomentosum, ‘Chocolate Mint’ is a scented geranium with an intense minty scent to both the leaves and the pale lavender flowers. You’ll sometimes see the plant called ‘Chocolate Peppermint,’ as well. The chocolate in the name comes not from the scent – it doesn’t smell or taste like chocolate whatsoever – but from a dark chocolate-colored splotch that runs down the center of each leaf for part of the year. Once the plant flowers, the chocolate splotch fades. Growing two feet tall and 18 inches wide, this plant is hardy in Zones 10 and 11. It has large leaves and each grows up to four inches across.The flowers are white and quite petite, so this isn’t one to select for its flowers.
Orange Fizz
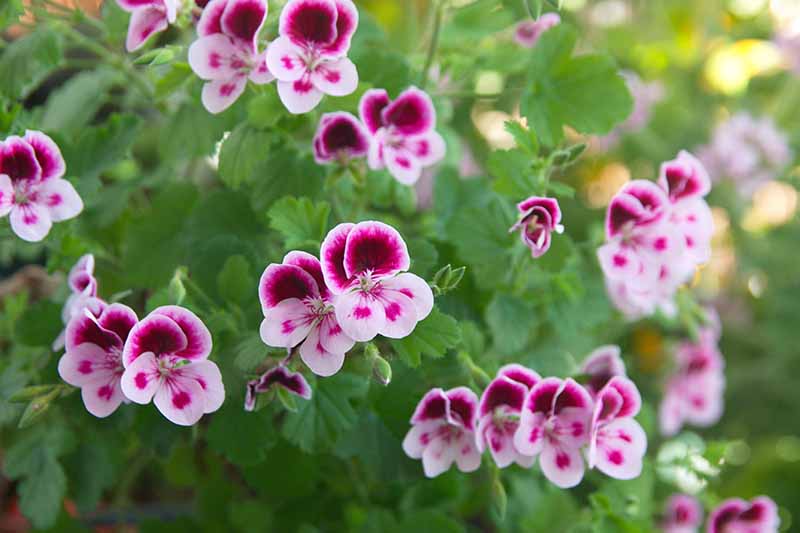
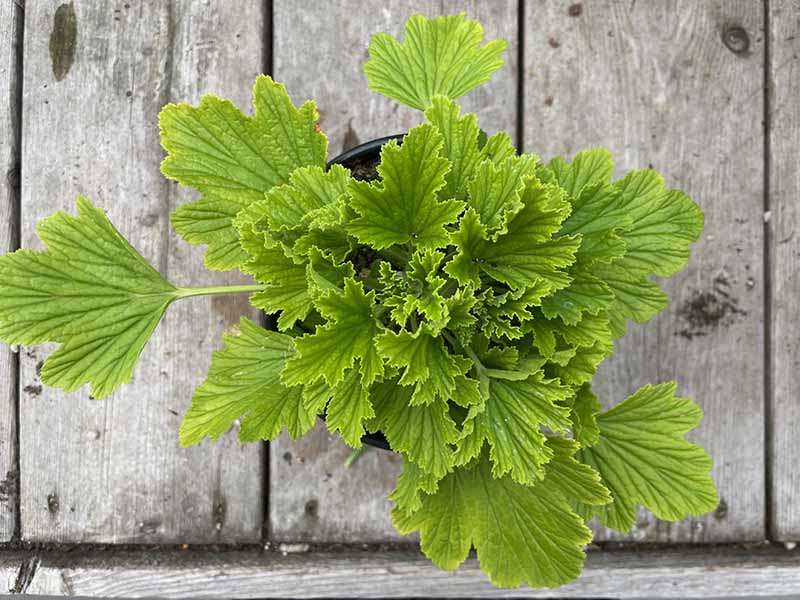
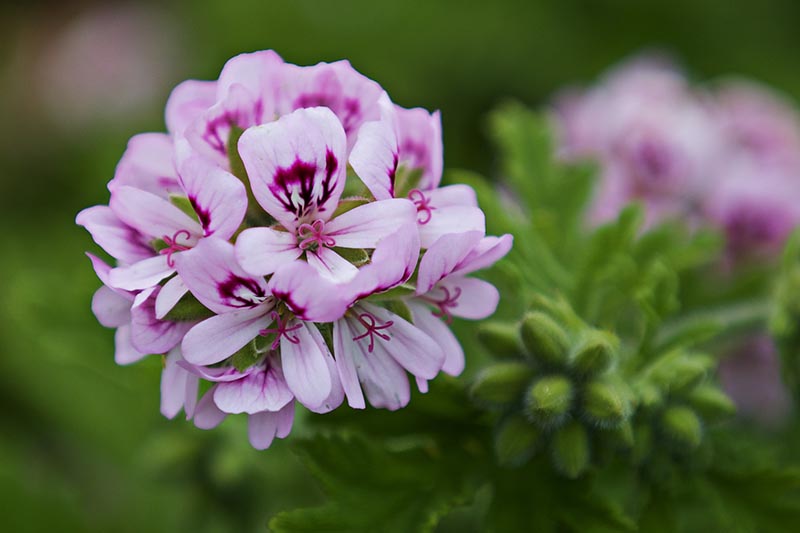
‘Orange Fizz’ (P. citriodorum) is one of my favorites. The leaves are quite large, comparable to the foliage on a zonal geranium, with a bright green color and leathery texture. The flowers are also larger than that of many other scented geraniums and come in a showy pink and maroon color. It has a sweet, citrusy scent, and reaches up to two feet tall and 18 inches wide.
Rose
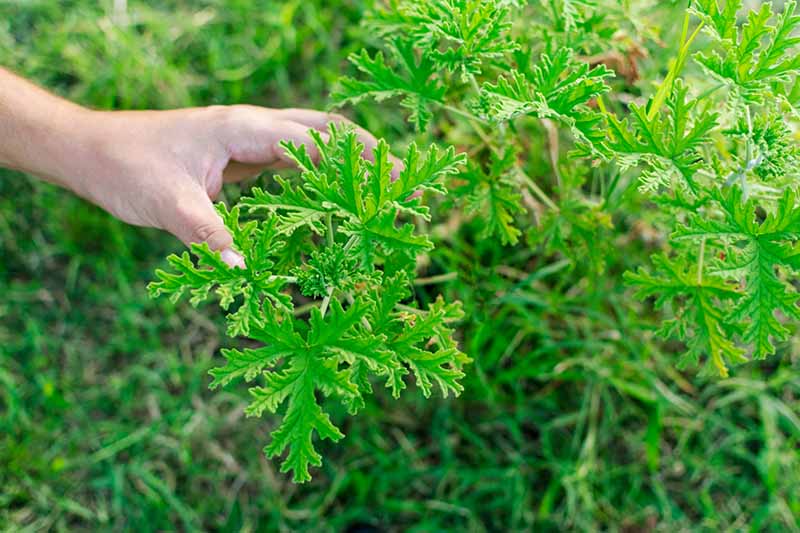
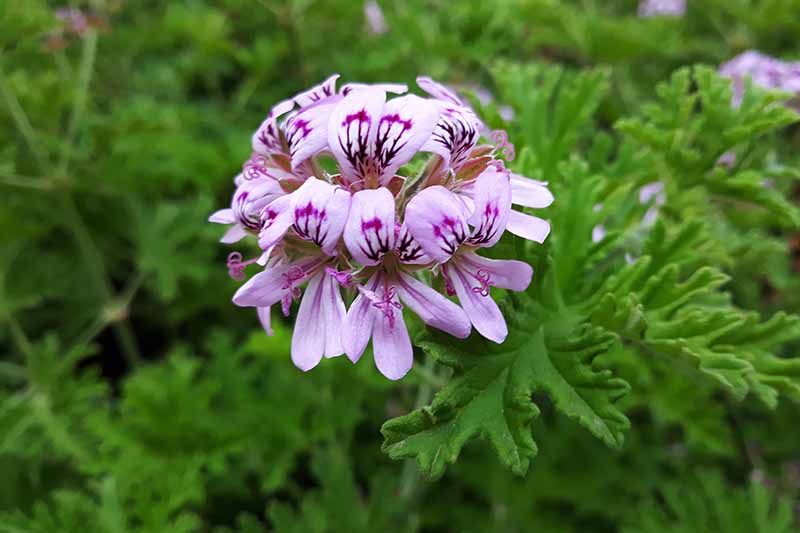
This is perhaps the most well-known scented geranium, and often when people say “scented geranium,” they are thinking of the rose species (P. graveolens). Hardy in Zones 10 and 11, it has bright pink flowers and deeply lobed, serrated leaves. When fully mature, they can reach four feet tall and three feet wide. This plant is ideal for making jams, using in ice cream, or adding to pastries.
Managing Pests and Disease
Scented geraniums suffer from the same pests and diseases as garden geraniums. Here is a brief overview, but our guide to growing garden geraniums has more details. Check our out supplemental guide, “15 of the Best Scented Geranium Varieties.”
It’s especially important to keep pests under control because they can spread diseases. When it comes to insects, here are the top ones to keep an eye out for:
Aphids
Watch out for aphids, which are teeny, tiny little pests that attack practically every plant out there (just a slight exaggeration). Check out our guide on identifying and dealing with this common garden foe.
Caterpillars
You might also come across caterpillars, which are the larvae of insects such as budworms, cabbage loopers, cutworms, and plume moths. Handpick any caterpillars that you spot and drown them in soapy water. Cut away any leaves that have insect damage or eggs on them.
Mealybugs
Mealybugs are quarter-inch or smaller insects that look like they’re covered in cotton. They suck the life out of plants and can attract black sooty mold. Handpick and drown these pests, or rub the insects with a cotton swab dipped in rubbing alcohol. Find more information about controlling mealybugs in our guide.
Spider Mites
Spider mites (arachnids from the Tetranychidae family) are another common pest, favoring dry, warm conditions. Blast them with water from the hose to knock them off of plants. Read more tips on spider mite control.
Whiteflies
Finally, watch for whiteflies. These small, white colored flies are related to aphids and mealybugs. They cluster together on foliage and can be hard to spot when they are still, since they can be just 1/12 of an inch long. However, if you shake a leaf, they will burst out and scatter. Control them by blasting them off leaves with a spray from the hose as you would for mites and aphids. If you want to add a drop of dish soap to a cup of water and then blast the bugs, even better. Read more about whitefly control here.
Diseases
There are a handful of diseases that commonly plague pelargonium (and garden geraniums, for that matter).
Damping Off
Damping off is a major problem if you’re starting geraniums from seed. This disease is caused by water molds in the Pythium genus, and fungi in the Fusarium and Rhizoctonia genera. The best way to avoid it is to use a clean potting medium for planting, and be sure to clean all of your tools and containers with a ten to one water and bleach mixture. It’s also spread by fungus gnats, so keep those annoying critters away. Irrigate with warm water between 68 and 77°F, and don’t fertilize young seedlings. Also, be sure to give seedlings enough light. If your plants do succumb to this disease, it makes young seedlings look as though they have a weak, thin stem at the bottom. The bottom of the stem may also appear water-soaked, or seedlings might not emerge at all.
Gray Mold
You may come across gray mold, which also goes by the name botrytis blight. Caused by the fungus Botrytis cinerea, it causes brown spots or patches of gray mold to form on the foliage and flowers. If you discover your pelargoniums have this disease, head to our guide on botrytis blight on geraniums. (coming soon!)
Leaf Spot
You might also see the fungal disease leaf spot, which is caused by fungi in the Alternaria genus. When one of these types of fungi attacks, the leaves on the plant might look like they have brown, water-soaked spots. Eventually, these spots will become surrounded by yellowing tissue. Use good gardening hygiene to avoid this problem, which includes taking care to not over fertilize or crowd plants, cleaning up garden debris, and watering at the soil level.
Root Rot
Finally, you might encounter root rot, particularly in plants that are over-watered or over-fertilized. This is also caused by water molds in the Pythium genus, though these molds attack mature plants rather than seeds or seedlings. As with damping off, fungus gnats spread this disease, as does water.
Best Uses
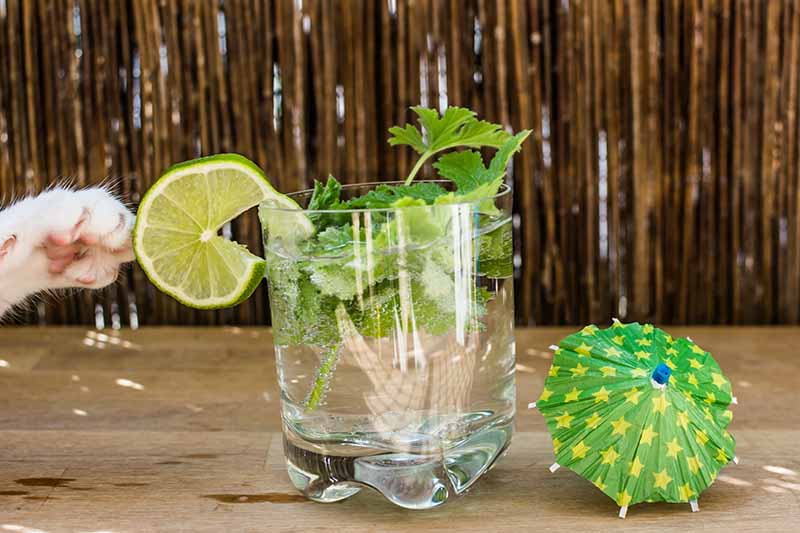
Scented pelargoniums really stand out because of the scent of their leaves. That’s not to say that the plants aren’t beautiful, but there’s a reason why zonal geraniums are more popular as garden bed options. ZeroTol HC Pick up a gallon of concentrate at Arbico Organics and follow the manufacturer’s directions for application. For detailed information, check out out geranium plant disease identification and control guide. There are some large leafed and large blossomed varieties, of course, but if you’re looking for something purely ornamental, you’d probably be better off with a garden geranium. For that reason, I like to place these near the edge of walkways or in pots on my patio so that I can enjoy the scent. But don’t get me wrong, they do make lovely bedding plants. If that’s what you’re looking for, pick something like the cedar or apricot type for large blossoms. If you want to add some texture to garden beds or planters, ‘Prince Rupert,’ ‘Orange Fizz,’ and ‘Dr. Livingston’ have leaves that particularly stand out. Scented geraniums lend themselves well to containers because they don’t have an extensive root system. Put them in hanging baskets or window boxes, where you can enjoy the scent indoors and out. You can also grow these plants indoors, provided that you have enough sunlight to keep them happy. Finally, don’t forget that the leaves and flowers of these plants are edible. Use them in desserts and salads, or as a topper for soup or sandwiches. Citrus varieties are fantastic as a garnish for fish, and some of the more robust scents like ‘Cinnamon’ and ‘Nutmeg’ work with chicken and beef, as well. They’re also perfect for cocktails. Muddle the leaves into your favorite drink for a change of pace from the usual herbs. Just be sure to forage only from your own garden or unpolluted garden areas nearby where you know the plants haven’t been sprayed with potentially harmful chemicals if you plan to eat them. The fact that many new hybrids are popping up with larger and more vibrant flowers is just a bonus, in my opinion. If you weren’t sure how to start with scented geraniums, I’m hoping that this article gave you the confidence to start. If so, I’m dying to hear which pelargonium you decided to grow. Let us know in the comments (bonus points if you tell us how you like to use the plant!). Then, head over to one of our other helpful guides on growing flowers in your garden next:
How to Plant and Grow Globe AmaranthHow to Grow and Care for Camellia FlowersGrowing Roses 101: Getting Started
