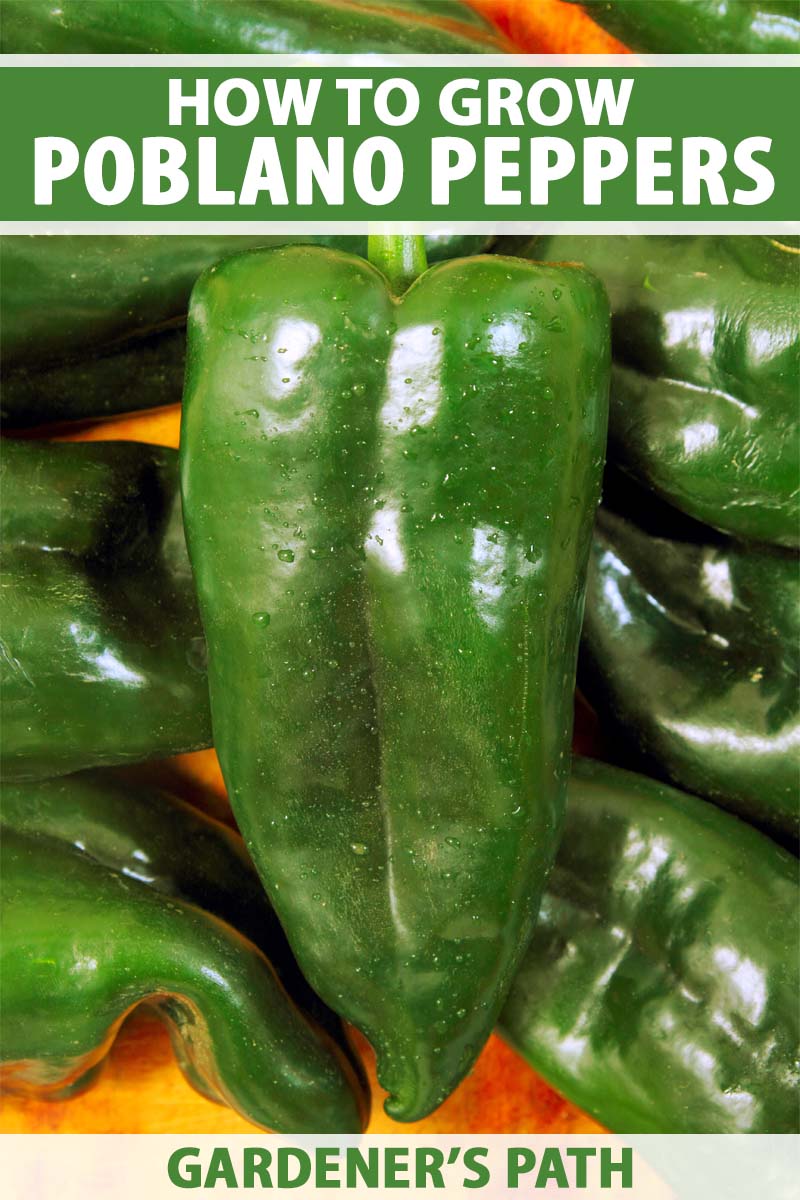
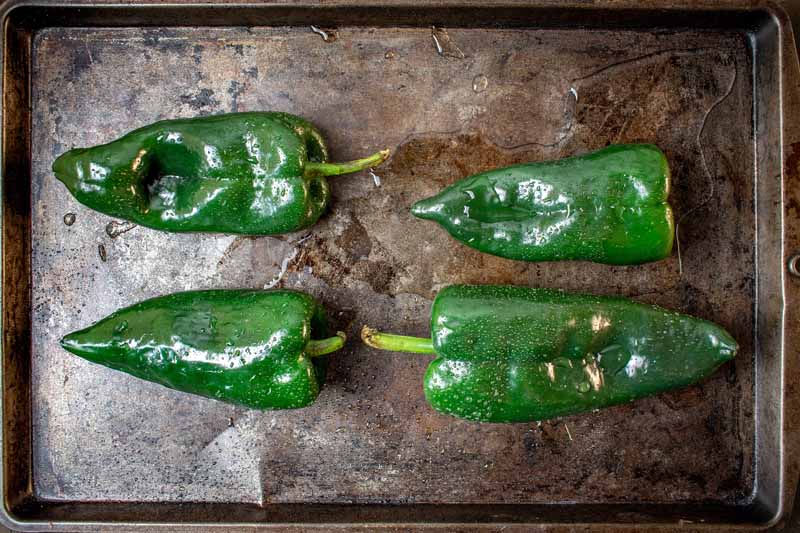
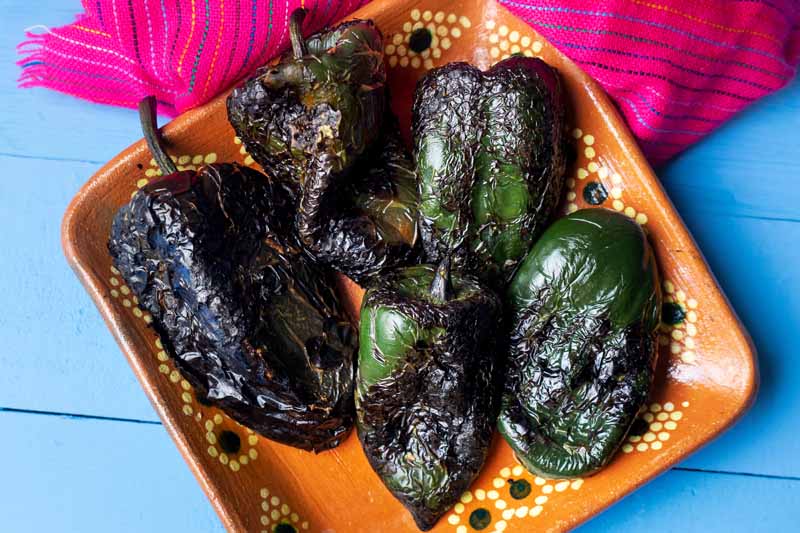
If you live in a warm climate with hot summers and you crave chiles rellenos for breakfast, it’s time to learn how to plant and grow your own poblano peppers. When most people think about chili peppers, a hot and spicy flavor comes to mind. The poblano is only mildly spicy. We link to vendors to help you find relevant products. If you buy from one of our links, we may earn a commission. Capsaicin is the chemical compound found in plants belonging to the genus Capsicum and it produces a burning sensation to almost any animal that touches it, with birds being an exception because they have different taste receptors. The rule of thumb here is this: the higher the Scoville rating, the hotter the pepper. To compare in Scoville units, a poblano is about 1,000 to 1,500 SHU while a jalapeno is 2,500 to 8,000 SHU. The poblano is often harvested unripe, when it’s a beautiful dark green color with a deep, savory flavor. These can also be left in the garden to ripen red on the branch and then hung to dry. Dried, this variety is known as the ancho chili pepper. It can be ground into a powder and used as a dried spice, or left whole and reconstituted in water. Is your mouth watering yet? Let’s get this pepper growing in your garden. Here’s what we’re going to cover: Let’s get started!
What Is a Poblano Pepper?
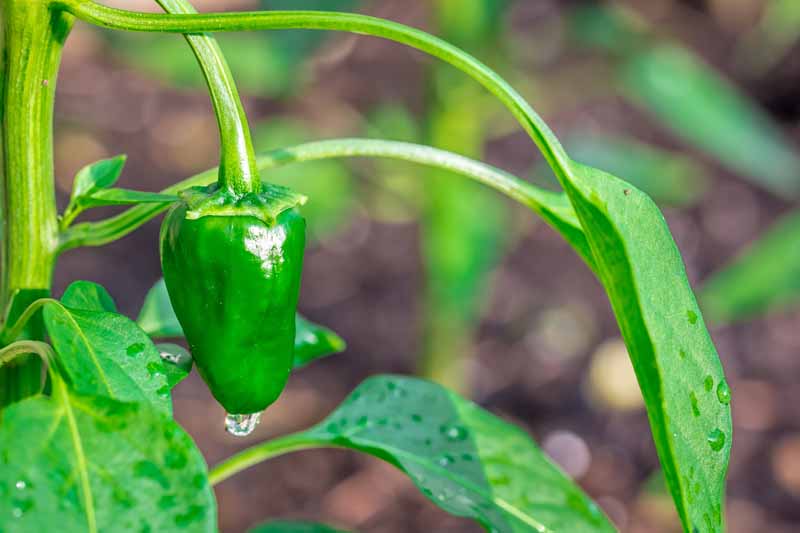
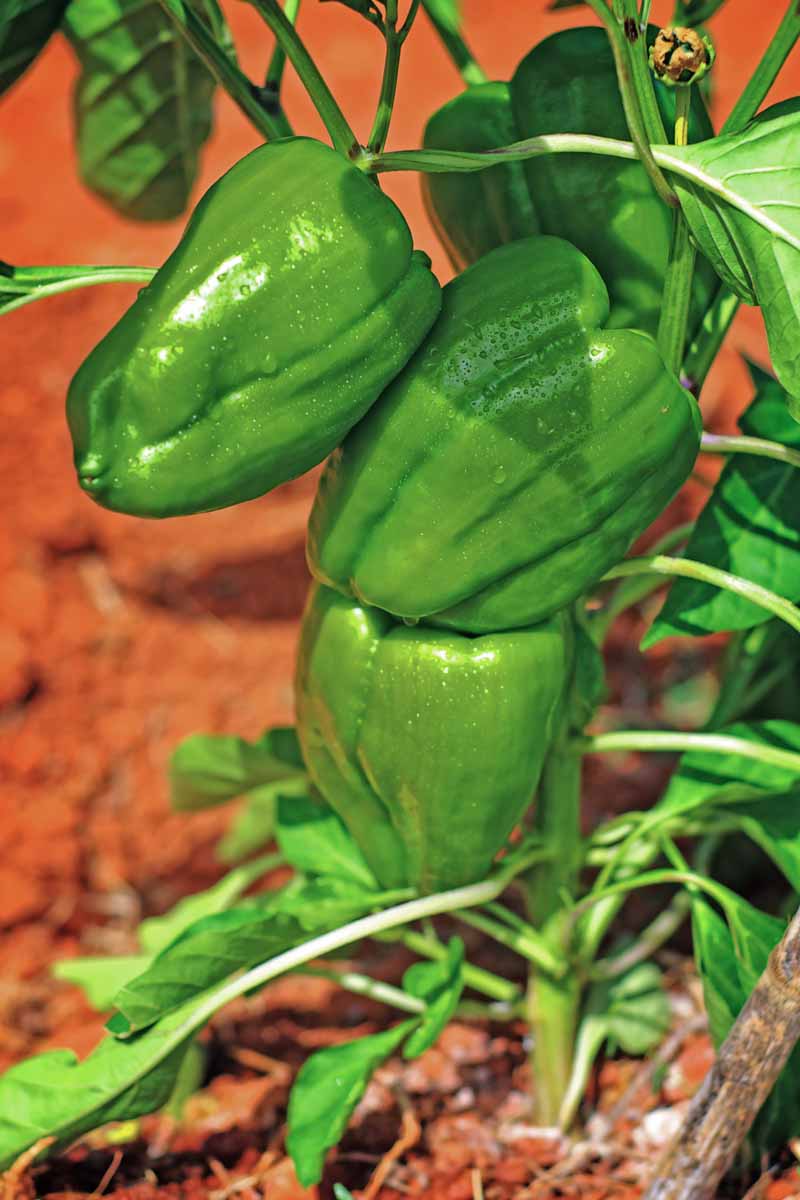
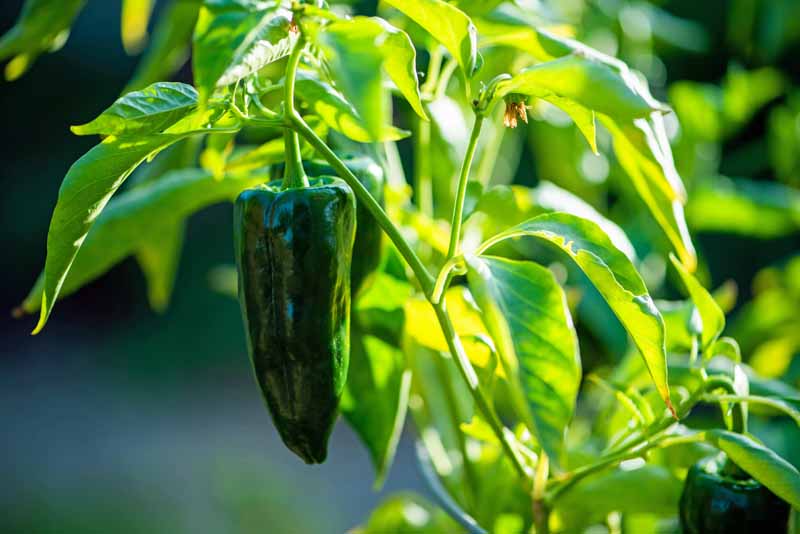
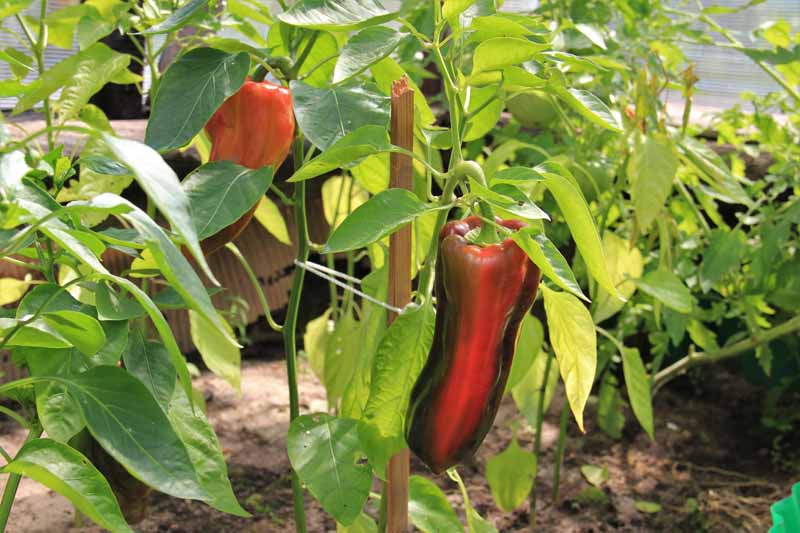
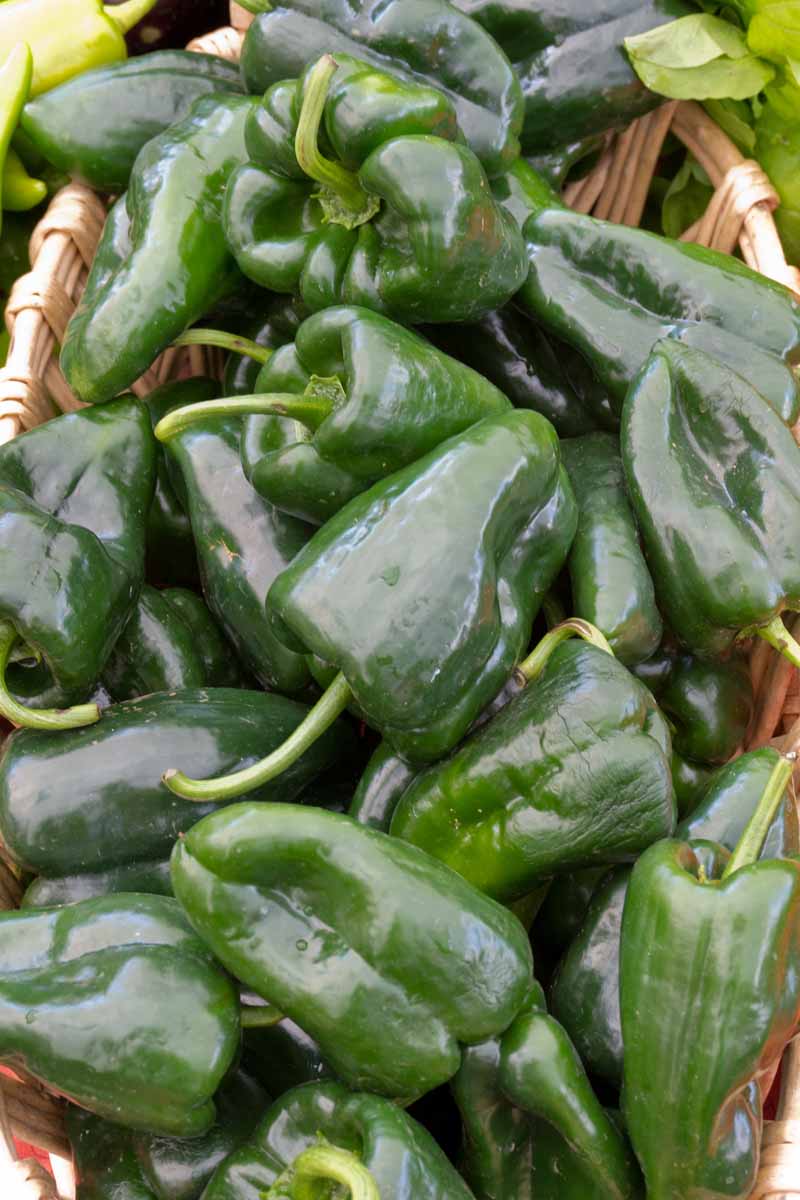
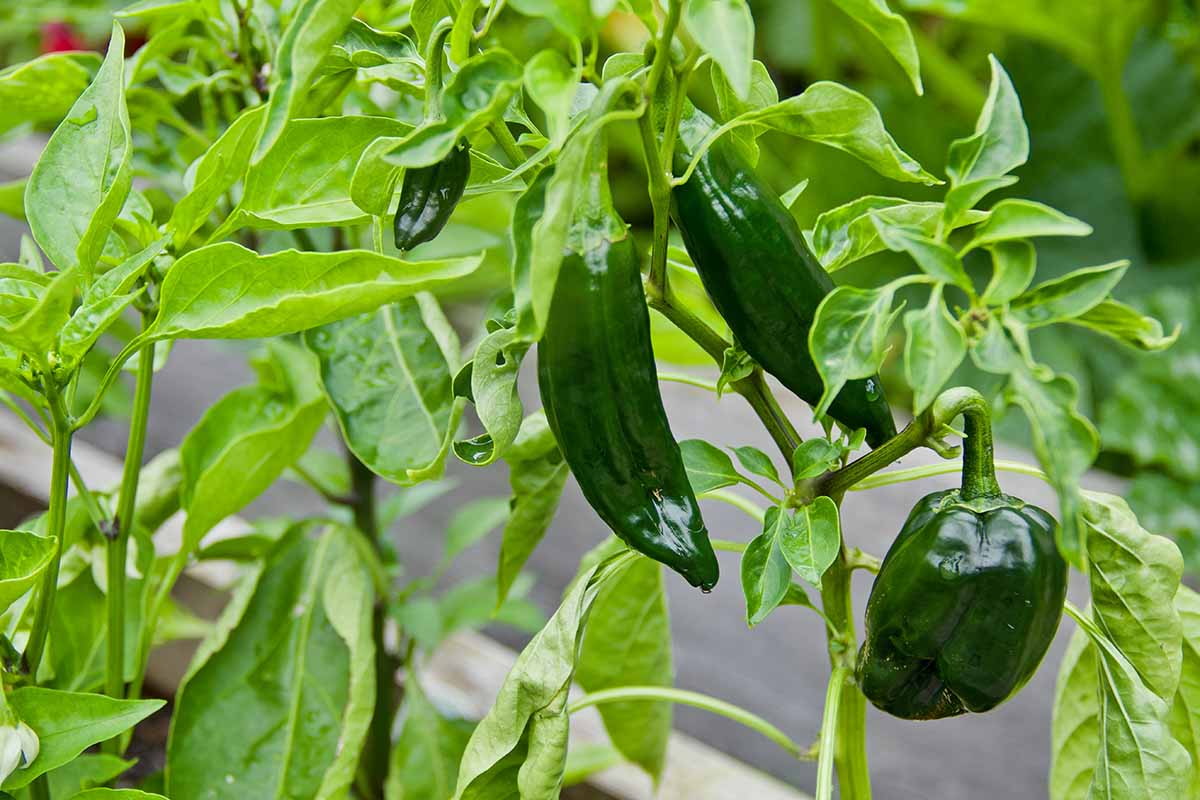
The perennial poblano is part of a large genus, Capsicum, which includes five major species of cultivated peppers. C. annuum is the most commonly grown species, with hundreds of known varieties that are categorized into two groups: the large-fruited and mild-flavored bell peppers, and the hot chili pepper varieties such as cayenne, serrano, and jalapeno. These may be harvested unripe while they’re still green, or when they are ripe and red or some other color for more heat. The poblano is a mild chili pepper, and it is unique in its elongated, slightly twisted heart shape with a pointed tip. It may be grown as a perennial in USDA Hardiness Zones 9 to 11, or as an annual in cooler zones. With zero tolerance for cold weather, this plant grows steadily from its spring planting through the summer to flower and produce its exquisite fruit. Seeds can be started indoors or planted outside, and after germination, plants will reach maturity in 65 to 80 days, with the fruit growing four inches long on average. They are not huge plants, but will fatten up nicely as they grow. The shrubby plants can reach up to two feet high, and the central stem is usually densely branched, meaning they’re able to produce plenty of fruit for you to enjoy! Once the plant starts becoming more established, branches will form off the main stem and produce pretty off-white blossoms and fruit. Then you can harvest and break out your cookbook. Not only are these peppers yummy, they’re also very high in vitamin C.
Cultivation and History
Originally from Puebla, Mexico and remaining popular there to this day, the poblano was named after the people of the community who called themselves “Poblanos.” It may have grown wild in the mountainous area on the edge of Cholula and archaeological traces of it have also been found in the Tehuacán Valley. Both areas were well inhabited and on trade routes from the south where many other kinds of chilis also found their way north through Mexico. There is no doubt this was an early part of the diet of the first major known civilization in Mexico, the Olmecs, possibly dating back as far as 1400 BCE. With colonization, the pepper was introduced to Europe and its cultivation started migrating slowly to other parts of the world. Its mild but savory flavor inspired many dishes, and recipes featuring poblanos are numerous. Often incorrectly labeled as pasilla peppers at grocery stores in the US, these are actually dried Chilaca chili peppers.
Propagation
Warm weather is required for growing peppers and their growing requirements are similar to those of tomatoes. See our guide to growing chili peppers for full propagation and growing instructions. Poblanos can be grown outdoors in your garden bed or in a container. You can buy small plants from a nursery and transplant them out into your garden, or you can start seeds indoors approximately eight weeks before the last spring frost and transplant outdoors after the weather has warmed.
From Seed
Seeds are widely available to purchase and easy to sprout. For direct sowing outdoors, the soil should be moist and loamy, and needs to be at least 60°F at sowing time for germination to occur, or ideally in the 80s to germinate. Indoors, you can start seeds in a seed-starting tray filled with a seed-starting soil mix and keep them in a window or warm location. The seeds do not require light to germinate, but the soil needs to be warm. After germination, the seedlings will need plenty of light. Consider using a heat mat and supplementing with artificial lighting after germination if needed. Sow the seeds a quarter-inch deep and keep the soil moist. Germination will take six to 12 days. If you planted indoors, after germination you may want to transplant them to bigger pots if their roots grow out of drainage holes in the tray. Keep them moist and warm until you’re ready to bring them outdoors.
From Seedlings/Transplanting
If you started seeds indoors in a colder climate, don’t be in a rush to transplant them. Make sure the soil has warmed sufficiently, to at least 60°F, and you can transplant seedlings with at least two sets of true leaves two to three weeks after your last frost. Be sure to harden them off to the outdoor conditions in cooler zones for about a week before planting, exposing them gradually to the conditions in your garden for an hour on the first day, two hours on the second, and so on, until they can be outdoors full time. Dig a small hole, about three inches deep or large enough to accommodate the root ball. Gently lift the seedling up by its leaves and plant into the hole. In garden beds, plant them 12 to 24 inches apart, and in rows 24 inches apart. Give them plenty of room to grow so they will have space for their branches to extend, and to allow for adequate airflow and sun exposure. In containers, plant one per each five-gallon pot. Water in well, and maintain adequate soil moisture until plants become established.
How to Grow
Poblanos like well-drained, organically-rich, loamy, and slightly acidic soil with a pH of 6.0 to 7.0. A little sand will help to improve drainage. If you start out with good soil, you won’t usually need to feed your plants, but they may become nutrient deficient if they are water stressed. If you feel the need to fertilize, topdress with an inch of well-aged compost. Peppers are self-pollinating so you don’t have to plant them in groups to produce a harvest, but they do like being planted next to other chili peppers since they enjoy the same growing conditions. Don’t plant next to Brassicas like cabbage, broccoli, or cauliflower because this may impede their growth, and leave them susceptible to certain diseases like Verticillium wilt. They favor the same growing conditions as other nightshades (eggplants, potatoes, tomatoes) but these plants may invite pests and diseases that can also plague peppers. Crop rotation can help to alleviate this issue, just pay attention to your plants and see what your garden environment attracts every season, then plan accordingly. Like tomatoes, poblanos are sensitive to temperature. They need a warm growing season, ideally with temperatures ranging from 70 to 90°F, and they grow slowly during cool periods. Poblanos take 65 to 80 days to mature, and their growing season is short enough that they can be grown outside as annuals in many colder parts of the US in the summertime. Most peppers drop their blooms if early spring temperatures remain cool for extended periods. They can also drop blooms if daytime temperatures in the summer regularly go above 90°F. Keep an eye on your plants, and if a heatwave is in the forecast, have a shade cloth, cotton sheet, or shade net ready to tie up over them. Frost cloth can help to keep them warm during unexpected cold snaps, but be sure to remove it again as soon as the weather warms. During extremely hot summers, practice deep watering. This is an important technique with the way our climate is trending now, and it just entails watering slowly for a prolonged amount of time, and soaking the soil two to three inches deep. Try using drip irrigation or soaker hoses. You can use the finger moisture test if you’re not sure if you need to water. Push your index finger into the soil up to your second knuckle. If you feel moisture, you don’t have to water, but if it’s dry, water the plant. Similar to tomatoes, peppers like to be slightly thirsty after they’re established, but you need to really pay attention so they don’t dry out too much. Mulching can help to conserve water and reduce weeds in your soil. Hay, straw, fine wood bark, newspaper, or leaves make great mulch for peppers. Apply a two-inch layer to the surface of the soil around your plants.
Growing Tips
Plant in warm soil, at least 60°F, with 70-90°F air temperature during the growing season.Shade plants in a heatwave.Add mulch to conserve water.
Maintenance
Poblano peppers are easy to maintain. Keep the soil moist and hope for sunny days to keep the soil warm and promote healthy flower and fruit development. Visit your garden daily to watch out for pests and disease. The poblano is a perennial, so if you live somewhere with no danger of frost, you can leave the plant in the ground to produce a harvest again the next year. It will look a little scraggly after all the fruit is gone, but let it be – it will begin to put on new growth with the return of warm weather. If you live in a colder climate, pull the plant after the final harvest of the season, with the arrival of frost. If you planted your poblano in a container, you can bring it inside for the winter and set it back outside in the late spring. See our guide to overwintering hot peppers for more information. Again, similar to tomatoes, peppers can attract some nasty disturbances while they’re growing. Visit your plants daily and look over the leaves, branches, and stems to head off any problems before they get the best of your plants. Poblano Peppers You will often see these labeled simply as poblanos. Burpee has starts available in a Mix & Match Plant Bundle and also sells seeds in packets of 100. Poblano seeds are also available in packets or one-ounce packages from Eden Brothers. Many poblano hybrids and cultivars are also available today, including ‘Alteno Masivo,’ ‘Ancho 101,’ ‘Baron,’ ‘Capitan,’ ‘Trident,’ and more. Some of these ripen earlier or later than the standard variety, or are known for producing better yields or larger fruit. Some have also been bred for improved disease resistance. ‘Big Boss Man’ is a cultivar that you might like to grow at home. It produces extra-large fruit, maxing out at about seven by three inches, with a Scoville rating of 1500 to 4000. ‘Big Boss Man’ This variety is also resistant to tobacco mosaic virus. Seeds and plants are available from Burpee.
Managing Pests and Disease
Insects
There are many pests to watch out for when growing poblano peppers. These are a few of the top culprits that you may spot in your garden:
Aphids
These small, soft-bodied insects are typically found on the undersides of leaves. When they feed on the fluids from the plant’s photosynthetic tissues, this may cause deformed, curly leaves and stunted growth. Their excrement, a sticky substance known as honeydew, can attract black sooty mold.
Spittlebugs
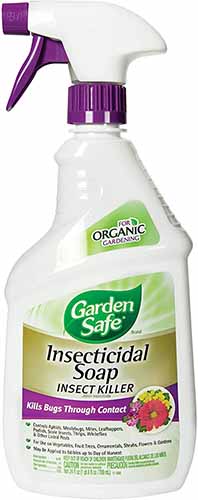
These green insects can create a white frothy foam on your plant’s stems, and the insects are often visible beneath the foam. Garden Safe Insecticidal Soap These treatments are safe for use around humans as well as other mammals and beneficial insects, and the recommended Garden Safe spray is OMRI listed for safe organic use. Read more about aphids in our guide. Unfortunately, you will likely have to tolerate them if they arrive, as they are difficult to remove. But the good news is their damage is mostly cosmetic and will not usually cause significant stress to your plant.
Leaf Miners
These bugs leave small wiggly trails all over the leaves. This is because they live in and eat the leaf tissue of plants in their larval stage. Heavy infestations can defoliate plants and reduce yields. You can remove infested leaves or squish their trails between your fingers to eradicate the tiny bugs. Read more about leaf miners here.
Whiteflies
If the leaves wilt, turn yellow, and then turn brown, tiny whiteflies may be the problem. If a plant is disturbed, you can easily see them flying and fluttering around in a cloud. Hard to control with insecticides even if directly sprayed, a heavily infested plant will usually need to be thoroughly covered with an insecticide spray solution such as the above-reference soap, and repeat applications may be necessary to get rid of them. Other options for treatment include hosing them off with water or adding beneficial insects like ladybugs to the garden to feed on them. We cover the ins and outs of dealing with whiteflies in our guide.
Weevils
If buds or young pods have fallen off the plant, or pods that are still growing have holes in them or become misshapen and develop dark blotches, this pesky beetle may have come to call. Dark-colored beetles that are about an eighth of an inch long as adults, pepper weevil (Anthonomus eugenii) larvae are white, legless, and can be found inside the fruit if your plants are infested. Use pheromone-baited yellow sticky traps for detection and remove any fallen fruit from the garden as soon as possible. Applying a pyrethrin spray can also be useful in killing off an infestation. Hopefully the weevils won’t succeed in taking over your whole plant, but no matter what, destroy any infested plants right after you harvest so the pests don’t spread to other plants in your garden.
Disease
Chili peppers may suffer from various diseases, including tobacco mosaic virus, powdery mildew, and bacterial leaf spot. Be sure to purchase disease-free seed and starts to prevent disease, seek out resistant varieties if certain diseases that plague peppers have been known to be a problem in your garden in the past, and use best practices like planting in soil that drains well with appropriate spacing and plenty of sun exposure to reduce the likelihood that disease will will affect your crop. Though they are not caused by infectious pathogens, several physiological ailments may also affect your poblanos.
Physiological Leaf Roll
The oldest, lowest leaves are affected first and this can occur at any time during growth. Affected leaves roll downwards, without any stunting or yellowing. Usually caused by cultural conditions like herbicide drift or environmental changes, curling leaves can also be an indicator of disease. If your plant is otherwise healthy, yields will not be impacted. Be sure to plant in soil that drains well and provide adequate supplementary irrigation during heat waves to avoid this issue.
Blossom End Rot
Caused by an uneven moisture supply and the failure to uptake calcium, blossom end rot is evidenced by a large, sunken, water-soaked spot that develops on the blossom end of the fruit. With time, the spot turns black and mold may develop. It is safe to eat unaffected parts of the fruit, and the quality of your harvest may improve later in the season if plants are watered consistently. Don’t use manure to fertilize your plants, as it’s high in salts that can impede calcium absorption. It’s important to pay attention to your pepper plant daily, so you do not overwater or let it become too thirsty.
Harvesting
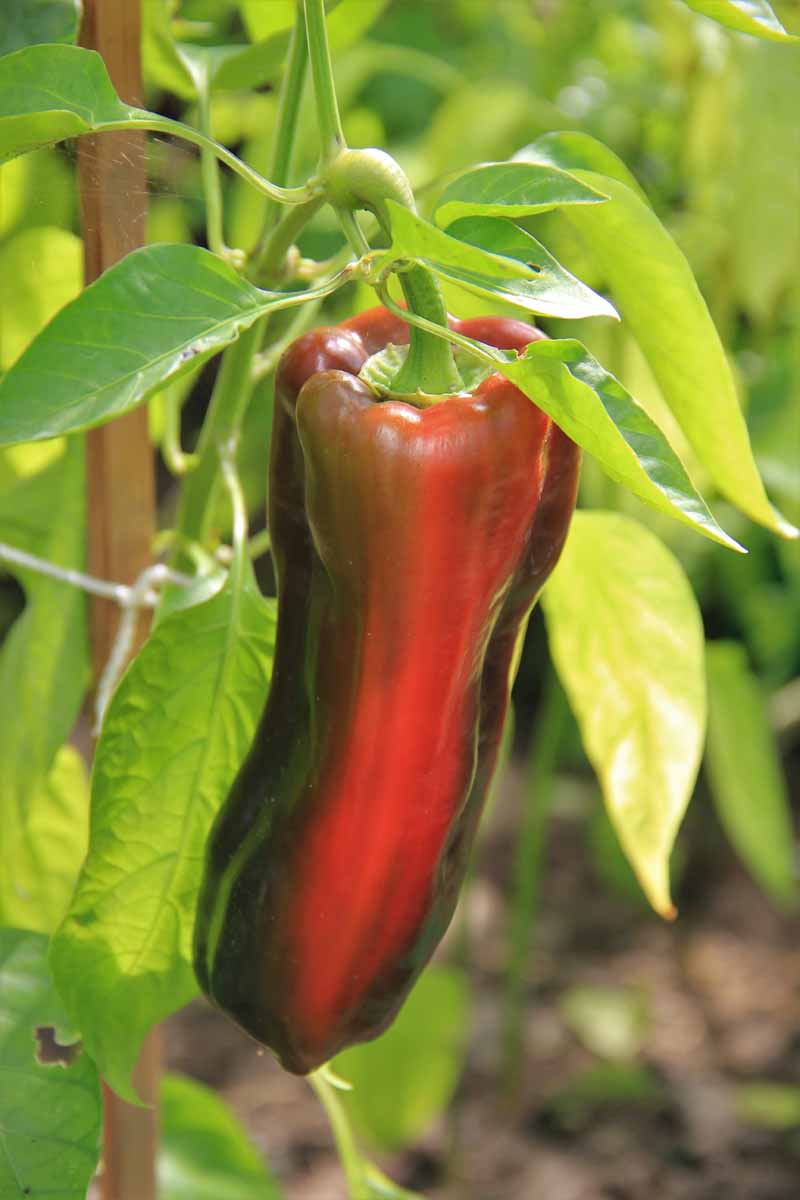
You can harvest unripe poblano peppers when they are a dark green color, about 65 days from germination. Their stems may appear slightly curled when they are ready to pick. If you plan to dry them, leave them on the plant to ripen and turn red, for about two weeks longer. Cut them off instead of pulling, to avoid breaking branches. For drying, you can cut with one inch of stem attached to each pepper and string them up on a thread, hang them in a sunny place, and let them dry until they turn brittle. These are called ancho peppers.
Recipes and Cooking Ideas
You should definitiely try harvesting poblano peppers both ways, for the sake of your dinner guests. You can grind down the dried anchos to a powder using a high-speed blender and store it on your spice shelf to add to anything you’re cooking – even popcorn, try it! There are so many delicious ways to experiment with fresh green poblanos, ripe red ones, and dried anchos in your cooking at home. Roasted poblano is delicious in cornbread or stuffed with black beans and cheese. You can even muddle fresh poblano pepper into your margarita. Try soaking the dried peppers in hot water to reconstitute and then blend them with other ingredients like mayonnaise, olive oil, or even cashew cream to make a sauce. Add lemon or lime juice and salt to taste. Of course, you can dig into traditional Mexican poblano recipes like chiles rellenos or chiles en Nogada, or try something more contemporary like this recipe for an amazing rustic fettuccine with fava beans from our sister site, Foodal. Looking for a healthy vegan dish to try with your yummy harvest? This slow-cooked black bean and poblano pepper taquito recipe is sure to hit the spot. Find it on Foodal. The most important ingredient is sunshine, so treat yourself and make room in your vegetable garden to grow poblano peppers. Perfect to roast on the summer barbecue, you’ll be happy you learned how to cultivate these delicious peppers. Are you growing poblano peppers? Let us know in the comments section below! Once you get into growing these peppers, you’ll probably want to expand your kitchen garden even more. Check out these helpful guides to other tasty and nutritious vegetables you can grow at home:
How to Plant and Grow Ghost PeppersHow to Plant and Grow Anaheim PeppersHow to Plant and Grow Brandywine Tomatoes
