These legumes, Cajanus cajan, are one of the most beneficial vegetables to grow in your garden. We link to vendors to help you find relevant products. If you buy from one of our links, we may earn a commission. The plants also fix nitrogen in the soil, break up compacted soil with their sizable taproots, and attract beneficial insects with their flowers. Some folks grow this edible plant mostly for animal fodder, or perhaps as green manure, or a windbreak. Others mix and match these possibilities, eating some pods, cutting a few branches for mulch, planting an early crop to plow under and enrich the soil. If you like versatility and value in your vegetable plants, how about giving pigeon peas a try? We have plenty of helpful tips to get you started. Here’s what to expect:
What Are Pigeon Peas?
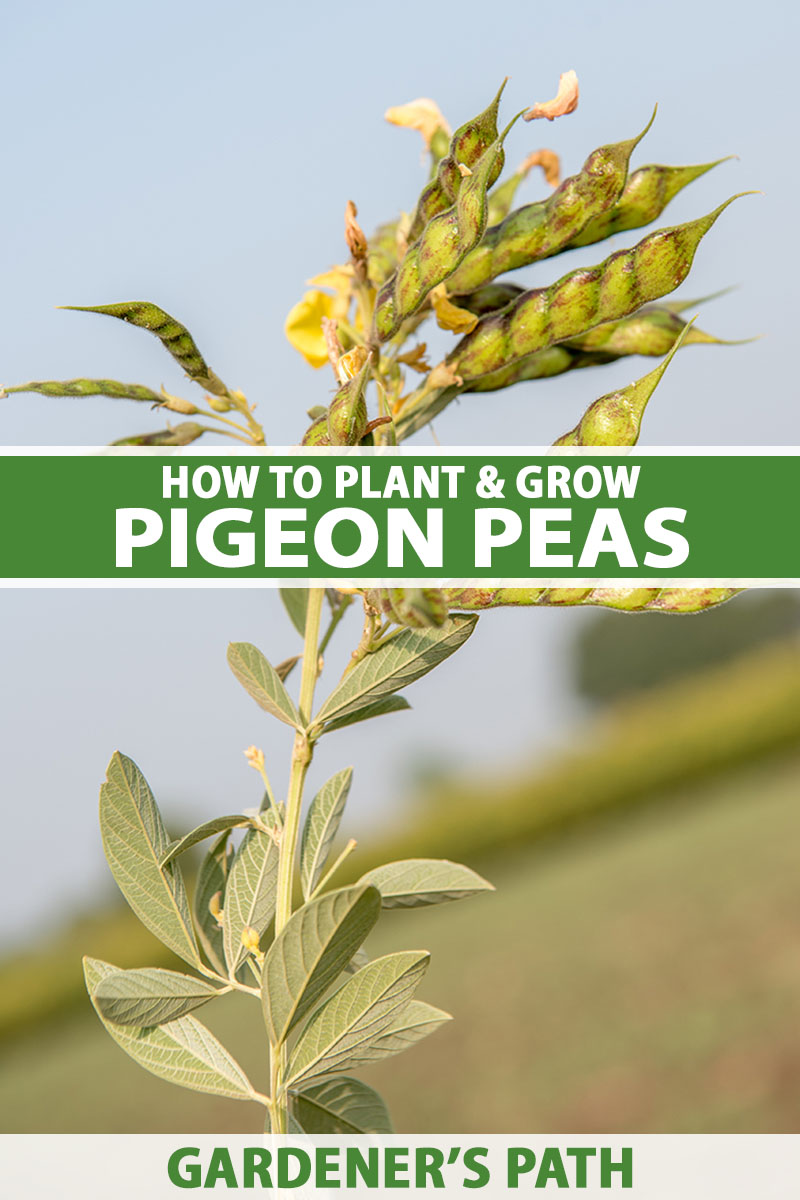
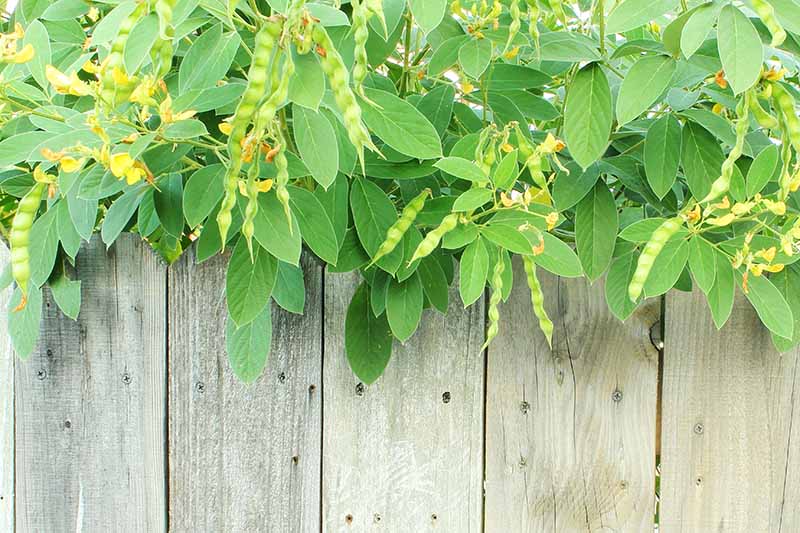
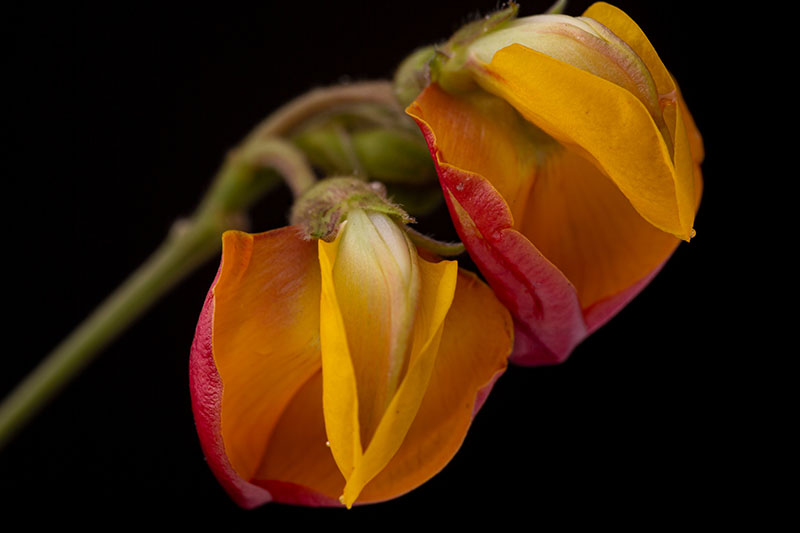
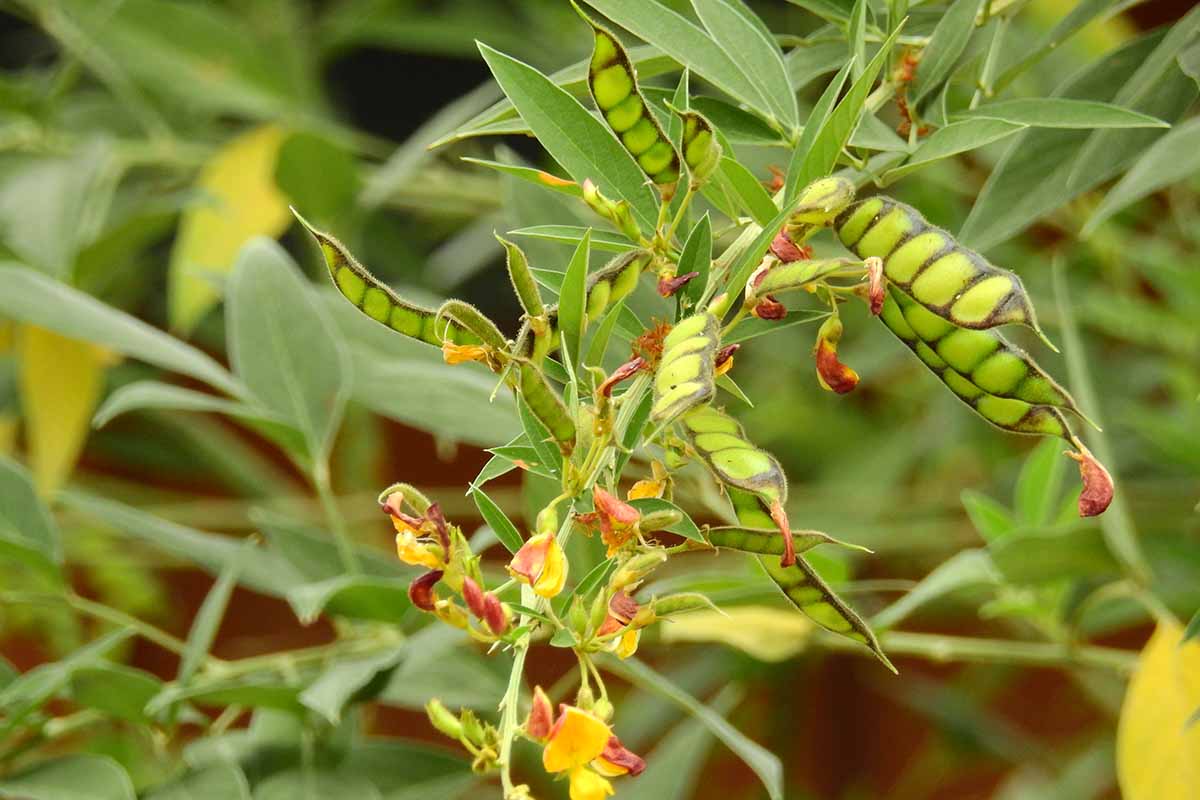
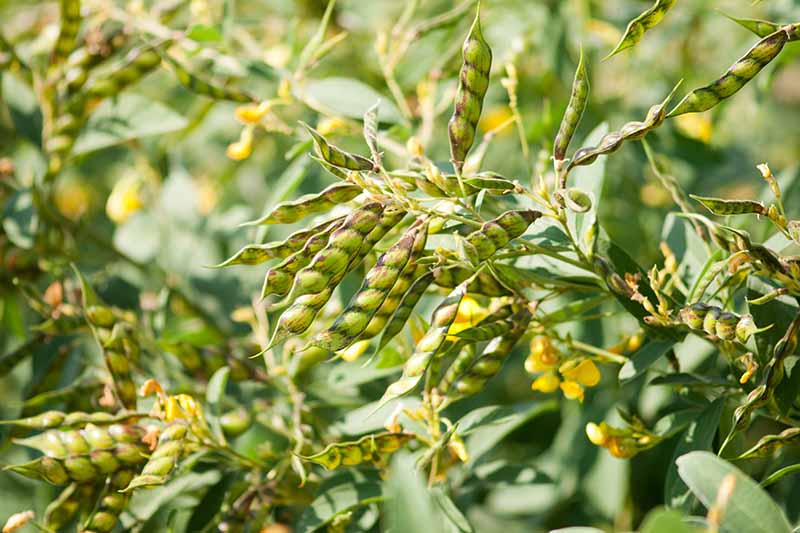
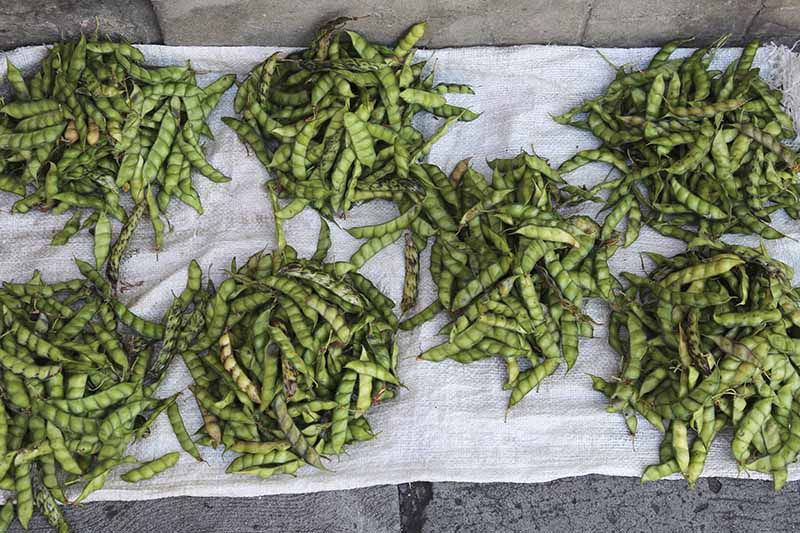
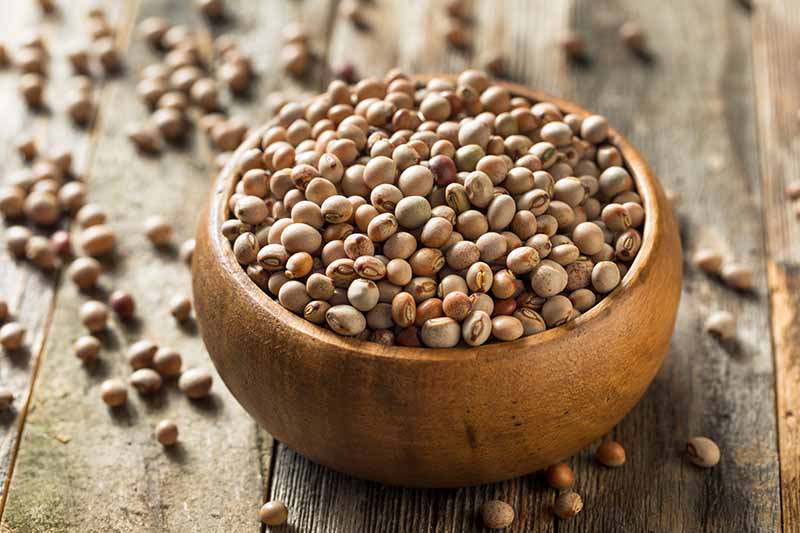
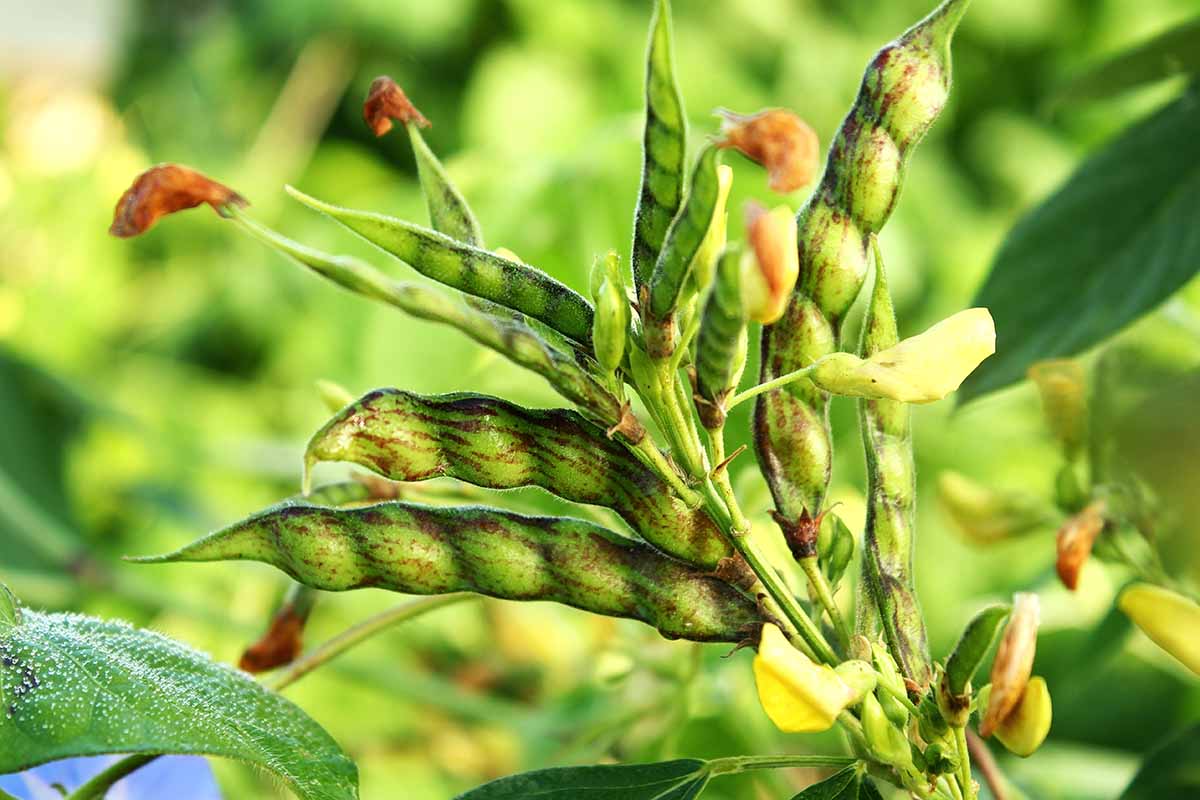
Pigeon peas originated thousands of years ago in India, where they are still grown as an important source of food for both people and animals. These legumes are widely propagated in the tropics, especially in the West Indies. They are also called Congo peas, no-eye peas, red gram, dhal, and gandules. But I think the best description for them comes from Australian horticulturist Jerry Coleby Williams. He called pigeon peas “the perfect 21st century crop” because they’re as useful as corn but require far fewer ecological resources to produce. These protein-rich legumes with a nutty flavor produce huge yields even in the face of drought, depleted soil, and extra-warm temperatures. They’ll grow in compacted clay soil, loam, or sand. They also fix nitrogen into the soil for other crops, serve as fodder for livestock, produce branches you can prune as a source of mulch, and attract beneficial insects including bees and other pollinators. But you don’t have to be particularly environmentally conscious or trying to grow food in less than ideal conditions to appreciate pigeon peas. Us gardeners relish them because they grow with very little fuss, and produce massive yields of nutty seeds that are tasty in a wide array of dishes. You can shell them to eat green or wait until the pods dry and stock the pantry for bean cookery all year long. They also work well as cover crops, and some permaculturists plant them as windbreaks or to break up compacted soil with their impressive taproots. Pigeon peas are pretty, too, sporting yellow or multicolored blooms ahead of their mottled or green pods. The seeds produced are also colorful, ranging from buff to pink or green. The mature plants can attain six to 12 feet in height, so they can also shade cool-weather vegetables like lettuce or broccoli to extend the harvest into early summer. And after an initially slow ramp-up, they’ll grow quite tall quite quickly and can serve as a windbreak in the landscape or as a trellis for tomatoes, all while producing literal bushels of edible seeds. Their only substantial drawbacks are their distaste for partial shade and their sensitivity to cold weather. While the upright shrubs can grow as short-term perennials in USDA Hardiness Zones 9 to 12, they can’t cope with frost or cold – anyone else interested in growing them must plant them as annuals. That isn’t a huge hardship, though, because the plants grow readily from seed. And even though they’ll survive for up to four or five years (making them “short-lived perennials”) in the proper growing area, they produce best in the first year. One other trait to keep in mind: Pigeon peas take a long time to produce flowers and then pods. Anyone who wants to grow them needs at least 120 days from sowing for them to produce green pods, and longer to harvest dried legumes. So, if you’re interested in this crop for your home vegetable garden, let’s get started. Next up: How to sow.
Propagation
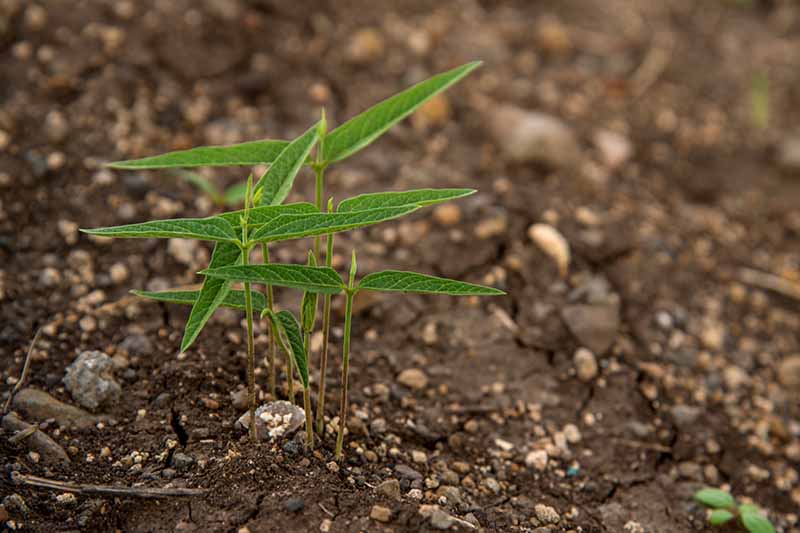
In areas with short growing seasons, you may start pigeon peas indoors and then transplant them out. If you try this approach, be sure to use peat pots or seed-starting containers made with some other biodegradable material so the roots won’t be disturbed when you transplant. In general, you’ll do better to direct sow this legume, so your plants won’t be as prone to transplant shock. Pigeon peas aren’t picky about soil. They’ll do best in soil with a pH ranging from 5.0 to 7.0, but they can also produce an edible crop in far more alkaline soil, with a pH up to 8.0. They’ll also grow readily in clay, loam, or sand. But they’ll still grow better if you cultivate the soil down a few inches ahead of sowing. You’ll also want to make sure to weed the soil completely before you sow. Quick-growing weeds are one of the few foes of pigeon pea plants, especially ahead of germination and in the subsequent first weeks of slow growth as seedlings, when opportunistic weeds might have a chance to take over. After the risk of frost has passed and spring temperatures have warmed, sow the seeds an inch deep, spacing them three to four inches apart. Some folks plant three or four seeds each in hills spaced four or five feet apart. When you’re growing pigeon peas as green manure, you’ll plant them closer together. Learn more about that process in our guide to cover cropping. However you choose to plant to meet your needs, water them in well, and keep the area moist until they sprout, which should take a couple of weeks. Once the sprouts have two sets of true leaves, thin them to stand at least one foot apart. If you’re planning to grow them as perennials, you’ll eventually want to provide a distance of about three feet between the plants to allow for adequate air circulation. You can thin them when they’re young, prune the side shoots on mature plants, or play “survival of the fittest” when the plants send up new growth in subsequent seasons. See which ones look the most healthy, or are attracting the greatest number of bees, or producing the most pods, and then prune away or uproot the rest. An exception to this are shrubs you plant as hedges, which can be grown closer together to provide a windbreak.
How to Grow
Pigeon peas are tough little plants that will grow through drought, poor soil, and lots of heat. Here’s the thing, though. While they can survive those conditions, they’ll produce more abundantly and be healthier when you provide them with better resources. If possible, start with well-draining soil, and plant in a full sun area. As mentioned, the ideal pH is 5.0 to 7.0, though they’ll do just fine in alkaline soil with a pH up to 8.0, if that’s what you have. The pigeon pea will adjust! If you’re not sure what the pH of your soil is, conduct a soil test. Also – and this is so refreshing, considering how much produce one plant yields in a season – there’s no need to fertilize. Too much nutrition can lead to an overabundance of foliage over beans, and the plants don’t really need supplemental fertilizer to thrive. The first few weeks after the seeds sprout are important. Be sure to keep the soil moist, but not wet, and the area free of weeds. It takes the plants as long as a month to get established, and they’ll do that far more easily if they’re not competing for nutrients, water, or most importantly, sunlight. And fear not, once they’re about six inches tall, they’ll pick up speed, spreading and vigorously growing taller, as much as four inches per week. At that point, you can ease up on the care you provide these plants. They don’t need much fuss.
Growing Tips
Plant in full sun for best results.Grow in well-draining soil. They can’t survive swampy, waterlogged conditions.Weed often for the first few weeks after germination, since the plants grow slowly.
Pruning and Maintenance
If you like, you can prune the stems once the plants are a few feet tall to increase productivity, but don’t cut too severely. Aim to cut four or five inches off the terminal branches, and you can save the cuttings to use for mulch. While this may encourage the plants to grow more vigorously, it’s not necessary. They’ll benefit from a bit of supplemental water in a heat spell, but resist the urge to drench them. They truly can cope with many undesirable growing conditions but will die off in excess humidity, or when they’ve been sitting in pools of water or soggy soil. If you want to grow pigeon peas as landscape shrubs, keep in mind that this particular plant is a “short-lived” perennial, not one that will occupy the same niche in your landscape for generations. It will typically live for about five years, tops. It produces the most abundant crop in the first year of harvest, so if you’re most interested in growing pigeon peas for food, it’s a good idea to uproot what you plant at the end of the season. You’ll find that the plants self-seed readily, so if you don’t have a wild and free garden space, you may want to either pull the volunteers or cut them at the soil line and leave the roots in place to enrich the dirt. You can dry the young seedlings or side shoots you cut to use as feed for animals or mulch, or place them straight into the compost.
Where to Buy
There are dozens of types of pigeon pea plants and seeds being grown globally, with numerous named cultivars grown commercially in the US, and other varieties that have been improved to grow either more quickly or to produce heavier yields in certain regions. Growers may favor tall, tree type, or dwarf cultivars, depending on their needs. Most of the seeds available for home vegetable gardeners, on the other hand, are generically labeled as pigeon peas with no indication of the cultivar. But if you’re growing them to maturity for an edible harvest or as perennials, they may develop infections or encounter insect or herbivore pests. Here are a few to be aware of: To make sure you’ve got viable seeds ahead of planting them in your garden, moisten a paper towel and place four or five seeds on top, then slide it into a zippered plastic bag or airtight container with the lid secured. Place the bag or container in a room that’s 70°F and leave it for seven to 10 days before checking to see if they’ve germinated. If they haven’t sprouted by then, the other seeds in the bag probably won’t be viable either. Pigeon Pea Seeds
Managing Pests and Disease
Especially if you’re growing them as a cover crop to till into the soil after a couple of months, pigeon peas don’t have much trouble with pests or disease.
Pests
Legumes do tend to attract certain bugs and herbivores. These are the most common for C. cajan:
Herbivores
You may find that deer, rabbits, and voles like to nosh on the young seedlings. Woodchucks and raccoons might also dine on the plants or the young pods. To prevent this outcome, consider using row covers while the young seedlings are becoming established. Fencing might become necessary for deer if they’re an issue in your area. To learn how to deter rabbits, read our guide. Just a few bugs present problems for this tough crop. Most of them can be avoided by carefully rotating the vegetables you grow so you’re not planting legumes in the same spot more than once every three years. Here are three pests that might strike:
Armyworms
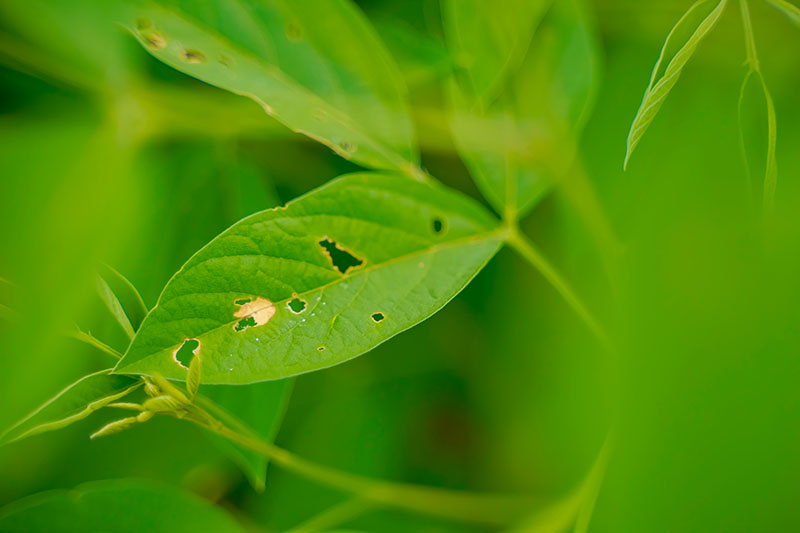
Single or closely grouped holes in the leaves may indicate an infestation of armyworms, particularly beet armyworms (Spodoptera exigua) or Western striped armyworms (S. praefica). The name “beet armyworm” is misleading, since these pests will decimate a range of vegetables, including pigeon peas. The larvae from these aggressive bugs can gnaw foliage until it’s skeletonized, and creates tiny pockmarks on the pods, too. Be on the lookout for their egg clusters, which look like cotton or fuzz. The main way to control armyworms is to practice integrated pest management. Learn more about that in our guide. Learn more about preventing an infestation and how to combat beet armyworm with chemical or organic pesticides in our guide.
Cutworms
Cutworms are the larvae of moths in the Noctuidae family, and they will indeed cut the stems of seedlings at the soil level. If you spot them early on, you can pick them off by hand, or treat them with insecticidal soap. Learn more ways to identify, prevent, and eliminate cutworms in our guide.
Thrips
Part of the order Thysanoptera that includes more than 5,000 species, thrips are just an eighth of an inch long and hard to spot. The nymphs and adults will damage leaves, and they can eventually destroy plants altogether. The first line of defense against thrips is to avoid planting pigeon peas next to thrip favorites like alliums. Once you spot them, you may need insecticidal soap to cope. Learn more about detecting and treating thrips in our guide.
Diseases
Pigeon peas don’t ordinarily fall prey to common vegetable diseases, but a few present a threat, particularly if the plants aren’t healthy or if they’re growing in overly moist conditions or diseased soil.
Anthracnose
Species of fungi in the Colletotrichum genus cause anthracnose, which is most prevalent in high humidity and cool weather. Anthracnose is soilborne, and the fungi may attack after overwintering in garden dirt. Infection results in deep-colored veins on the leaves, and possibly oval-shaped lesions on the pods. The key to prevention is only planting where you haven’t grown legumes in the previous season or two. Also, make sure you never water the plants from overhead, and completely till any of that valuable bean crop debris below the soil surface at season’s end. If your plants end up with anthracnose, immediately pull and destroy all affected plant material.
White Mold
Produced by the fungus Sclerotinia sclerotum and also called Sclerotinia rot, white mold spreads via wind, contaminated water, and infected seed. White mold indicators include a cottony mass covering the flowers, and dark lesions on the leaves, stems, and even the pods. The final stages of white mold involve dead branches, followed by the death of the whole plant. To reduce the odds of a white mold attack, rotate where you plant pigeon peas from season to season. Only grow them before or after plants that don’t host this mold, including corn and other types of grains. Also avoid excess nitrogen fertilizer, and try to place plants where they won’t be assailed by winds carrying this fungus.
Harvesting and Storage
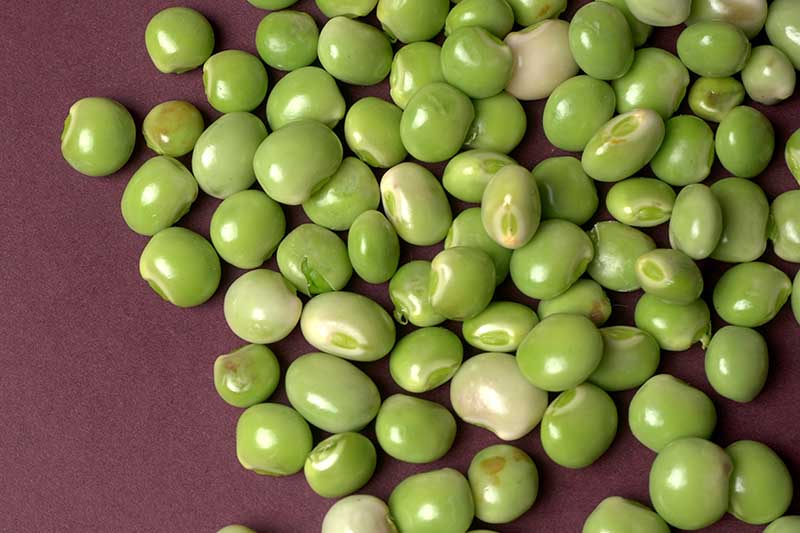
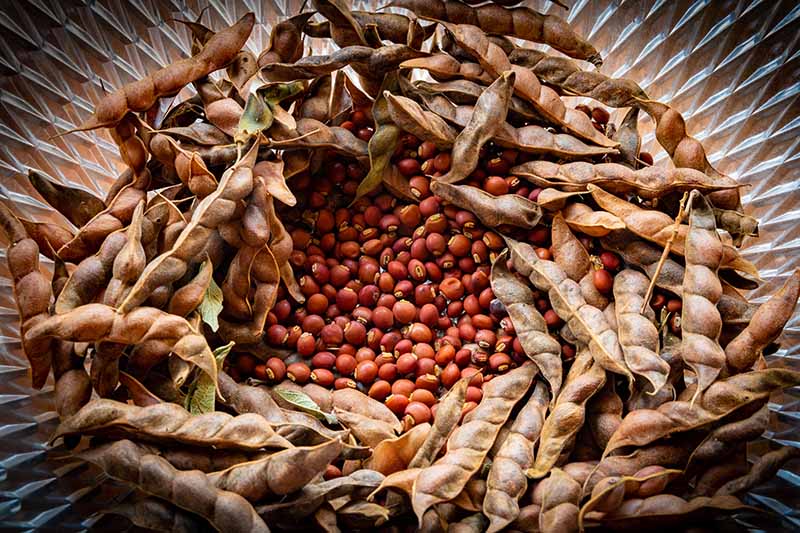
Harvesting pigeon peas is straightforward. Keep an eye on the plants. Once they start forming flowers, you should have fresh green peas to pick a few weeks later. You can pick those by hand, but be careful not to pull off whole branches. You can also take the extra step of bringing a pair of scissors to the garden to clip the fresh pods. Store them in an airtight bag for two or three days in the fridge before shelling, or in an airtight container for up to a week if they’re shelled first. The plants will flower heavily over the course of six weeks or so, which provides about six weeks of either fresh young or dried pigeon pea harvest – or a mix, where you pick some to eat while they’re green and wait to pick others for dried or split peas. Once the pods start to dry, you shouldn’t try to consume the seeds inside fresh any longer. Instead, leave them on the plants until they’ve filled out with seeds and the shells are dry and brown. Those are easy to pick, too. Either pull up entire plants and remove the pods once they’re out of the ground, or if you’re growing the plants as perennial shrubs, clip the pods and leave the plants behind. Separate the seeds from the dry shells with your hands, working over a table covered with cloth or newspaper. You can skin the seeds at this point and allow them to split naturally as they dry if your intent is to cook them in dishes that require split peas. Let them dry for a couple more days in a cool, dark space. Place them on a surface with good airflow where they won’t stick, like a screen or on top of a brown paper bag. Once they’ve dried completely, store them in an airtight container. To save seeds to plant next year, let the pods age on the plant until they are so dry they start releasing their seeds spontaneously. If you like, you can leave the seeds in the dry pods for storage. But whether you separate them or don’t, they’ll need to dry two weeks longer than the ones you plan to store and eat. Store either pods or individual seeds in a glass jar with a tight fitting, threaded or two-piece canning jar lid. If you have space, place the seeds you want to sow next season in a refrigerator with a temperature of 32 to 41°F. If that’s not feasible, see if you can’t find another cool, dry space like an unheated garage or the kitchen pantry.
Preserving
How you’ll preserve pigeon peas depends on when you harvest them. The fresh-shelled seeds can be frozen like garden peas or soybeans. Just blanch them for a couple of minutes ahead of freezing. If you’ve harvested the dried peas and allowed them to dry out completely after processing, you can store them in an airtight container for a couple of years. Make sure to remove any chaff ahead of popping them into a mason jar, zippered plastic storage bag, or plastic container. They’ll usually last two years stored in a cool, dry place like the pantry. Another option is to soak and cook the dried peas in various recipes and then freeze those. You’ll be happy you made the effort when you’re able to thaw and heat a delicious pigeon pea soup or dal on a busy weeknight. Dried or fresh C. cajan are also candidates for pressure canning but aren’t suitable for water bath canning since they aren’t acidic enough.
Recipes and Cooking Ideas
Pigeon peas inspire cooks globally, and you should be no exception. They’re tasty in salads or as fresh snacks eaten raw from the pods, but only when they’re young and green. You can also steam the fresh peas, or add a few to vegetable soups towards the end of cooking. The dried beans require overnight soaking ahead of cooking. At that point, they’re good to use as a dry pea for soup, curry, or a simple pot of beans cooked with pork or greens – peas are technically a variety of bean, after all! They go well in many dishes that call for lentils or small dry beans like tepary. Try them in place of lentils in our sister site, Foodal’s recipe for curried brown rice and lentils or this hearty Argentine lentil stew. The plants are also a free source of mulch and improve the soil for other plants. It can be tough to find your first seeds, but once you grow a crop, you’ll have plenty to plant the next season. Are you already growing pigeon peas? If you have lessons learned or questions to share, we welcome your input in the comments section below. And if this coverage piqued your interest in veggie patch legumes, read these guides next:
What’s the Difference Between Butter Beans and Limas?How to Grow Black-Eyed PeasHow to Grow Bush Beans
