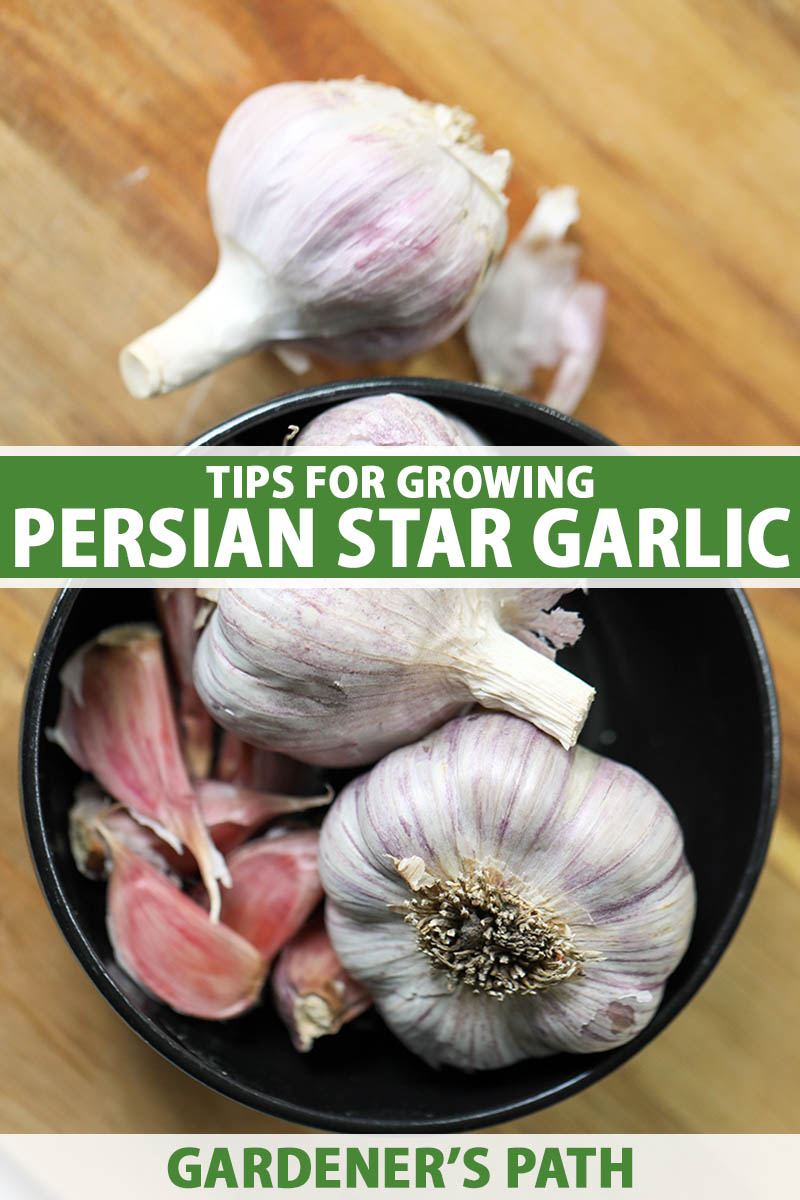
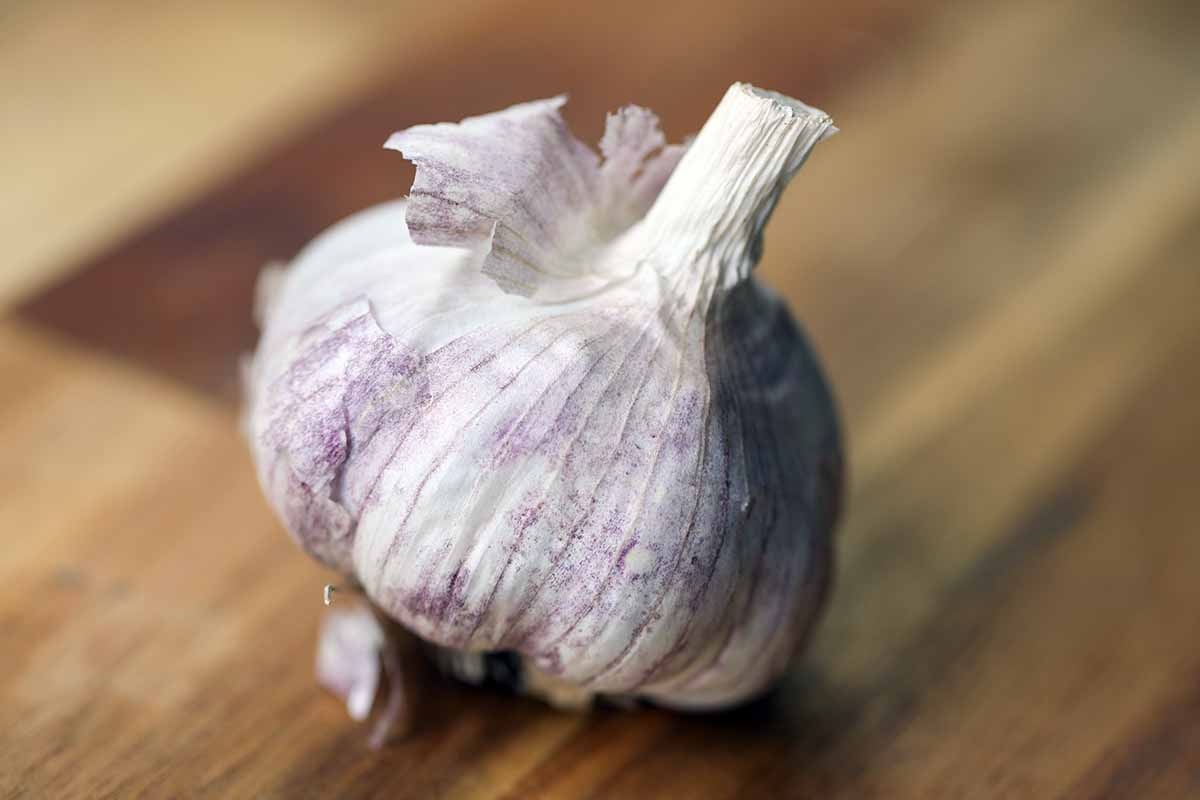
There’s nothing wrong with a lovely, mild bulb, but sometimes you want something sweet, complex, and distinct. If that’s where you’re at, ‘Persian Star’ garlic is about to become your new best friend. We link to vendors to help you find relevant products. If you buy from one of our links, we may earn a commission. Like most hardneck types, this cultivar does best in cold climates, which bring out the distinct flavor notes, but it’s still delicious even in warmer climates. If you cut off the scapes at the right time, you’ll be treated to eight to 12 plump, medium-sized cloves. If you like to decorate your house with garlic braids or big bowls of bulbs, you’ll love the look of ‘Persian Star.’ The wrappers are purple and white striped, making for a mouth-watering display. This guide will help you grow garlic bulbs that will please the eye and the palate. Here’s what we’ll talk about to make that happen: Garlic growing is all about timing, and ‘Persian Star’ is no different. You don’t want to miss your window, so let’s dig right in.
Cultivation and History
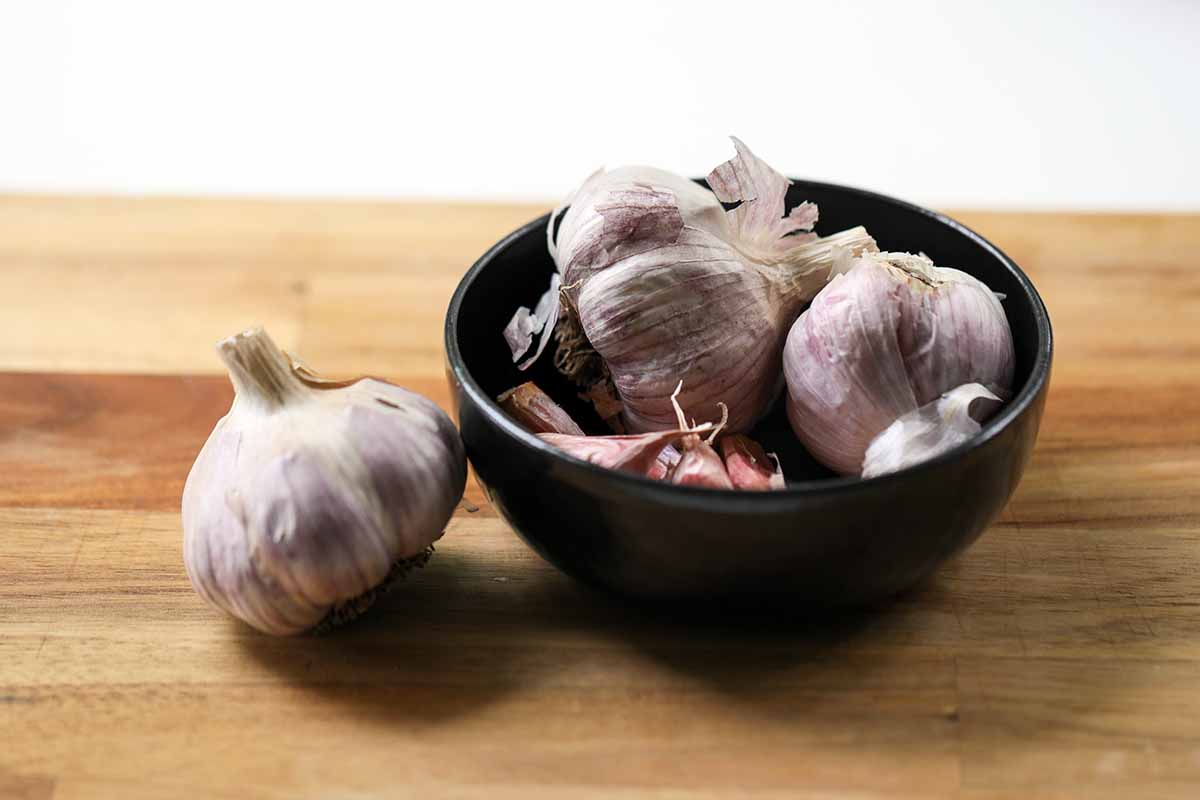
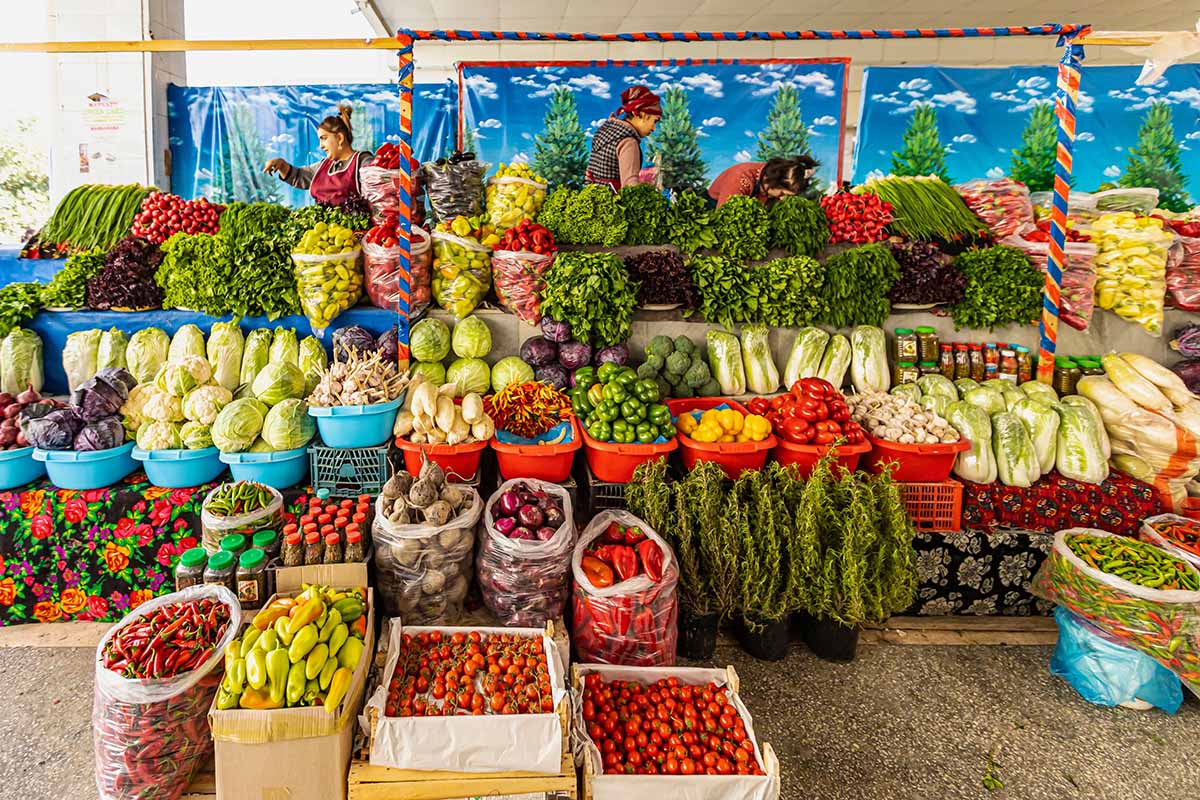
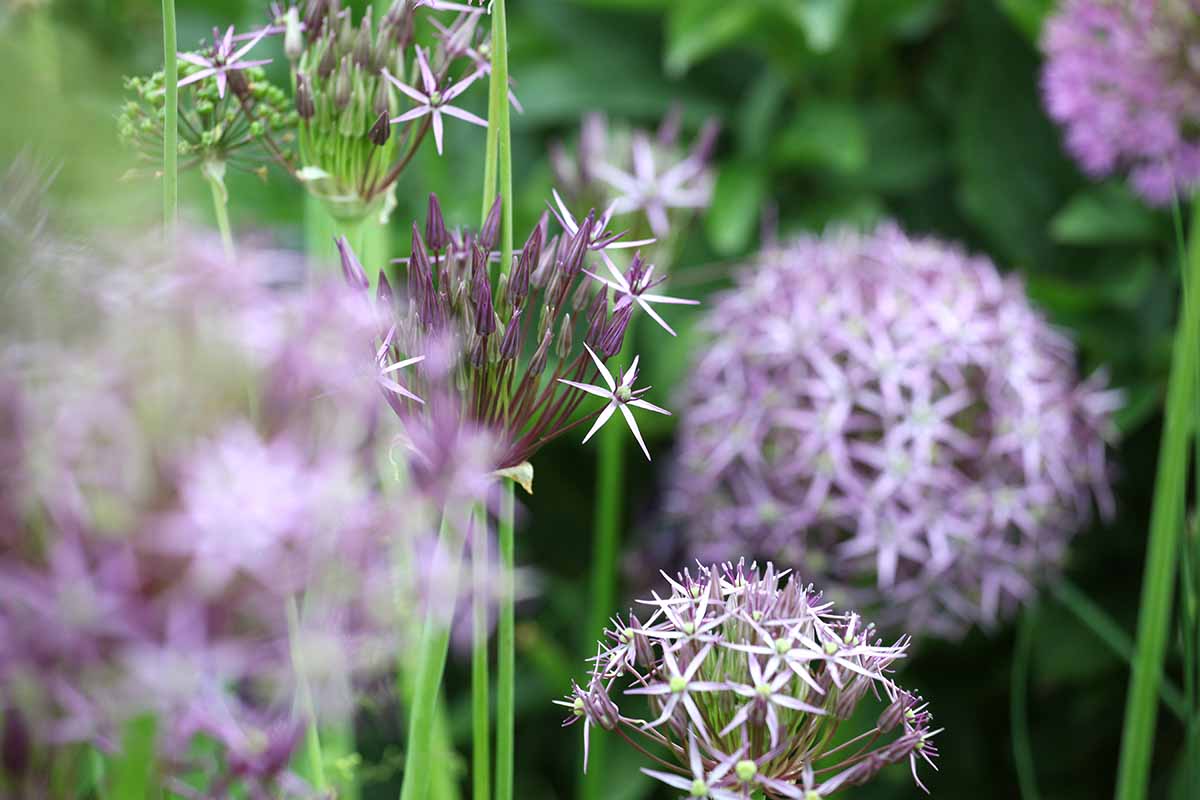
‘Persian Star,’ or A. sativum var. ophioscorodon ‘Samarkand’ as it’s also known, is an heirloom hardneck garlic variety in the Purple Stripe group. Hardneck means that the plant forms a hard stem that emerges from the bulbs. Softneck garlic produces leaves rather than a hard stalk. Learn more about the differences between hardneck and softneck garlic in our growing guide. This cultivar was brought to the US after it was discovered at a bazaar in Samarkand, Uzbekistan in the late 1980s by John Swenson, a well-known and respected garlic lover who traveled the world to find new varieties of tasty alliums. In 1987, there were just 18 common garlic cultivars available to the home grower in the US, and the Department of Agriculture was interested in finding more. They tapped Swenson to join a group of botanists on a journey of 8,000 miles across the globe. The expedition was a success and the group brought home 120 new varieties. ‘Persian Star’ is Swanson’s most popular and beloved discovery. If you’re looking for a garlic that is both attractive and tasty, this one fits the bill. It has purple striped wrappers, which Swanson says is a common trait among garlic with the most complex flavor. It grows well in USDA Hardiness Zones 3 to 8, and as we mentioned, the flavor is especially complex and strong in colder regions. By the way, don’t confuse this with the ornamental allium known as star of Persia, A. cristophii. They’re distant relatives in the allium genus, but you’re going to be disappointed in the results if you plant the wrong one.
Propagation
Planting season depends entirely on where you live. If you live in Zone 8, plant your cloves around early December. The heads should be ready to harvest in late spring or early summer. In Zones 7 and below, plant in October for a late spring or early summer harvest. As a general rule of thumb, aim to plant when soil temperatures have dropped below 60°F.
From Bulbs
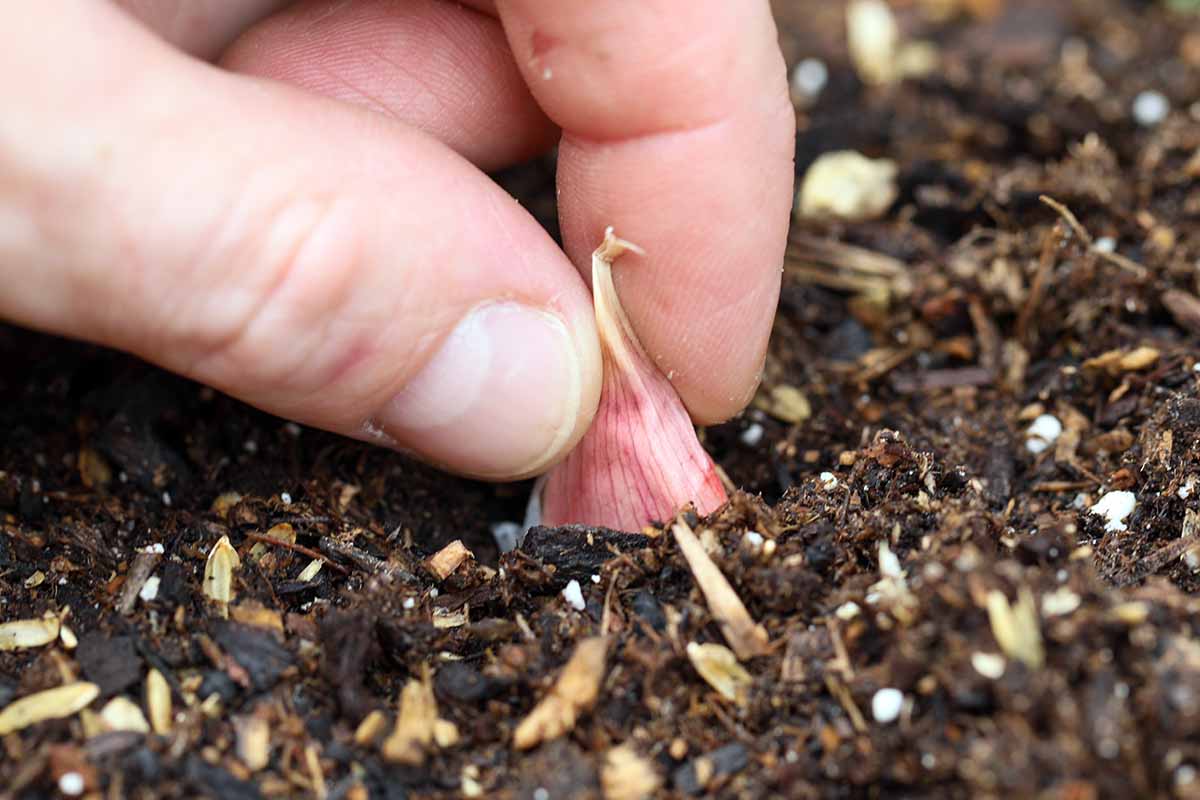
When you purchase bulbs from a nursery, or use some that you or a friend has grown, your first job is to separate the cloves. Don’t remove the wrappers, just separate each individual clove. Plant individual cloves eight inches apart in full sun, in loose, well-draining soil with a pH of 6.0 to 7.5. Each clove should be planted pointy side up and should be covered by an inch or two of soil. Garlic grows especially well in raised beds because you can ensure extremely loose, deep soil that is well-draining. Water deeply and keep the soil moist if Mother Nature doesn’t do it for you. Note that if you live in Zone 8, you might need to vernalize the bulbs first. Just slap the bulbs in your refrigerator’s produce drawer for two or three months before planting. You can also buy pre-chilled bulbs. Learn more about this method in our guide to propagating garlic.
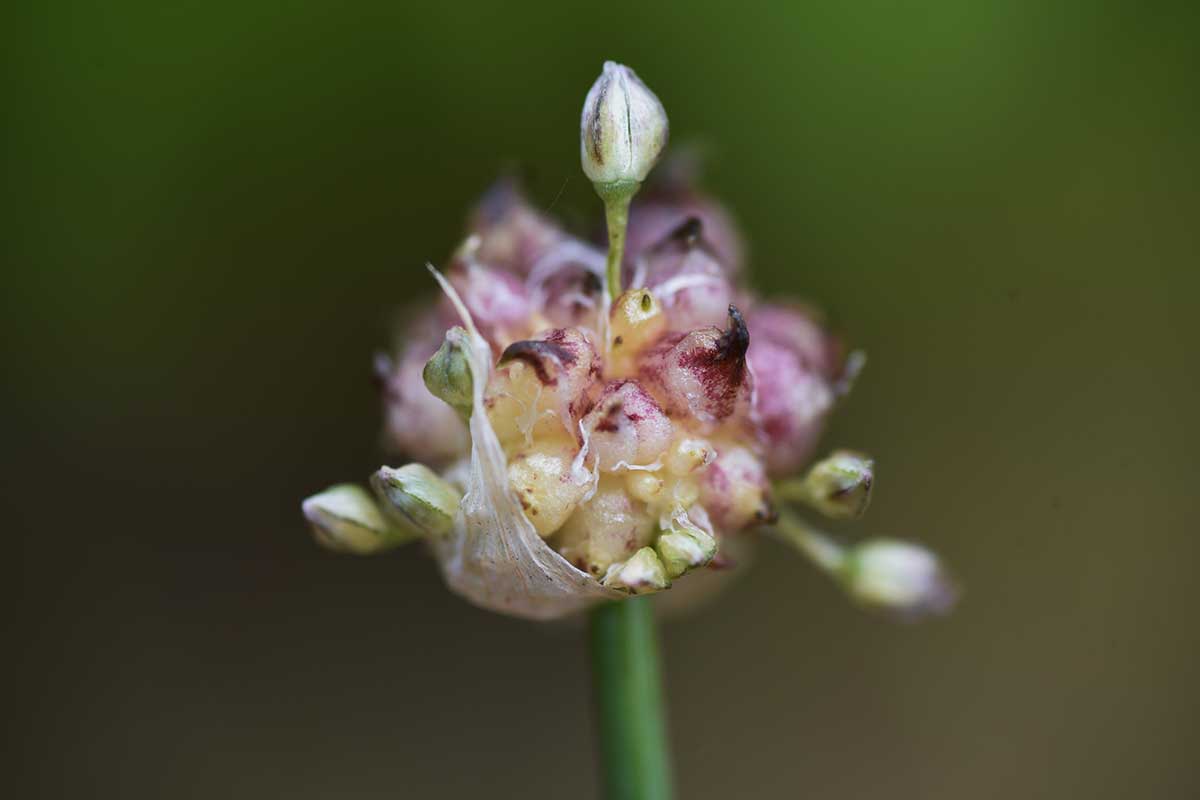
From Bulbils
The world bulbil just sounds adorable to me, and they really are. They’re like miniature garlic bulbs that form at the end of the scapes. Genetically, bulbils are clones of the parent plant, itty-bitty bulbs that you can sow to propagate new plants. The bulbils mature at the end of the garlic’s growing season. To grow them, you have to let the plant form scapes and mature, which diverts energy from the bulb below ground. Your bulbs will still mature and taste wonderful in the end, but they will be smaller than they would be if you removed the scapes early on. The bulbils are ready when the outer skin of the scape cracks and opens. You’ll see lots of little tiny bulbs inside. When this happens, cut the scape off at the base and hang it upside down in a cool, dry location. Let it cure for a few weeks. You’ll know those little baby bulbs are ready to plant when you rub the scape between your hands and the bulblets inside drop out readily. Plant when and as you would cloves purchased or harvested from underground. You can read more about propagating garlic bulbils in our guide.
How to Grow
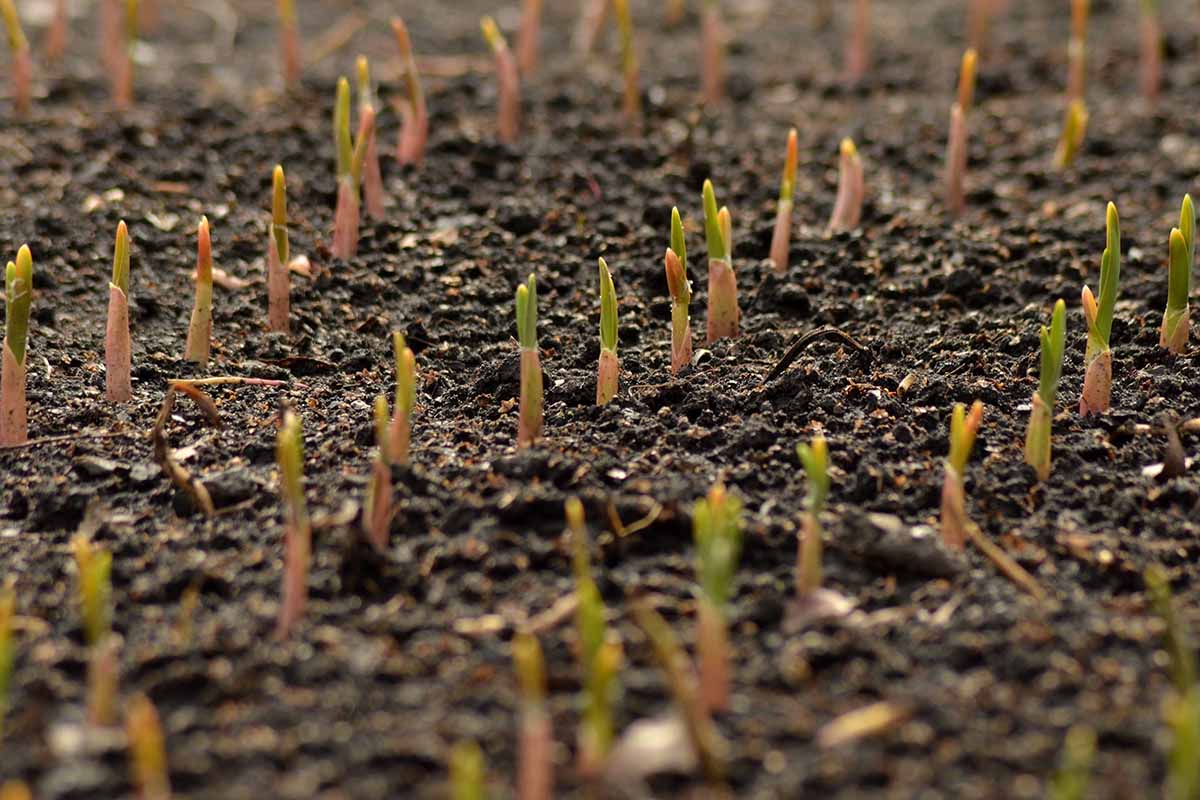
We plant garlic in the fall so that the plants can put down roots, and then growth pauses during the winter. When spring arrives, the plant jumps into action. Because the plant is dormant for a large part of the growing season, you don’t need to do much. Just ensure the soil doesn’t dry out completely in the winter. To help with this and to protect the bulbs from the disruptive freeze-thaw cycle, heap straw mulch an inch thick over the plants. In the spring, it’s time to get to work. Monitor the soil moisture level as the spring rains start to taper off.
Growing Tips
Add an inch of straw mulch to retain moisture and prevent weeds.Fertilize once in the spring with an all-purpose veggie fertilizer.Allow the top inch of soil to dry out between watering.
Maintenance
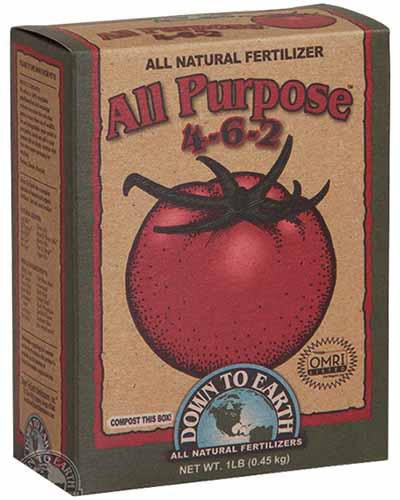
You can remove the scapes in order to encourage the bulbs to grow larger. Scapes are the long, green, round stems that emerge from the center of the bulb, producing a flower-like structure at the end which contains developing bulbils – if you let it. It should feel moist after watering to at least your first knuckle. Fertilize with an all-purpose veggie fertilizer. Down to Earth All Purpose Fertilizer I swear by Down to Earth’s All Purpose. It has an NPK ratio of 4-6-2, which is ideal for veggies. It also comes in a compostable box. Buy one-, five-, or 15-pound containers at Arbico Organics. You only need to feed once, as the greens start to emerge from the soil in the spring. Replace the straw mulch if it degraded over the winter to ensure the soil stays moist until harvest. It’s fine if the top inch dries out, but you want the developing bulbs to have consistent moisture. The mulch also helps keep weeds away. Remove them any time from when they first form to when they start to bend over. If you snag them earlier rather than later, you can cook the scapes or use them to make pesto. If you want to propagate bulbils, don’t cut off those scapes though! Let at least a few continue to grow and develop throughout the season.
Managing Pests and Disease
One of the marvelous things about garlic is that it repels many of the common pests and herbivores that most other plants are pestered by. Deer, rabbits, voles, many types of aphids, Japanese beetles, and cabbage loopers avoid garlic as if they were vampires. In the case of aphids, that’s not far off…
Insects
This variety, like most other types of garlic, may be troubled by bulb mites, leaf miners, nematodes, onion maggots, and onion thrips. Bulb mites are particularly troublesome because they’re so widespread and they hide out in the cloves all winter long, so they’re hard to spot until it’s too late. The key to avoiding any of these pests is to rotate your crops so that you aren’t planting garlic in the same place more than once every four years. You should also keep your garlic far away from brassicas, parsley, celery, and corn, which act as host to several common garlic pests. For tips on how to identify and deal with these various pests, check out our comprehensive guide.
Disease
‘Persian Star’ is a particularly hardy cultivar. Still, watch out for the following diseases:
Basal Rot
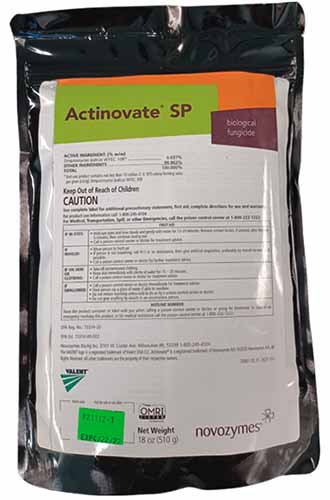
Basal rot is caused by the fungus Fusarium oxysporum f. sp. cepae. Because the damage is happening underground, it’s hard to tell that you’ve got an infection on your hands until the above-ground symptoms show up. These symptoms include curving or yellowing leaves and wilting. Eventually, the affected leaves start to die. If you look closely at the base, you’ll see a purple discoloration. That’s the fungus itself and it will continue to expand up the scape. When you harvest and slice open the bulbs, they’ll be watery and mushy. The roots themselves will turn soft and brown, then die. Sometimes there won’t be any symptoms at all until after you harvest the bulbs and they start to rot in storage. The fungus can live in the soil, waiting for temperatures in the low to mid-80s to find a host and start forming spores. When the right conditions are present, the leaves will start to turn pale green, then tan, and finally brownish-yellow. They may or may not exhibit purple lesions and the leaves will eventually die. A fungicide containing the beneficial bacteria Streptomyces lydicus WYEC 108 can help delay, reduce, or even cure an infection if you catch it early enough. Actinovate SP Actinovate SP contains this bacterial powerhouse and can be purchased at Arbico Organics in 18-ounce bags.
Downy Mildew
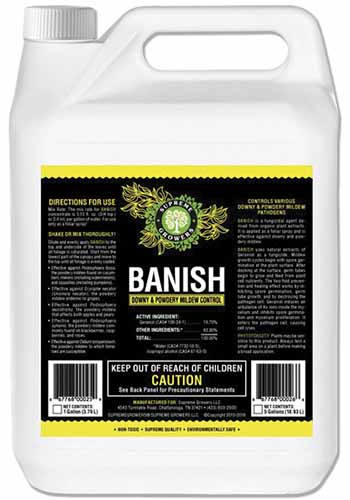
Not even garlic is immune to downy mildew. In allium plants, this disease is caused by the water mold Peronospora destructor. This pathogen thrives in cool conditions of about 43 to 61°F and high humidity. The pathogen lives in all plant parts, including dead plant matter in the ground. As much as you’re able to, keep the leaves from getting wet by watering at the soil level to prevent spread of the water molds. You should also rotate your crops every four years so alliums only grow in that spot once every three years. Grow some other type of plant there instead. The lower leaves of the plant will start to turn yellow and then brown. If you didn’t cut the scapes, they will also be turning brown at this time. You’ll want to treat with one option, wait two weeks, and then use another. Wait two more weeks and treat with the third option. While you can purchase copper and neem at pretty much any garden center, Geraniol is a bit harder to find. Banish You can grab a bottle of Geraniol-containing Banish in 32-ounce or gallon-size containers at Arbico Organics.
Harvest and Use
Your ‘Persian Star’ bulbs will be ready for harvest sometime around early summer at the latest, but more likely by late spring. At this point, hold the tops with one hand and dig down next to the bulb with a spade or garden fork. Then, gently leverage the garlic out of the soil, using the tops in your other hand as a guide but not to pull the garlic. Cure the garlic by hanging it in small bunches or on screens for a few weeks. It’s a visual feast with its purple and white striped wrapper, and that’s before it hits your tongue. The clove itself has a strong – but not too strong – complex, nutty flavor that is enhanced by cold weather. Smashed into a paste for spreading on toast, chopped and folded into guacamole, or popped into your mouth raw, it’s sure to impress however you use it. How do you plan to enjoy your harvest? I can’t wait to hear your ideas. If you don’t mind, share them with us in the comments! There’s a lot more to know about growing garlic, and if you’re interested in expanding your knowledge, you might want to give these guides a read next:
Tips for Growing Garlic in Containers9 of the Best Companion Plants to Grow with GarlicHow to Use Garlic As Pest Control in the Garden