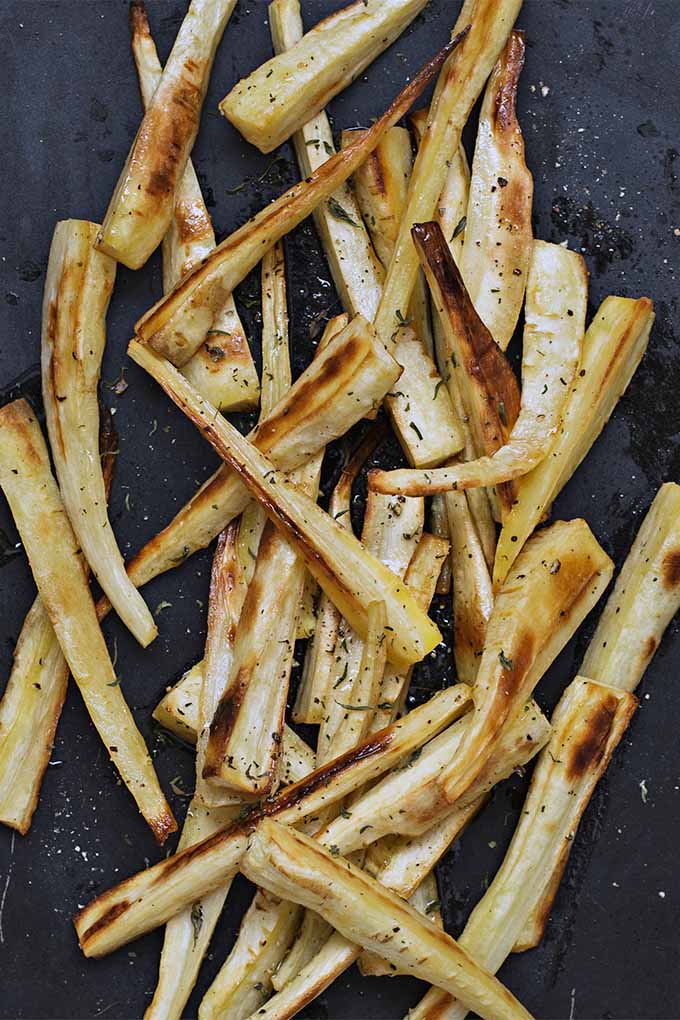
But that changed a few years ago, when a friend shared a batch of stovetop parsnip fries with me. A little bit of coconut oil or olive oil, maybe some ghee heated up in a skillet, parsnips cut into thin strips and tossed in, and a little salt and pepper to taste. Wow! I never ignored parsnips again after that. In fact, I started growing my own. We link to vendors to help you find relevant products. If you buy from one of our links, we may earn a commission. They are also an amazing addition to a roasted root vegetable medley, and they even hold up well on their own, especially when they’re sliced and served up as fries. So. Good. So, so good.
I could easily write this entire article about eating parsnips, so I’ll stop myself here. Now, let’s talk about how to grow them. Here’s a quick rundown of what’s to come: With a little bit of research, persistence, and patience, you’ll have success growing this underutilized, distinctive root vegetable in your own garden at home.
Starting and Growing
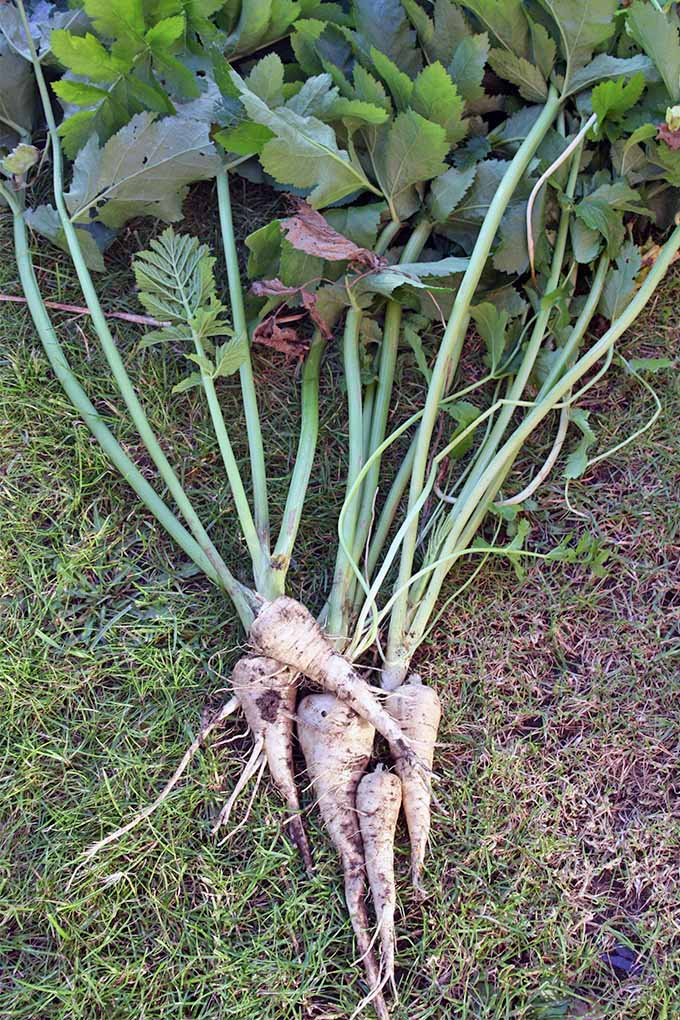
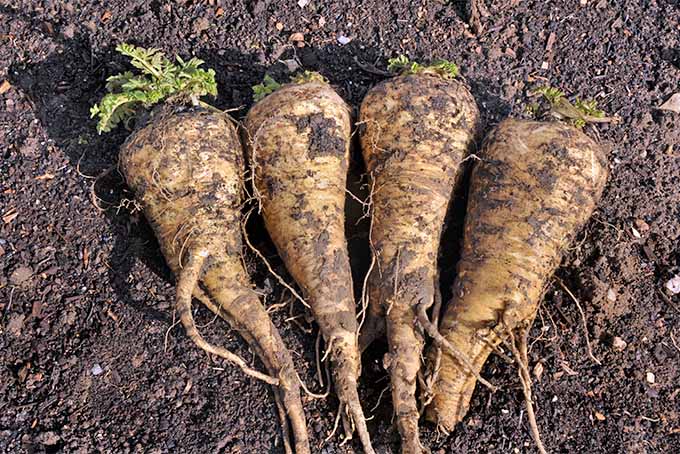
A hardy biennial, parsnips are usually grown as an annual root crop. They look similar to carrots, only they’re usually a shade of white and oftentimes thicker. Unfortunately, I don’t lump parsnips in the “easy to grow” category. There’s a sort of finesse to getting their seeds to germinate. But, if you put the work in at the beginning of the season, you can just sit back and watch your plants take root! To begin with, seeds lose viability after just a year or two, so having low germination rates is relatively common. Because of this, you’ll want to order new seeds from a reputable source every year.
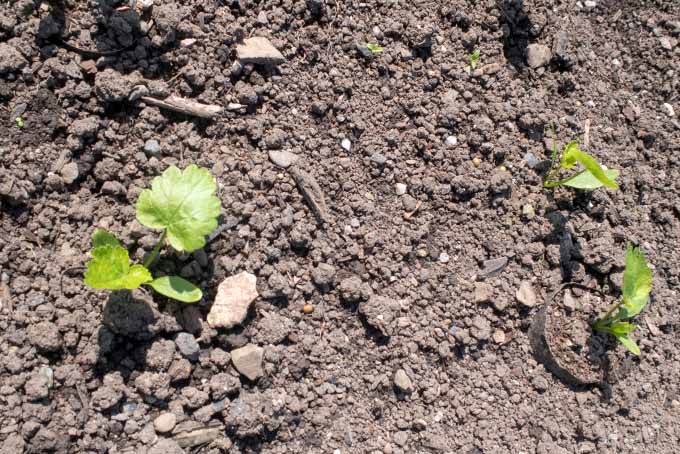
These take about 100 days to reach maturity, and are recommended by the Utah State University Extension particularly for growing well in Utah (USDA Hardiness Zones 4-8). You can let parsnips go to flower and collect your own seeds, but keep in mind that they are biennials – you’ll have to leave them in the ground longer if you want to do this, since they don’t produce flowers until their second year. This can be an issue if growing space is already limited. Although many seed packets suggest sowing seeds as soon as the soil is workable, it’s actually best to wait a bit longer until soil temperatures warm up to around 50°F, usually sometime in April. A soil thermometer is helpful to ensure you don’t sow too early, but simply waiting two to three weeks after the spring solstice should be adequate. Any earlier, and seeds may rot before they have a chance to germinate. If you decide to risk it and sow seeds as soon as possible in the early part of the season, do yourself a favor and sow another batch of seeds a few weeks later anyway. They can take up to a month to germinate, so sowing a second batch will provide you with better germination rates. Choose a sunny spot and sow seeds directly in the garden about 1/2 inch apart. When they germinate and start to put on new growth, thin them to at least 6 inches apart.
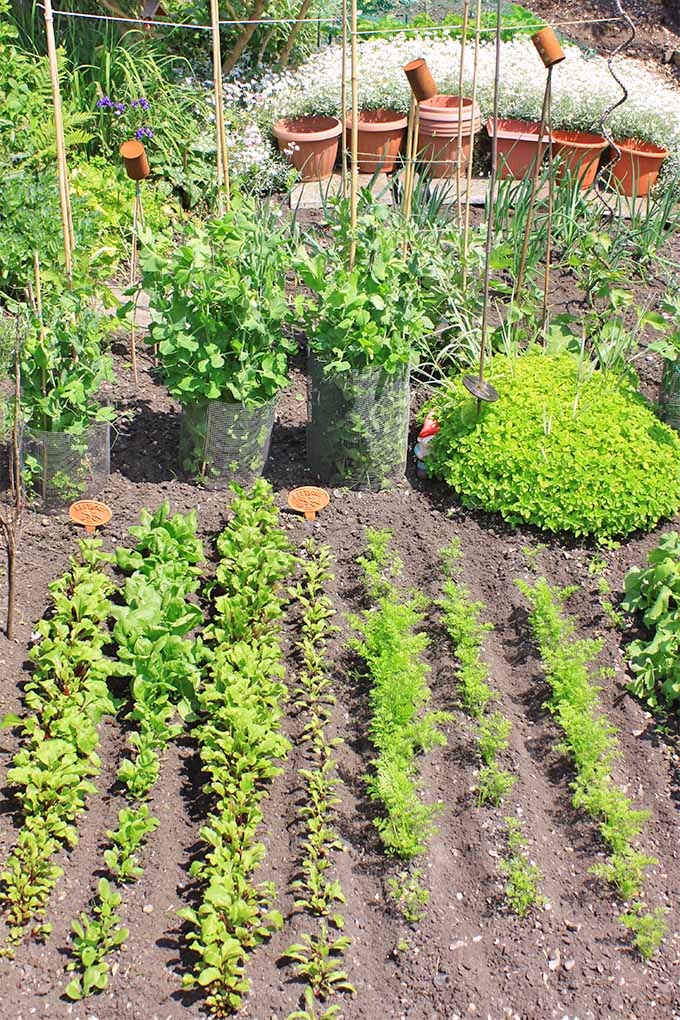
Slow to get started, it’s common to plant another fast-maturing crop, like radishes, in between parsnips. The radishes will serve as a row marker, and planting this companion crop will make better use of your garden space. Beets, carrots, and salsify are also often planted with them. Keep in mind that starting seeds indoors generally isn’t a good idea with root crops, since transplanting them can often result in misshapen roots. To that same point, make sure your garden soil is rich, deep, and loamy. Parsnip roots can grow to be up to a foot long (sometimes longer, depending on the cultivar) and poor, rocky soil can also cause misshapen roots.
Although starting seeds indoors isn’t ideal, one option to speed up the germination of parsnips is to lay the seeds between two folded, moist paper towels and place them in a sealed container. Keep them in a sunny window and check regularly for germination. Once the seeds start to sprout growth, sow them in the garden and take care to keep the soil moist, but not wet. This can be a bit of a balancing act, but seeds won’t germinate if the soil is too dry. Too wet, however, and seeds will likely rot. In areas with long, cold winters, getting a head start on germination is especially helpful. Parsnips require nearly the entire season to mature, so you really only get one chance at growing them each year (similar to tomatoes and peppers). Repeated harvests (like carrots are so great for) really aren’t possible. So be sure to sow viable seeds, and plant them at the appropriate time.
Selected Cultivars
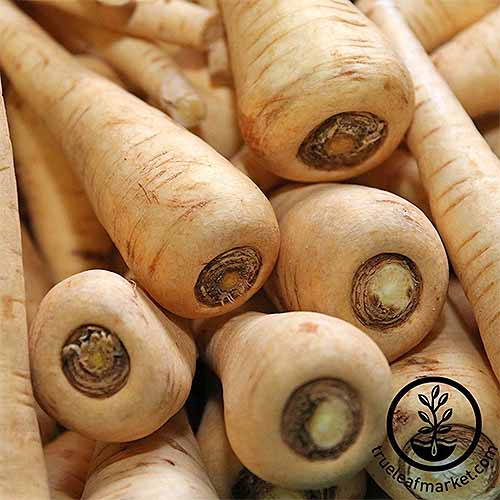
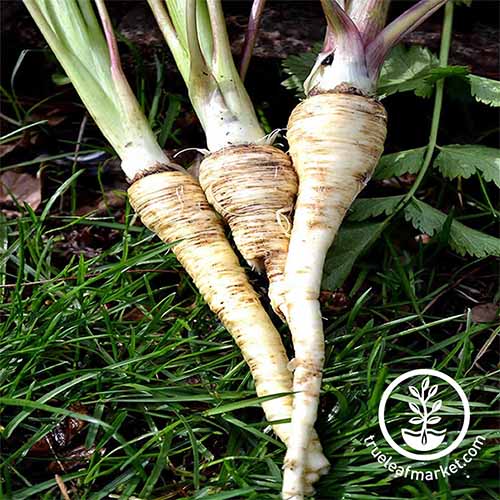
Although there are many types of cultivated parsnips, the ‘Hollow Crown’ and the ‘Harris Model’ are some of recommended cultivars: The ‘Hollow Crown’ variety takes about 100-120 days to reach maturity, producing smooth 12 to 15-inch roots. ‘Hollow Crown’ Seeds Best planted in full sun, seeds are available from True Leaf Market. The ‘Harris Model’ cultivar is also available from True Leaf Market.
‘Harris Model’ Seeds
Slow to Start, Strong to Finish
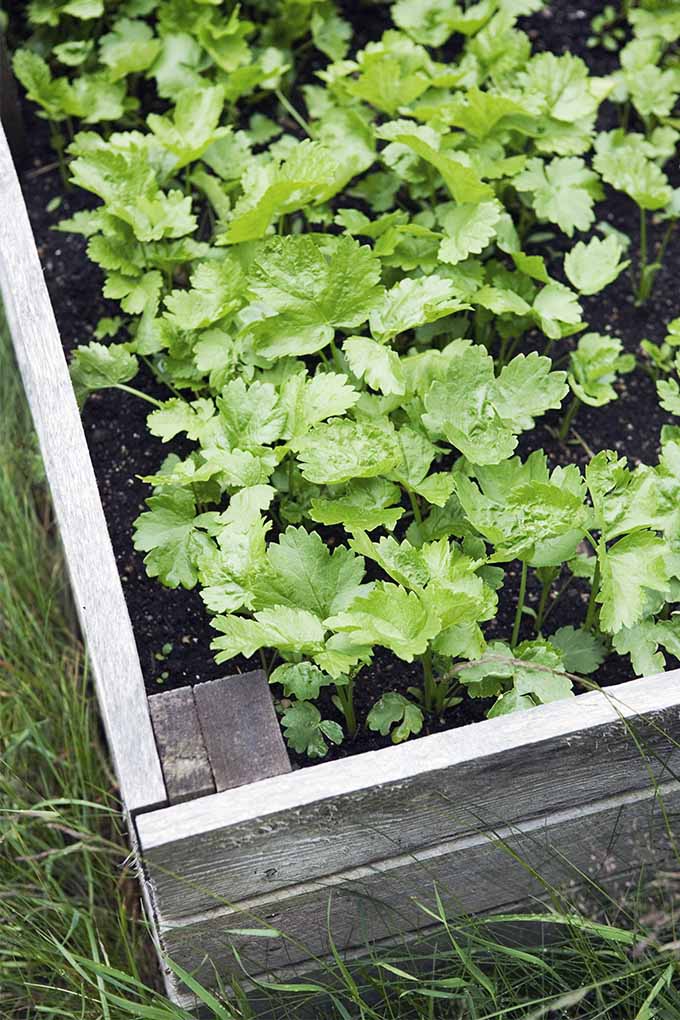
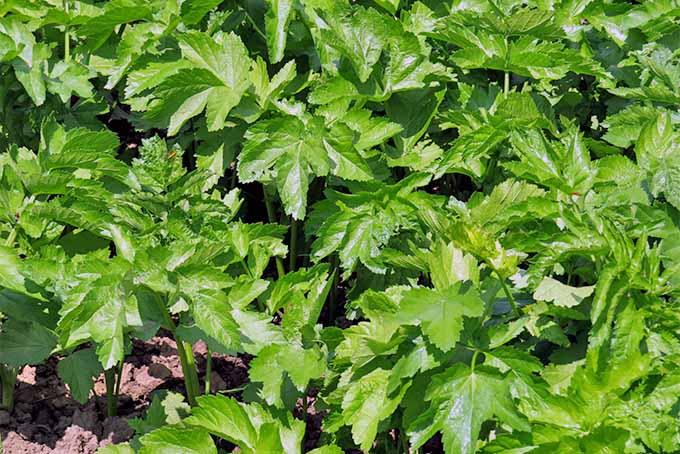
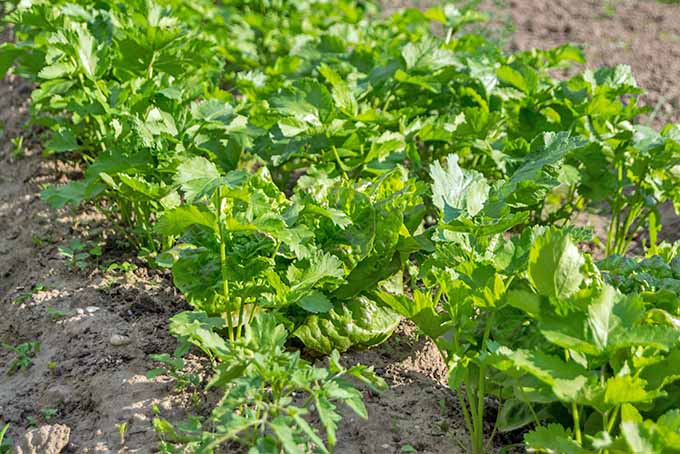
Don’t be too quick to relax once seeds germinate. Parsnips take a few weeks to put on significant growth, and during that time, weeds can out compete them. Keep plants weed free during those first few weeks, and beyond that, you’re in the home stretch. As the leaves fill in and shade the surrounding soil, weeds become less of an issue. Once plants start taking off, you can rest easy. Care for parsnips from this point on is very similar to that of growing carrots. In general, adequate soil moisture throughout the summer is key to growing healthy root crops. It is especially important to water thoroughly during dry spells.
Roots go where there’s water. So, watering deeply encourages strong root growth. A good soaking is best achieved slowly, with soaker hoses or drip irrigation. And if you have a habit of passing over your garden too quickly with the hose, installing a simple irrigation system is sure benefit your garden – especially your root crops. Frequent but shallow watering encourages shallow, weak roots, and plants that are even more susceptible to drought. Ensure that the soil is well draining, since standing water can easily cause roots to rot.
Pests and Diseases
Although relatively pest and disease free, there are a few issues to keep an eye out for as you watch your parsnips grow:
Caterpillars
Particularly those of swallowtail butterflies like to munch on the leaves. Just pick them off if you see them.
Aphids
These sap-sucking little insects can also pose an issue. My preferred method to control aphids is to simply blast them with the hose.
Carrot Flies
These flies – and more specifically their maggot larvae – feed on the roots of many root crops. Prevention is best here. Try companion planting with chives, which are known to repel carrot flies.
Parsnip Canker
Rotting of the root that starts at the top can result from drought or damage to the crown. With all these things considered, you’re on your way to a successful harvest!
What You Need to Know About Parsnip Burn
I’m thankful I can’t speak from experience on this, but it definitely is worth mentioning. There have been a number of stories of people who, given the right circumstances, have ended up with burnt, blistering skin, due to harvesting common garden crops! And while it’s not crazy common, it’s helpful to be aware of so you can hopefully avoid it yourself. Usually the burning, itching rash, called phytophotodermatitis, is associated with wild parsnip, which is a pretty common roadside weed. However, garden parsnip, just a domesticated variety of wild parsnip, as well as carrots and celery (all related, by the way), have been reported to do the same.
Moisture and sunshine seem to be the key factors for the reaction to occur. Chemicals in the sap of leaves and stems first need to make contact with the skin. Moisture, such as that from the morning dew or a sweaty gardener, exasperates the spread and absorption of the problem chemicals. And then the UV light from the hot sun comes in and triggers the reaction. So, simply harvesting parsnips or carrots doesn’t mean you’ll have a reaction. It’s the combination of exposure, moisture, and sun that dooms you. However, awareness is key, since the red, burnt, blistery skin usually doesn’t occur until days after exposure. If you’re concerned, harvest suspected crops early, before the heat sets in, and also avoid harvesting them if they’re wet. And to go a step further, long sleeves, pants, and gloves will do the trick.
Reaping the Rewards
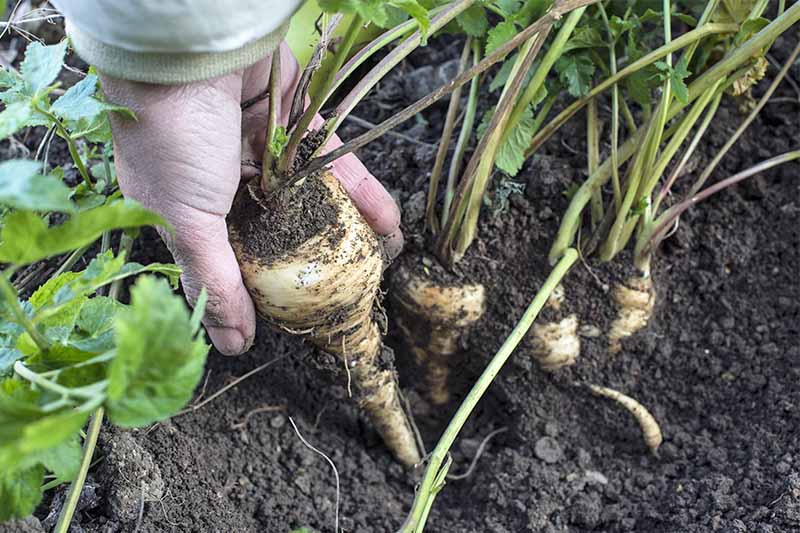
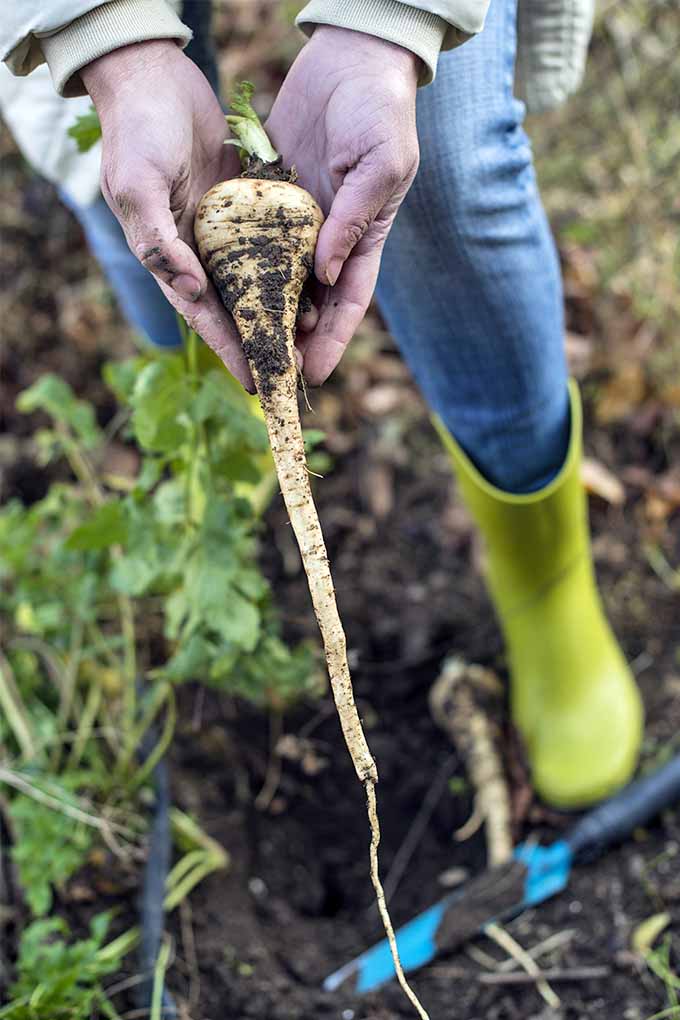
Parsnips can be harvested whenever their leaves start dying back or they reach a usable diameter, around 3/4 of an inch. However, if you’re patient and harvest in the fall after a hard frost or two, you’ll be rewarded with sweeter roots.
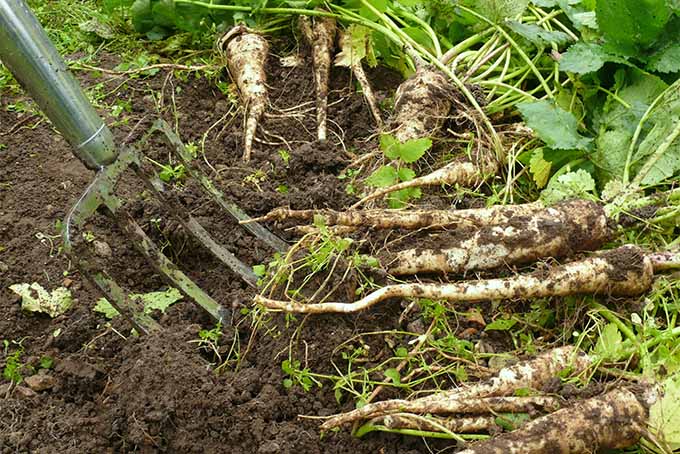
Although they require a long growing season, parsnips provide a great source of homegrown food when most other garden produce has already been devoured. And as long as the soil isn’t frozen, you can continue harvesting throughout the fall and into winter. Plants can even be left to overwinter in the ground. Just cover them with mulch and harvest the roots when the soil is thawed in late winter or early spring.
If you choose this method, be sure to harvest roots before they begin pushing new growth the following spring. Once new leaves begin to emerge, roots become more fibrous and tough. As the roots are long and can easily break, take care to loosen the plants appropriately before harvesting. Read more about harvesting parsnips here.
Quick Reference Growing Chart
Serving Suggestions
There are so many delectable ways to enjoy these sweet roots and to introduce additional vitamins and nutrients into your meal.
Here are a few of our favorites: First, try these Indian Spiced Parsnip Curly Fries from The Fitchen, cut with a spiralizer and seasoned with cayenne, cinnamon, ginger, and curry powder. If you’re in the mood for soup, a comforting combo of beans, root vegetables, and spices is just the thing for warming up on a cold evening. You can find Nisha’s recipe for Parsnip Butter Bean Soup at The Magic Saucepan. Chardonnay Braised Chicken Thighs (with your favorite root veg) are simple to make, but fancy enough to serve on date night. Crispy chicken, and sauteed parsnips flavored with rosemary, shallots, and white wine – amazing! The Gingered Whisk shares the recipe. Looking for a sweet and savory side that’s the perfect alternative to mashed potatoes? These Dreamy Creamy Mashed Parsnips with Rosemary Oil from Hunger Thirst Play are a must make! Another alternative to a carb-heavy meal, you can skip the grains and make Root Vegetable “Couscous” for dinner instead. Vegan, raw, and gluten free, this dish includes carrots, almonds, cilantro, and fresh lime juice. You’ll find the recipe on The Fitchen.
Worth the Effort
Parsnips, while not the easiest to grow, are well worth the learning curve. Get your hands on some viable seeds, plant them at the right time in well-prepared soil, muster a bit of patience, and you’ll be on your way to enjoying some tasty, sweet root veggies.
What do you think? Are you feeling confident? Let us know if you’re going to add these vegetables to your garden, and if you have any success. Share what worked and what didn’t in the comments below! Want more tips on growing root veggies? Try some of our other guides:
Tips for Growing Parsnips in Containers Can You Regrow Parsnips from Kitchen Scraps? How to Plant and Grow Jerusalem Artichokes
Product photos via True Leaf Market. Uncredited photos: Shutterstock. With additional writing and editing by Allison Sidhu.
