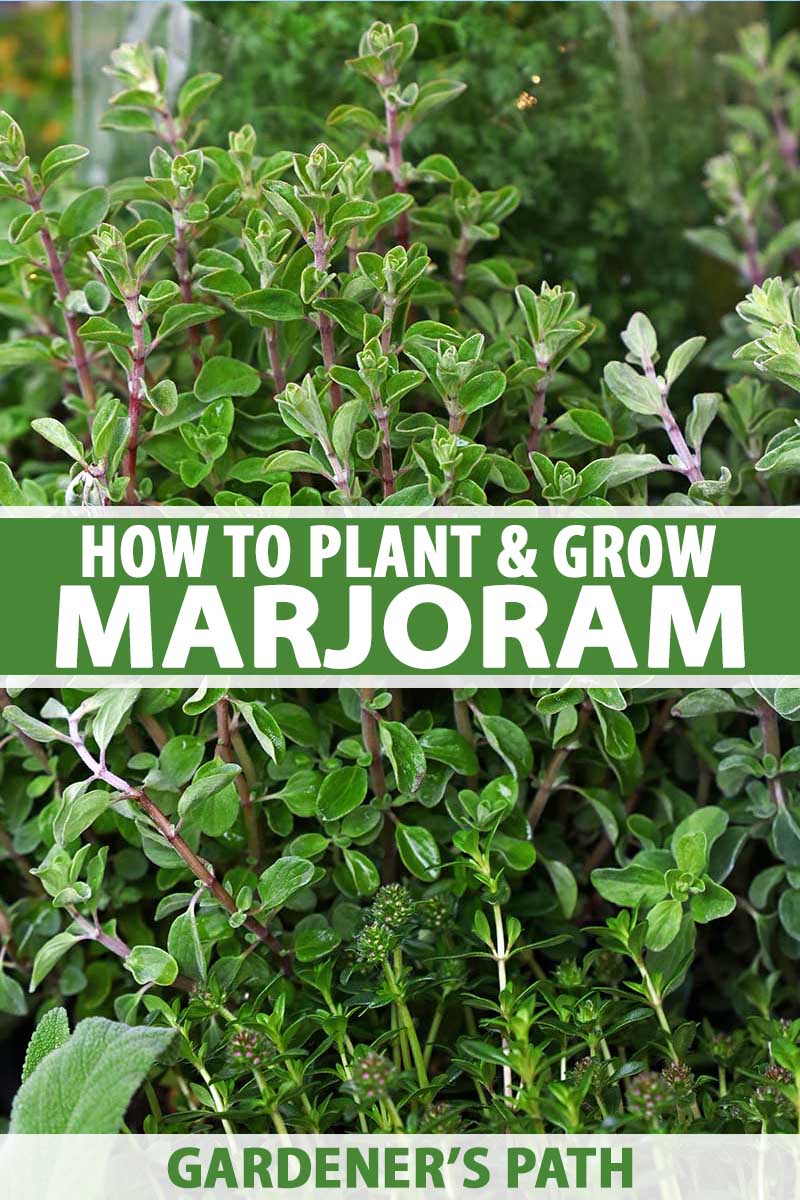
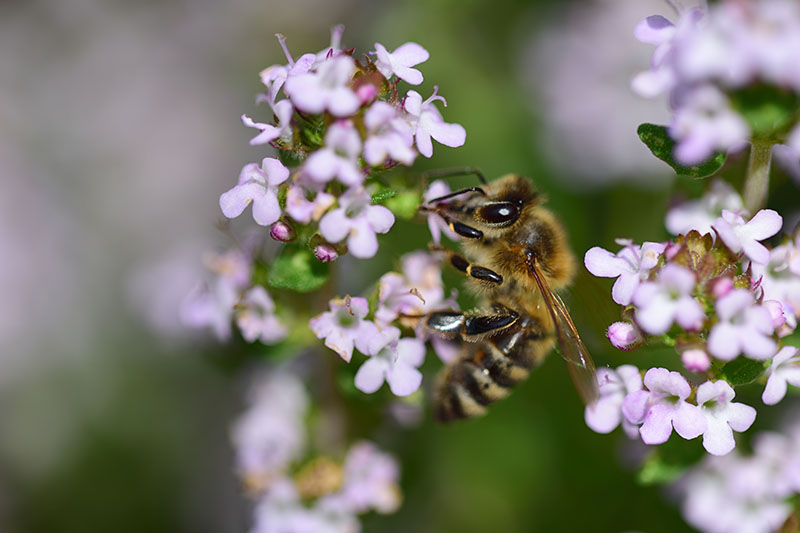
Often confused with its more popular cousin, marjoram is a stand out herb in its own right. With a sweet, woodsy flavor, it reminds me of a mild, sweet sage with a camphor aftertaste. Sure, you can exchange the two herbs readily in recipes if you’re running low on one because they have a similar flavor profile. We link to vendors to help you find relevant products. If you buy from one of our links, we may earn a commission. Like oregano, marjoram is ideal if you have a sunny, dry spot in the garden where water-loving plants fail to thrive. Plus, the pretty purple or pink blossoms will attract pollinators like honeybees, bumblebees, and butterflies, which benefits your whole garden. Ready to add this versatile herb to your yard? Here’s what I’ll cover in this article:
What Is Marjoram?
Marjoram, Origanum majorana, looks a lot like oregano, O. vulgare, and that’s not a surprise given that they’re close relatives. Both are species of the Origanum genus. Just to confuse matters, oregano is sometimes referred to as “wild marjoram,” and a third species, Cretan oregano, O. onites, is often called “pot marjoram.”
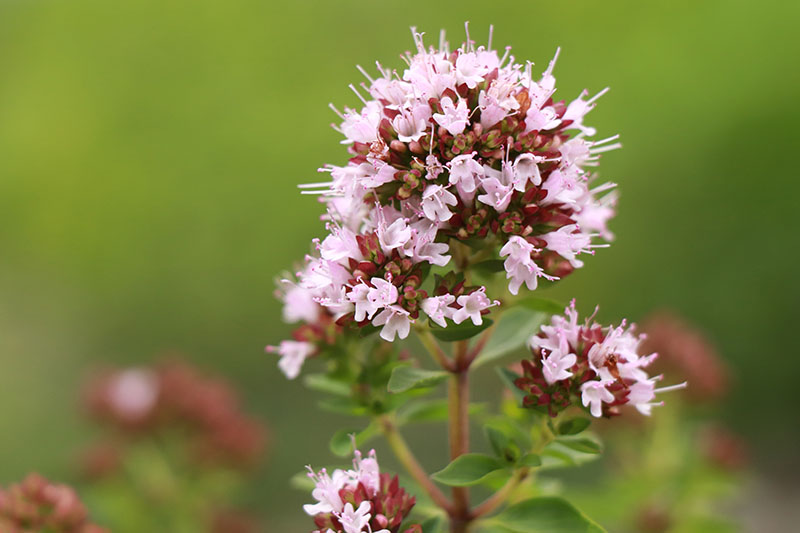
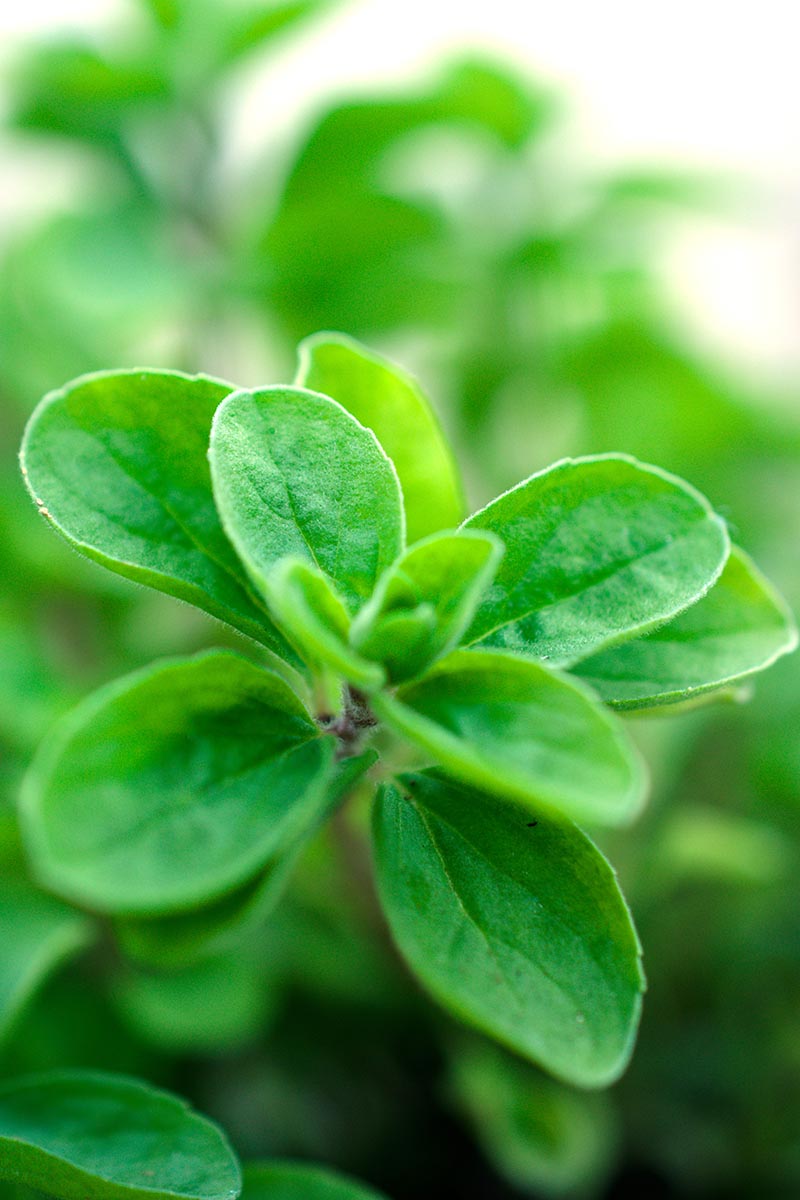
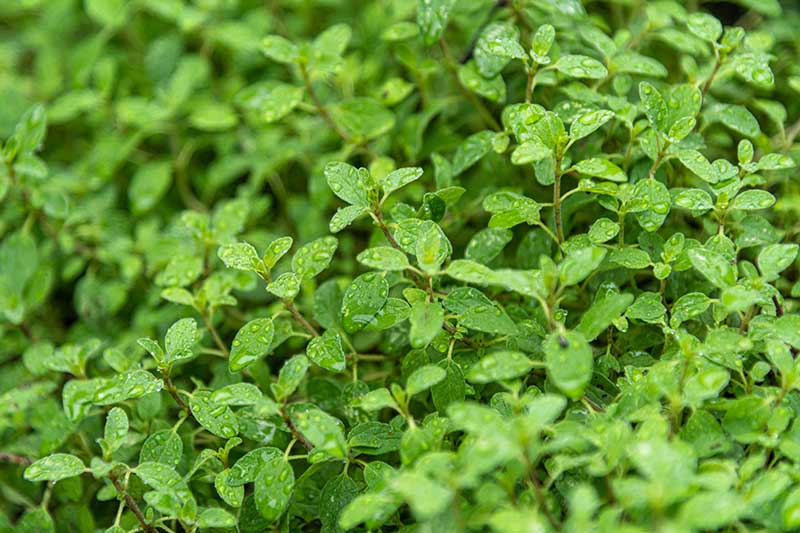
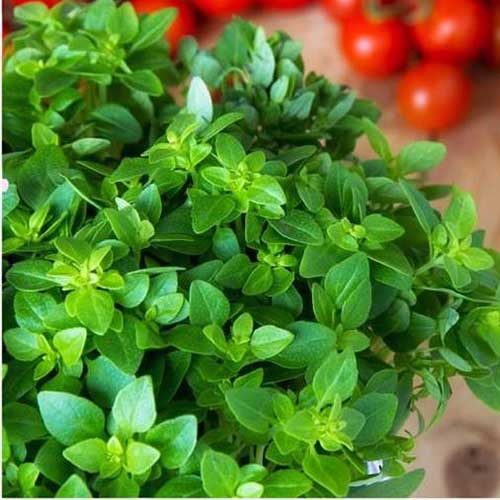
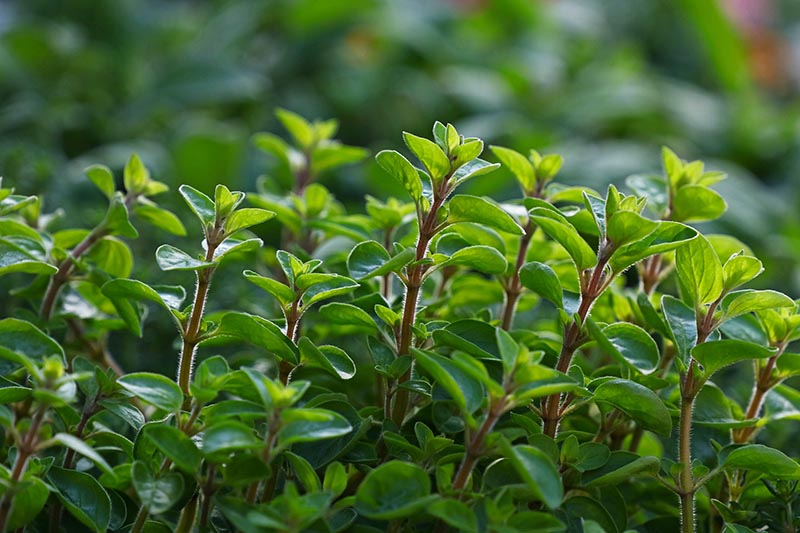
O. majorana has small, oval leaves, with a gray-green color, and they are covered in soft hairs. In the spring, if allowed to bloom, it has pink or purple blossoms. Flavor-wise, marjoram is woodier and more floral than oregano, with a slight note of pine. Oregano is stronger and spicier. Marjoram tends to grow a bit less aggressively than oregano, and it can’t handle cold weather as well as oregano. Marjoram is a perennial in USDA Hardiness Zones 9 and 10, but you can grow it as an annual in cooler areas. Plants reach mature dimensions of about 24 inches tall and 18 inches wide. If growth is left unchecked, it will send out rhizomes and reseed readily, which means it can gradually take over an entire corner of your garden. Sometimes called sweet or knotted marjoram, this member of the mint family is often included in the classic French blend of herbes de Provence.
Cultivation and History
Marjoram is a historied herb that is native to the Mediterranean, southwest Asia, and northern Africa. It has become naturalized in southern Europe. Prized by ancient Greeks and Romans, ancient Egyptians also revered this herb, and used it in their embalming process.
In 1557, the famous English poet Thomas Tusser described marjoram as one of the 21 essential herbs for strewing in his instructional work Five Hundred Points of Good Husbandrie. For those not in the know, herb strewing was the practice of scattering aromatic plants around the homes of royalty in the United Kingdom to cover up unpleasant odors. Anatomist Charles Estienne recommended growing marjoram in home gardens in his book L’agriculture et Maison Rustique, one of the first published works on agriculture, printed in 1564. Dutch settlers brought this herb to New York’s Hudson Valley, but it didn’t become widely known in the US until the mid-1900s. It has been used as a folk remedy around the Western world to treat indigestion, headaches, rheumatism, and toothaches. Recent studies have shown that the essential oils in O. majorana contain antioxidants, and may have antifungal, antibacterial, and anti-inflammatory properties.
Propagation
Marjoram is one of those plants that seems to put all of its efforts into successful reproduction. It seeds easily, lends itself to division, reproduces via cuttings without fuss, and can even be layered.
Regardless of how you decide to propagate plants, prepare the soil in advance by testing it to determine whether or not it needs fertilizer or adjustments. Marjoram wants fertile soil with good drainage. It’s generally a good idea to work in some well-rotted compost to loosen the soil and add nutrients before planting.
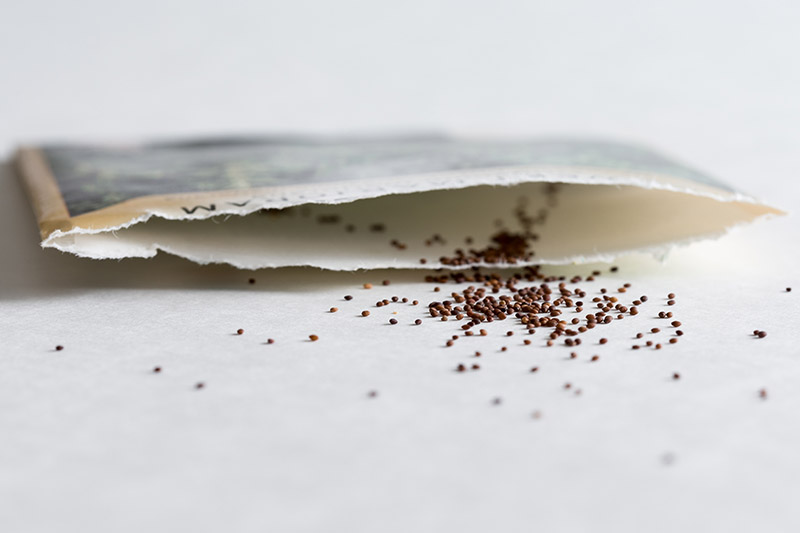
By Seed
Left to its own devices, marjoram will self-seed readily. That should tell you how simple it is to start plants from seed yourself.
Start seeds indoors eight weeks before the last frost, or outdoors after all danger of frost has passed. Sprinkle seeds onto a seed-starting mixture indoors in seed flats or in a container at least six inches wide and deep, and cover gently with 1/4 inch of soil. Water using a spray bottle to avoid dislodging the seeds. Keep the soil moist but not wet. Outdoors, sow seeds when the daytime air temperature is around 60-80°F. Sprinkle seeds on prepared ground and cover with 1/4 inch of soil. Keep moist. You should see seedlings emerge in about a week. Once plants are two inches tall, if grown outdoors, thin them to six inches apart. You can transplant seeds started indoors after plants have been growing for about 6 to 8 weeks. But first, you need to harden them off. To do this, set the pots outside in a sheltered location for an hour or two, gradually increasing the length of time over the course of a week.
By Division
Existing plants should be divided in the spring while the weather is cool. Dig a hole six to 12 inches wider than the plant in all directions and one foot deep, and use a shovel to lift the root ball out of the soil. Use clippers or a garden knife to cut the plant in half, roots and all. Put half of the plant back in the ground and fill around it with soil. Transplant the other half of the plant to a prepared spot in the garden or a container. Give it a good drink of water to help settle the soil. Alternatively, you can use a garden spade or trowel to cut a section of the plant, straight down through the roots, to remove and transplant.
Via Cuttings
Cuttings are best taken in the late spring or early summer. Find a healthy branch that hasn’t flowered and cut a six-inch piece. Prepare a small pot with moist seed starting mix. Cut the base at an angle to maximize the surface area of the cut, and ensure that it slides into the planting medium easily. Remove any leaves from the bottom third of the cutting. This helps to prevent rot and encourages roots to emerge. Dip the cutting in powdered rooting hormone and poke a hole into the seed starting mix with your finger or a pencil. Insert the cutting and gently pack the dirt into the hole and around the base of the stem. Place the pot in a shady location out of direct sunlight. Keep the potting medium moist but not waterlogged. In two weeks, your cutting should have developed roots. To test this, give the cutting a gentle tug. If you feel resistance, it has taken root and you can treat it like any other transplant and plant it out into the garden or in a container.
By Layering
To propagate by layering, find a healthy branch at the outer edge of the plant and lay it flat against the ground, keeping the end that is still attached to the parent plant intact. Leaving two to three inches of the tip exposed, bury the branch in the soil about 1/2 inch deep and use a stone to keep it in place. After a few weeks, the branch will develop a root system and you can clip it away from the parent plant before digging it out. Marjoram has shallow roots, so it’s best to dig wide rather than deep while pulling your new plant out of the ground. You’ll want to give it six inches in all directions and dig down about four inches. Now you can transplant your marjoram in prepared soil.
How to Grow
For best results, marjoram needs fertile, loamy soil. This herb prefers a neutral pH around 7.0, but it can handle a wide range, from 4.9 to 8.7.
Marjoram doesn’t require a lot of water. The soil should be well-draining and be allowed to dry out about an inch down between watering. Wet feet are marjoram’s biggest enemy. Though it can handle drought conditions, for the best flavor, make sure your plant is watered regularly. These plants have shallow roots, so they dry out quickly. This isn’t a problem most of the time, but when the weather gets really hot, you’ll need to keep an eye on your plants. A bit of organic mulch like leaves and straw can help to retain moisture in the soil. Marjoram also needs a full sun location, but will tolerate partial shade in particularly hot climates.
Cut the stems back after flowering in early summer, to stimulate new growth. If you want to leave blossoms on the plant to encourage pollinators or to allow the plant to self-seed, trim it back in the fall to maintain its shape. Prune in spring to remove weak or dead growth and to keep the plant’s size in check. It can get scraggly after several years if you don’t prune regularly.
Growing Tips
Grow in a full sun location Allow the top inch of soil to dry out between watering Trim back in spring or fall
Where to Buy
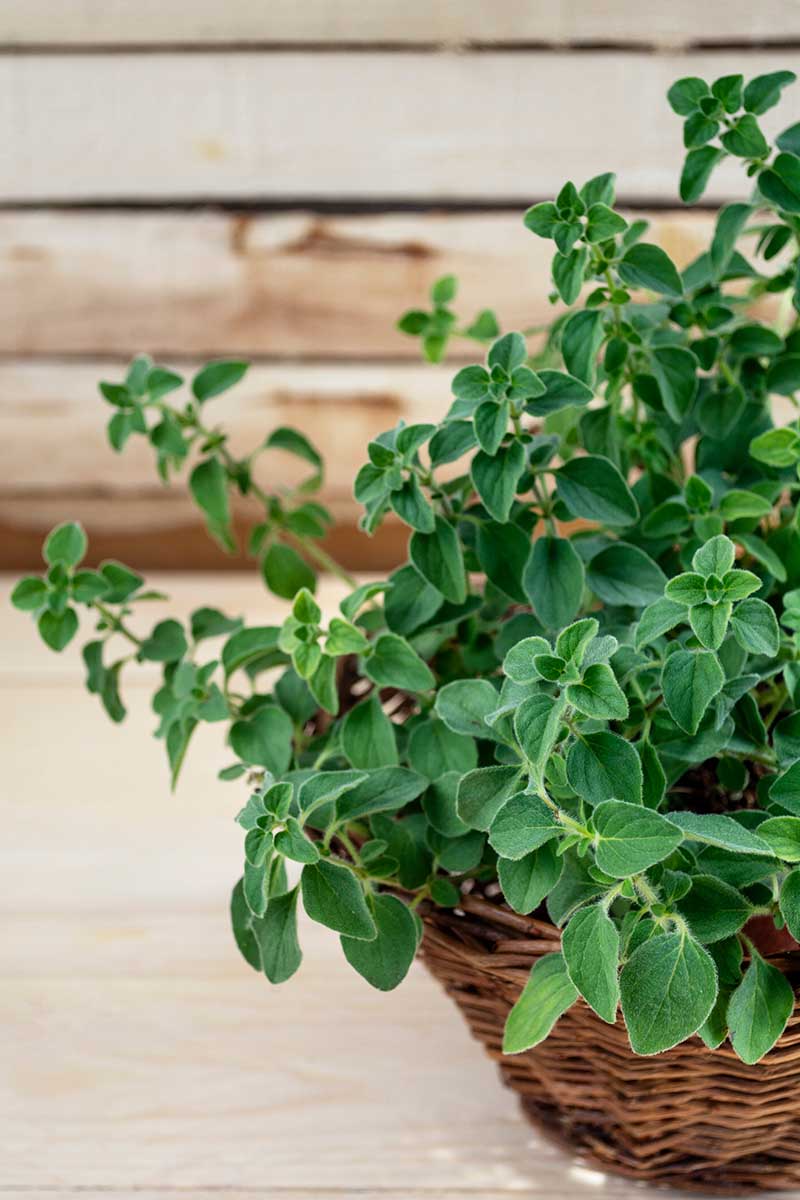
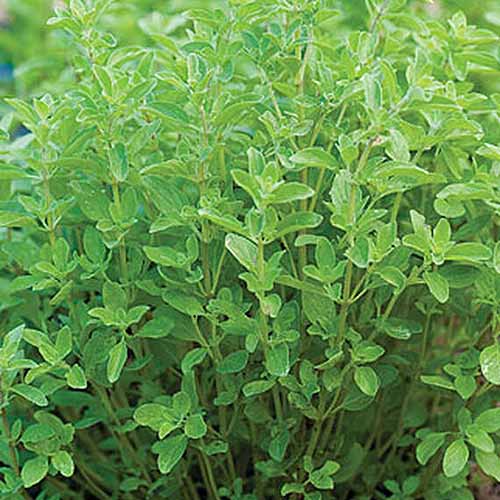
Most marjoram is sold under the name “marjoram” or “sweet marjoram.” It is sometimes possible to find a variety with variegated leaves. The classic O. majorana species is usually available at your local nursery or garden center, or you can buy online. Compared to some plants, marjoram doesn’t face a ton of problems with pests and disease. That doesn’t mean it’s entirely problem-free, however. Sweet Marjoram You can find seeds or a set of 3 plants available from Burpee.
Italian
O. x majorana, often sold as Italian oregano, is a hybrid cross between O. vulgare and O. majorana that features bright green leaves.
O. x majorana You can find seeds in a variety of packet sizes available at Eden Brothers.
Managing Pests and Disease
Pests
Pests, rather than issues with disease, are likely to be your biggest challenge when growing this herb.
Aphids
The peach aphid (Myzus persicae) is a common pest that loves to attack marjoram. It’s a tiny, green, tear-drop shaped insect that sucks the sap out of plants, leaving behind a sticky substance called honeydew in its wake. A few aphids aren’t usually a cause for concern, but a large infestation can stunt growth, and they may cause yellowing or necrotic spots to develop on plants. Controlling them is generally as easy as blasting the plant with water from the hose to knock them free. Do this every day for a week to be sure you’ve got the population under control. If things get bad, you can use canola oil as a pesticide because it smothers the little pests. Spray plants so that they’re saturated, applying the oil to the foliage once a week for three weeks. Learn more about how to manage aphids in your garden.
Cutworms
Cutworms (Agrotis spp.) chew through the base of plants, killing them. They’re usually active at night, which makes them hard to spot – until you come outside and find your marjoram plant lying on the ground. It’s important to keep the ground around your plants clear to avoid giving the worms a place to hide. A layer of diatomaceous earth scattered around plants will help keep cutworms away. You can also make cardboard collars to deny cutworms access to your plants. Get a toilet paper tube and cut it in half. Place it around the base of each marjoram seedling, sinking an inch of the tube into the soil.
Spider Mites
Spider mites attack a variety of plants in the garden. The two-spotted spider mite (Tetranychus urticae) in particular is the one you’ll most commonly see snacking on your marjoram. You’ll usually see the fine webbing on your plants before you notice the tiny arachnids. If an infestation is bad, the leaves may turn yellow and drop off the plant. The first line of attack is to spray plants with a strong blast of water to knock them away. This is sometimes enough to keep the populations small enough that plants don’t suffer. While you can use insecticides to control them, keep in mind that you run the risk of killing off the beneficial insects in your garden.
Thrips
Western flower thrips (Frankliniella occidentalis) are a common pest that can cause an incredible amount of damage. The millimeter-long insects have feathery, clear wings and their color can range from pale yellow to dark brown. An infestation may cause leaves and flowers to become distorted, sunken, or to appear silvery. The insects suck the fluid out of the plant and can spread disease. Not only do thrips harm plants and transmit diseases, they can also bite humans, causing skin irritation. Reflective mulches are a good deterrent, but if you end up with an infestation, insecticides are the only way to get rid of them. If your plants are struggling, but hanging on, it may be best to just let the insects do their thing. If an infestation worsens and your plants are suffering, use a spinosad-based insecticide. Remember, you’ll likely kill off beneficial insects in the process, but sometimes it’s the only option. For more tips, read our thrip management guide here.
Disease
While I’m busy battling diseases on my other plants, my marjoram is generally off in the corner, happily growing, disease free. Every once in a while, however, you may need to tackle a fungal issue.
Mint Rust
Mint rust, as the name implies, appears as rusty orange blisters on the undersides of the leaves of marjoram plants. The top of the leaf might have light yellow spots. Eventually, leaves may drop and the plant’s growth can become stunted, or it may even die. This disease is caused by the fungus Puccinia menthae. This fungus thrives in damp, humid conditions, and in areas where plants are crowded or have poor air circulation. That’s why pruning to control the size of the herb is important. You don’t want plants growing too close together, or becoming too dense, as this reduces airflow which will allow a buildup of humidity. You should also water at the base of plants in the morning, so they have time to dry out over the course of the day. While marjoram plants don’t necessarily need mulching, if you struggle with rust in your garden, you can place wood mulch around plants to prevent water from splashing on them. Keep any wild mint plants well away from your garden, because they can carry and spread the disease. If all that fails, you can trim the plant back to the ground in the fall and apply a fungicide to the stems and the ground surrounding the plant. Look for one that contains Azoxystrobin, and apply it according to the manufacturer’s directions.
Harvesting
If you are primarily interested in harvesting the leaves, don’t let your plants bloom. Prune the blossoms as they begin to form.
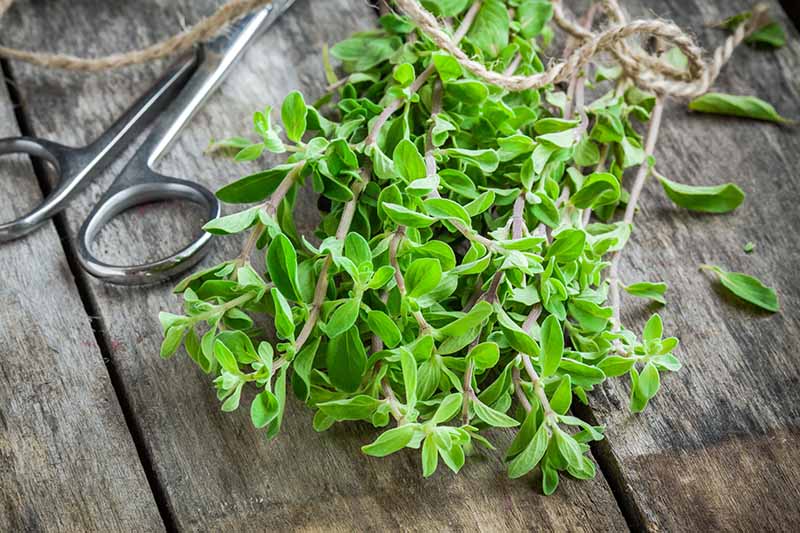
To harvest, simply snip the branches and flowers as you need them, using a pair of scissors or clippers. If you want a large harvest, you can cut the plant back close to the ground in the early summer for a second harvest by fall.
Preserving
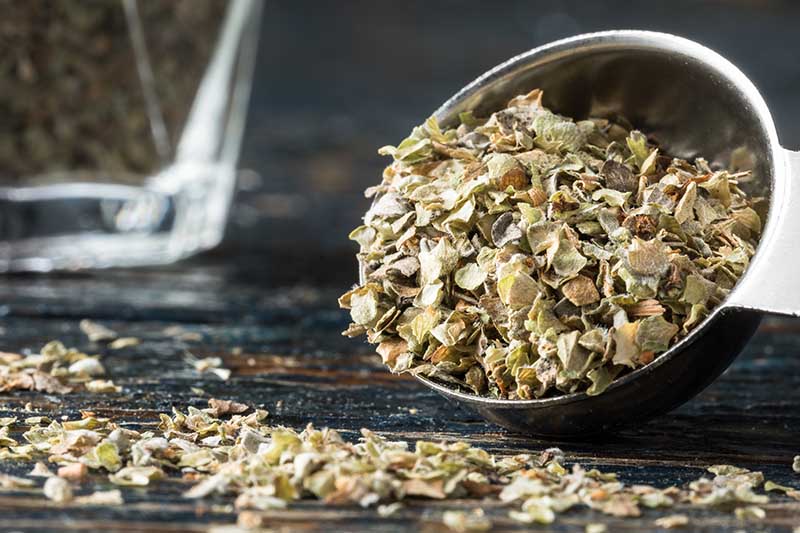
Just like its buddy oregano, marjoram is superb dried. Its delicate flavor becomes more concentrated when the leaves are dried.
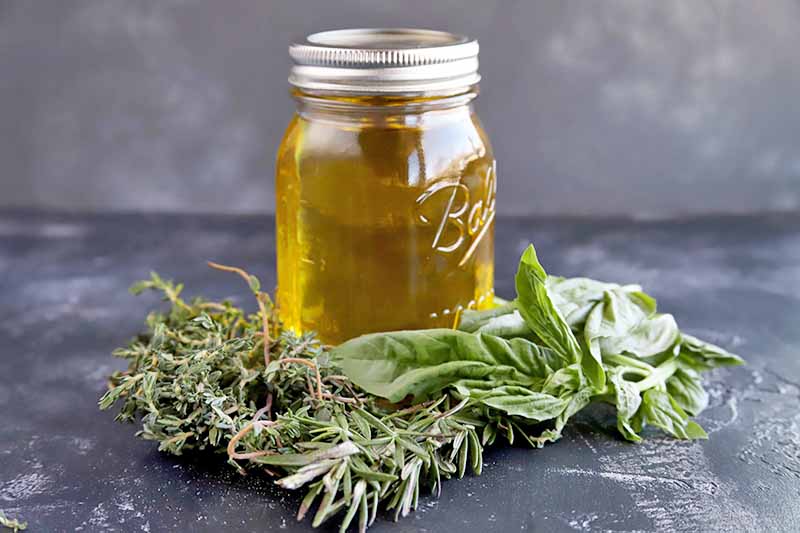
You can hang small bunches of the branches tied together, or lay sprigs on a cookie sheet in an area with good air circulation. Turn the sprigs occasionally to make sure they dry evenly. You can also dry sprigs or individual leaves in a dehydrator, or an oven on its lowest setting, until crispy and dry. Get more tips on drying garden herbs here. You can also freeze marjoram by washing the separated leaves and putting them in a resealable bag. Press the air out and put it in the freezer. Read more about freezing fresh herbs here. Fresh marjoram can be stored in the refrigerator wrapped in plastic for four days. You can also make a herbed oil, ideal to use in salad dressings, or for drizzling on pizza or pasta. You’ll find all the instructions on our sister site, Foodal.
Recipes and Cooking Ideas
Marjoram is a classic seasoning for meats like pork, duck, goose, and chicken. It’s also tasty in tomato dishes. Because it has a subtle flavor, it lends itself to seasoning delicately flavored veggies like zucchini.
The fresh leaves are also delicious tossed into a salad. I think the addition of a few whole leaves take a traditional Caesar salad to the next level. You can also chop fresh leaves into equal parts cream cheese and sour cream to make a light dip for veggies.
Quick Reference Growing Guide
Give Sophisticated Marjoram a Grow
Marjoram often takes a back seat in the garden to the more popular oregano. But with its subtle, sweet flavor, the ease of growing it, and its ability to draw pollinators, there’s no reason not to give it a spot in your herb garden.
Are you growing marjoram in your garden? Let me how you plan to use up your homegrown bounty in the comments below! And why not check out these guides to learn more about growing herbs in your garden:
How to Start Your Own Herb Garden Tips for Growing Herbs in Containers How to Grow Oregano How to Grow and Care for Common Thyme
© Ask the Experts, LLC. ALL RIGHTS RESERVED. See our TOS for more details. Product photos via Burpee and Eden Brothers. Uncredited photos: Shutterstock.