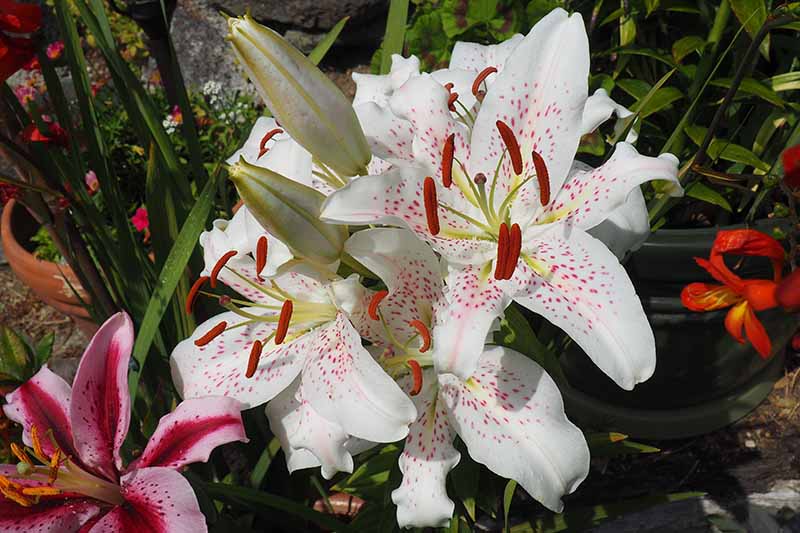
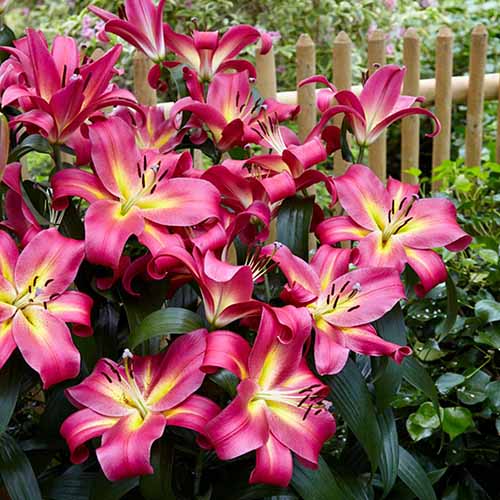
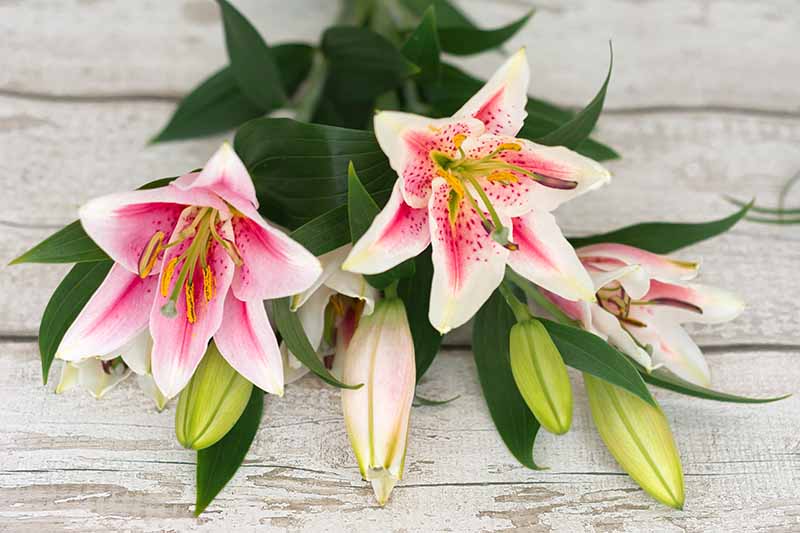
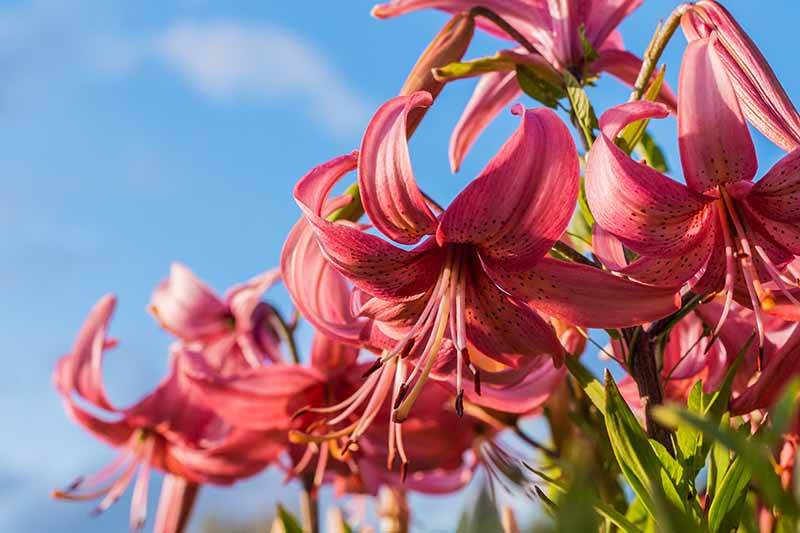
Renowned for their big, bold blooms in scrumptious colors, these hardy bulbs are dependable, low maintenance, and multiply easily. And many have an unforgettable and intensely sweet fragrance. With such a splendid display, you might think these exotic bulbs are difficult or fussy to grow. But that’s not the case – popular hybrids are easy to cultivate and adapt to most conditions. We link to vendors to help you find relevant products. If you buy from one of our links, we may earn a commission. And with several varieties to choose from, you can enjoy their dramatic blooms from late spring through summer. Join us now for a look at how to plant and grow true lilies – you’ll soon see why your garden should have some!
What Are True Lilies?
The term “true lilies” refers to members of the Lilium genus in the Liliaceae family – plants with large, showy flowers that are grown from scaly bulbs. The term is used to distinguish them from the many other plants that have lily in their name but aren’t family members. Like daylilies, which are from the Hemerocallis genus in the Asparagales family. And only true varieties make it onto the esteemed Lily Register!
The Lily Register
In the mid 1960s, the Royal Horticultural Society developed a system for classifying true lilies.
With around 100 botanical species and hundreds of hybrids, plants are sorted into nine divisions according to similarities in bloom times, flower aspect and form, growth habits, hardiness, and parentage. Divisions are noted by the Roman numerals I to IX, and most contain several species, subspecies, and their hybrid cultivars. And because breeders are developing new hybrids every year, the rich selection of beautiful bulbs continues to grow. But don’t worry, there’s no need to memorize all nine divisions! For the home gardener, Divisions I and VII are the most popular. These are the classic Asiatic and Oriental hybrids. However, you don’t want to miss the heady Trumpets in Division VI. Or the dazzling new hybrids in Division VIII, like the Asiapets and Orienpets. All are highly rewarding and easily cultivated. And for naturalized areas, the North American species and hybrids in Division IV, and the True Species in Division IX, offer beautiful, clump-forming options. Most of the commercially grown true lilies today are hybrids, and belong to one of nine divisions:
Division I – Asiatic hybrids Division II – Martagon hybrids Division III – Euro-Caucasian hybrids Division IV – American hybrids Division V – Longiflorum hybrids Division VI – Trumpet and Aurelian hybrids Division VII – Oriental hybrids Division VIII – Other interdivisional hybrids Division IX – Species and cultivars of species
For more information on the characteristics of each division, and to learn about 27 of our favorite varieties, check out our guide to lily plant types.
Cultivation and History
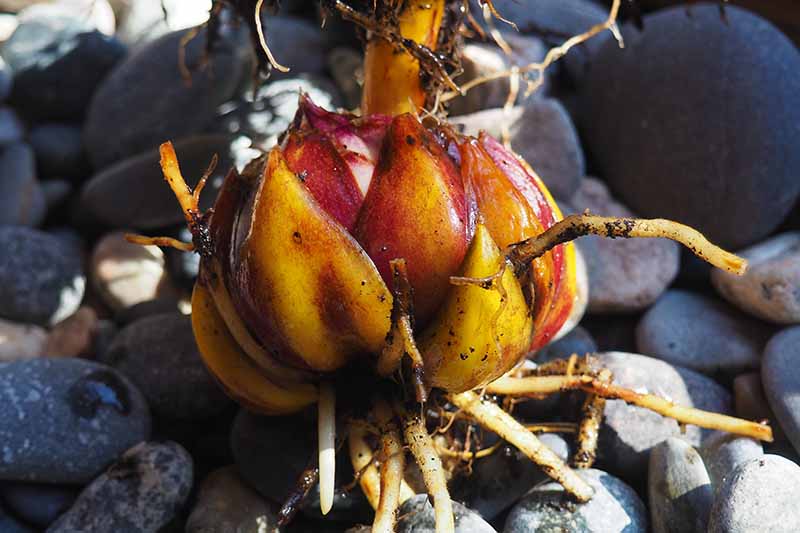
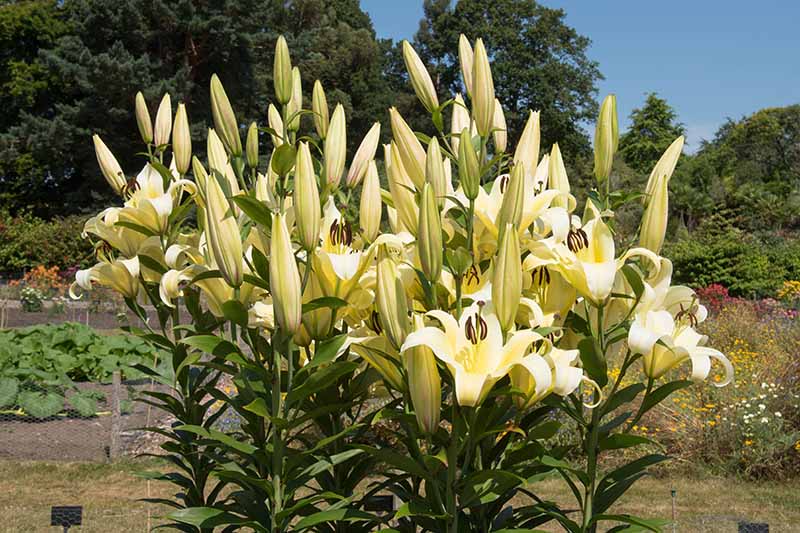
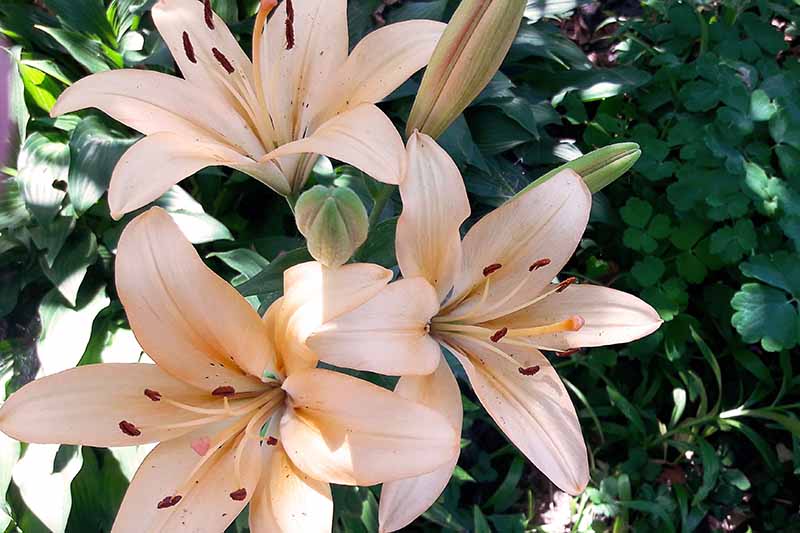
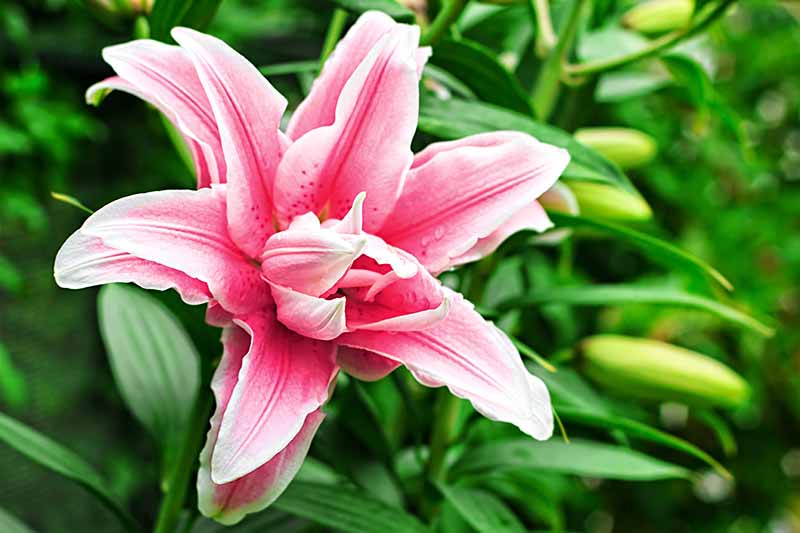
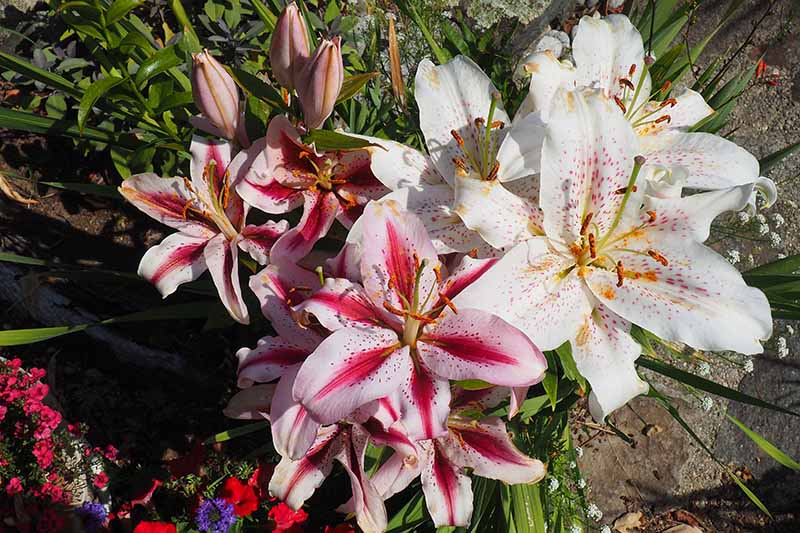
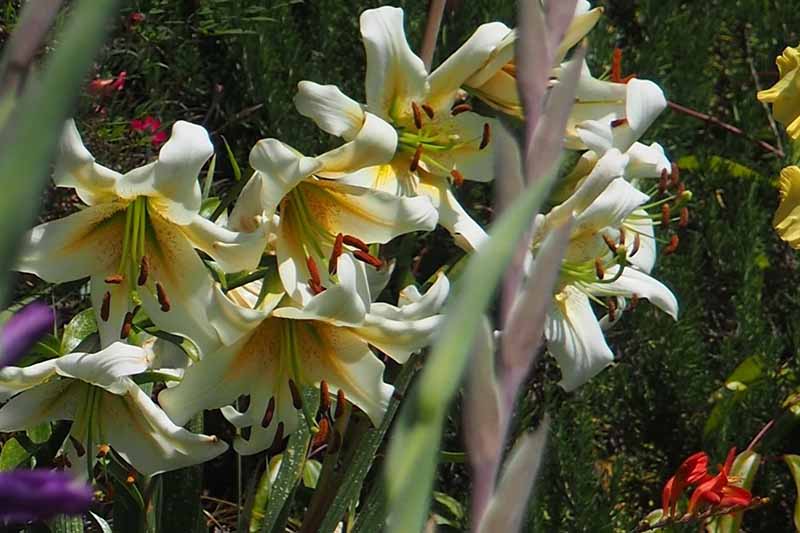
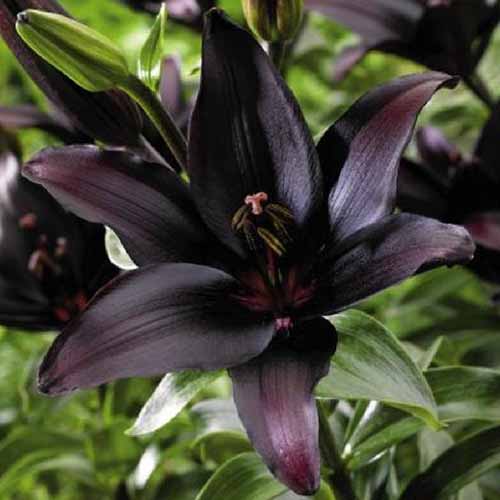
Lilies are upright perennials that range in height from 2 to 8 feet tall. Lance-shaped leaves adorn the stems, and flower shapes can be flat, bell, bowl, or trumpet-like. Native to temperate regions of Asia, Europe, and North America, plants grow from scaly bulbs. Flowers are borne singly or in groups and can face down, out, or upward. They’re often highly fragrant and come in shades of orange, pink, purple, red, white, and yellow – every color except blue, and some hybrids produce petals that are almost black. Petal markings include brush strokes, color bars, contrasting tips and throats, and freckles. The bulbs are imbricate – which means they lack the moisture-retentive, papery tunic that other bulbs have. As such, they need to be kept in a lightly moist environment until planting, usually in damp peat moss or sand. Bloom times vary for each division. Some begin to flower in late spring, while others bloom in early, mid-, or late summer. Most varieties are hardy in USDA Hardiness Zones 4-8, but many are hardy in Zones 3-9 as well. Bulbs are left in the garden during winter dormancy and will multiply readily. When left undisturbed, many species and cultivars will form large stands with multiple flower stems. Lilies have been cultivated by many cultures for millennia and were often bestowed with magical properties – although they have no real medicinal value. They’re mentioned in both the Old and New Testaments of the Bible and were considered sacred by the ancient Minoans. During the Victorian era, botanists and explorers “discovered” many new species of lilies. But bulbs remained rare and often proved difficult to grow outside their native habitats.
It wasn’t until the 1930s that hybridization began. ‘Enchantment’ was the first significant hybrid, a dependable, clump-forming Asiatic variety with upward facing, coral-colored flowers that is still popular today.
Propagation
Lilies like to procreate and provide several ways to perpetuate the species!
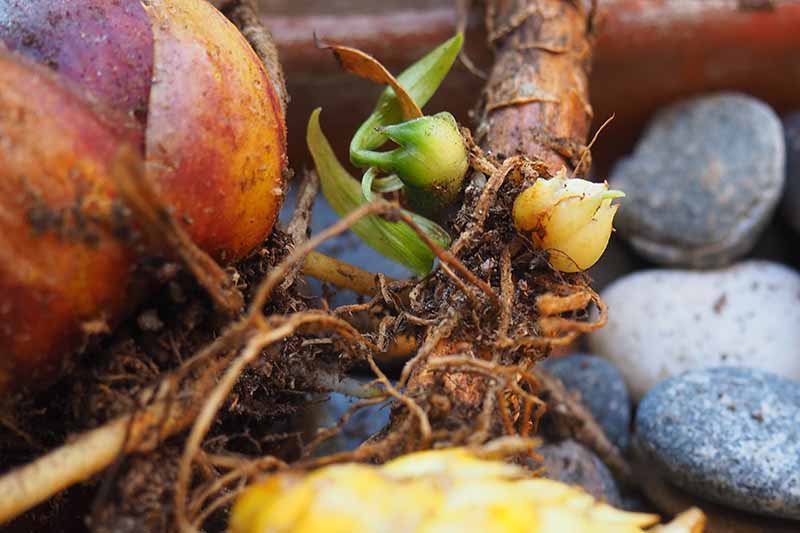
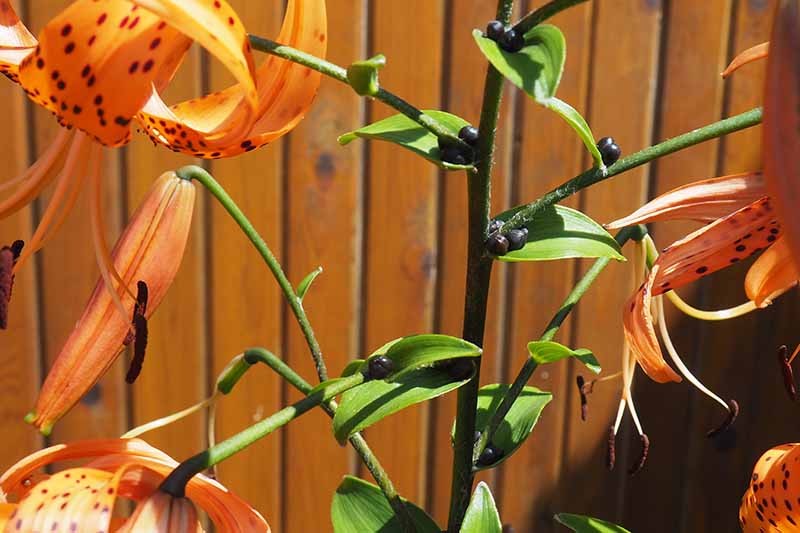
You can scale bulbs to create new plants. Bulbs also create baby bulbs, known as offsets or bulblets. Stems may also produce bulblets just below the soil surface. Some species also produce stem bulbils that look like large seeds in the leaf axis. And of course, the flowers produce seed as well. However, with hybrids, reproduction from seed does not guarantee that seedlings will be true to the parent – and seeds are often sterile. Seed propagation is only successful with species plants.
From Seed
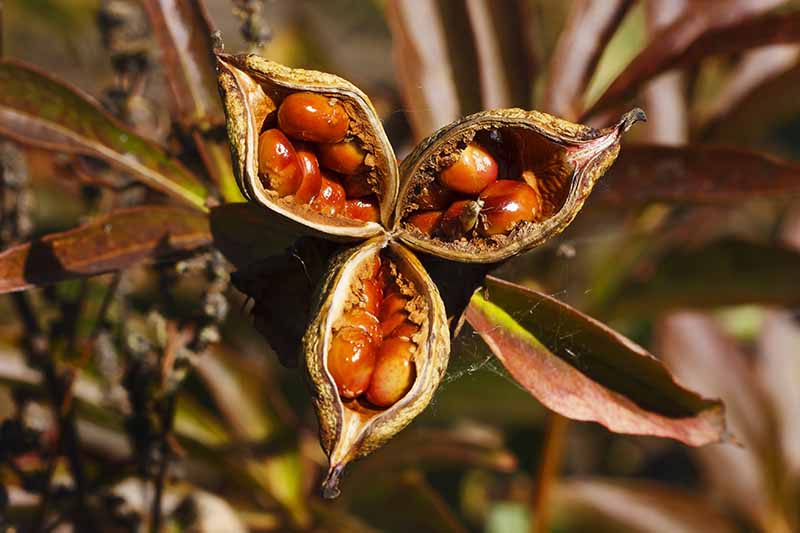
Starting new plants from seed is slow – expect to wait 3 or 4 years before blooms appear. Seeds ripen in late summer and can be collected on a dry day, about 8 weeks after the last blooms.
As the pods age, they swell noticeably and then change from green to brown and split open, revealing mature seeds that are dark, dry, and firm. Seeds require hypogeal germination – three months of moist, warm temperatures followed by three months of cold temperatures. To do this, mix seeds with about 2 cups of moist peat moss and place in a plastic bag or container. Cover loosely. Store the peat and seed mix in a warm, dark spot. Check biweekly to ensure that the peat doesn’t dry out, and add water as needed to keep it moist. When the seeds have swollen and formed tiny bulbs, place them in the refrigerator for another three months. Keep the peat moist and temperatures between 45 and 55°F for the duration of their cold spell. After three months, remove the immature bulbs from the cold and plant 1/2 inch deep in organically rich, well-draining soil in 4- to 6-inch pots. Place pots in a sheltered spot in the garden that receives bright, indirect light, keeping the soil moist but not wet. After 18 to 24 months, gently remove and separate bulbs, then plant into the garden or large containers. Young bulbs can be planted out when they’re over 1 inch in diameter, although they may need to mature for another year or two before blooming.
From Stem Bulbils
Plants started from stem bulbils can begin to produce flowers in two years. In late summer, carefully pluck the bulbils from the leaf axils – where leaves join the stem. Add drainage material such as coconut coir, broken pottery, pebbles, or gravel to several small, 4- to 6-inch pots and fill with a moist, sterile potting mix. In each pot, plant 4 to 6 bulbils 1/2 inch deep and an inch apart, and cover with soil. Place pots outdoors in a sheltered spot that receives ample moisture and indirect light. Allow the pots to remain in place for 18 to 24 months. The soil must be well-draining and kept moist, but not wet or waterlogged. When shoots emerge, feed with a granular, low-nitrogen bulb fertilizer.
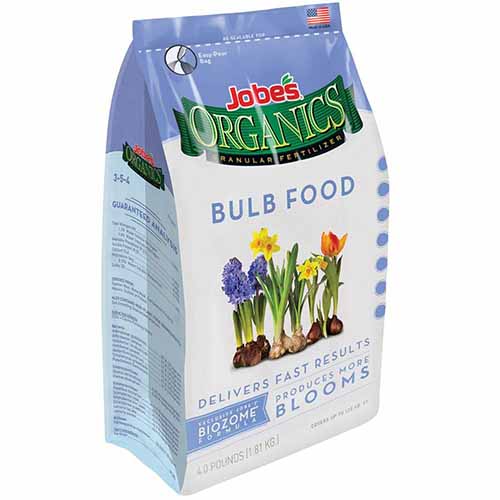
Jobe’s Organic Bulb Food via Home Depot Jobe’s organic bulb food has a 3-5-4 NPK ratio and is available at Home Depot. Early in their second spring, lift the bulbs from their containers and separate gently. Plant out bulbs that are 1 inch or larger in the garden, and replant smaller ones in the same pot for another 6 to 12 months of growth.
From Offset Bulblets
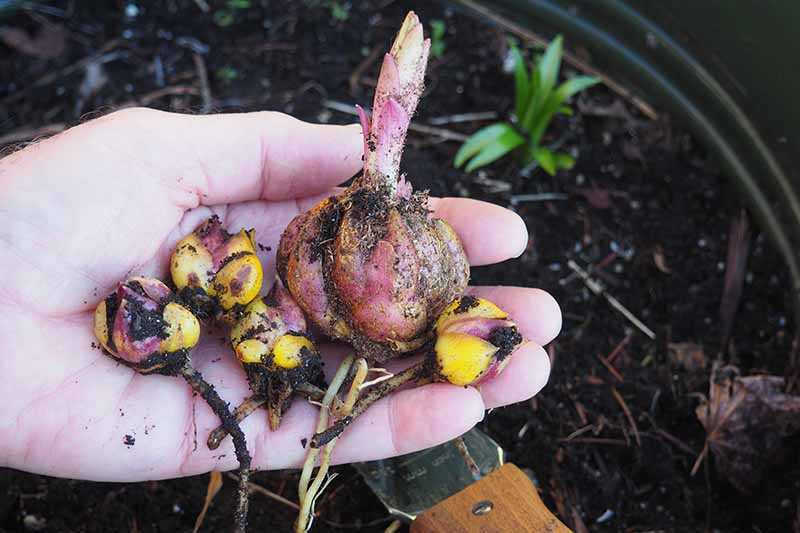
Bulblets are the easiest to propagate, and the method is the same for both bulb and stem offsets. Offsets can vary in size from that of a pea to a golf ball. Small offsets can take 2 to 4 years to flower, but larger ones can bloom in 1 to 2 years. Bulblets will be identical in type to the parent plant, making this a viable method for both hybrid cultivars and species plants. Lift mature bulbs from the ground and detach offsets from the bulb or stem. Pot up smaller offsets in 4- or 6-inch pots, using a sterile potting mix and ensuring the soil is well draining. Larger ones can be replanted directly in the ground. Provide the pots with similar conditions as for bulbils, place in a sheltered spot with indirect light, and keep them moist but not waterlogged. Depending on the size of the bulblets, allow them to grow for a year or two before planting out into rich, well-draining soil. Plant out when bulbs are over 1 inch in diameter.
From Scales
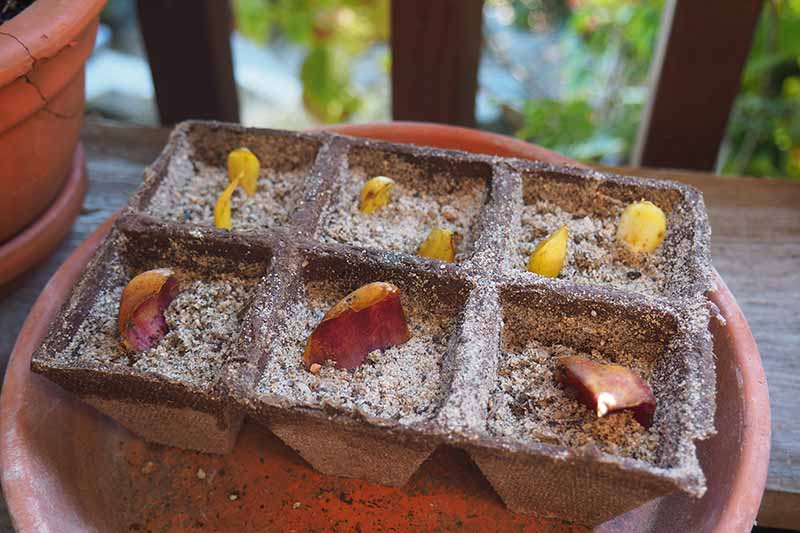
Scales are taken from a parent bulb before planting. Or, lift mature bulbs in fall for scaling. From a mature, plump bulb, snap off 4-8 scales close to the base. Dust the parent and scales with a fungicide powder such as garden sulfur. Press the broken base end of each scale firmly into a seed tray of moist sand so that each one is standing upright. Cover with a plastic bag and seal lightly. Store in a warm, dark location (around 65-70°F) for six weeks. Check the moisture every 7 to 14 days. Add water if needed to keep the sand damp, but not waterlogged. When bulblets have formed, discard any remaining scales that have gone soft. Plant the bulblets in 4- to 6-inch pots of sterile potting mix, ensuring that the soil is well-draining. Place in a cold frame or a sheltered, frost-free spot in the garden to overwinter, keeping the soil moist but not wet. For those in regions with mild winters where temperatures stay above 40°F, refrigerate the potted bulblets for 6 to 12 weeks at temperatures of 45-55°F.
How to Grow
Although there are nine different divisions, the care and cultivation of all varieties are similar.
Bulbs can be sown in fall or spring and should be planted promptly after purchasing. Remember, these imbricate bulbs lack a moisture-retentive tunic and can dry out quickly. They prefer organically-rich soil with a neutral to slightly acidic pH of 6.0 to 6.5, and prefer conditions similar to clematis – with cool, moist roots and heads in the sun. Most grow best in full to partial sun, but some prefer light shade – like the Martagon hybrids and some North American species. Bulbs are typically planted 4 to 6 inches deep. But these smart plants have contractile roots that pull bulbs down to their proper depth. So it’s better to err on the side of planting too shallow rather than too deep. To grow successfully, they must have well-draining soil. Any bulbs allowed to stand in water will rot.
Enrich the soil with 1/3 organic matter such as compost or aged manure. Add 1/3 shredded coconut coir, peat moss, perlite, or vermiculite to help retain moisture. Mix in some coarse sand to improve drainage if needed. Mix a sprinkle of bone meal into the planting holes and plant bulbs with the flat (root) end down. You want the bulb tips to be approximately 3 inches below the soil surface. Plant bulbs 10 inches apart to ensure proper air circulation and prevent fungal disease. Water to settle the bulbs and add a 1-inch layer of leaf mulch or compost to help retain moisture. After stems emerge from the soil, work in a complete granular fertilizer, such as 10-10-10 (NPK). Add a second, supplemental feeding when buds begin to form, and water in thoroughly.
Generally, Asiatics are the earliest to bloom, with flowers appearing in late spring. Oriental and Trumpets flower in midsummer, with the Martagon hybrids following in mid- to late summer. After flowering, remove spent blooms, but leave about 2/3 of the stem and leaves in place for photosynthesis. Allow stems to wither and die back on their own, then cut back to the ground and clean around the plants for winter. Lilies require a period of cold winter dormancy and do not grow well in areas with warm winters. Container care is simple. Use the same rich, well-draining soil and ensure the container is big enough to hold mature, flowering plants – they can get top heavy. Pots with a minimum diameter and depth of 20 inches will hold 3 bulbs, although flowers will be smaller.
Growing Tips
Keep the following tips in mind to enjoy a bountiful lily display:
Bulbs can be planted in fall or spring. However, fall-planted ones perform better because their roots have time to become established before the growing season begins.
Plant bulbs to a depth of about 3 times their diameter – typically, 4 to 6 inches deep.
Container grown bulbs can be planted an inch or two shallower.
Keep the soil moist but not wet. Moisture retentive material added to the soil, such as peat or vermiculite, helps bulbs to stay cool and hydrated.
Space bulbs 10 inches apart to ensure proper air circulation and avoid fungal diseases.
An organic mulch is recommended to keep roots cool in summer, and protect from freeze and thaw cycles in winter.
Staking may be required for plants with huge heads of blooms.
For long-lasting bouquets, cut stems when the buds are just beginning to open and starting to show their colors.
For cut flowers, remove anthers with a tissue to prevent pollen stains.
Pruning and Maintenance
Break or cut off spent flowers after petals wither and fall off, leaving 2/3 of the stem intact. To direct energy to the bulb, be sure to remove the entire flower head, including the swollen seed pods at the flower base. Remove any dead or damaged leaves during the growing season and allow stems to wilt and wither on their own. Once foliage has died, cut back to ground level – to prevent dislodging the bulbs, don’t pull the stems. Soil with excellent drainage prevents the root and bulb rot caused by excessively wet conditions.
Cultivars to Select
To enjoy a long bloom season, choosing cultivars from Divisions I, VI, VII, VIII, and IX can create waves of flowers from late spring all the way to autumn. Here are a few suggestions to get you started:
Asiatics
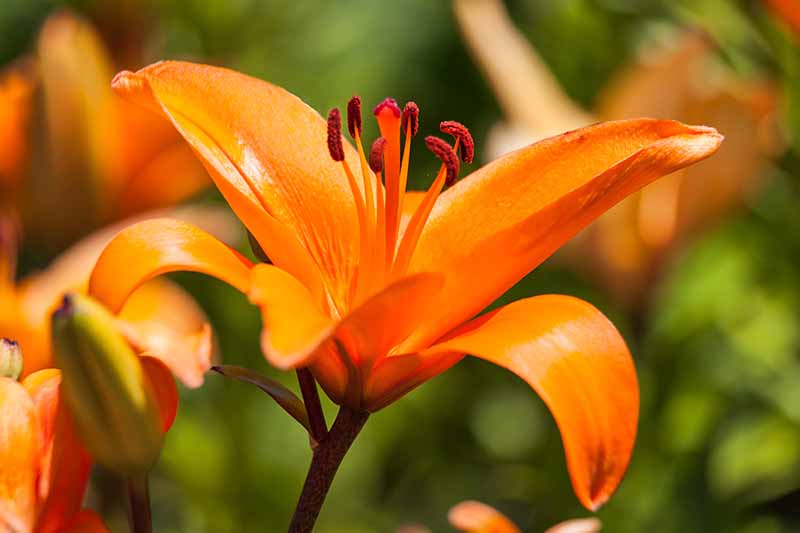
Look to the Asiatic hybrids in Division I for early blooms, easy growth, and fantastic pastel or tropical colors.
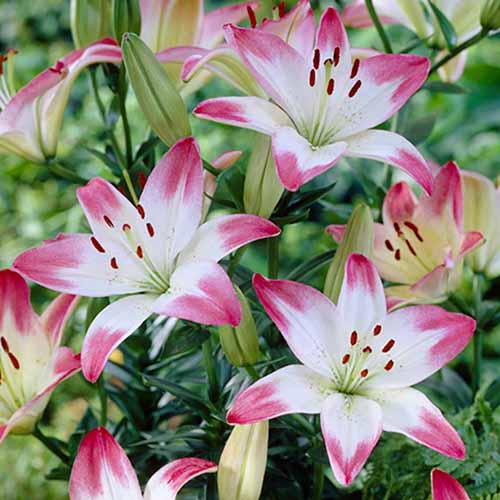
‘Landini’ The striking ‘Landini’ has the deepest purple petals – so deep, they appear black! Bulbs in bags of 5, 10, or 25 are available at Eden Brothers. Or maybe you prefer bright colors, like those of the cheerful ‘Lollipop’ with its whimsical, pink-tipped flowers.
‘Lollipop’ Bulbs in 7-packs are available at Home Depot.
Trumpets
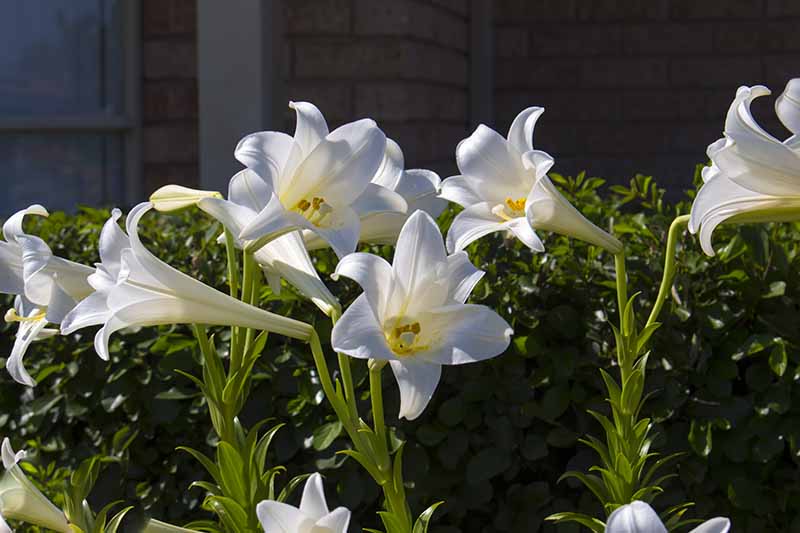
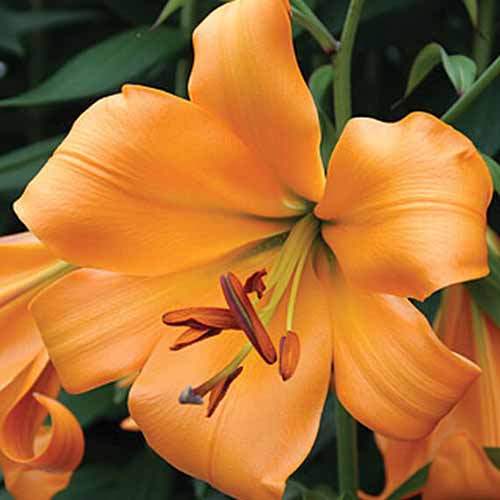
The highly fragrant Trumpet hybrids in Division IV feature up to 25 blooms per stem from mature bulbs. Blooming in midsummer, they’re ideal for large plantings or the cutting garden. ‘African Queen’ is renowned for her masses of transcendent, creamsicle-orange flowers and heavenly fragrance.
‘African Queen’ Bags of 3 bulbs are available at Burpee. And the sublime ‘White Planet’ has huge white trumpets with bright yellow throats.
‘White Planet’ Bags of 5, 10, or 25 bulbs are available at Eden Brothers.
Orientals
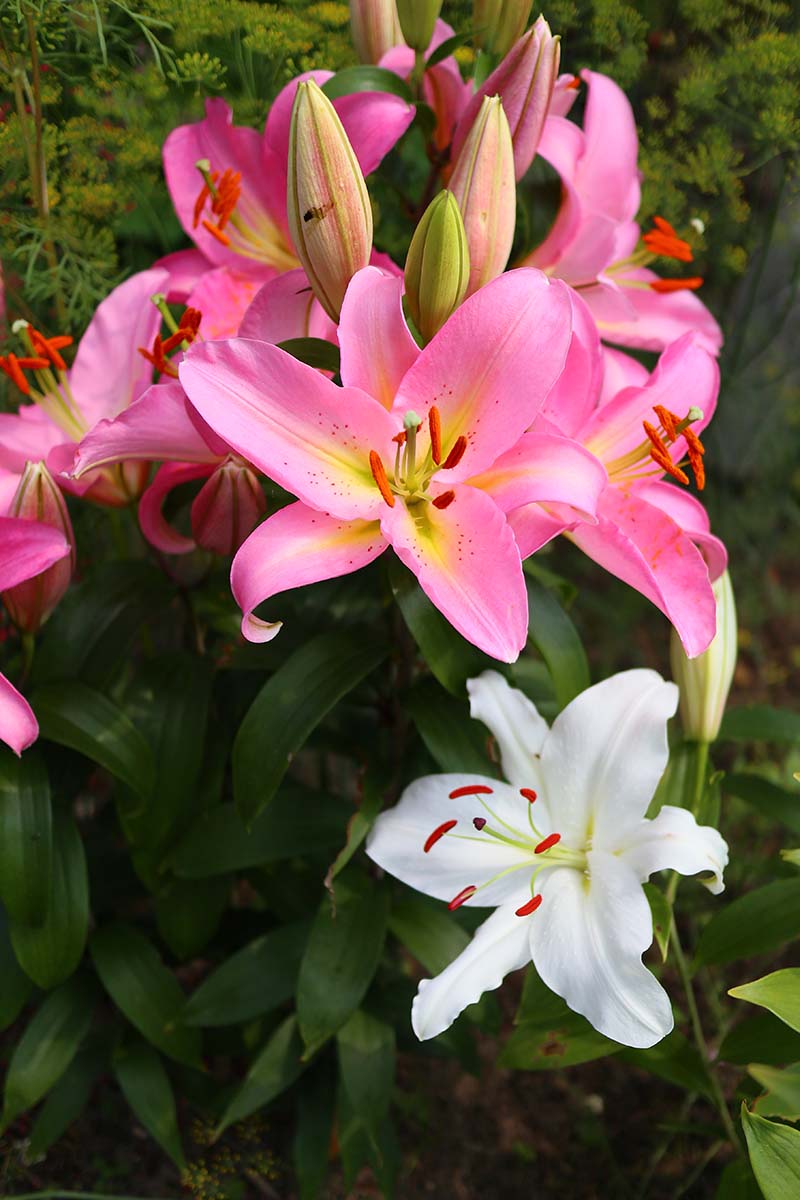
In Division VII, the enchanted Oriental hybrids present highly showy flowers with striking colors and exotic perfume. They bloom from mid- to late summer.
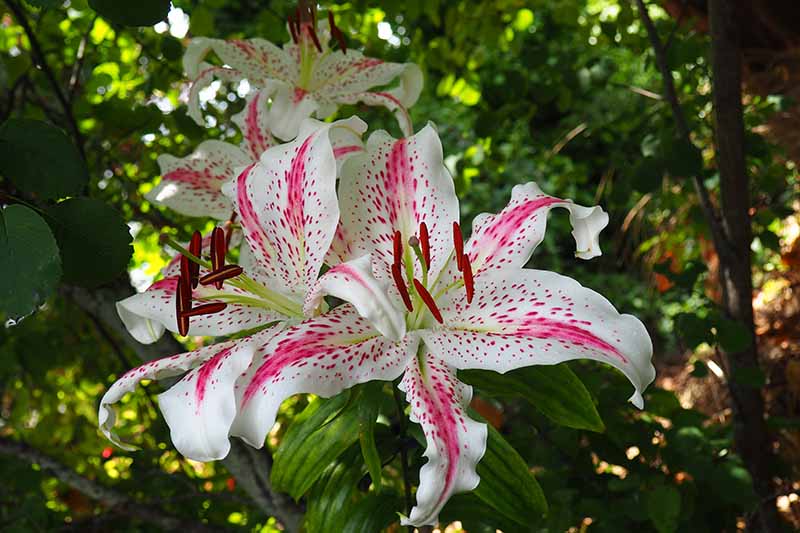
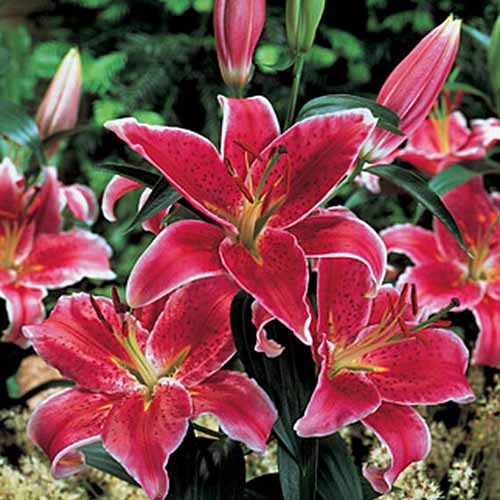
‘Star Gazer’ With bold, upward-facing flowers in deep, cerise pink, ‘Star Gazer’ has long been a stunning standout. Bags of 3 bulbs are available at Burpee. You won’t want to miss out on ‘My Wedding’ for the cutting garden.
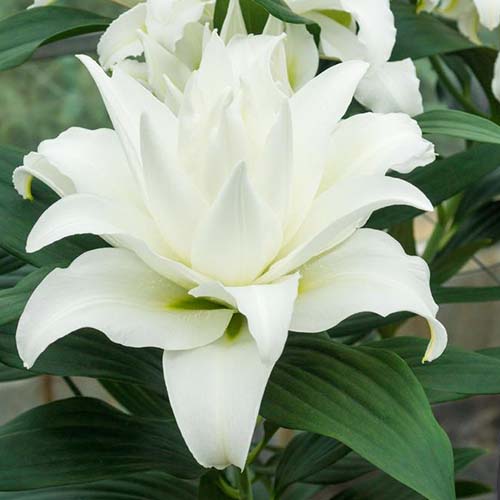
‘My Wedding’ Crisp white, double petals produce gorgeous, full blooms – and with no stamen, there’s no pollen to mar their purity. Packages of 5 bulbs are available at Home Depot.
Interdivisional Hybrids
Division VIII contains interdivisional hybrids that deliver outstanding plants featuring the best qualities of their parents. Blooming in early to midsummer, these exciting hybrids include Asiapets (Asiatic x Oriental), Orienpets (Oriental x Trumpets), AOAs (Asiatic x Oriental x Asiatic), LAs (Longiflorum x Asiatic), and LOs (Longiflorum x Oriental). ‘Purple Lady’ is a fragrant Orienpet.
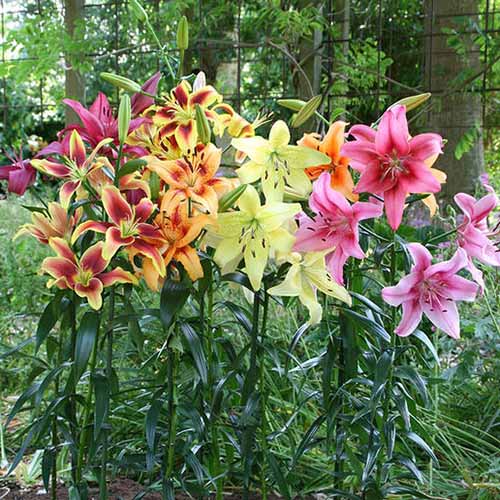
‘Purple Lady’ She has sturdy, tall stems and huge, rose-colored flowers with a yellow throat. Packages of 7 bulbs are available through Home Depot. For the best characteristics of Asiatic and Oriental lilies, this AOA hybrid mix features large, fragrant flowers in mauve, orange, pink, and yellow.
AOA Hybrid Mix Pick up packets of 5, 10, or 25 bulbs from Eden Brothers.
True Species
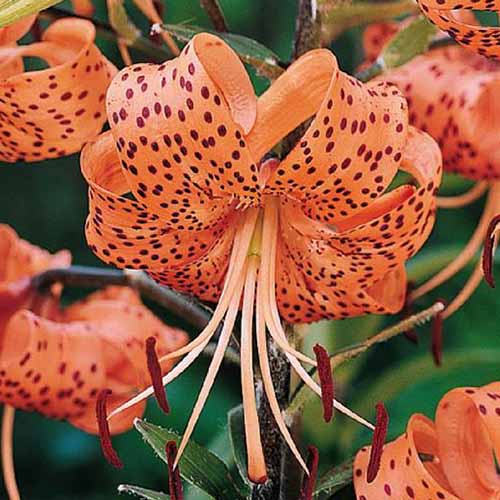
The true species and their hybrids in Division IX provide graceful, clump-forming plants, many of them unscented. ‘Splendens’ is a hybrid L. tigrinum, with up to 25 blooms per stem.
‘Splendens’ Bags of 5, 10, and 25 bulbs are available at Eden Brothers.
Managing Pests and Disease
Easy to cultivate, lilies have few troubles from pests or disease – and good planting practices will prevent most problems. Proper spacing provides adequate air circulation, which helps to minimize fungal disease and the spread of pests like aphids.
Pests
Here are some of the common pests that can plague your lilies:
Aphids
Aphids cause damage by sucking sap and spreading viruses. They can be removed easily with a strong blast of water from the garden hose. Hold the plant stems firmly to prevent water damage. See our guide to learn more about how to control aphids in the garden.
Lily Leaf Beetle
Larvae of the lily leaf beetle cause damage by eating the leaves. An application of neem oil during the growing season will take care of these pests.
Deer
Deer sometimes have a fondness for the flower buds. Use a light citrus spray on the flower buds to keep deer at bay. To do this, mix 1 part d-limonene orange oil concentrate with 15 parts water. Apply a light mist to the leaves and buds 1 to 2 times per week in the late afternoon. Learn more from our guide to protecting your garden from deer damage.
Rodents
Mice and squirrels can sometimes nibble on the bulbs. Ensure bulbs are planted at their proper depth and apply a thick layer of mulch in late summer to protect against rodents.
Disease
Largely disease-free, there are a couple to watch out for.
Botrytis
In cool, damp conditions, lilies are prone to botrytis, a common fungal disease that damages parts above ground, like leaves, stems, and sometimes flowers. Spores are spread by water splashing onto the plant via rain or watering, and the disease presents as small tan or reddish ovals on the leaves and stems, spreading from the ground up. Remove and dispose of damaged stems and leaves to prevent further spread. Treat with a fungicide.
Lily Mosaic Virus
This virus can infect tiger lilies, L. tigrinum, although it doesn’t harm them. But insects can carry it to other, more susceptible varieties, where it can cause distorted or mottled foliage. All of the infected plant material, including bulbs, needs to be removed and destroyed. Avoid planting tigers near other lilies to protect them from mosaic virus.
Best Uses
Lilies are truly spectacular when planted in large groups as specimens.
But they also mix well in beds or cottage gardens, and suit underplantings of colorful annuals or perennials like asters, bee balm, and black-eyed Susans. They are wonderful as a cut flower, so be sure to plant plenty for the cutting garden – you can never have too many!
They also grow well in large containers, although flowers tend to be a bit smaller than those grown in the ground.
Quick Reference Growing Guide
A Flower Like No Other
As you can see, lilies aren’t shy background players. These bright beauties are a flower like no other – drama queens that demand a stage to capture the senses! Thankfully, their cultivation and care belong to the non-diva.
Choose selections from the different divisions for an extended bloom season, and give them rich, well-draining soil. Then sit back and enjoy the performance! Do you folks have any favorite lilies? Tell us which ones brighten your garden in the comments below. And if you like easy, colorful flowers in your garden, check out some of our other guides next:
The Best 15 Late Summer Flowering Bulbs 17 Temperate Flowering Perennials That Will Grow Almost Anywhere The 13 Best Flowers for Attracting Pollinators to the Garden
Photos by Lorna Kring © Ask the Experts, LLC. ALL RIGHTS RESERVED. See our TOS for more details. Product photos via Burpee, Eden Brothers, Home Depot, and Van Zyverden. Uncredited photos: Shutterstock.
