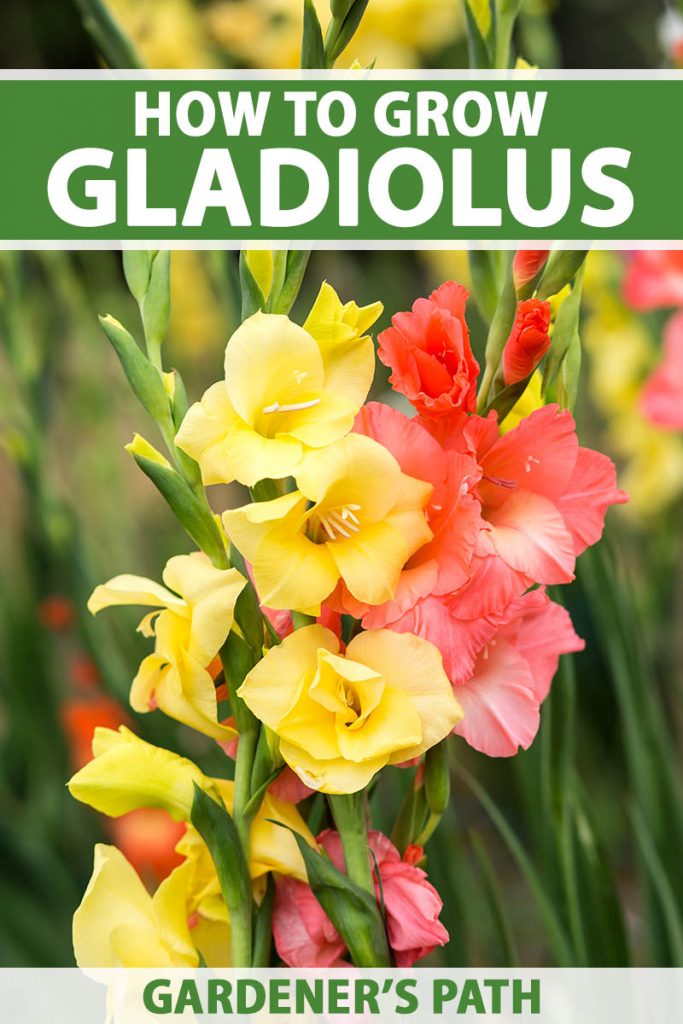
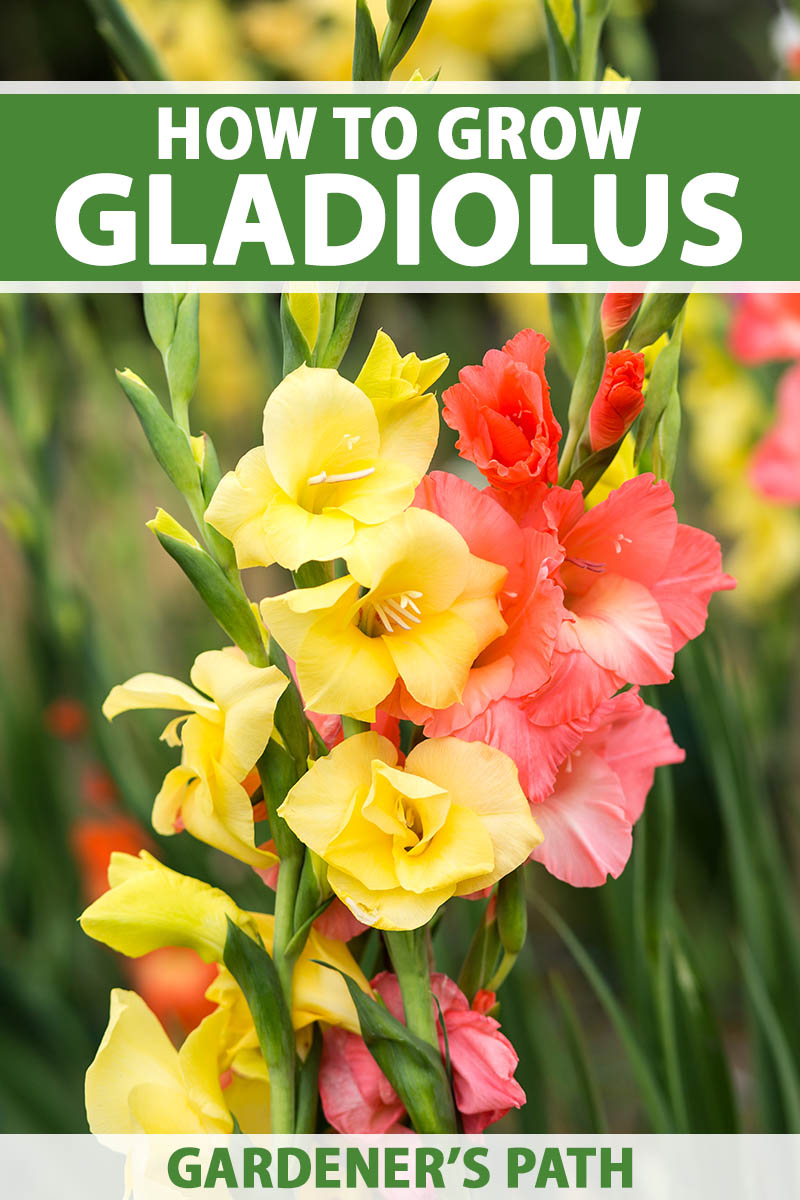
There are over 200 different species in the Gladiolus genus, and many cultivated hybrid varieties popular in today’s gardens. We link to vendors to help you find relevant products. If you buy from one of our links, we may earn a commission. In this article, we discuss everything you need to know to successfully cultivate colorful gladiolus in your garden. Let’s start with a look at this plant’s characteristics and its route from growing in the wild to becoming so popular in the home garden.
Cultivation and History
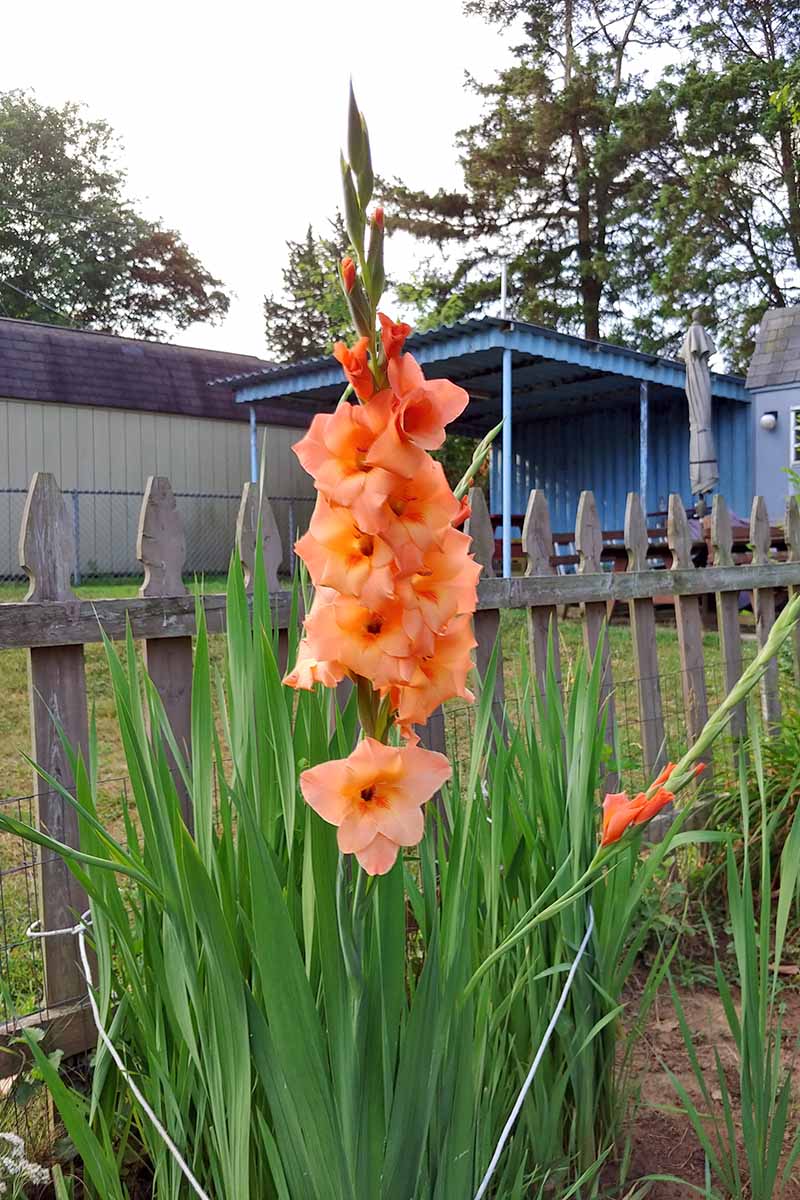
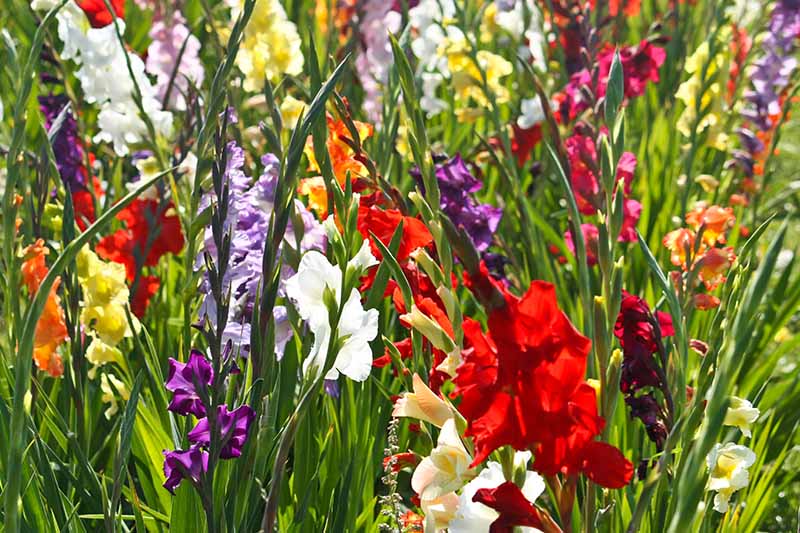
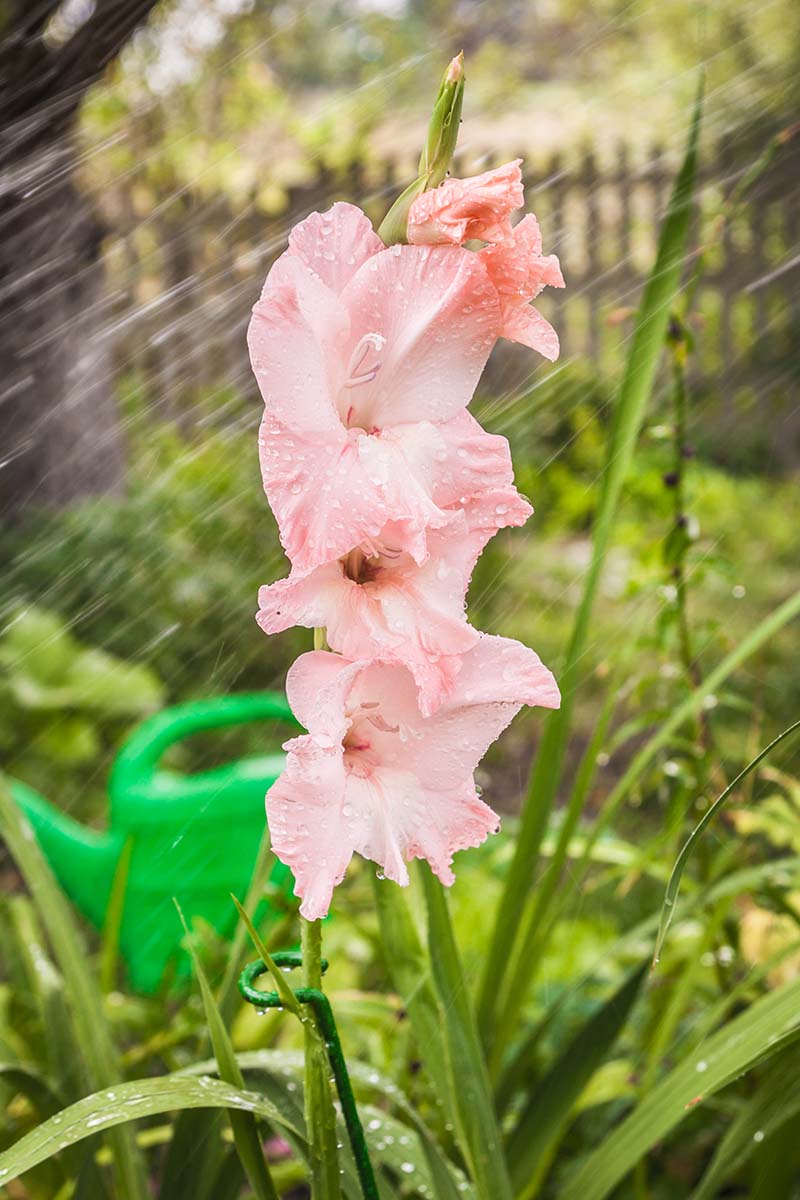
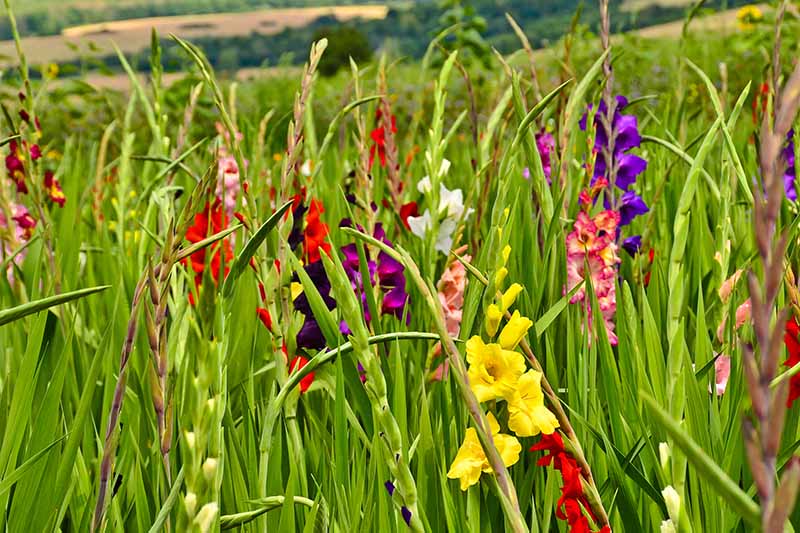
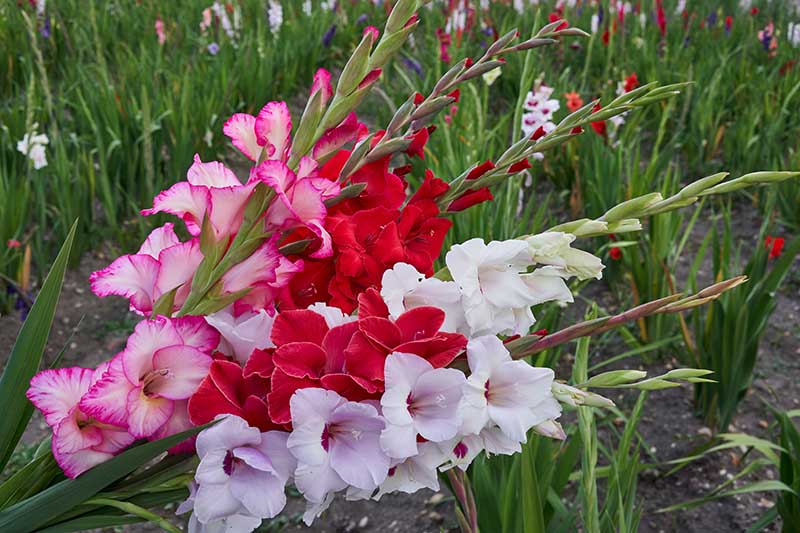
Commonly known as gladiolus, gladiola, glad, and the plural gladioli, plants are characterized by vertical, sword-shaped leaves with a fanning growth habit, hence the origin of their name, the Latin gladius, which means “sword lily.” From this foliage slender scapes arise, bearing blossoms that bloom in succession along one side. Mature heights vary. Species plants and dwarf hybrids may top out at one and one-half feet, whereas giant hybrids may reach up to six feet tall. Plants have a spread of approximately one to two feet, depending on the variety. Blossoms are generally between two and five inches across. Species varieties and dwarf hybrids typically have the smallest blooms, and the flowers of the largest hybrids may even exceed the five-inch measurement. Colors include shades of green, orange, pink, purple, red, white, yellow, and bicolor combinations. Hybridizers are eager to develop blue hues to complete the color palette. Some varieties exhibit exceptional winter hardiness, and can stay in the ground year-round as far north as Zone 4, as opposed to most which are hardy to Zone 7. Climate changes over the past ten years or so have caused my growing zone to be reclassified from 6 to 7, so I now have a clump of gladioli that survive the winter well. Before the advent of the “in lieu of flowers” era, glads were a mainstay of funeral arrangements, prized by floral designers for their height and sturdiness. These plants have a long history, and are native to the Mediterranean region, South and East Africa, and the Arabian Peninsula. There are approximately 200 known species, and only a mere handful of them are the foundation plants for today’s hybrid varieties.
The Mediterranean species were among the first to be documented. In the 1500s, Turkish farmers were well acquainted with a very cold hardy species that grew in their fields. They called it the corn flag, and it was later classified as the Byzantine gladiolus, G. communis subsp. byzantinus. It was first mentioned in printed horticultural material in 1629, and by 1820 appeared in a Flushing, New York nursery catalog. Cultivation of gladiolus, with cross breeding and the creation of new hybrids, was well underway by the time the African species were first classified. These new discoveries opened up a whole new world of possibility for hybridizers. An East African species known as the Abyssinian gladiolus, G. murielae, was already a popular garden plant in Boston, Massachusetts in 1888, only 44 years after it was first collected by botanists. The African species are prized for their smaller stature and their ability to self-support without staking. These types make especially nice container plants. Gladiolus cultivation has yielded so many crosses and new plants over the years that today’s vast quantity of hybrids necessitated the creation of a broad umbrella category, G. x hortulanus. Through interspecific hybridization (crossing two different species within a genus), plant breeders have been able to preserve and enhance desirable traits, such as flower shape, size, and color, as well as plant height. Much of their work revolves around breeding “sports,” or mutants that pop up naturally, with new and unusual traits that they wish to replicate. In the 2018, an extensive study of the diversity that exists among cultivated varieties was conducted in India, where gladioli are grown as a cash crop for the worldwide floral industry. The aim is to achieve greater disease resistance, better flower quality, and larger crop yields. In addition, while some true species are delightfully fragrant, this characteristic is generally lost with hybridization, and its preservation poses another challenge to plant breeders. Thanks to ongoing research and experimentation, we can look forward to even more unique characteristics and improvements in pest and disease resistance. The gladiolus bulbs we purchase at the garden center or nursery are graded and classified by the USDA according to their size and quality. The largest are called jumbo, followed by the numbers one through seven, and then large, medium, and small.
Jumbo corms have a diameter greater than one and three-quarter inches. The smallest ones measure just a quarter of an inch across. Those that are less than an inch in diameter may not bloom until the second year of growth. Many growers “pre-treat” their products with a hot water soak and an application of fungicide to make the corms more pest and disease resistant. When they do so, it is noted as a selling feature. And now, let’s look at how new plants are started.
Propagation
Plants grow from corms, or their divisions, corm sections, or from seed.
In addition to these methods of starting plants, scientists may cut corm slices to micro-propagate in a lab setting, which is beyond the scope of this article. Another exciting aspect of propagation is the manipulation of plants by manual pollination, with the hope of generating a fascinating new “sport.” Let’s consider propagation techniques available to the home gardener:
From Corms
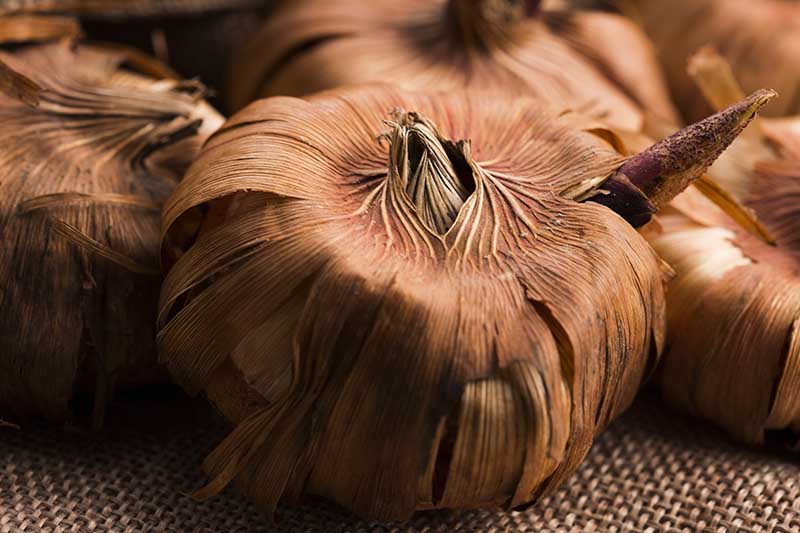
Typically, you’ll purchase gladiolus corms, which are similar to bulbs. They have a rounded top with a flattened bottom, and contain food for the plant to grow. Fresh corms have a papery husk and come to a point at the top. This is where the new shoots sprout once they are planted. Corms can be planted directly in the garden, as described in the How to Grow section below, or you can get a head start on the growing season by starting plants indoors four to six weeks before the last spring frost date. You can learn how to start gladiolus indoors in our guide. (coming soon!) After all danger of frost is passed, transplant outdoors.
By Division
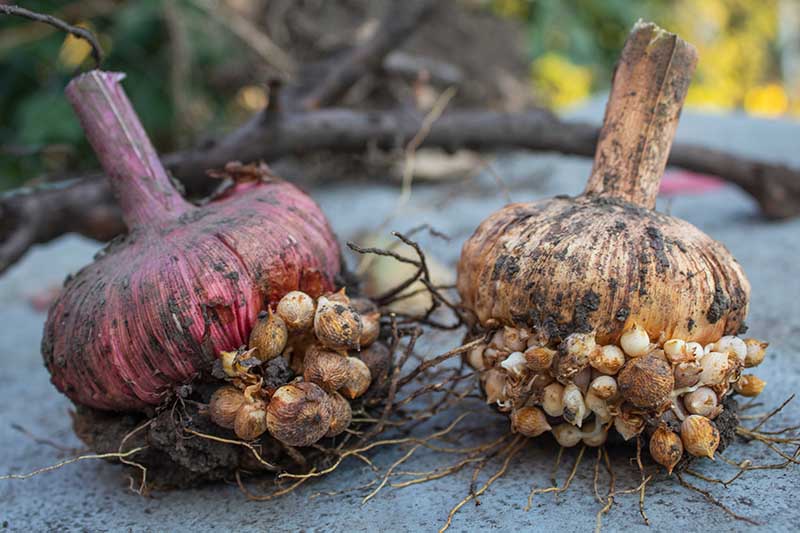
After a corm produces a flower, it dies and a new one takes its place. Sometimes more than one large corm forms, as well as multiple tiny ones with diameters of less than one inch, called cormlets. In the fall, when all the foliage has withered, but before the first hard frost, you can lift the corms with a shovel or claw, shake the dirt off, and separate them from each other to plant elsewhere. Large divisions may bloom the following year. Smaller ones may take two to three years to flower.
From Sections
Another way to propagate your favorite gladioli is by lifting corms from the ground at season’s end and slicing them straight down through the basal plate to make sections, like an apple cut to share. Each section is then allowed to cure and form a callus before being planted the following spring. In the case of large sections, you may have flowers as soon as the following year.
From Seed
While sowing corms, cormlets, and divisions results in flowers identical to the parent plant, seeds produce random results.
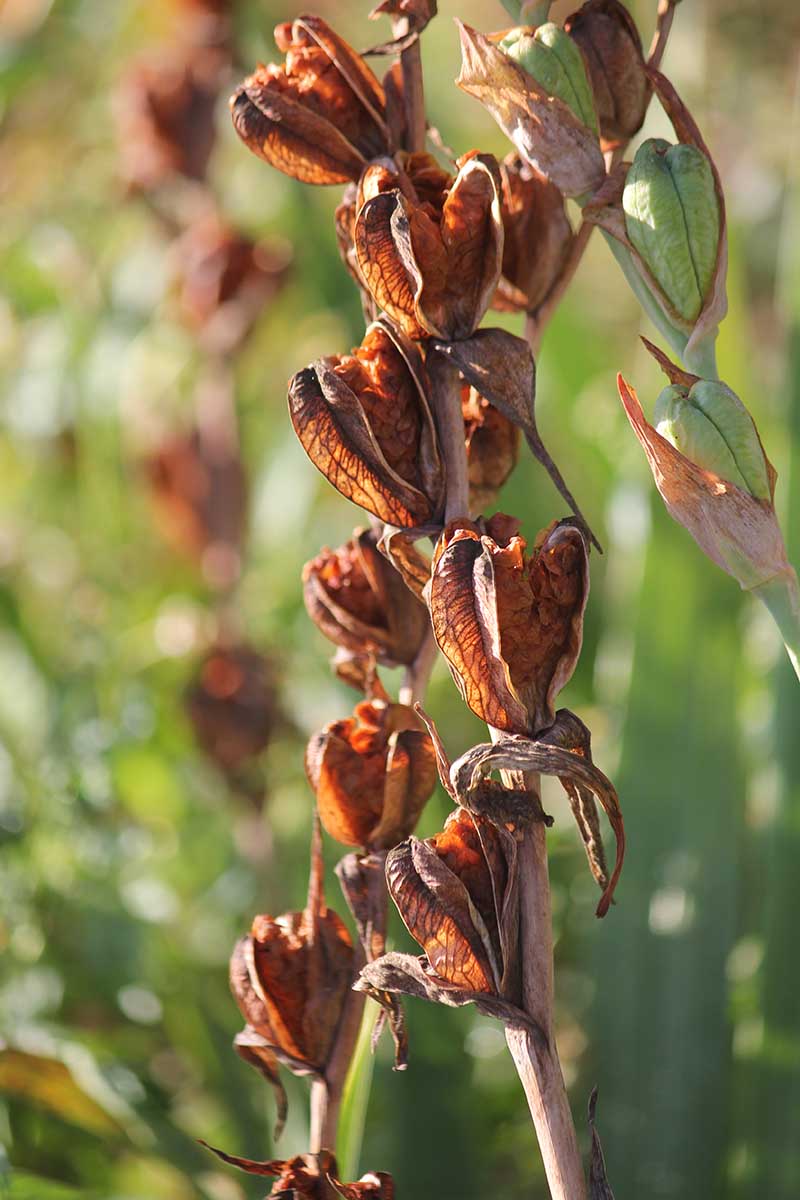
You can purchase seeds or gather them from your own plants. However, note that hybrid varieties do not always set seed, and those that do will not produce true to the parent plant. You can learn more about how to propagate gladiolus in our guide. (coming soon!)
How to Grow
Early spring, after the danger of frost has passed, is the time to plant out your gladiolus corms or divisions. Conventional wisdom instructs us to do so when the leaves sprout on the trees, a useful phenological benchmark. To grow plants from corms, find a sunny location. Partial shade is tolerated, but it’s not ideal. The soil should be organically-rich and well-draining. Sandy loam is best, with a pH between 6.0 and 6.5, although plants generally tolerate soil of lesser quality.
If necessary, conduct a soil test through your local agricultural extension and amend as recommended, with materials like compost to add nutrients and acidity, lime to reduce acidity, sand to improve drainage, and sphagnum peat to increase acidity. Some folks like to soak corms in warm water for anywhere from a few minutes to a few hours to jump start germination. You can try it if you like, but it’s not necessary. I like to plant in odd-numbered groups, such as five or seven. The unevenness is visually pleasing. Clustered groupings work well as stand-alone features, or in mixed beds and borders. You may also plant your corms in rows, such as along foundations for a border, or freestanding, for an expansive cutting garden.
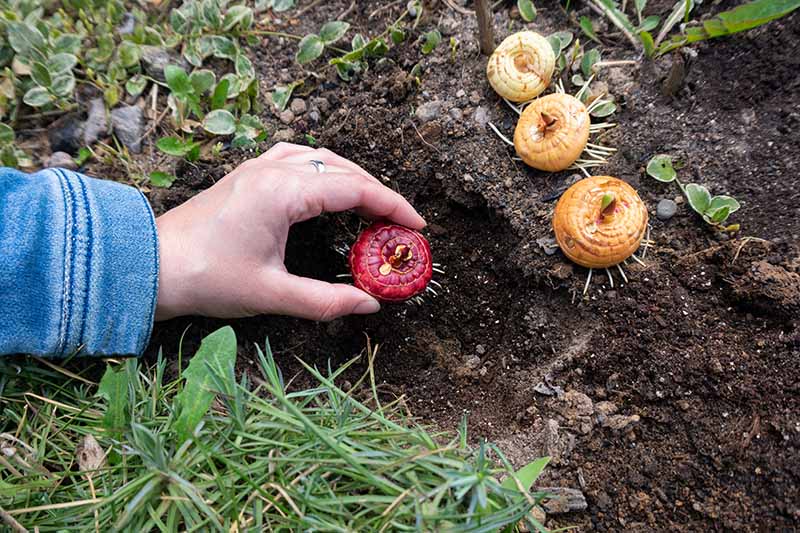
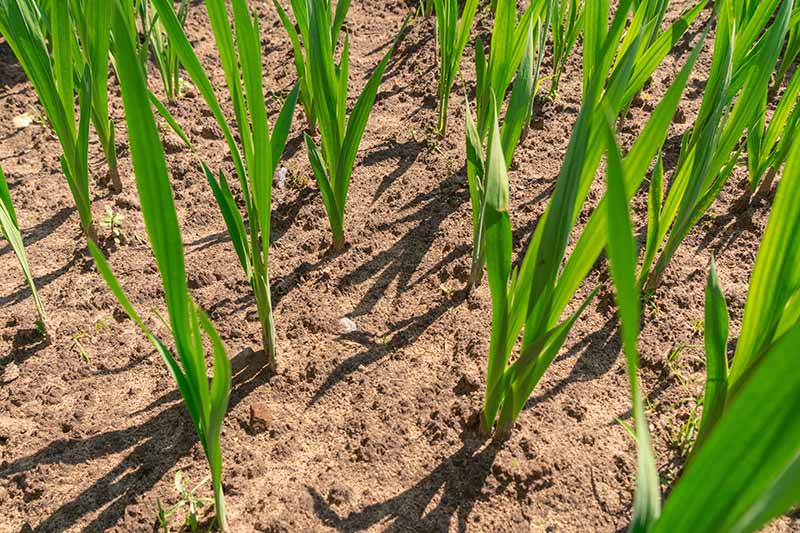
Instead of digging individual holes for each corm, prepare expanses of soil that can accommodate the number and configuration you desire. It’s not only easier, but better for healthy root development. Then, work the soil to a crumbly consistency to a depth of about 12 inches. Mix in a sprinkling of bone meal to boost phosphorus (P), an essential nutrient that supports strong root growth. Space the corms six inches apart, with their pointy sides facing upwards, in your desired configuration. Here are two examples of different planting configurations: Cover the corms with three to five inches of soil, depending upon their size. The larger the corm, the deeper you need to plant. This prevents them from popping up out of the ground during the freezing and thawing cycles of winter. While some varieties support themselves better than others, scapes can have a tendency to flop over, especially during periods of heavy rain and wind. Staking is a good idea for all types. The best time to install stakes is at planting time, while you can still locate the corms and avoid puncturing them. Once the foliage grows, you can add twine to the stakes to support the stalks. Place stakes, such as bamboo sticks, around clustered groupings and along fronts and backs of your long trough rows. They should be tall enough that you can wrap twine or fine rope around them at a height that is about half to two-thirds of the mature height of the foliage. Maintain even moisture in the soil until blooming begins, and then provide about an inch of water per week in the absence of rain. When the foliage is about eight inches tall, you can apply a 5-10-10 fertilizer (NPK) per package instructions. The fertilizer should be a slow release product, and you should avoid those that are high in nitrogen, or you may just get all leaves and few to no flowers. Top dress the soil around the plants with a two- to three-inch layer of light mulch, such as pine needles or straw. This helps to inhibit weed growth and competition for water, without becoming compacted and oversaturated. For a succession of blooms all season long, save some corms to sow every 10 days or so right through to midsummer. In addition to garden cultivation, you may also plant your gladiolus in containers, with a depth of 12 inches, which allows room for the roots to grow. Lift the corms at season’s end for winter storage, as containers get colder than ground soil, and they may freeze. Alternatively, you can move your containers to a frost-free location, such as a garage or shed.
Growing Tips
Prepare expanses of soil instead of individual holes. Mulch to inhibit weed growth and aid in moisture retention. Install stakes at planting time.
Pruning and Maintenance
When cutting scapes for vases, be sure to use clean pruning shears to avoid introducing bacteria to the plant tissue. Don’t cut any leaves to bring in because they need to feed the corms throughout the growing season.
Unlike some flowering plants, gladioli don’t need to be deadheaded to promote more blooming, because once they’ve flowered, they don’t regrow. To maintain a tidy appearance, you may cut a scape at its point of origin after all of the flowers along its length have finished blooming. Other than cutting for vases and removing spent stems, the only other cutting that may be required during the growing season is the removal of foliage that has been damaged, to prevent it from becoming vulnerable to pests and disease. In addition, any plant material that is infested or infected may be cut away in an attempt to salvage the plant. In the spring, remove the old mulch and apply a fresh two- to three-inch layer of light pine needles or straw to aid in moisture retention and inhibit weed growth. Spring is also the time to apply a 5-10-10 (NPK) fertilizer per package instructions.
During the growing season, pull any weeds that grow in the plants’ vicinity, to prevent competition for water and the harboring of pests and disease. In the fall, after the foliage has turned yellow and then brown, you can trim it to a height of about two inches and remove the debris in preparation for winter dormancy. If you’d like to divide and transplant corms to new locations, fall is the time to do this. Once all the plants are settled, re-mulch for the winter with two to three inches of pine needles or straw. It’s a good idea to mark the location of your glads in regions where they winter over in the garden. Once all of the foliage dies down, they virtually disappear and you may forget where they are. In Zones 6 and colder, you can cut the withered foliage and lift the corms for winter storage, unless you are growing the hardiest species and cultivars that can withstand cold to Zone 4. To store corms, shake off the soil and lay them out to dry for several weeks in a single layer on a wire rack or tray, in a cool, dry location. Once they are very dry, you can treat them with a powdered sulfur-based fungicide. Suspend them from a nail or hook in mesh bags or pantyhose, or place them in cardboard boxes with loose-fitting lids up off the floor, in a rodent-free location that’s roughly 40-50°F, dry, and well-ventilated.
Species and Cultivars to Select
Now it’s time to shop!
Managing Pests and Disease
When you start with quality corms, you are less likely to have trouble with pests and disease.
Abyssinian
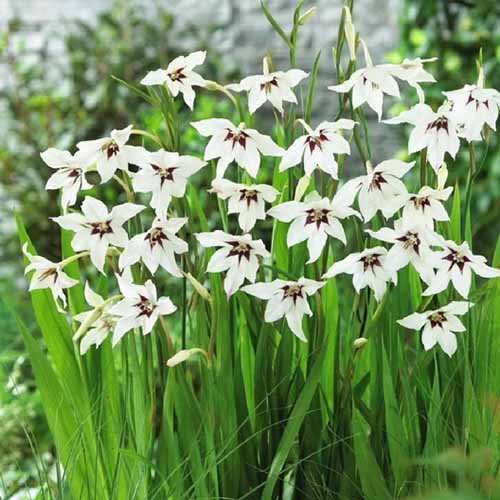
Also known as the peacock lily, the Abyssinian type, G. murielae, is an heirloom species from the mountainous regions of East Africa.
Abyssinian Gladiolus Its two- to three-inch star-shaped white blossoms have velvety purple throats. Mature heights range from 18 to 24 inches. Plant en masse for optimal enjoyment of this variety’s lovely jasmine-like fragrance when it blooms prolifically in mid to late summer. Find Abyssinian gladiolus now from Eden Brothers in bags of 25, 50, and 100.
Byzantine
The Byzantine species, G. communis subsp. byzantinus, traces its roots to ancient Mediterranean farmers’ fields, where it grew wild and was known as the corn flag.
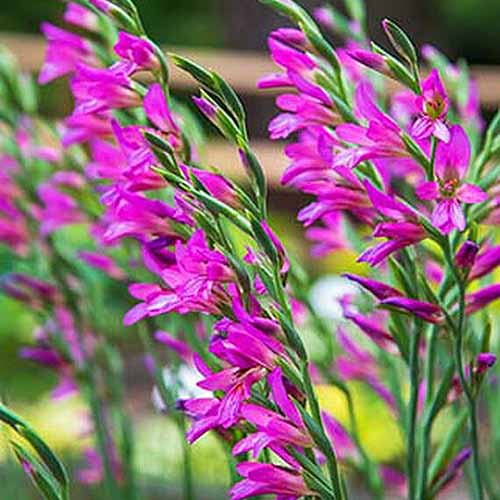
Byzantine Gladiolus Its two-inch flowers resemble orchids in a luscious shade of magenta, often with throats accented in white. Heights range between 18 and 24 inches, and plants seldom need staking. This species blooms in late spring and rarely sets seed. Interplant with blue irises for a dramatic contrast. Find Byzantine gladiolus now from Burpee in packages of 20.
Hardy Dwarf Mix
This mix of dwarf bulbs, G. nanus, is in a class of miniature hybrids called “Nanus.” They offer a lower-profile, exceptional cold hardiness to Zone 4, and a color extravaganza.
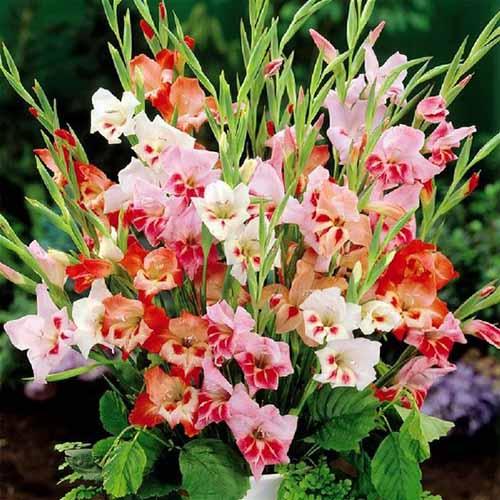
Hardy Dwarf Mix Starry, orchid-like blooms measure two inches across and sport shades of pink and white, often accented by deep red. It’s pretty as a picture in vase arrangements with scapes that top out at a petite 12 to 18 inches tall. Enjoy blooms from midsummer to fall. Find Hardy Dwarf Mix now from Eden Brothers in bags of 20, 40, and 100.
Rainbow Mix
Rainbow mix is a mixture of different colored flowers from a class of especially large hybrids (G. × hortulanus) with classic, funnel-shaped flowers called “Grandiflora.”
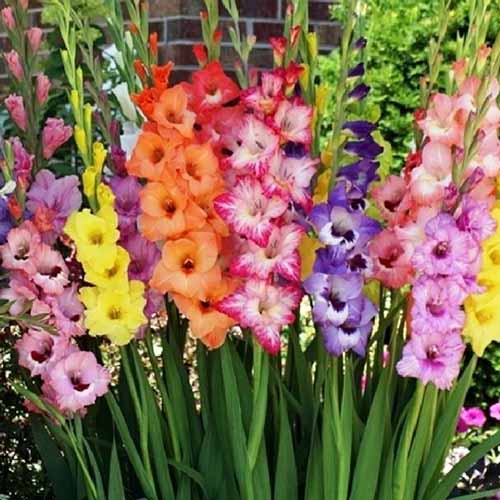
Rainbow Mix It’s a grab bag that offers three- to six-inch triangular blooms in orange, pink, purple, and yellow, often with white throats. Mature heights of 50 to 60 inches create eye-catching vertical interest. Stake and plant behind flora of smaller stature for support and maximum visual appeal. Flowers bloom from late summer to fall. Find Rainbow Mix now from Eden Brothers in bags of 15. When you are shopping, look for those that are firm, with crisp husks, and no blemishes, deformity, or odor. Choose those that have been pre-treated with hot soaks and fungicides, if available.
There are, however, some pests that favor this plant, and may be the carriers of a variety of diseases. Some of the most common ones are:
Aphids Bulb Mites Caterpillars Mealybugs Root-Knot Nematodes Slugs and Snails Spider Mites Thrips Whiteflies
Spraying plants with organic neem oil is very effective against aphids, mealybugs, spider mites, thrips, and whiteflies. Bacillus thuringiensis kurstaki (Btk) is an excellent treatment for caterpillar infestations. In the case of parasitic root-knot nematodes, there are nematicide products available. In the event of a bulb mite infestation, entire plants may need to be destroyed. Learn more about identifying and controlling gladiolus pests here. As for disease, some that you may encounter are:
Botrytis Blight Dry Rot Fusarium Yellows Leaf Spot Mosaic Virus Rust Scab
Most can be avoided by planting healthy corms and keeping pests under control to prevent them from spreading disease. Fungicides may be effective against Botrytis blight, dry rot, leaf spot, and rust. If Fusarium yellows or mosaic virus rear their ugly heads, plants may need to be destroyed. Let me just conclude this section by saying that I’ve been growing a small clump of very pretty unnamed hybrid gladiolus for about nine years, and have experienced none of these issues in my Zone 7 garden. And, I’m ashamed to admit, they aren’t pampered by any means. So, don’t let this rather intimidating list of potential threats deter you from choosing your favorites and giving them a go.
Best Uses
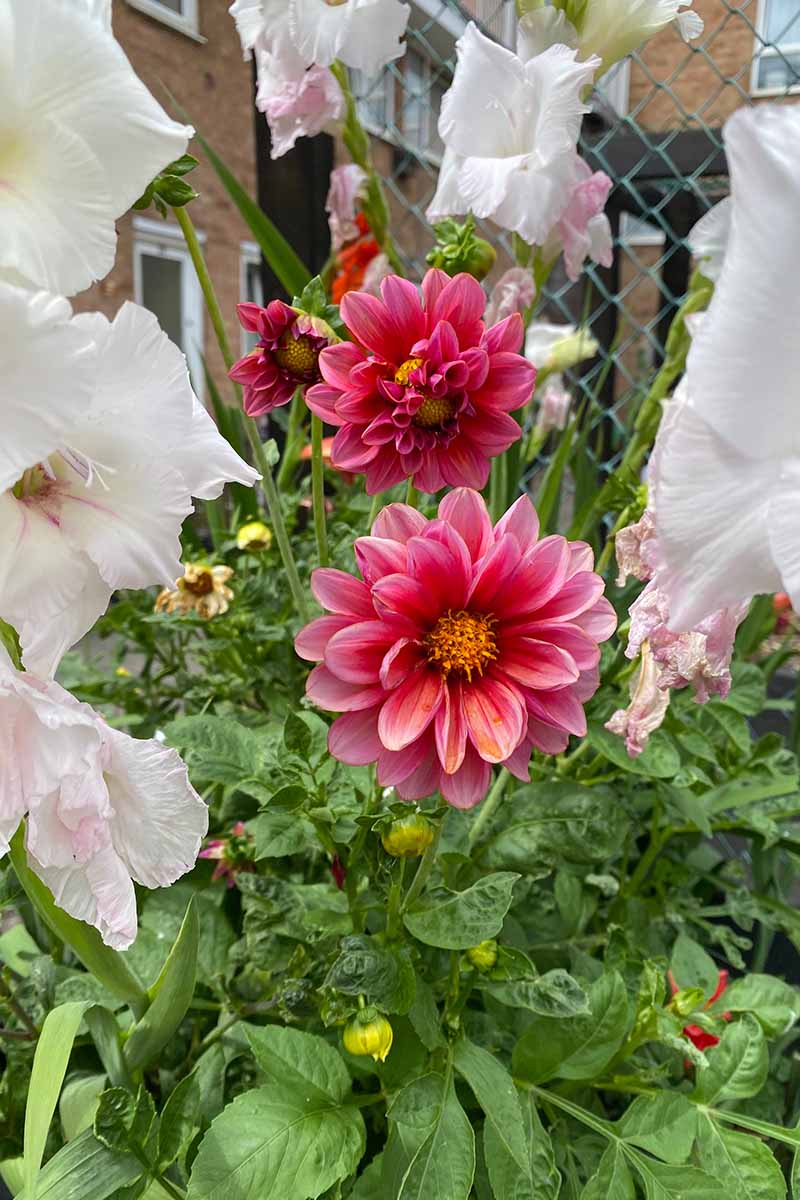
Choose early-blooming varieties to interplant with other organically-rich, light-soil loving flowers, such as dahlias, irises, and peonies.
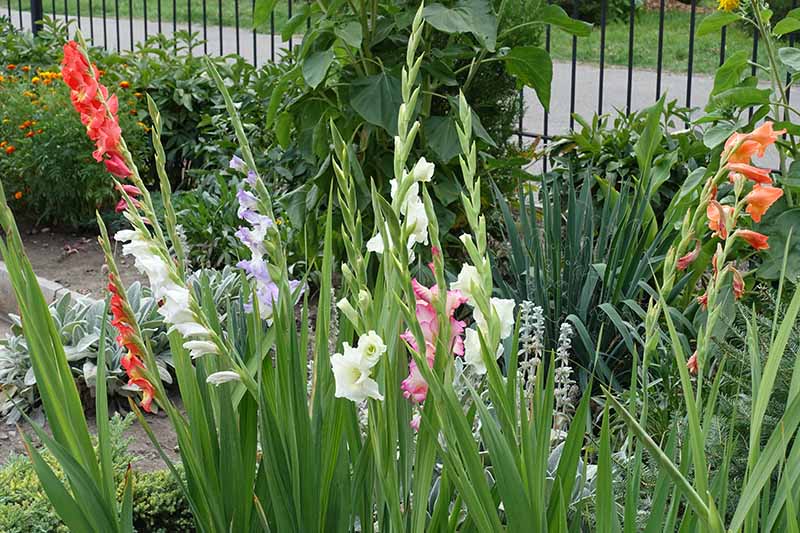
Later bloomers play well with yarrow and zinnias. Use the tallest varieties at the backs of beds and borders as impressive anchors. Lower profile plants in front will help to hold the long stems erect. Even before they bloom, the sword-like tapered foliage adds texture and interest to the garden Smaller varieties make excellent container plants for small space gardening. And with their above average deer-resistance, they’re not just for the suburban garden. You can plant en masse for dramatic drifts that increase yearly as these perennials naturalize. And if you are interested in having armloads of flowers to cut and bring into the house, plant rows in succession from spring to midsummer.
In regions that are too cold for wintering over, you can cultivate these flowers as annuals, and lift the corms to save at season’s end. When you add gladioli to the garden, you have more than unique plants with robust blooms, and rich texture and form. You increase the availability of nectar for pollinating bees, beneficial insects, butterflies, and hummingbirds that seem to take great pleasure in diving into the tubular blossoms. Please note that many gardeners recommend not to plant gladioli near legume vegetables, such as beans and peas, as well as strawberries, because they seem to have an adverse effect on the vegetables’ growth. So often, our flowers hover near the ground in rounded clusters. With the infusion of height into a mixed bed, you can draw the eye upward at desired intervals for greater visual appeal and rich textural variation.
Choose your favorites, and plant them in sunny locations with organically-rich, slightly acidic, well-draining soil. Give them a great start with consistent moisture and plant in succession for blooms all season long. Do you grow gladiolus? Share your tips in the comments section below and feel free to share a picture! If you would like to learn about more flowers for your garden, you’ll enjoy reading these guides next:
How to Grow and Care for Crocus Flowers How to Grow Autumn Crocus (Colchicum) How to Grow Colorful Caladiums
Photo by Nan Schiller © Ask the Experts, LLC. ALL RIGHTS RESERVED. See our TOS for more details. Product photos via Burpee and Eden Brothers. Uncredited photos: Shutterstock.
