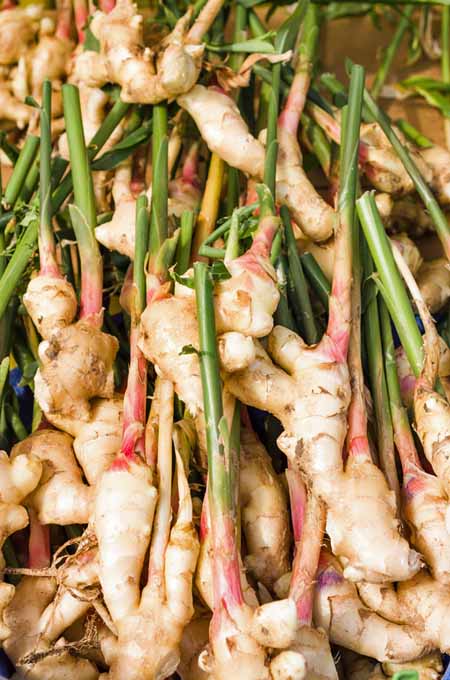
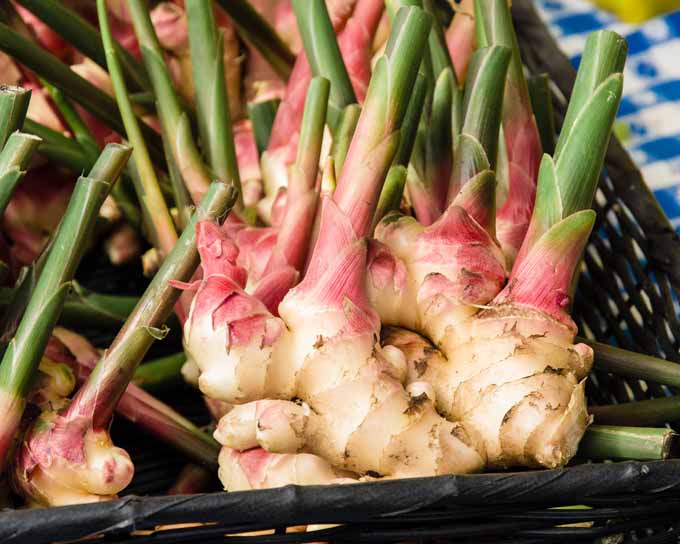
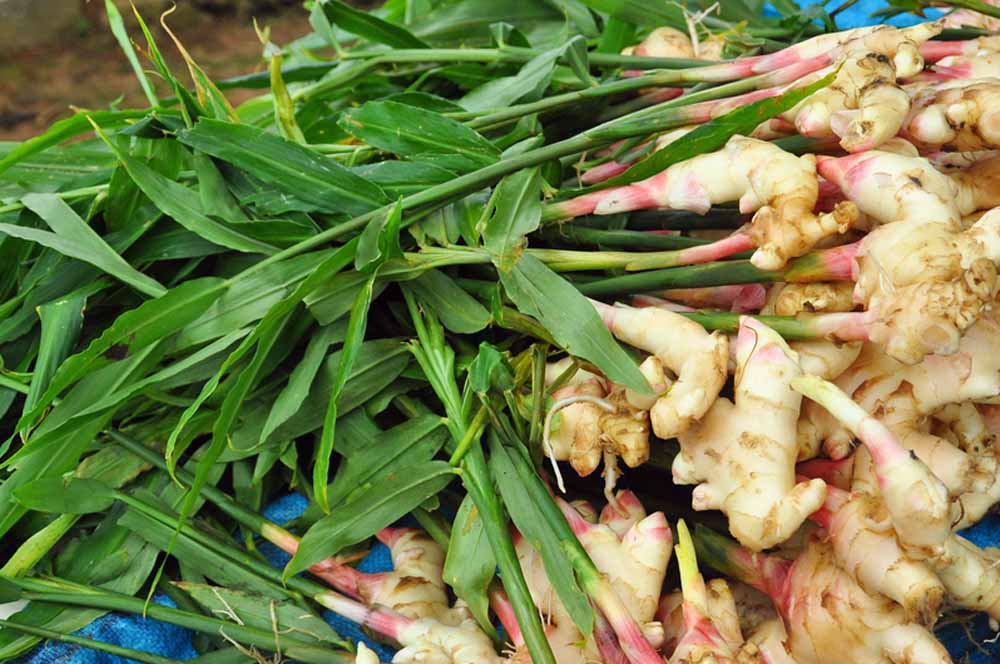
Whether you’re using the whole root, paste, or powdered form, it’s a spice any seasoned cook will reach for, especially when they want an easy way to add a dash of Asian flavor to their dishes. You don’t see ginger farms sprawling across the countryside of Europe or America. Now, why is that? We link to vendors to help you find relevant products. If you buy from one of our links, we may earn a commission. But there are options and methods that will let you propagate this culinary specialty herb at home. Here’s what’s ahead in this article: Follow along as we explore the various options.
Where Does It Come From?
Most of the ginger that arrives in our markets and on our tables was cultivated in southern China, India, Indonesia, or West Africa. In the native countries where ginger originates, the rhizome (not technically a root, though it’s similar) can grow aplenty as a commercial spice, or even in home backyard gardens.
It thrives in these tropical climes and has a penchant for spreading quite aggressively, even when planted as a garden perennial. It would seem that ginger can indeed make it in some gardens in the US, but not all of them – it’s only suited to areas that are considered “tropical” or “sub-tropical.”
US Regions Where Ginger Can Grow Year-Round:
Southern Texas and Louisiana Florida Southern and coastal California, Central Valley Southern Arizona Hawaii
But the story is different for the rest of the non-tropical world. So, if you’re a lover of ginger, is it possible to form a more personal relationship by growing it at home, even if you live in a colder temperate region? Yes, it is! There are a few tips to follow and tricks to it that may seem a bit daunting for beginner gardeners, but they’re a lot easier to achieve than you might think – and completely worth it if you want to enjoy your own homegrown version, for days and days to come. You’ll want to find a location that’s in full to partial shade with rich, loamy, and well-draining soil for planting. This is naturally an understory plant that thrives in hot and humid jungle-like conditions with dappled sunlight.
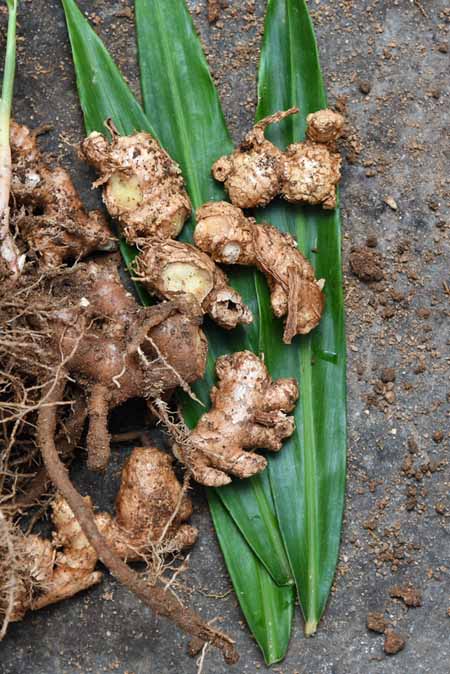
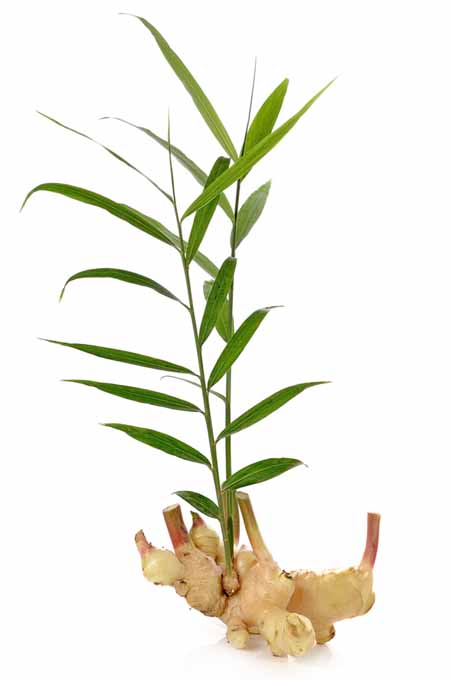
Online retailers are particularly helpful if you want a cultivar other than standard culinary ginger. If you are able to choose in person, select a root (or roots) that is on the large side and healthy, 4 to 6 inches long, with multiple “fingers” extending from it. Ginger can be grown directly in the ground or in pots (more on that later).
To plant ginger:
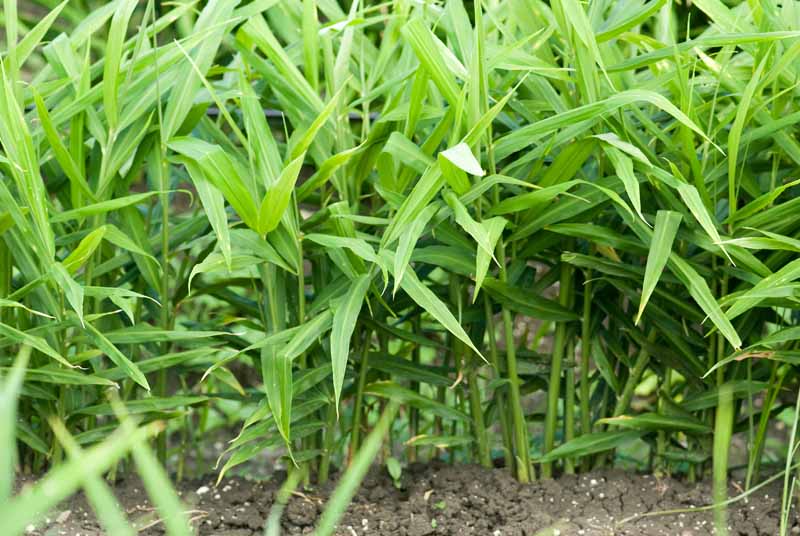
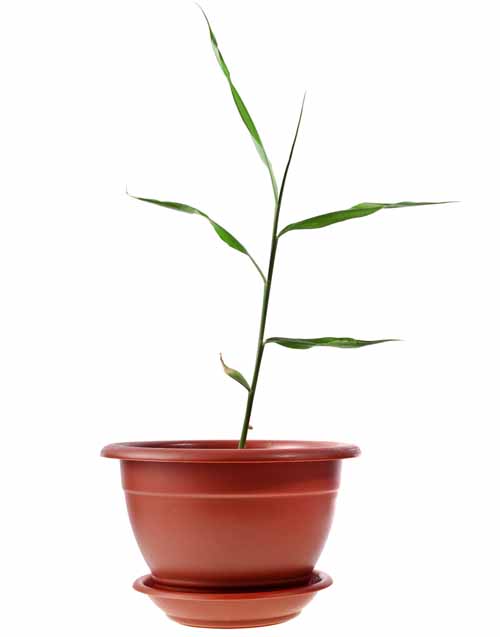
Your ginger will grow up to four feet tall and many of the roots will appear above ground, which is natural for this type of plant.
What About Colder Climates?
Have you ever tried growing this tasty item in your garden year-round? According to the USDA Hardiness Zones map, if the answer is “yes” and you live in growing zone 8 or lower, you were probably disappointed to find that your ginger didn’t sprout back up when you checked it in the spring. According to these zones, ginger may only grow year-round in zone 9 or higher. These are designated, climate-dependent regional categories that help a gardener determine what he or she can or cannot grow.
In the US, roughly anywhere north of southern Texas, Florida, and southern Arizona, and stretching up towards the Pacific Northwest, Mid-Atlantic, and New England couldn’t possibly host ginger year-round. You wouldn’t be able to plug it into your garden along with the mint, sage, parsley, or rosemary, sadly. And it won’t do well with the horseradish either, since that plant perhaps surprisingly prefers cooler climes. So what’s the defining line between zones 8 and 9? What makes ginger grow well in one area, and not in another? As a tropical rhizome, this Asian perennial can only stand temperatures around 50°F or higher. Anything lower simply makes ginger unhappy – damaging it, triggering “dormancy,” and at worst, killing it off completely.
Farmers, gardeners, and growers among my friends and community members have consistently reported that their ginger “shuts down” anywhere under 55°F. That is, the above-ground foliage yellows, shrivels, dries, and sheds itself until there’s nothing left. Forget first frost. We’re talking about sweater weather. But don’t worry – in most cases, this means that the plant has just gone dormant, or is “sleeping” until warmer times return. If you touch the rhizome with your fingers, you will feel that it is indeed still hard, yet tender and alive.
If you want a vibrant, beautiful ginger plant to grow year-round, you will have to make sure that it hangs out in temps above 55°F at all times, optimally between 55 and 60°F at the coolest. If it gets any colder, then this indicates to the rhizome that it’s time for a long hibernation until spring! And unfortunately, it may not survive.
If temperatures reach below freezing, 32°F with frost, you can expect not only for the foliage to die off, but for the rhizome to shrivel and become lifeless. Frost cannot be tolerated whatsoever – even if exposed to temperatures in the low 40’s repeatedly, it just doesn’t thrive naturally.
If you plant in growing zones where it CAN flourish, ginger will go dormant during the winter months, triggered by less light and colder temperatures. Then it will come back in the spring, without a worry.
5 Tips for Growing in Colder Regions
Fortunately, there are some simple tricks to get your ginger away from its frigid foe in more temperate areas– and onto your plate by your very own green thumb, even during the coldest of seasons!
1. Pot It
In order to have delicious, pungent cooking ginger of your very own that’s ready to harvest when you need it, it’s going to have to be quite mobile.
At any warning or suspicion of threatening temperatures in fall or spring, you’ll need to move it indoors quickly – all the more reason why you should keep ginger growing in pots. When winter comes around, if you haven’t already, it’ll be time to whisk your potted plant inside, where it can be happy and verdant!
Where Can I Get a Rhizome to Start?
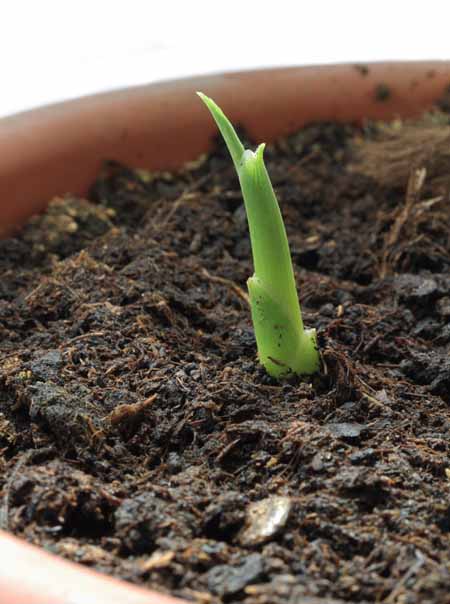
Many buy the whole rhizome from their local grocery store, pot it, and see it sprout up shortly after moistening the soil.
I have seen this work myself, and it’s so satisfying!
What If It Doesn’t Sprout?
Try again with a purchase from a different source, until you find a rhizome that still has some life in it. Or better yet, make your purchase from a trusted nursery that sells rhizomes intended for gardening, rather than immediate cooking.
What Size and Type of Pot Should I Use?
Pot rhizomes in containers where they can grow and spread to an even bigger size. It’ll want to stretch its legs! Make sure the pot is well-draining, and the soil is a rich, fertile, absorbent variety – not dry or sandy.
What About Moving It Inside?
When you first shift your plant to the indoors, having those easy-to-move pots is very helpful in finding that perfectly warm spot where this exotic herb can hang out – until warmer times.
And If It’s Just Not Warm Enough?
You can move it effortlessly to a new spot, and see how it fares. Try a four-season porch, greenhouse, or even a low-tunnel or high-tunnel in a shady spot. Caring for your potted spice is so simple. Once temperatures climb above freezing again, all you have to do is set your plant out on the stoop or porch. Or, you may choose to give it its very own special place in your garden.
2. Transplant Seasonally
If you’re more of an expert and you have the time, you can transplant these in and out of your garden every year, instead of keeping them in pots. When it’s warm enough, it’s time to sow your rhizomes – and when cold weather looms, just dig them back up, and nurse them in pots indoors.
Digging up the rhizome doesn’t hurt it, if you’re gentle. But if you want to see your ginger flourishing outside, then you’ll have to also keep an eagle eye on weather fluctuations to ensure its safety! Like those in pots, make sure you plant your newly-purchased rhizome in fertile, well-draining soil that absorbs water well. Give it some water and with luck, you’ll see it come back to life, even after being dormant in the produce aisle for a time.
3. It’s Not Just About Temperature
Getting the temperature turned up enough for your plant to really thrive is only the beginning. After you get its warmth and comfort just right, there are a couple other things to consider:
Soil Type Is Important
You’ll want to grow in the closest match to its native soil type as possible – which is a damp, fertile, rich, and humus-like soil that absorbs water, but doesn’t get soggy.
Water It
Soil type is ESPECIALLY important as it’s related to hydration, because you will need to water every day, always keeping the soil moist like what you’ll find in its native rainy environment. To protect the roots from rot, water will also need to be able to drain away –muddy soil and “wet feet” will kill your plant, and ruin all your hard work.
Partial Shade to Light Sun
Ginger’s native clime is tropical, rainy, and forested. Keep your plants (or pots) out of full sun – consider putting them in the shade of a tree, or under a shadow-casting cloth. Sure, you could grow it year-round if you’re located someplace like Arizona. But with the dry desert sun there, you’ll need something to both shade your plant and retain moisture – keep that in mind.
4. Harvest When You Want
What’s the true magic of growing your own? Being able to use it whenever you want! You don’t have to be living in Hawaii, Florida, or Indonesia to have fresh ginger at the ready.
The wonderful thing about growing it in temperate areas is that you can harvest some of the rhizome straight from the pot to your kitchen – without causing harm to the plant at all. That’s right: it’s real handy to grow ginger in easy-to-manage pots, even indoors, and you can even take what you need and leave the rest to grow!
How to Harvest
The most common way: just dig it up. Rinse away all of the dirt under cold running water, and go ahead and use it. With this method, you will need to grow multiple plants, or start again with a new starter rhizome if you want continual harvests. But don’t worry too much because, as we’ll get into later, if this plant is thriving, it will multiply. To keep the rhizome alive: feel all the way down the above-ground shoot with your fingers, to the rhizome under the soil. Measuring at least two inches away from where the stalk meets the rhizome, cut away the rest of the root that is growing away from the plant.
Essentially, you want to leave two inches of the rhizome with stalk intact, and it will continue to grow. You can use these cut portions in your cooking, while keeping the plant alive for future harvests! However, do realize that after you cut all the ginger you can from a plant, you’ll need to give it time to recover. A minimum of a week’s rest is pretty typical.
5. Propagate Your Own
The lovely thing you’ll realize as you tend this flavorful delight is that it loves to spread. Once your first pot or backyard rhizome swells in size and pushes up multiple stalks, sometimes even to the point of busting out of its container, you’ll know it’s time to start some new ginger. With time, you could have quite a few pots of this exotic spice!
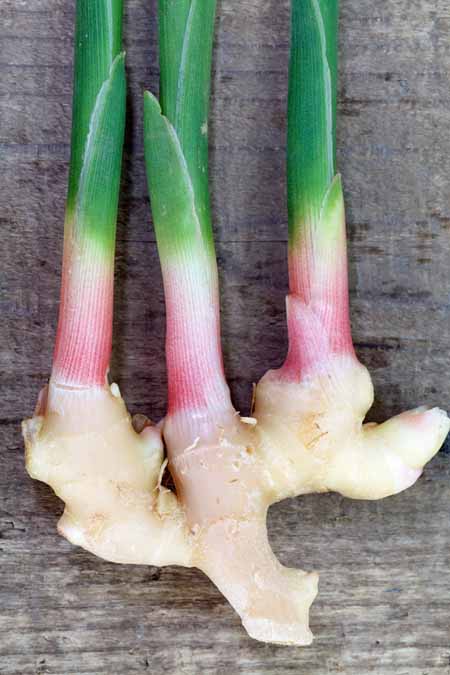
Just cut away portions of the root that have their own stalk or “nodule,” leaving at least one stalk behind to remain in the pot. Make sure that each portion you cut away is at least 2-3 inches in length, or the plant won’t regenerate when you transplant it. At this point, you could just eat what you cut away. But you can also take each new stalk of ginger that you have split off and replant it in another pot, or in your garden. Follow the directions above, water it, then watch it grow!
Ginger Quick Reference Growing Chart
Get Growing!
Long story short, yes, you can grow ginger practically anywhere. All it takes is a little finesse, a green thumb, diligence, and a sharp eye on weather changes for your local climate.
Even better, it’s possible to get quite the stock of plants up and running from one single root – so you can have ginger all year, or share the love by giving some away to your friends! © Ask the Experts, LLC. ALL RIGHTS RESERVED. See our TOS for more details. Product photo via Burpee. Uncredited photos: Shutterstock. Last updated May 10, 2019. With additional writing and editing by Allison Sidhu.
