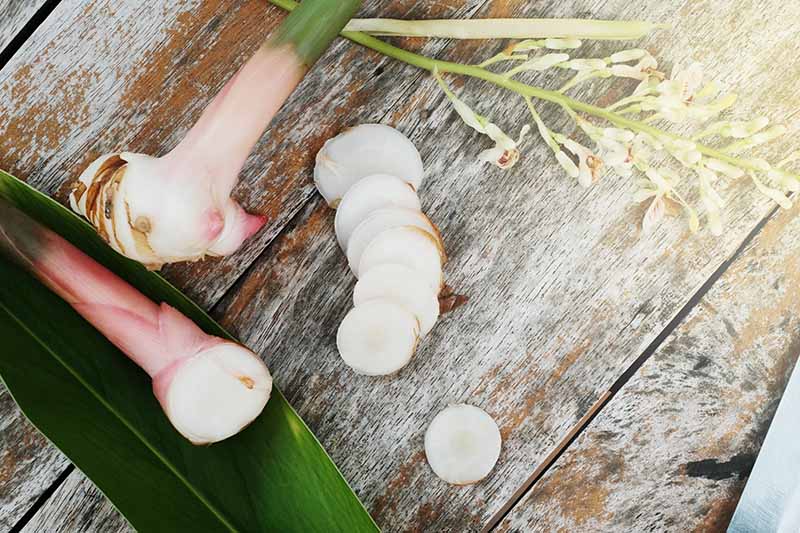
Sure, you can buy it at just about any store with a respectable range of produce, but growing it takes relatively little effort, and you have a beautiful ornamental in the meantime. Plus, the fresh-from-the-soil rhizome is so tasty. You can also eat the shoots, flowers, and berries of this plant. Try to find those at your average supermarket! We link to vendors to help you find relevant products. If you buy from one of our links, we may earn a commission. It’s like comparing sweet potatoes and yams. You know they’re different, but you’re not exactly sure why… We’ll dive into that up ahead, along with all the unique uses for galangal that are available to you. Here’s everything we’ll cover: Pull out your trowel and get a piece of galangal ready, because we’re about to dig in.
What Is Galangal?
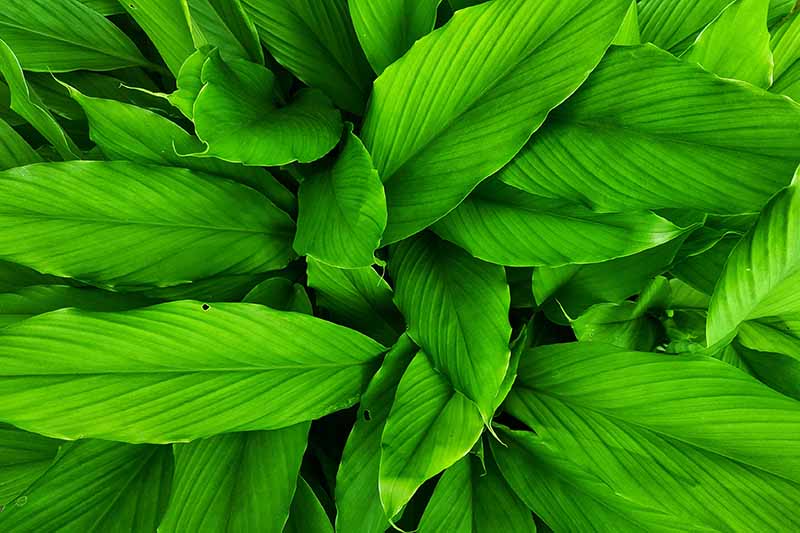
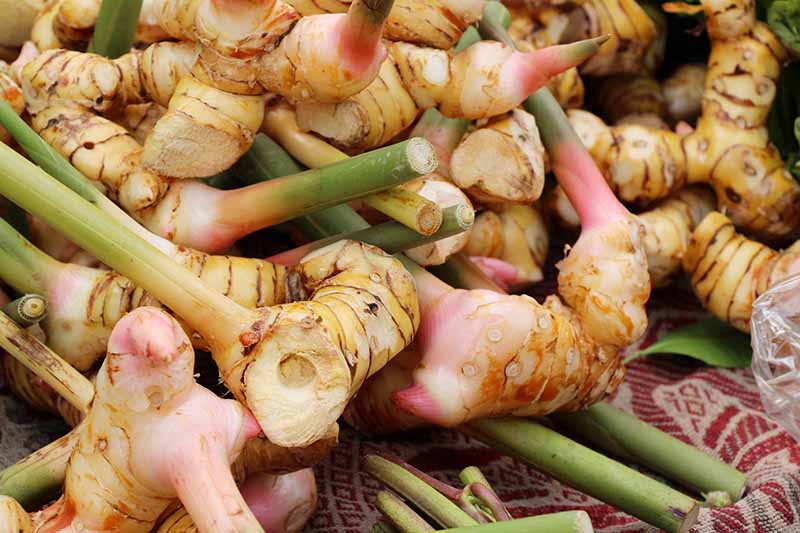
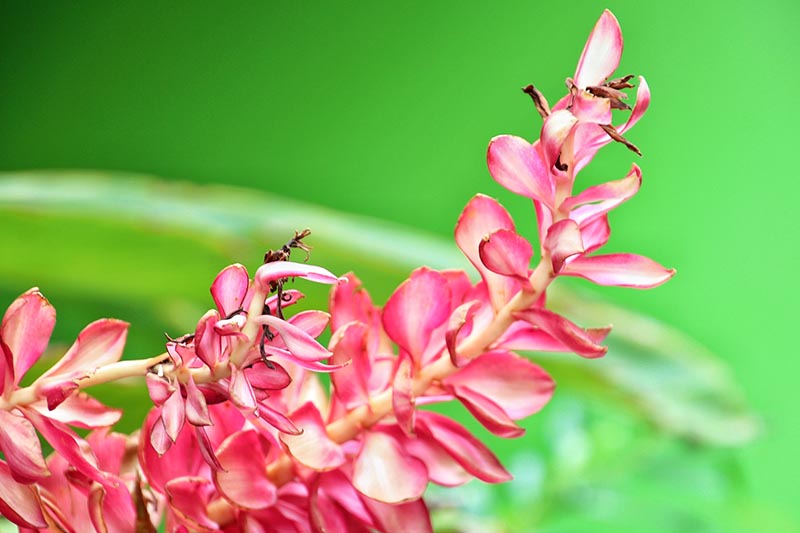
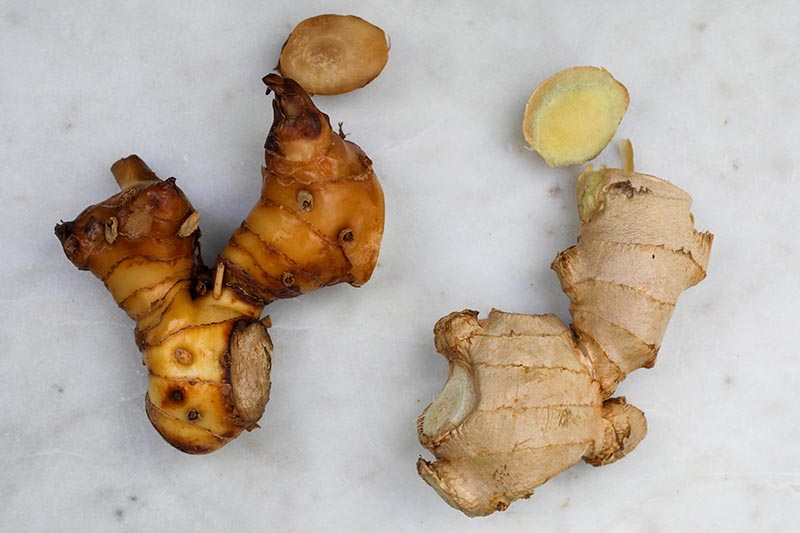
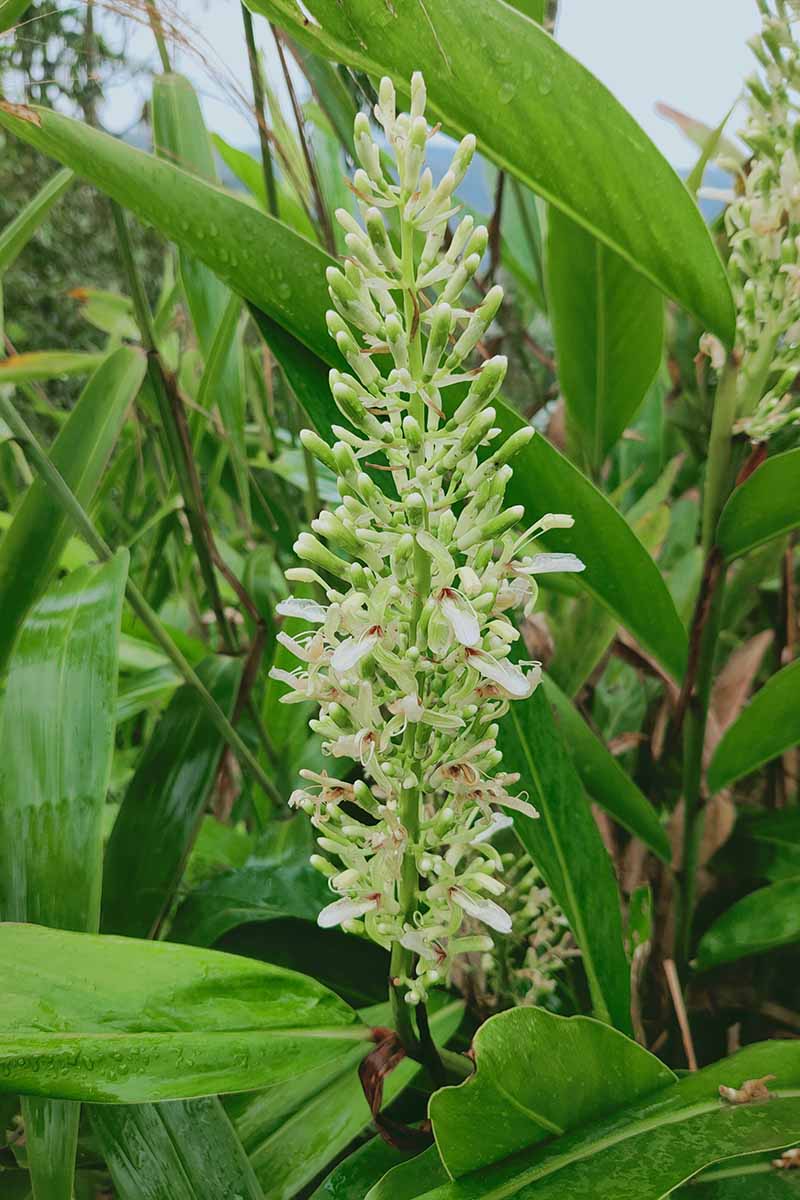
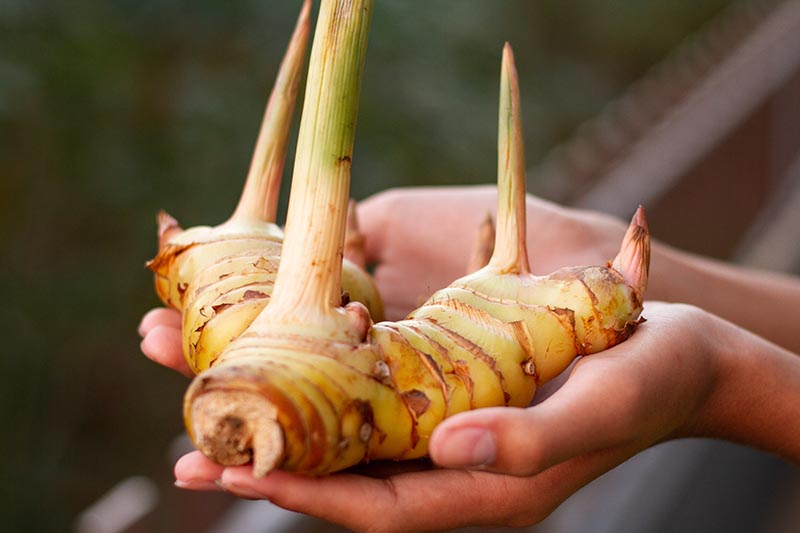
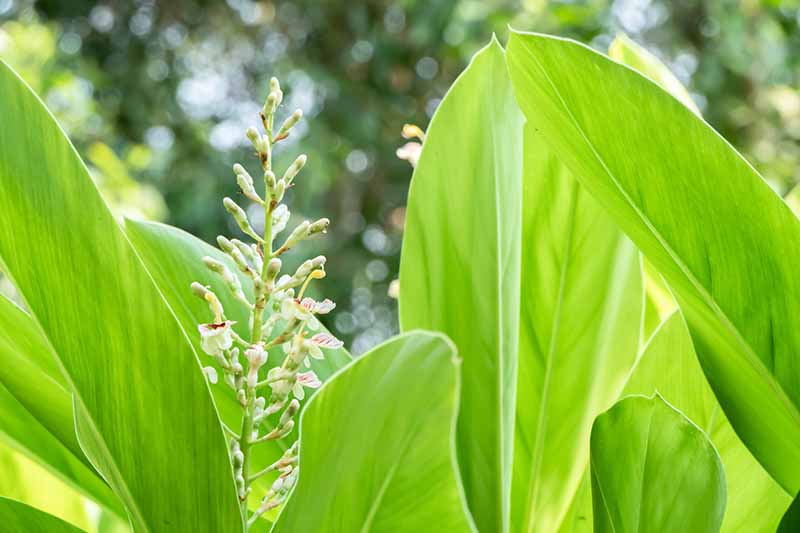
This plant (Alpinia galanga, previously known as Languas galanga) is also sometimes called blue ginger, Thai ginger, galanga, java galangal, or the outdated Siamese ginger. In case you didn’t catch this from its alternate names, this plant is a relative of ginger (Zingiber officinale), and the roots look similar. Both species belong to the Zingiberaceae family. In Cambodia, blue ginger is called kom deng, and it’s kha in Thailand and Laos. In the Philippines it is known as langkauas and palla. The Indonesian name is laja. In France, the plant is called galangal d’Inde and in Germany it is alpinie. In Cambodia it goes by kom deng, and in Malaysia it’s puar. If you head to Myanmar, you’ll hear it called pedagoji. There are actually two types of galangal, the greater (A. galanga) and the lesser (A. officinarum). They’re often used interchangeably in cooking, but the two plants can be distinguished from one another. Greater galangal has a milder flavor and is larger in size. Lesser is more bold in flavor and grows to about half the size. While we’re on the topic, snap ginger (A. calcarata) is often substituted for A. galanga in food and medicine, and you may see it labeled as galangal at the grocery store as well. In this guide, we’ll refer to A. galanga, which is the one you’ll usually find in the produce section, but both the greater and the lesser species are grown similarly, so you can use this guide to grow either plant. Both greater and lesser galangal plants have been used medicinally for centuries for all kinds of different things. The rhizome has a reputation as being useful for increasing mental alertness in particular, and studies have been conducted to back up that claim. It also shows promise as an anti-inflammatory. Beyond medicine and food, it can be used as dye to create a lovely yellow color. Grow it in the US as an evergreen perennial in USDA Hardiness Zones 9-12, or as an annual in Zones 7 and 8. A light frost won’t kill it, but it will burn the foliage. You can also grow it indoors year round and it makes a nice houseplant, providing both food and ornamental interest. While it’s normally grown for its delicious root, it also makes an attractive ornamental grass in the garden. The foliage is vibrant green and somewhat glossy. The plant grows up to six feet tall and about three feet wide. It produces intensely fragrant flowers that come in pink, pinkish-white, or yellow-ish white, all with or without red centers, starting in the late spring or early summer. These are followed by edible red fruits that taste similar to cardamom. Hummingbirds absolutely can’t resist the blossoms. In case you were wondering if – being relatives – ginger and galangal are interchangeable in a culinary sense, perish the thought! Using one instead of the other would be like using shallots instead of garlic. Don’t do it! Let’s compare the two. Galangal smells and tastes like pine and black pepper, with a ginger-like note and some earthiness. Ginger has a spicy, sweet scent that is much milder, and the taste is pure ginger bite. Ginger has a more matte skin that lacks the bumps and nubs of its cousin, while galangal is shinier and smooth in between the bumps. To illustrate these differences, check out this photo below. The rhizome on the left is galangal and the one on the right is ginger. The skin of ginger is generally a light beige, while galangal can range from pale tan to dark brownish-red, depending on how fresh it is and how old the rhizome was when it was harvested.
Cultivation and History
Galangal is native to Southeast Asia where it’s essential in many Thai dishes like curries and soups. It’s also popular in Laotian, Filipino, Cambodian, Vietnamese, Malaysian, Singaporean, and Indonesian cuisine. In addition, it has been cultivated in and utilized as an important element of cuisine and medicine in India, China, and Japan. Galangal has been used in Ayurvedic and traditional Thai and Chinese medicine for centuries as an antiflatulent, antifungal, remedy for stomach issues, and to treat and prevent diabetes and heart problems, as well as a range of other issues. It was also used as food and medicine by ancient Romans and then brought to Europe in the ninth century. Today, it is mainly cultivated commercially in India, Malaysia, Indonesia, Thailand, Vietnam, and Hawaii, as well as the Fujian, Guangdong, Hainan, Guangxi provinces in southern China. India imports a full quarter of the total quantity of galangal grown in the world, with the United States close behind, importing nearly 22 percent.
Propagation
You can find galangal seeds out there, but the flowers on this plant are usually sterile and won’t produce viable seed, and any viable seeds that do germinate won’t grow true. Stick to dividing plants, or planting transplants or tubers. Whichever method you choose, make sure your soil is ready for the plants. This means adding well-rotted compost to your soil if it’s sandy or clay. This plant likes loose, loamy, well-draining soil. If you can’t provide the ideal soil, consider using raised beds or containers filled with purchased soil instead.
By Division
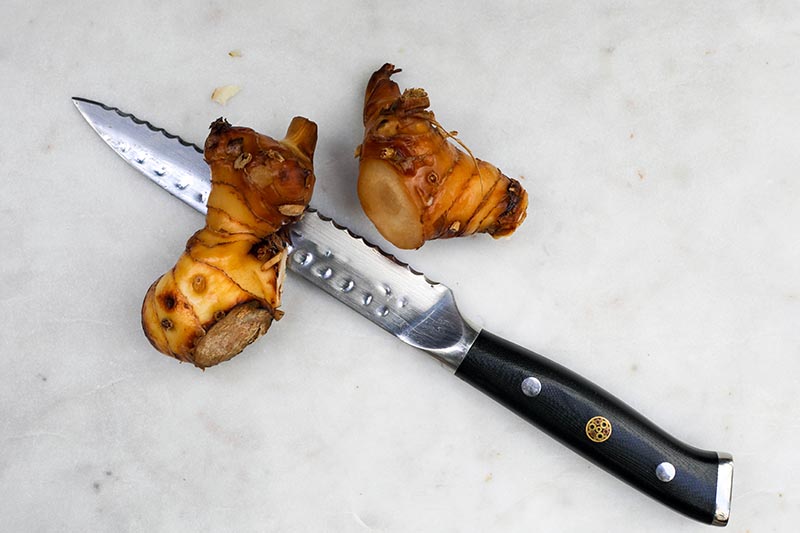
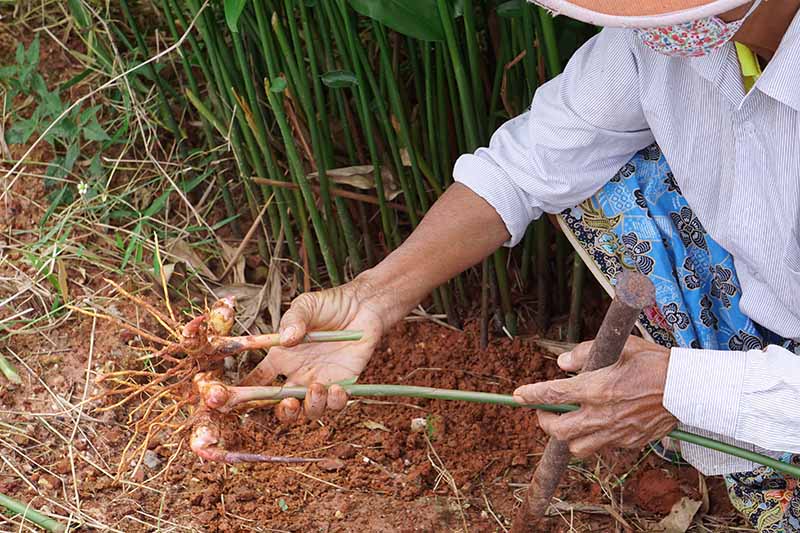
If you or a friend have an existing plant, divide it to create two or more new ones. To make this happen, dig up the entire plant, roots and all, in the spring or fall. To ensure that you’re digging up the majority of the root system, insert a large garden fork at least a foot away from the base of the plant, and gently pull the handle towards yourself to lift up the roots. Knock the soil loose or rinse the dirt away with a hose so that you can see the rhizome. Using a garden saw or a sturdy knife, cut the rhizome into pieces. A four-inch piece is the minimum for propagation, and you want to try to leave as much foliage attached as possible. Replant the pieces as you would a transplant, as described below.
From Rhizomes
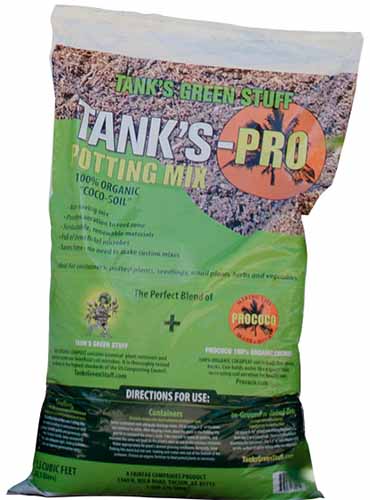
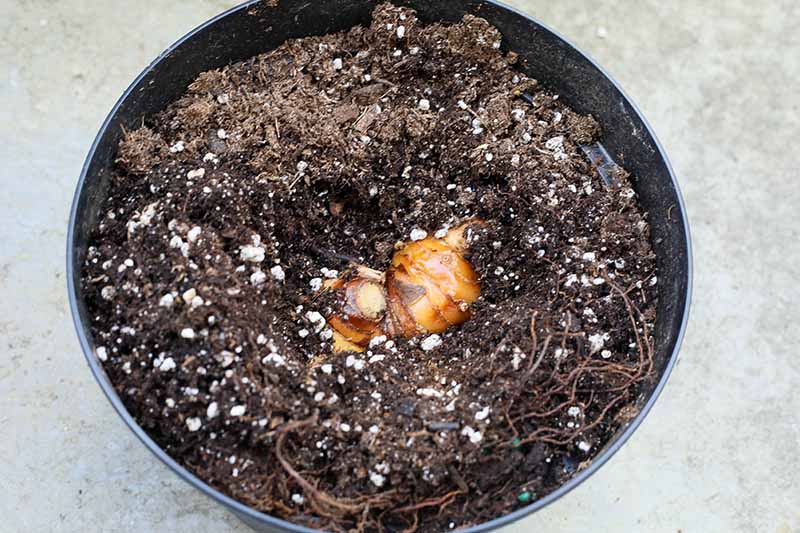
If you go this route, select a rhizome to plant that feels firm and doesn’t have any shriveled parts. Cut it into four-inch pieces. Fresh Galangal Rhizomes Plant directly in the garden in the early spring, or start them indoors in a gallon-sized container. Remember, the earth needs to be well-draining, fertile, and loamy. Use a water-retaining potting mixture if you’re growing in containers. Water the soil well and keep it moist. What does moist mean? Stick your finger into the top inch of soil. It should feel like a well-wrung-out sponge. Tank’s Pro Coco-Soil Potting Mix Pick some up at Arbico Organics in 1.5-cubic-foot bags. Position the rhizome three inches deep in the medium. If you have multiple rhizomes, place them at least 18 inches apart. If starting indoors, plant one rhizome per gallon-size container. Indoor plants should be put in a spot with at least six hours of bright, indirect sunlight. Outdoors, cultivate them in a partially shade spot. You should begin to see shoots emerging from the rhizome after about a week. Within a few weeks, the shoots should be a few inches tall and have a few leaves. At that point, you can transplant your indoor starts to the outdoors, if desired. Before you put them in the ground, harden the starts off by putting them outside in a protected area for about an hour. Then, bring them back indoors. The next day, put them outside for two hours, three hours on the third day, and so on. After a week, they’re ready to go.
Transplanting
If you manage to find a galangal plant at a nursery, you can transplant it into your garden. This is a quick way to move from planting to harvest, but it’s more expensive than other methods. To plant, dig a hole in your garden that is twice as wide and as deep as the container that the plant came in. Remove the galangal from its container and lower it into the hole. Fill in around it with soil and tamp it down. Water well to settle the soil around the roots.
How to Grow
As with many plants that are grown for their roots, galangal needs fertile, loose, loamy, well-draining soil. It requires a pH between 6.0 and 7.8. Part shade is ideal, though it can tolerate nearly full sun. However, plants growing in full sun at the height of summer may experience some sun scorching. Keep the soil moist, like a well-wrung-out sponge. Don’t let the soil dry out. You can grow galangal in containers, but the tubers won’t grow very large unless you have a pot that is over five gallons. Fill the container with water retentive, porous potting soil, and make sure to keep an eye on the pot to make sure it doesn’t dry out. Increase the size of the container as the plant grows, or if you are growing in the ground, dig up and harvest half of the rhizome yearly to keep it contained. Whether in the ground or a container, add an inch-thick layer of straw mulch to help keep the soil cool and moist. In the winter, the plant will stop growing but the leaves stay green. At this point, you can reduce watering and let the top inch of soil dry out in between watering. If you’re growing yours in a container indoors, keep the plant near a window where it will receive part sun, around three to six hours of direct sunlight per day. Galangal makes a good companion plant for a number of different plants that have similar growing needs, including some orchids, lemongrass, and ginger. You can also plant it with red clover to help fix nitrogen into the soil. Just remember that whatever you place it with, galangal will grow tall and may shade out smaller plants. In that case, you might want to plant herbs that don’t mind moist soil and partial shade, such as mint, cilantro, and sweet woodruff. Avoid planting with veggies that need a lot of sun, such as melons, eggplants, tomatoes, and chili peppers.
Growing Tips
Keep the soil constantly moist.Plant in partial to full sun.Add an inch of straw mulch to help retain moisture.
Maintenance
Species to Select
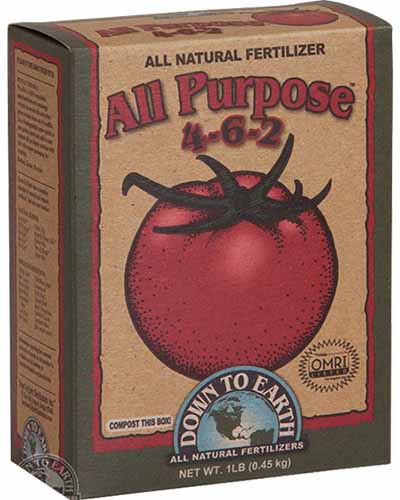
There are two species that go by the name galangal, as we discussed earlier. Arbico Organics carries one of my favorite options: Down to Earth All-Purpose Mix in one-pound and five-pound containers. Down to Earth All-Purpose Mix There’s no need to prune this plant, but be sure to trim away any dead, diseased, or yellowing stems. You can also trim away foliage if the plants become too crowded, to encourage good air circulation. Lesser galangal (A. officinarum) is smaller than its cousin. When mature, it can grow a little over three feet tall. The leaves are shorter and more narrow. The lesser type has a bolder, more bitter flavor, with a stronger note of pine. It lacks the subtle earthy sweetness that the greater variety has. Greater galangal (A. galanga) grows six feet tall or more. The rhizome tastes somewhat medicinal with an earthy, ginger-like base.
Managing Pests and Disease
It’s a cliche to say that a plant is easy to grow – and so frustrating when you kill a plant that the internet says is a cinch to raise – but galangal really is. Part of the reason is that there aren’t many pests or diseases out there that want to make a meal out of it.
Insects
While you don’t have to worry about most common pests, you might encounter spider mites. It isn’t likely that these pests will destroy your harvest unless you have a major infestation, but you should try to keep them away nonetheless. When the weather becomes dry, particularly indoors, spider mites like to stop by uninvited and say hello. These arachnids from the Tetranychidae family are teeny tiny, like the size of the period at the end of this sentence. That’s why you won’t usually spot the mites themselves, but rather, the fine webbing that they leave behind. The damage on plants appears in the form of yellow stippling on the leaves, which comes from the holes left behind by the mites’ piercing mouthparts. These tiny pests suck the fluids out of plants, which can weaken them or cause the leaves to turn yellow and die. To control mites, spray plants with a blast of water to knock the little arachnids loose. Introducing and encouraging beneficial insects like ladybugs and predatory mites such as Phytoseiulus persimilis can also make a big difference.
Disease
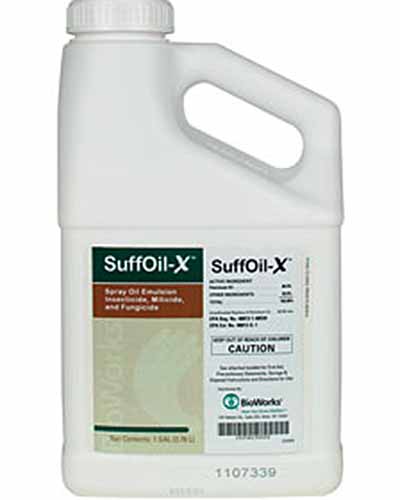
Diseases aren’t common, but infections do happen from time to time. The biggest issue you’ll face when growing this tasty plant is fungal in nature. Most fungal diseases can be avoided if you practice good garden hygiene. You can buy packs containing as few as 2,000 and up to 10,000 mites at Arbico Organics. If you’re still struggling, use a horticultural oil such as SuffOil-X, which is also available from our friends at Arbico Organics in 2.5-gallon jugs. SuffOil-X This spray kills insects and gets rid of diseases like rust, which we’ll chat about in a second. You simply mix it with water and spray your plants. Just make sure to keep your galangal watered well when using this product. Water at the soil level, rather than on foliage, and thin plants if the foliage becomes too dense. Encourage good air circulation by keeping plants an appropriate distance apart when planting.
Root Rot
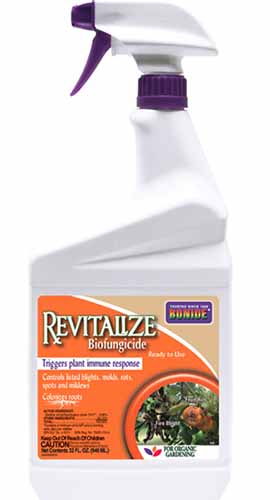
Galangal loves moist soil, but standing water can result in root rot. That’s why well-draining soil is essential. Root rot can be caused by two things, and the pathogen that causes disease is a fungus. Roots may also rot due to a physiological issue, simply because they couldn’t reach the oxygen they need because they were sitting in too much water. You likely won’t know which is the cause if you encounter a problem, so we need to address both. Since all the damage happens underground, at least initially, you probably won’t know that your plants have this disease until the foliage starts to turn yellow and wilt. Finally, water the plant two weeks later with a teaspoon of Bonide fungicide mixed into a gallon of water (or follow the manufacturer’s directions if you’re using a different fungicide). Repeat in a month. Bonide Revitalize Biofungicide This all-purpose fungicide uses the beneficial bacterium Bacillus amyloliquefaciens strain D747 to kill fungi. If you don’t already have a preferred fungicide, I highly recommend you give this one a try. You can grab some at Arbico Organics. Replant in fresh potting soil or back in the ground. However, if poor drainage is a problem, you’ll need to fix it before you can replant. Working in lots of well-aged compost at least a foot deep into your soil will help, or you might consider creating a raised bed. Be sure to select containers with adequate drainage holes as well.
Rust
Rust is caused by various fungi in the Pucciniales order. The type that attacks varies from location to location and plant type, but they are all treated the same. As the name implies, this disease makes it look like the leaves on your plant have started to rust. Before that happens, though, the leaves will usually develop small, white, raised spots on the undersides. Later, those spots turn rust-colored, and the leaves may turn yellow and fall off the plant. Rust prefers shady, warm, moist areas. Since you aren’t eating the leaves of your plant, the best method of control is to simply prune away any infected leaves. Water in the morning and don’t over-fertilize your plants. Unless things get really bad, this should be enough to keep the disease controlled well enough that you can still harvest your rhizomes.
Harvesting
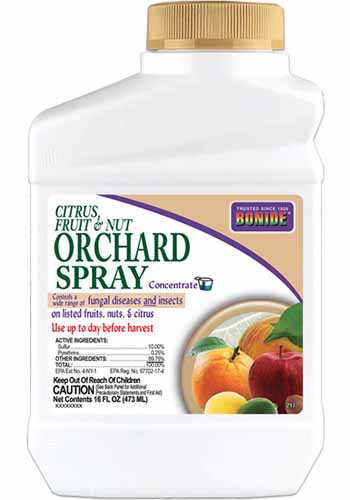
Three months after you plant your rhizome in the soil, it should be ready to harvest. You can also let it grow a little longer to branch and develop if you want a larger harvest. Bonide Orchard Spray Bonide Orchard Spray contains fungicides and pesticides in the form of sulfur and pyrethrin, so it tackles a few problems at once. Purchase a ready to spray 21-ounce, one-pint concentrate, or one-quart concentrate container at Arbico Organics if you find yourself in a pickle, and follow the manufacturer’s directions. That said, the rhizome becomes tougher the larger it grows, so don’t wait too long. To harvest, lift up the entire plant, root and all, using a large garden fork. If you want to use up the entire plant, trim away all of the foliage, wash the root system clean, and separate the sections of the rhizome using a sharp knife or garden saw. If you intend to harvest just some of the rhizome and replant the main part of the plant, leave the foliage in place. Knock and brush away the loose dirt. Remove the smaller branches of the rhizome and trim away all the foliage from those. Leave the main section intact. From the main section, trim away any leaves that look brown or unhealthy. Then, replant as you would a transplant. You can also eat the young shoots. Cut them off with a pair of clean clippers after they emerge from the soil and reach a few inches tall.
Preserving
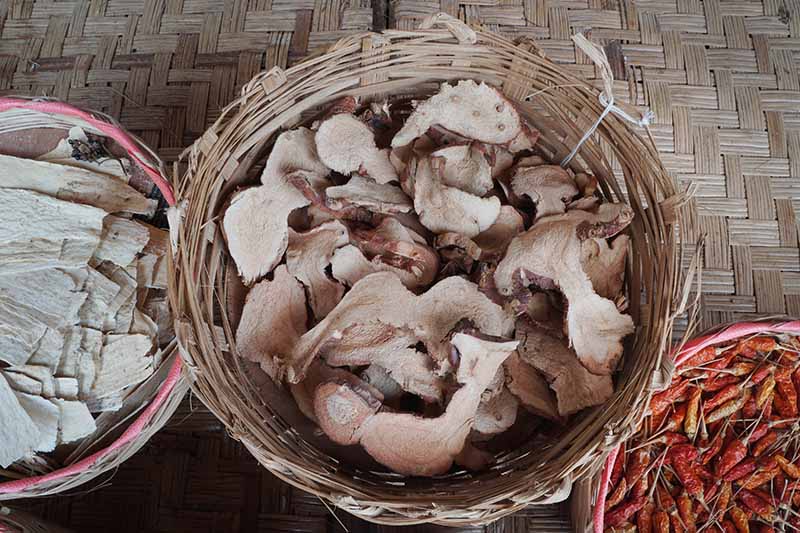
The easiest way to store the rhizomes is to wrap them in a cotton cloth and refrigerate. They’ll last several weeks this way. You can also slice them into inch-long chunks and freeze them in sealed plastic bags. I’ve had them last for a year this way. It’s possible to dry galangal, and the rhizomes take on a more woody, earthy note on top of the gingery-pepperiness that’s already going on when you dry them. To dry, thoroughly wash the rhizome and slice it as thin as you can. Place the slices in a single layer on a cookie sheet without overlapping, and place in the center of the oven at the lowest temperature possible. Let the pieces dry for as long as they need, maybe a few hours, and then remove the slices and let them cool. Store in an airtight container in a cool, dark spot for up to six months. Find more tips on drying herbs here.
Recipes and Cooking Ideas
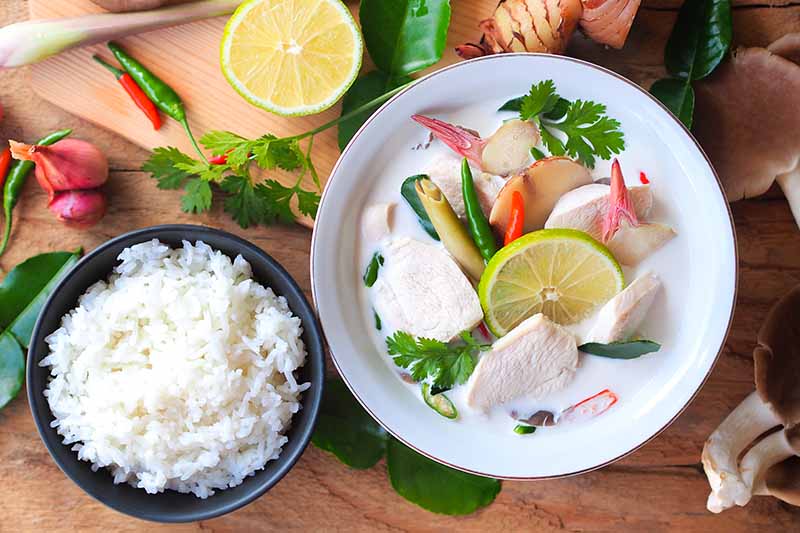
When you use galangal, scrape off the skin as you do with ginger. You can use a knife or vegetable peeler to do this, but I simply use a spoon. You have less chance of hurting yourself, and the skin comes right off without cutting away any of the interior along with it as a peeler or knife can do. The skin is technically edible, so leave it in place if you want, though it does have a slightly tough texture. You can use thin slices or chunks of the rhizome in your cooking, or you can mash it up into a paste. Used raw, it has a powerful flavor, which is why most people cook it up before consuming it. Younger, paler pieces are generally milder, while the plants become tougher and bolder in flavor as they age. Older rhizomes will have red flesh. Rather than eating them raw, these pieces are best used in soups or curries. Many westerners are familiar with galangal from tom kha kai soup (the “kha” is galangal, after all). The broth is usually made with galangal paste, but many cooks will also include thin slices of the rhizome in the stock. The rhizome is also an essential element of Thai curries. Check out our sister site, Foodal for a guide to simple Thai recipes, including one for tom kha. My brother lived in the Philippines for a few years, and of all the things he brought back, this recipe for chicken adobo was the most valuable, in my opinion. To make it, combine eight whole chicken wings (drumette, wingette, and tip included) with 20 chopped garlic cloves, four sliced Thai chilies (more if you’re into spice), three one-inch pieces of peeled galangal, a cup of rice vinegar, a cup of tamari, three tablespoons of black peppercorns, three tablespoons of sugar, and four bay leaves. Put it all in a 13-by-9-inch baking dish and cover. Marinate for 24 hours in the refrigerator, turning the wings every six hours (you can take a break to sleep). Once you’re ready to cook the chicken, heat some vegetable oil in a heavy saucepan on medium. Add the chicken and cook for about three minutes. Turn and cook on the other side for three minutes. The skin should be caramelized and brown at this point. Add the marinade and a half cup of water, cover, and simmer for about 25 minutes. Uncover and turn the chicken. Continue simmering until the meat is falling off the bone and the marinade has thickened. This should take another 15 to 20 minutes. Serve over rice with the sauce spooned on top. Galangal is also a key ingredient in rendang, a phenomenal Indonesian or Malaysian curry that’s usually made with beef. As for the shoots, you can steam or boil them and dress them with vinegar or butter. The flowers are also edible. They begin to emerge in the late summer, and once they have opened fully, you can snip them off with a pair of scissors. Toss them in salads or on top of soups. The berry can be eaten, as well. These form after the flowers have faded, usually in the mid-fall. They’re ready when they are bright red. And now that we’ve finished our meal, it’s time for dessert. Candied galangal is phenomenal. To make it, line a cookie sheet with parchment paper. Fill a large saucepan with water and bring it to a boil. Slice a half pound of galangal into 1/8-inch-thick pieces and boil for 30 minutes. Drain and allow to cool. Return the slices to the pot and add 1/8 cup of water and half a pound of sugar. Bring the mixture to a boil, stirring frequently. Allow the mixture to cook for about 10 minutes, or until the sugar has started to crystallize. Place the pieces on the prepared cookie sheet and let them cool completely. Now you’re ready to dig in! I can’t wait to hear how it goes for you. Please come back and give us all the exciting details. Did this guide help your galangal dreams come true? If so, we have some excellent guides to growing some of its tasty relatives that you might want to check out next:
How to Grow Flavorful Cardamom in Your Home GardenGrow a Super Food in Your Own Backyard: Cultivating Tuberous Turmeric

