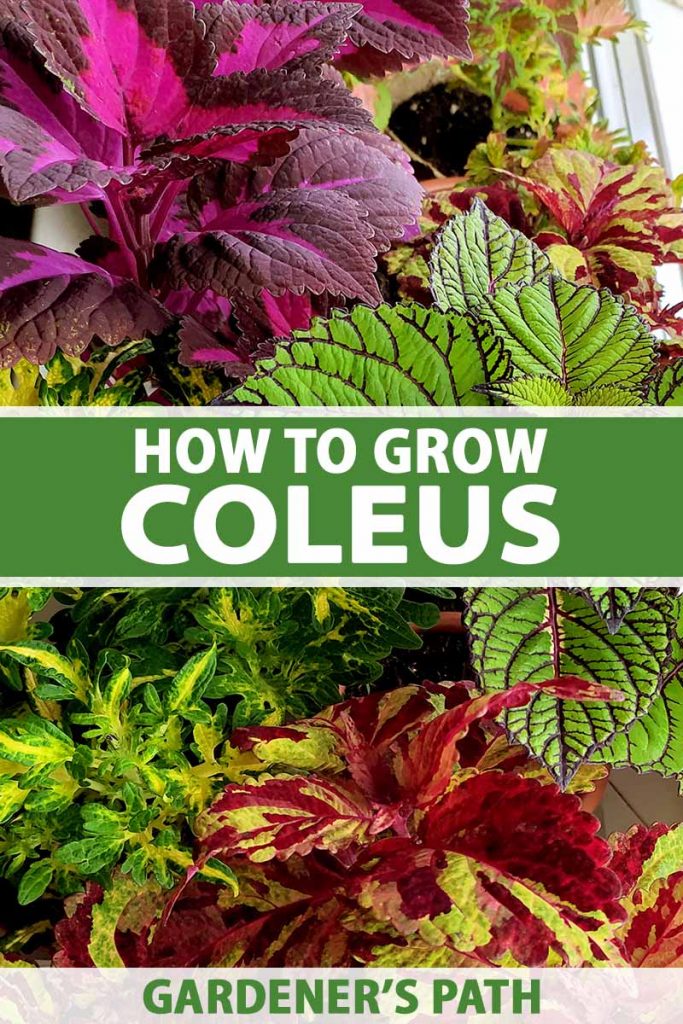
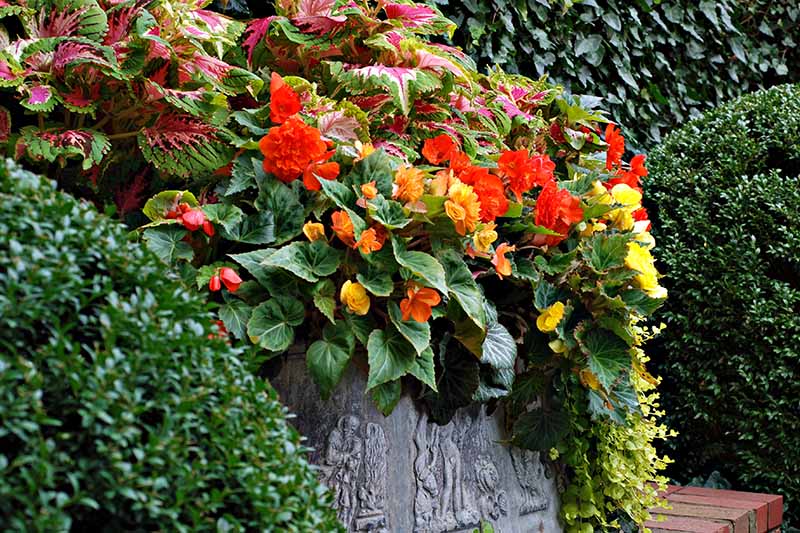
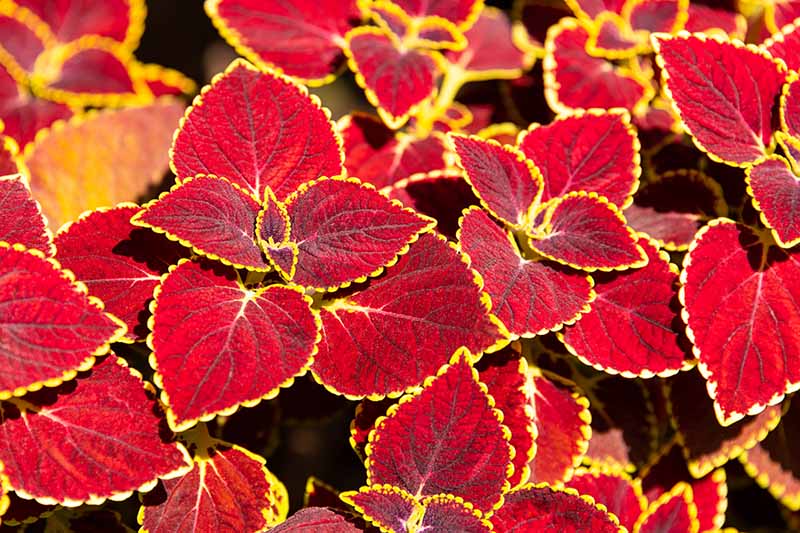
From vivid pinks to moody dark maroons, in an almost endless variety of patterns, these tropical plants make a strong statement in beds, borders, and containers. And they’re easy to grow. Ideal for beginner gardeners, they can be grown as perennials in USDA Hardiness Zones 10-11, and as annuals everywhere else. We link to vendors to help you find relevant products. If you buy from one of our links, we may earn a commission. There are a huge variety of cultivars available, from muted green hues to bright reds and yellows, the variegated foliage is available in almost every color except true blue.
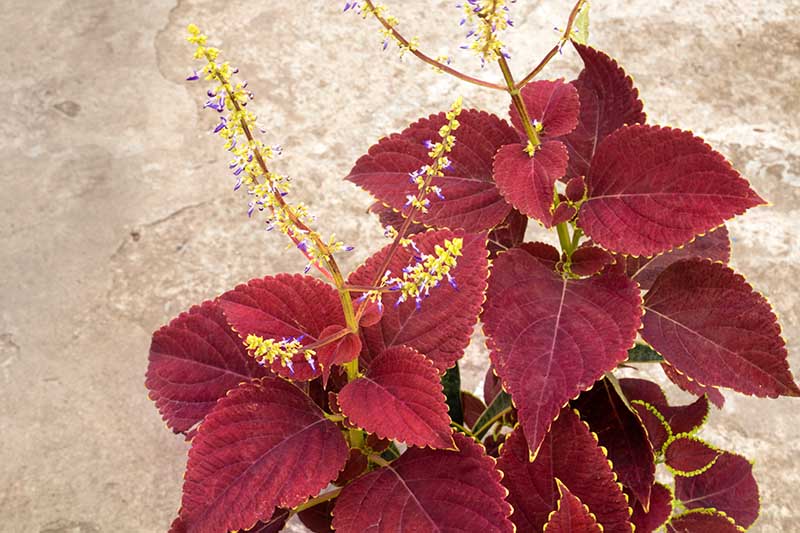
Most types are shade-loving, and prefer just a little morning sun, however plant breeders have developed a number of sun-tolerant varieties. They typically have a mounding growth habit with mature heights of up to three feet tall, and there are also trailing varieties available, ideal for hanging baskets, growing as a ground cover, or spilling over the sides of large pots. Also known as “painted nettle,” these beauties typically have slightly hairy, fleshy leaves with serrated edges up to six inches long and wide, with square stalks. During the summer, plants produce inflorescences of small tubular flowers, which may be delicately fragrant. If you have pets, please note that coleus is toxic to cats, dogs, and horses. Are you ready to grow coleus in your garden? Let’s get started! Here’s what I’ll cover:
Cultivation and History
Species in the Coleus genus are native to tropical and subtropical regions from southeast Asia to Australia, and are naturalized in many other tropical regions. They were first brought to England in the 19th century, from Java, by Karl Ludwig Blume.
They became very popular in the US and Europe during Victorian times, as a bedding plant and as specimen plants in the elegant parlors and conservatories of the well-to-do. Savvy plant breeders of the time capitalized on this enthusiasm, producing different hybrid varieties in a range of colors and patterns, which fetched high prices during this so-called “coleus craze.”
While ladies were delicately sipping tea and comparing foliage colors, botanists were arguing over taxonomic classifications, and we can only hope that a phylogenetic study by Alan Paton et al, published in 2019 has cleared up the botanical naming once and for all: the popular plant that we grow in our gardens is Coleus scutellarioides. But let’s backtrack a little. In 1763, Carl Linnaeus classified this plant as Ocimum scutellarioides. Does that ring a bell? Basil, the popular garden herb is a species in the Ocimum genus. In 1810, after close examination, Robert Brown decided that it should be a member of the genus Plectranthus. But George Bentham changed it to Coleus in 1830. In 1832, the plant that started the craze in Europe and the US was named C. blumei, after Karl Ludwig Blume (remember him?). And so coleus got its name and its genus. Well, until 1962, when JK Morton from the Royal Botanical Gardens at Kew, decided that what we were all calling “coleus” was not in fact Coleus at all, it was Plectranthus. Another spanner appeared in the taxonomic works in 1975, when Leslie E W Codd, a South African botanist, reclassified it yet again into the genus Solenostemon.
As a result of all this taxonomic to-ing and fro-ing, you may see plants at local nurseries labelled Plectranthus scutellarioides, Coleus scutellarioides, C. blumei, Solenostemon scutellarioides or just plain “coleus.” It’s also worth mentioning that in the Coleus genus, there are 294 species, many of which were transferred from the Plectranthus genus as a result of Paton’s study published in 2019. In addition to the popular plant we grow in our gardens, there are a few other notable species: C. amboinicus is an herb, native to parts of tropical Africa, Asia, and Indonesia, commonly known as Mexican mint, Cuban oregano, or Spanish thyme. You can read more about cultivating this flavorful herb in our guide. C. rotundifolius has a tuberous root system and is grown in parts of the tropics for its edible tubers, known as native, Sudan, or Hausa potato in Africa, and Chinese potato in India. C. barbartus, (aka C. forskohlii) is a medicinal plant used in Ayurvedic medicine, and the extract forskolin is the subject of a number of medical studies for its use in treating a variety of ailments. C. canina, aka the “scaredy-cat plant” is a clone of C. comosus, an aromatic herb native to eastern Africa. Garden folklore (or clever marketing) suggests that it smells like a skunk and will repel dogs and cats from your yard. But let’s get back to our garden favorite: C. scutellarioides. Thankfully, in spite of all the botanical complications, coleus is easy to cultivate.
Propagation
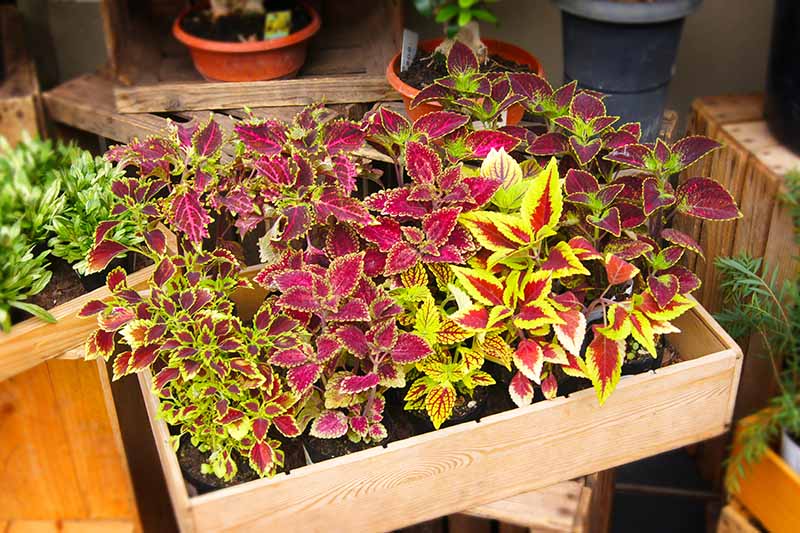
The easiest way to get started growing your own coleus plants is to purchase nursery starts in spring. You can also purchase seeds and start them indoors – or outdoors, if you are in Zones 9-11.
It’s not advisable to collect seeds from existing plants, as many modern cultivars are hybrids and will not produce true to the parent plant, if the seeds are even viable. If you do have a favorite plant that you wish to replicate, coleus is easy to propagate via stem cuttings.
From Seed
Start your seeds indoors eight to 10 weeks before your average last frost date. You’ll need seed trays or small containers, and a good quality, well-draining potting mix. Fill your seed flats or containers with potting mix and place three or four of the tiny seeds on top of the soil. They need light to germinate, so gently press them into the potting mix, but do not cover.
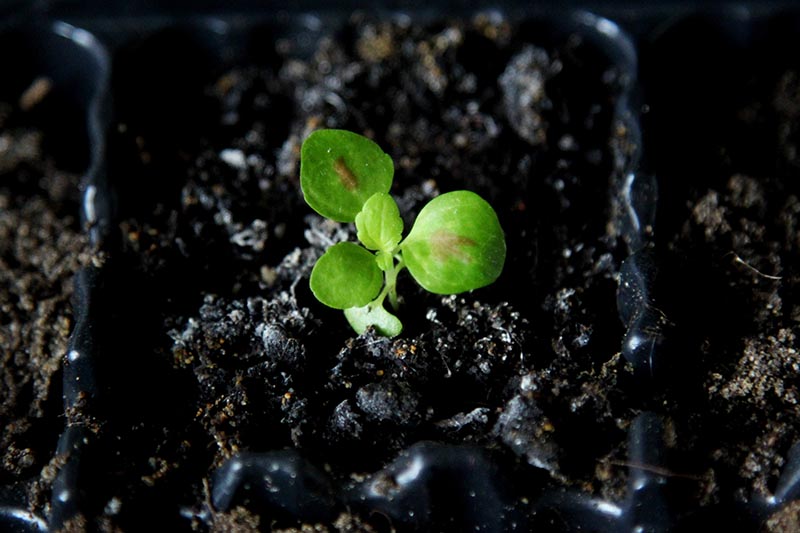
You may need to use a heat mat, as coleus seeds require a consistent temperature of 70-75°F to germinate. Place in a sunny windowsill and if desired, you can cover the tray with a humidity cover or plastic. If you use a humidity cover, make sure the seeds receive indirect light as direct sunshine will cause the seeds to cook. Keep the potting mix moist but not waterlogged. To prevent the seeds from washing away, you can use a spray bottle or plant mister to gently water the soil. After seven to 14 days, seeds will germinate, and at this point you can remove the humidity cover, if using. Thin the seedlings so that there is one plant per seed flat or container. Keep the seedlings in a sunny location and maintain even moisture in the soil. When they have two sets of true leaves, or are about two to three inches tall, transplant them from your seed flats to three- to four-inch individual containers. Continue to provide even moisture, and never allow the soil to dry out.
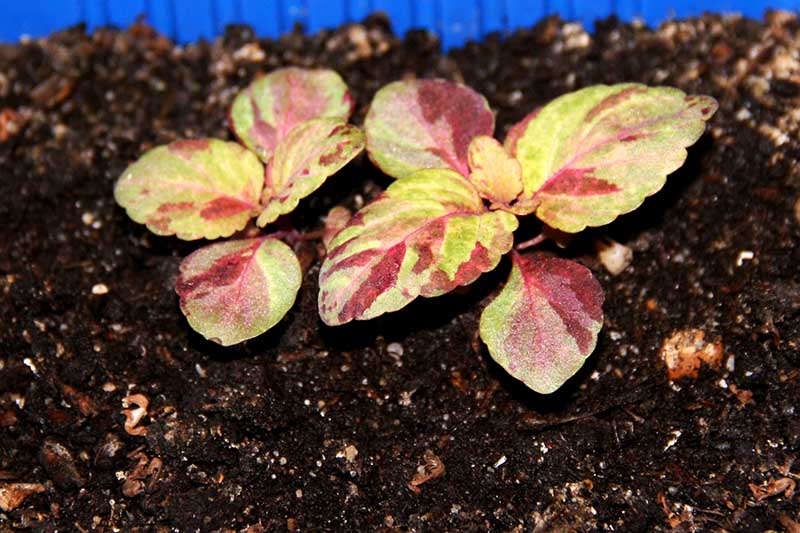
After they have at least six sets of true leaves, or are about six inches tall, you can gently pinch out the growing tips to encourage bushy growth. When all risk of frost has passed, you can transplant them into the garden or a permanent container, as described below. If you’re in Zones 9-11, you can start your seeds outdoors. Wait until all danger of frost has passed, and nighttime temperatures are in the 60s. Prepare your planting location by digging up the top layer of soil and adding some potting mix on which to place the seeds. Press the seeds lightly into the soil, and when seedlings have one set of true leaves, thin to six to 10 inches apart.
From Stem Cuttings
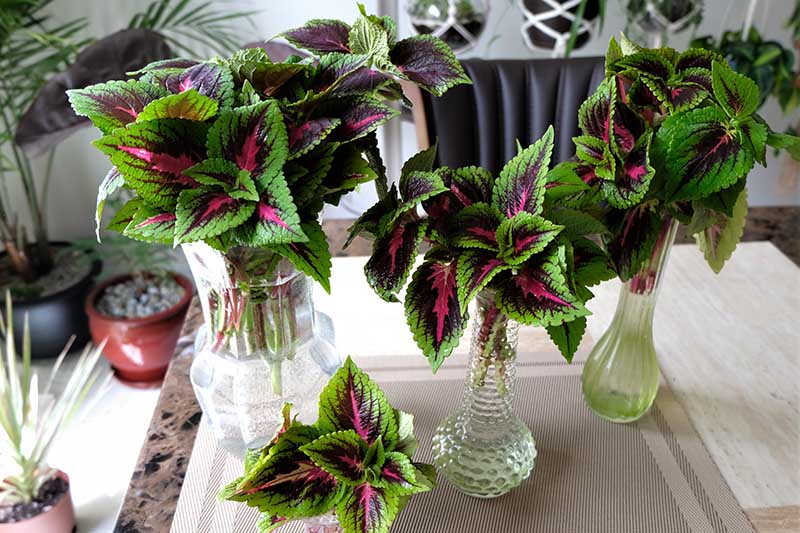
Stem cuttings take root easily, and this is a good way to create clones of your favorites. You can take cuttings at any time of year, and what I especially like to do is to take them in late summer to keep indoors over the winter months so that by the time spring rolls around, my plants are ready to go!
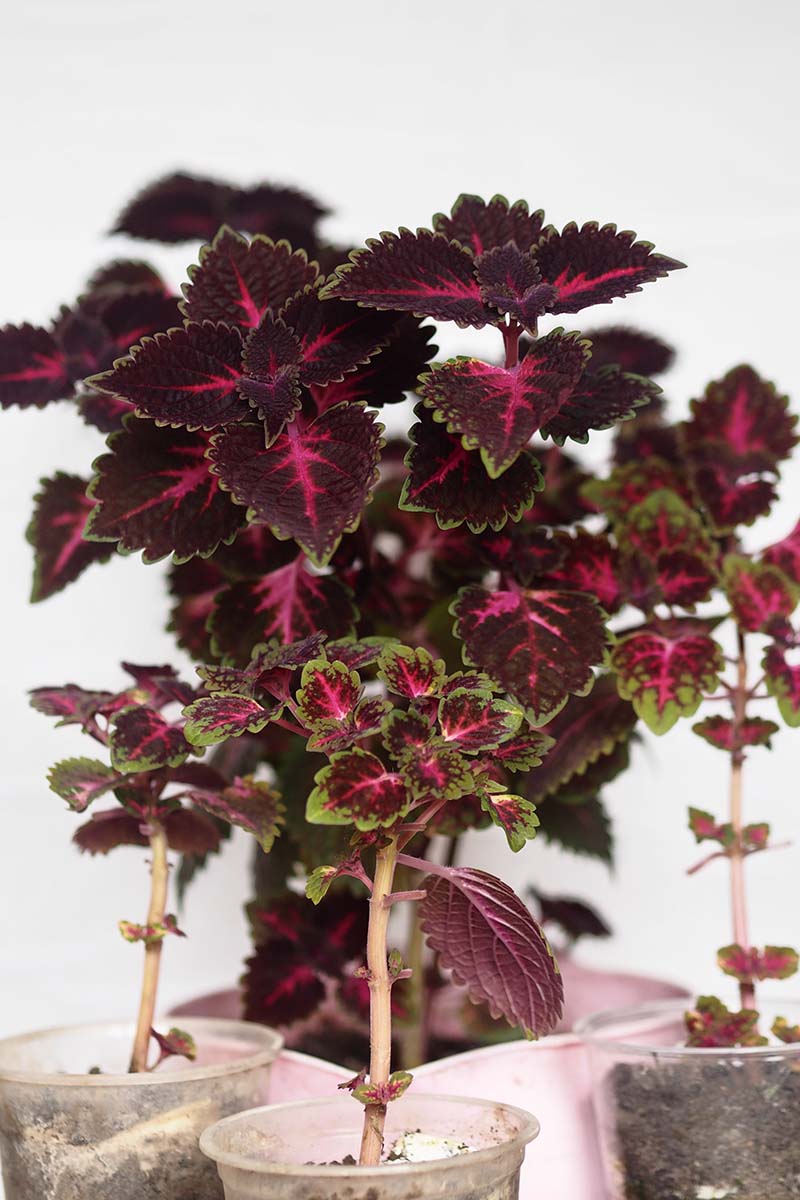
Cut a four- to six-inch section of stem with clean pruning shears, and remove the leaves from the bottom three-quarters of the cutting. You can either place these in water to root or in potting soil. If you’re using potting soil, dip the cut end into powdered rooting hormone, make a hole in the soil and carefully plant the cutting. Keep the cuttings in a bright location, out of direct sun, with temperatures between 60 to 75°F. If you’re growing them in water, make sure to change it every couple of days. If they’re in soil, keep it evenly moist but not waterlogged.
After a week or two, roots should start to develop, and when they are an inch or two long, you can transplant into a container filled with potting soil. You’ll know that your cuttings in soil have successfully rooted when you see evidence of new foliar growth. Learn more about how to propagate coleus cuttings in our guide. (coming soon!)
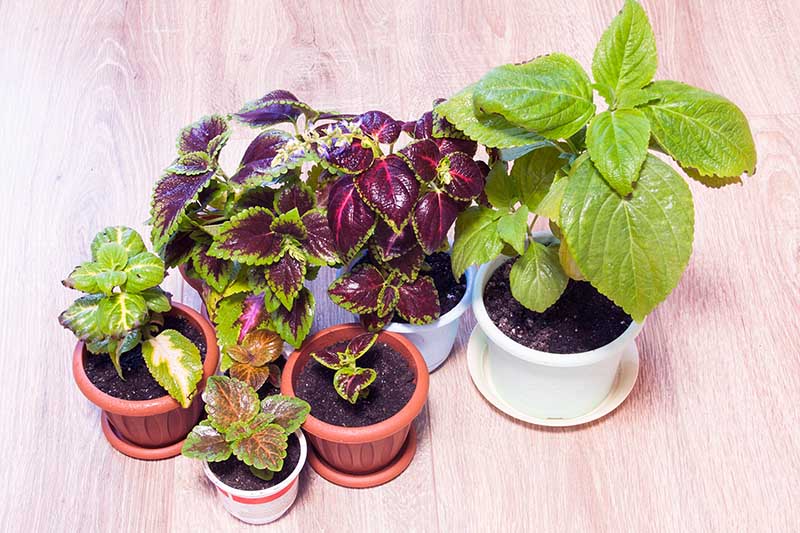
Transplanting
Whether you have rooted your own cuttings, started your own seeds, or purchased nursery starts, you’ll need to wait until all risk of frost has passed before transplanting them into the garden – or to permanent outdoor containers.
Before transplanting, harden off your seedlings by placing them outdoors in a protected location for an hour a day, gradually increasing this time over the course or a week or 10 days to acclimate the young plants. Prepare your planting location in advance. As mentioned, many cultivars prefer a part to full shade location, although there are varieties that can tolerate more sun. Check your seed packet or nursery tag for the variety you have chosen. Select a sheltered location, where plants won’t be exposed to high winds, as they have delicate stems that are easily broken in windy locations. You’ll need well-draining, loose, organically rich soil with a pH of 6.0-7.0. You may wish to conduct a soil test, and make amendments according to the results. I prepare my beds by turning over the soil and adding well-rotted compost. If you wish, you can mix in some slow release 10-10-10 (NPK) fertilizer at planting time. To transplant, dig a hole the same size as the container the plant is growing in, and gently remove it from the pot. Place it into the ground at the same depth as it was growing in its existing pot, and backfill with soil before watering in well. You’ll need to space your plants according to the expected mature size of the cultivar you are growing, typically I plant them eight to 12 inches apart. If you plant them too close together, they will not receive adequate airflow which can cause a build up of humidity, possibly leading to fungal infections.
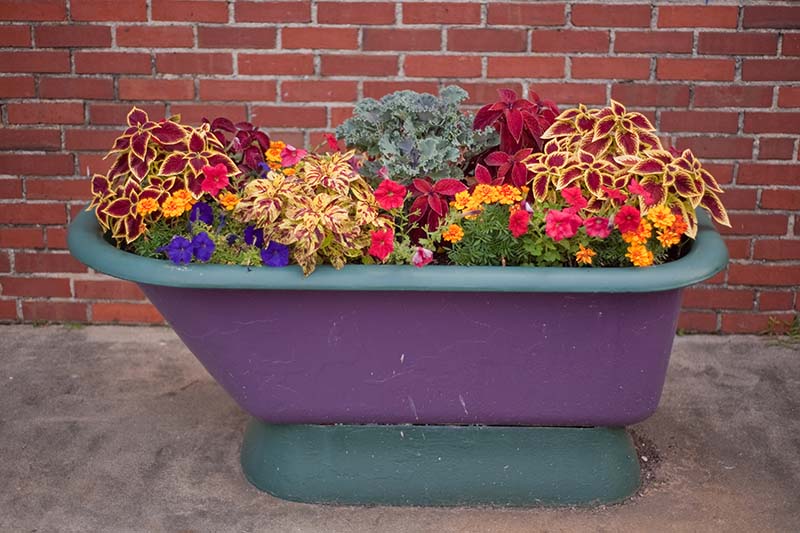
I love to grow my coleus in containers on my covered deck. You’ll need to make sure that you have a container large enough to accommodate the expected mature size of the plant, and leave room for other plants in a mixed planting. A good quality, well-draining potting soil with added perlite is ideal. As a minimum, you’ll want a pot that’s eight inches wide and deep for a single plant. If you want to plant more than one, or add some colorful annual flowers, then consider a large planter. Make sure your container has draining holes on the bottom. You can learn more about how to grow coleus in containers in our guide. (coming soon!)
How to Grow
Coleus are low-maintenance, fast-growing plants that require little effort from you to thrive. The main consideration is to ensure they have plenty of water and are never allowed to dry out. However, that doesn’t mean they want to be sitting in waterlogged soil.
Maintain even moisture, and if you’re growing them in containers, be extra vigilant, especially in hot weather, as pots dry out much more quickly than garden soil. As a rule of thumb, if the soil is dry to an inch down, it’s time to water. They typically require about an inch of water per week, including rainfall. Not sure how to measure that? Take the guesswork out by using a rain gauge. Try to avoid overhead irrigation, as this can contribute to the spread of fungal pathogens that thrive in damp, humid environments. Pinch off growing tips to encourage bushy growth, as these plants can have a tendency to become a bit “leggy.” With regular pinching, the plant will produce more stems which gives it a more “full” appearance.
As far as pruning is concerned, you can snip off stems (and root them for more plants!) to shape the plant and encourage it to become more dense. If you notice flower stalks emerging, snip or pinch these off immediately, to force the plant to put energy into the colorful foliage, instead of diverting it into the reproductive process.
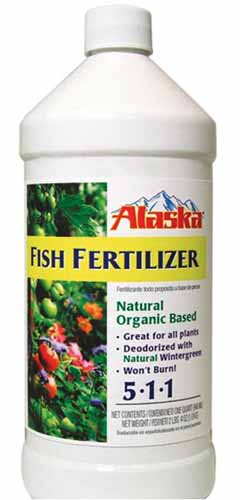
Alaska Fish Fertilizer This is a 5-1-1 (NPK) fertilizer which will not cause the brown spots on the foliage typical of a coleus that has been overfed. You can find Alaska fish fertilizer available at Home Depot. If you are growing your plants in containers, this fertilizer can be applied every two to three weeks. In the garden, two or three times during the growing season is usually sufficient. Even though they are tropical plants that thrive in temperatures between 70-100°F, coleus may suffer from sunscald if it’s planted in direct sunlight. If you notice burnt leaf edges, bleached, or translucent patches in the foliage, it may be as a result of sunscald. Consider using some shade cloth to protect plants from the sun or move containers to a more suitable location, and ensure plants are well watered, as sunscald is made worse by inadequate irrigation.
Growing Tips
Plant in a part to full shade location that receives some morning sun Water when the top inch of soil is dry Pinch growing tips and flower buds to encourage bushy growth
Cultivars to Select
If you find evidence of slugs and snails munching on your plants, you can set out slug bait or waste precious beer in traps. An application of diatomaceous earth around the base of plants can help deter these pests.
Here are a few of my favorites, and you can read all about the best coleus cultivars in our guide. (coming soon!)
Black Dragon
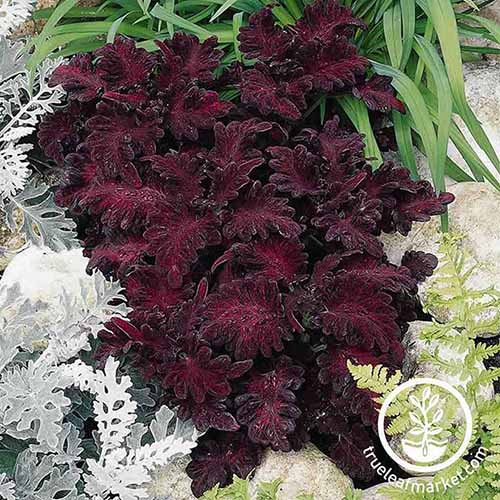
With midnight-purple foliage, tinged with just a hint of red, and a compact growth habit, ‘Black Dragon’ makes a dramatic impact in beds, borders, and containers. The small, deeply-lobed leaves have an almost velvet-like appearance, and this cultivar tops out at just 10 to 12 inches tall, with a similar spread. It’s ideal as a moody bedding plant, or as an accent to more colorful flowering annuals.
‘Black Dragon’ The color can vary depending on the growing conditions, sometimes appearing more dark red than purple. You can find packets of 1000 seeds available from True Leaf Market.
Chocolate Mint
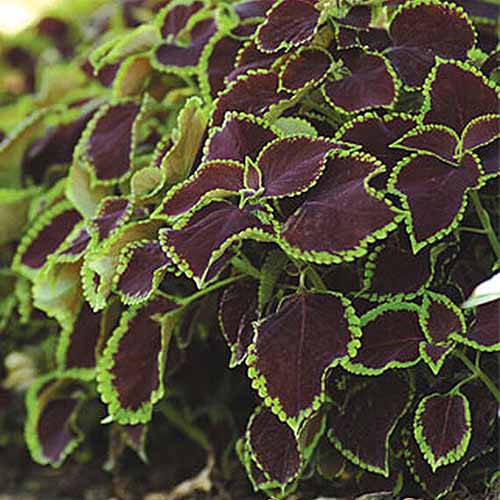
‘Chocolate Mint’ has deep burgundy foliage with bright green edges, highlighting the serrated leaves.
‘Chocolate Mint’ It grows to a mature height of 12 to 20 inches, with a spread of 12 to 14 inches. A bushy plant with a mounding growth habit, ‘Chocolate Mint’ thrives in full shade. You can find sets of six plants or 25 seeds available at Burpee.
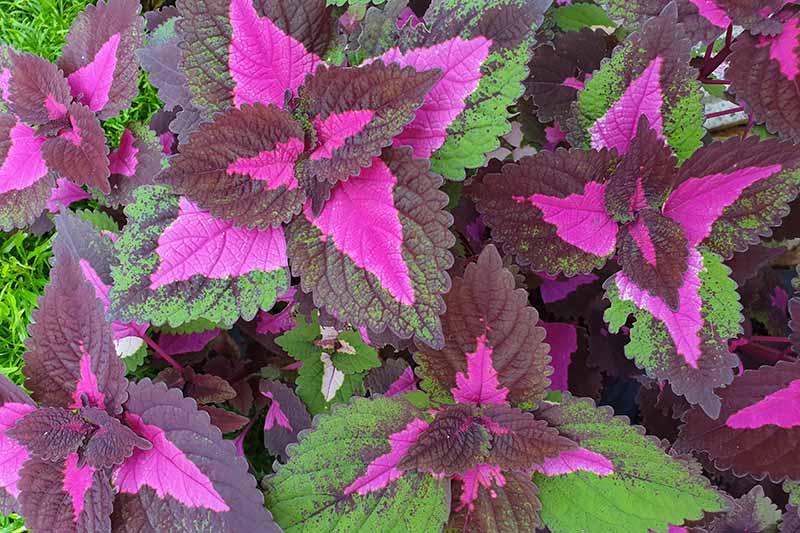
Watermelon
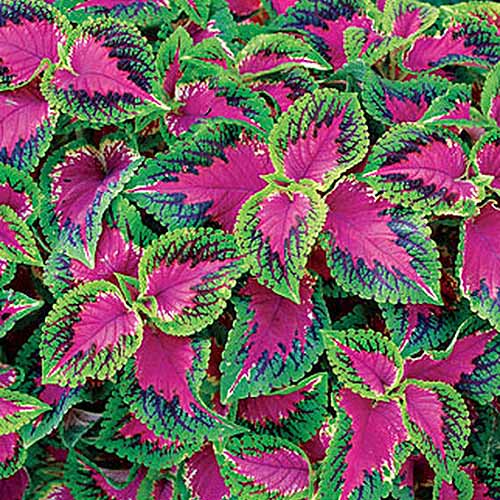
‘Watermelon’ is an eye-catching cultivar with vivid pink foliage with green margins accented with cream flecks and deep red veins.
‘Watermelon’ With a mature height of 20 to 22 inches tall and a spread of 18 to 22 inches, it has a mounding growth habit and provides vibrant color to your garden or containers. You can find packets of seeds or a set of four plants available at Burpee.
Managing Pests and Disease
Coleus plants are typically not bothered by pest and disease issues, which are more common in commercial greenhouse environments, but the usual garden suspects like aphids, spider mites, whiteflies, and mealybugs may cause damage to the foliage and stunt the plants’ growth. Severe infestations that go undetected can cause a build up honeydew, leading to sooty mold. You can use neem oil or insecticidal soap, according to package instructions.
Bonide™ Insecticidal Soap Find Bonide™ insecticidal soap available from Arbico Organics. A disease to watch out for is downy mildew, caused by the oomycete (water mold) Pernospora, shows up as leaf distortion, dropping, and white or gray spots on the top and bottom of the foliage. Unfortunately, there is no cure for this disease and you’ll need to remove infected plants and dispose of them in the trash to prevent it from spreading. Powdery mildew, the bane of many gardeners, but typically not fatal, is characterized by a white covering that looks a little bit as though the foliage has been dusted with flour. This condition is caused by a variety of different fungal pathogens and you can learn more about how to treat it in our guide.
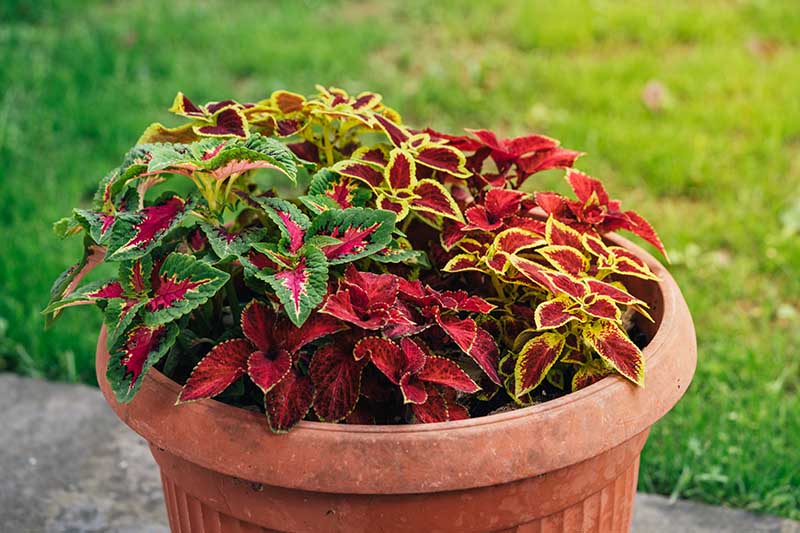
Best Uses
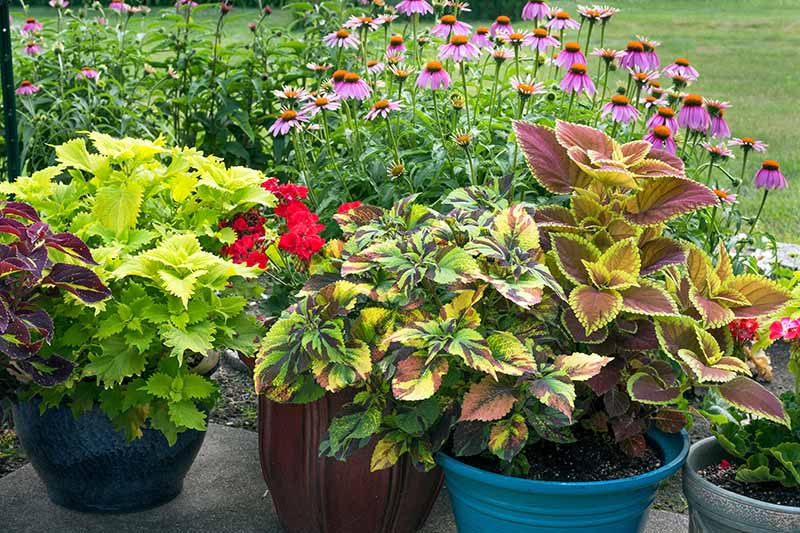
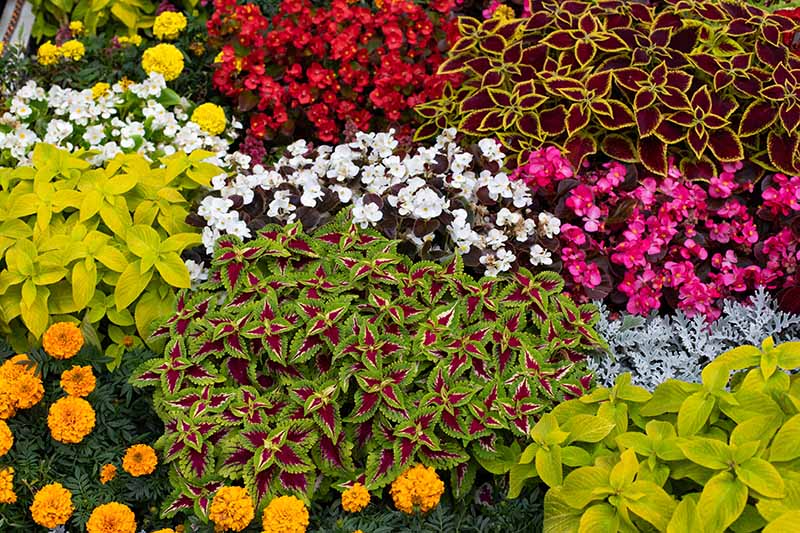
While I love my perennial borders, what I particularly enjoy about annuals is that I can change up my color schemes every year. Coleus is ideal for mass planting in those shady spots in the garden that often end up looking a bit bare.
In addition to color, coleus provides texture and can be used as a focal point, or to echo colors of other plants nearby. The dense foliage can fill in spaces below larger specimens in containers or out in the garden.
You can also keep your coleus as a houseplant, the same principles apply: maintain even moisture, regular feeding, and indirect light. Under ideal conditions, they may provide you with year-round color. And there, in a little pot, was something that looked – almost – as showy.
Affordable, forgiving coleus came into my life and has been one of my favorite annuals ever since. Do you love coleus as much as I do? Share your favorite uses for this dramatic plant in the comments section below, and feel free to share a picture! And for more information about plants to grow in shady spots in your garden, check out these guides next:
How to Grow Bleeding Hearts A Whole Lotta Heuchera (And How to Grow Them) Growing Hostas: A Favorite Shade Loving Perennial
© Ask the Experts, LLC. ALL RIGHTS RESERVED. See our TOS for more details. Product photos via Arbico Organics, Burpee, Home Depot, and True Leaf Market. Uncredited photos: Shutterstock.