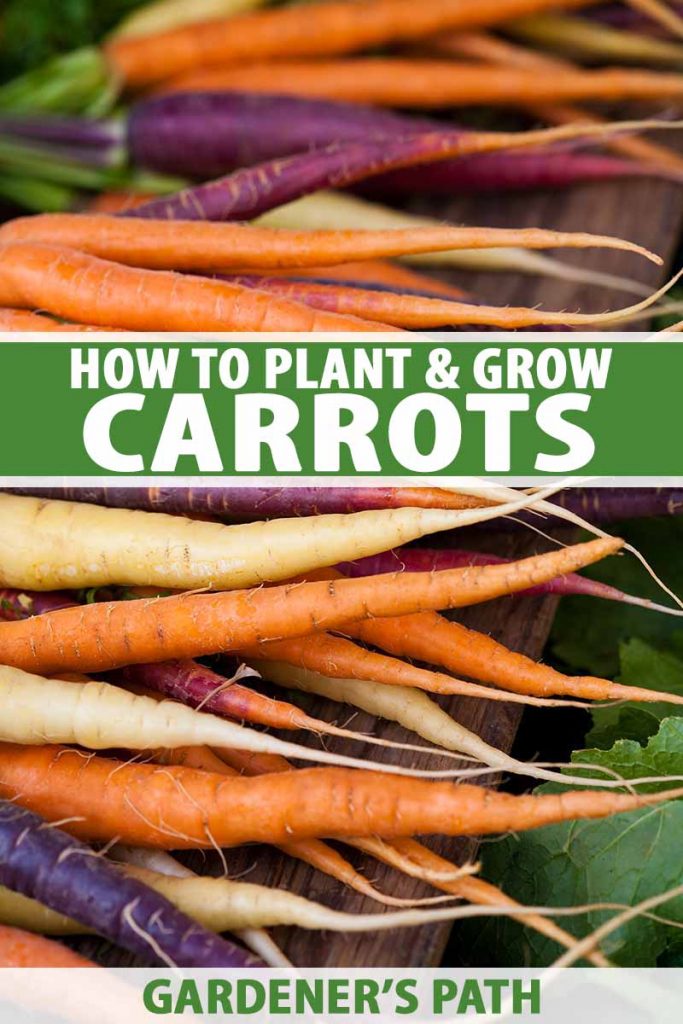
Homegrown carrots are crisper, fresher, and come in a much wider variety of flavors, colors, and shapes than what you can buy in the average supermarket. We link to vendors to help you find relevant products. If you buy from one of our links, we may earn a commission. Ready to learn how to grow carrots? All right, let’s go!
Cultivation and History
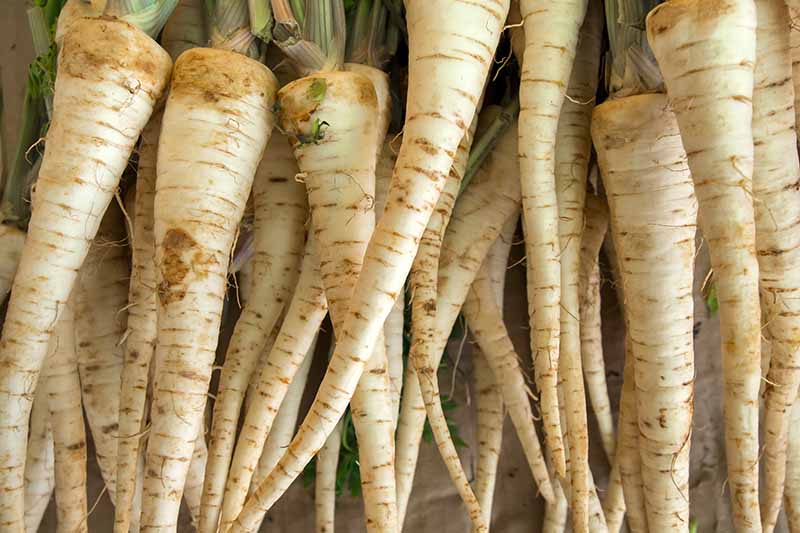
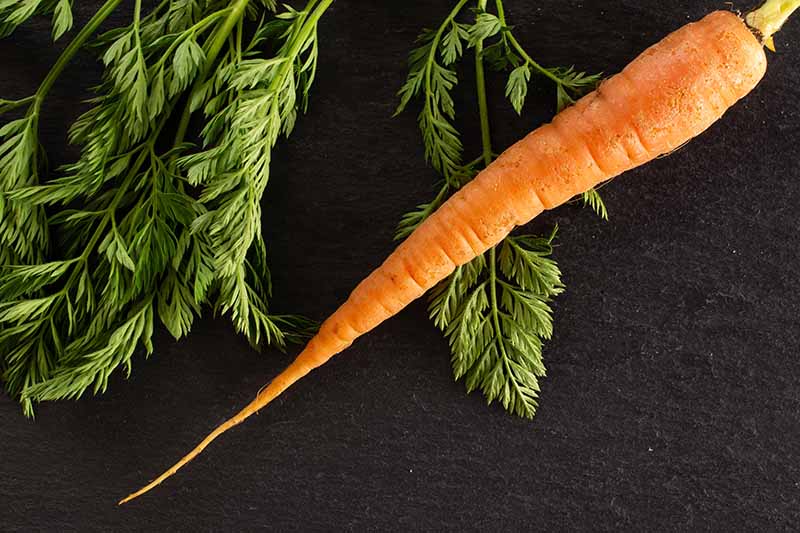
Close your eyes for just a moment and think of a carrot. What do you see? I’m going to take a wild guess and assume that you thought of something orange in color. So it may surprise you to know that the wild ancestor of our domestic carrot, D. carota, has a white root. The orange color we associate with this vegetable is a fairly recent development in the history of the domestic carrot.
Researchers seem to be unsure just how far back domestication of this root vegetable took place. In an issue of Chronica HORTICULTURAE from 2011, John Stolarczyk and Jules Janick point to evidence that domestic carrots have been around since at least the second century CE. There is a consensus among experts, however, that a thousand years ago people were eating yellow and purple carrots in Central Asia, the place where they are thought to have been originally cultivated – or perhaps as far back as 5000 years ago.
It wasn’t until much later that orange varieties came onto the scene. In “Origin and Distribution of the Western Cultivated Carrot,” author Otto Banga cites the first historical evidence – from written accounts and paintings – of the orange carrot in the 1600’s. According to Banga, orange pigmentation in carrots came about through mutation and selection of a strain of yellow carrots.
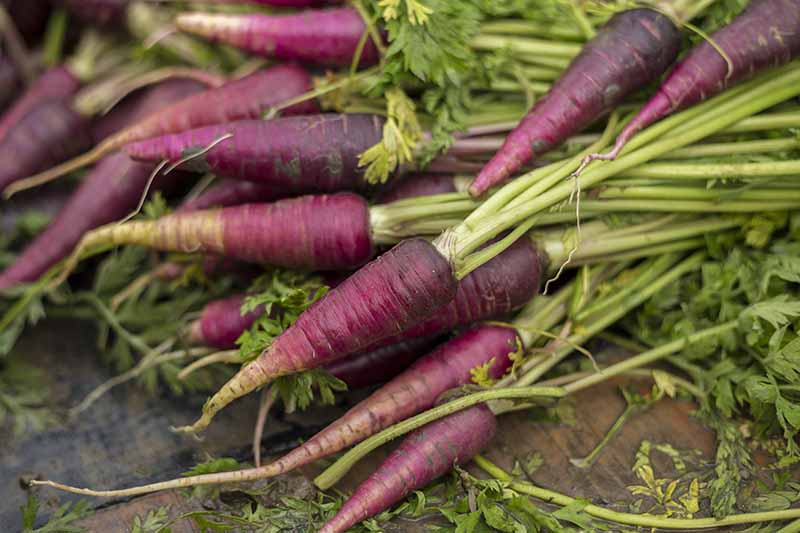
Knowing just a bit about the history of carrots should give us a greater appreciation for both the bright orange ones we are all familiar with, and varieties in other beautiful colors. These days we have heirlooms and hybrids available for growing in the home garden in black, purple, red, yellow, and white as well.
How to Sow
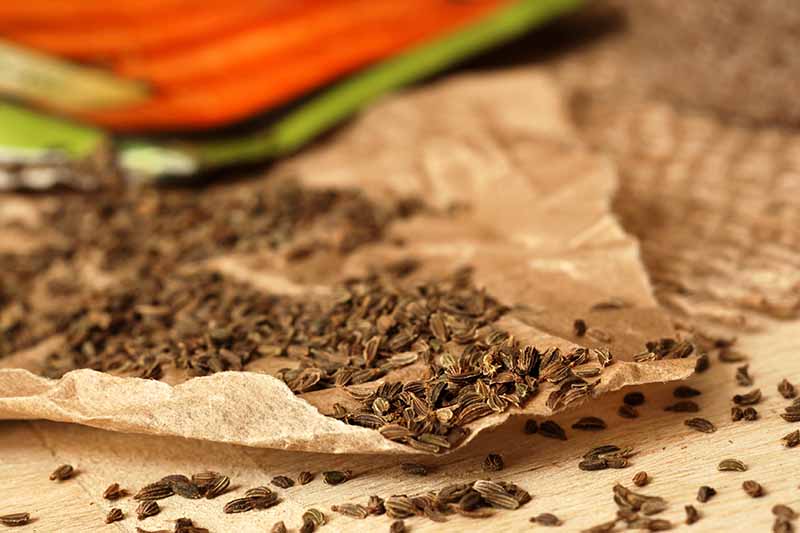
Whether you want to grow carrots that are orange, black, or something else on the color spectrum, you’ll need to know how to start them from seed. Carrots do not transplant well – the roots are sensitive to disturbance, so seed sowing is a must.
Choose your seeds and select a garden spot with full sun, one where you can create a carrot paradise. This paradise will consist of loose, sandy loam soil that is well-draining. It should be free from rocks, roots, and clods of dirt to about 12 inches deep. Pull up any weeds if you see them as well. Plan to sow your carrot seeds as soon as your soil can be worked. For a spring garden this is usually 2-4 weeks before your last frost date. You can also sow them 10-12 weeks before your first frost date for a fall harvest.
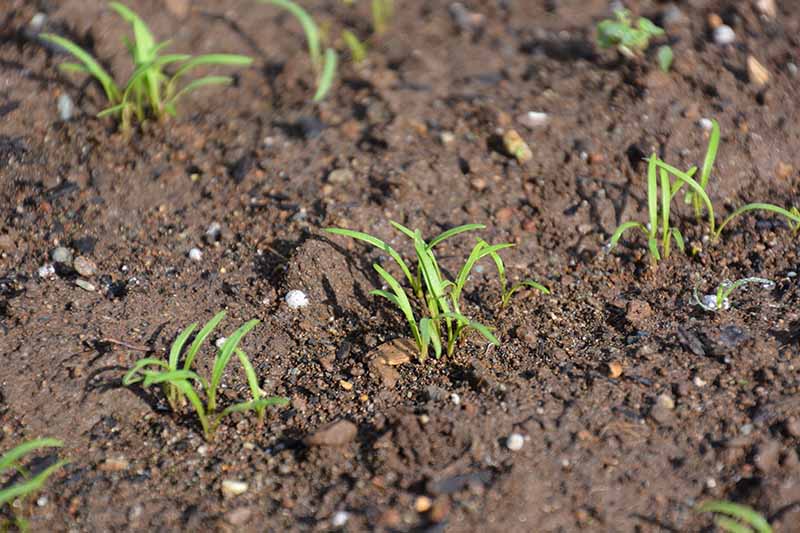
If you are planting in rows, space them 10 inches apart. Pat the soil gently without compressing it, then lay out your seeds. Plant 2-6 seeds per inch. Cover with 1/4-1/2 inch of soil, then pat the soil again gently. Carrots also grow well in containers, and potted carrots can even be grown indoors – in fact, they are one of the easiest veggies to grow inside, and their leafy green foliage makes them an attractive plant for the home. Just make sure your carrots are on a sunny windowsill and keep them watered. Water lightly, since carrot seeds are small and light, and prone to being washed away. Keep the soil moist, but not waterlogged – you may need to water every day until germination.
Carrot seeds can take up to 21 days or longer to germinate, so this is a good time to exercise your patience and complete some other gardening tasks.
How to Grow
To grow them successfully, carrots will require a little more care and attention than some of the more laid back members of your veggie garden.
But providing this attention will be well worth the extra work – your reward will be a delicious crop of vegetables to roast, juice, or transform into carrot cake.
Soil
Work well-matured compost or vermicompost into your soil to prepare it for planting. Make sure there are no large clods in your compost, as this will cause misshapen roots. If you add manure, make sure it is aged – high nitrogen levels are detrimental to root development.
This root vegetable requires phosphorus for healthy growth. If a soil test reveals that your soil is lacking in phosphorus, work some bone meal into your soil when you prepare it for planting.
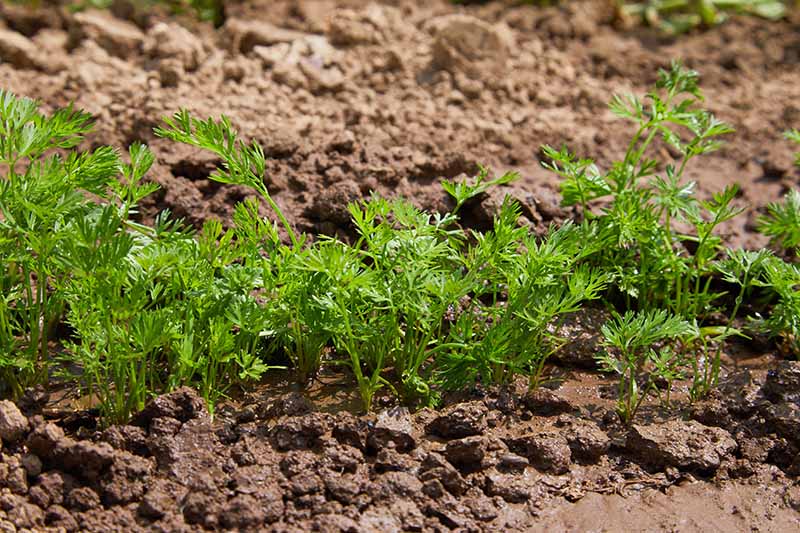
Thinning
When seedlings are 3-4 inches tall, thin to 1 inch apart, pinching off the tops of the sacrificial carrots rather than pulling them out, since this can disturb the roots of surrounding plants. A month later, thin again so that plants are 2 inches apart. This time, pull up the baby carrots you are removing and keep them to cook with.
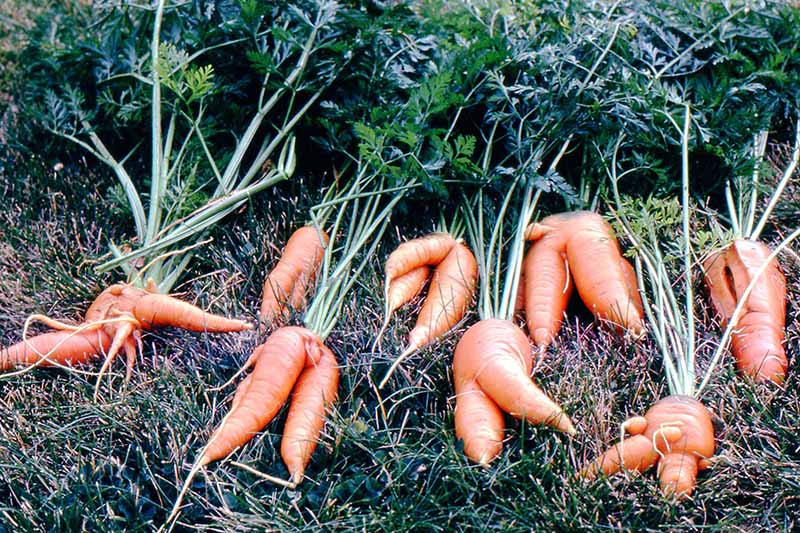
Thinning plants is necessary to keep them straight – crowded carrots will have twisted roots.
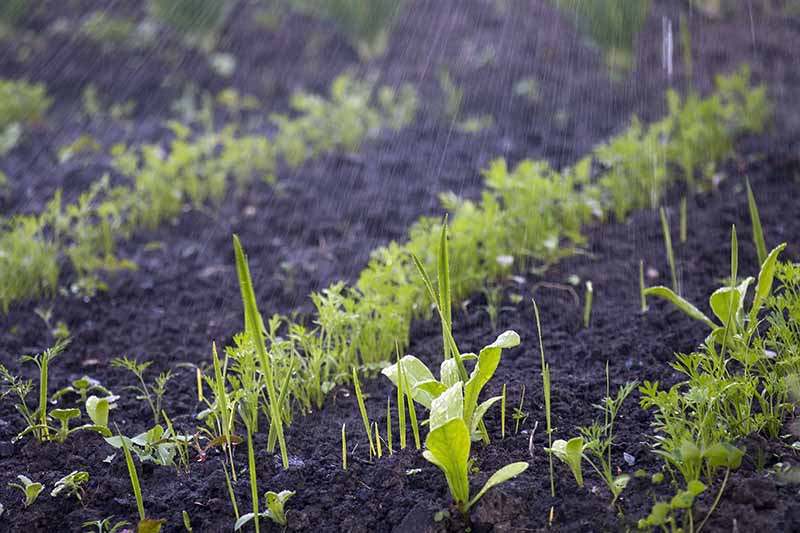
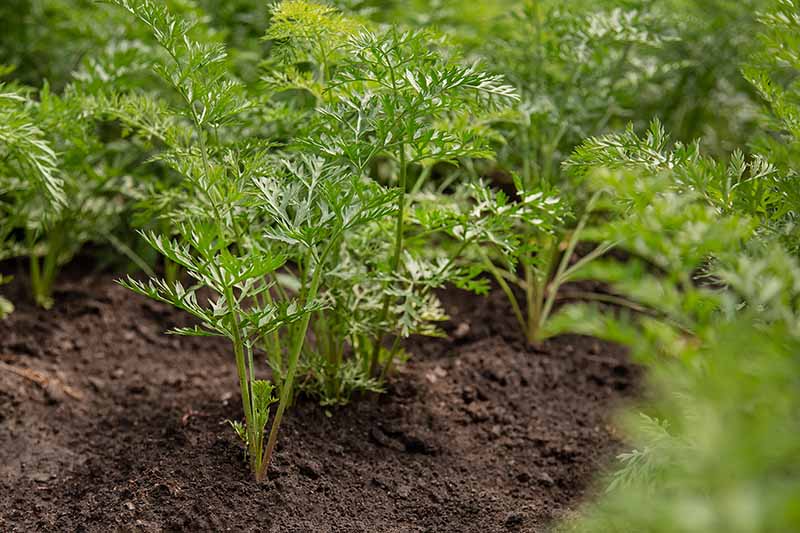
Mulching
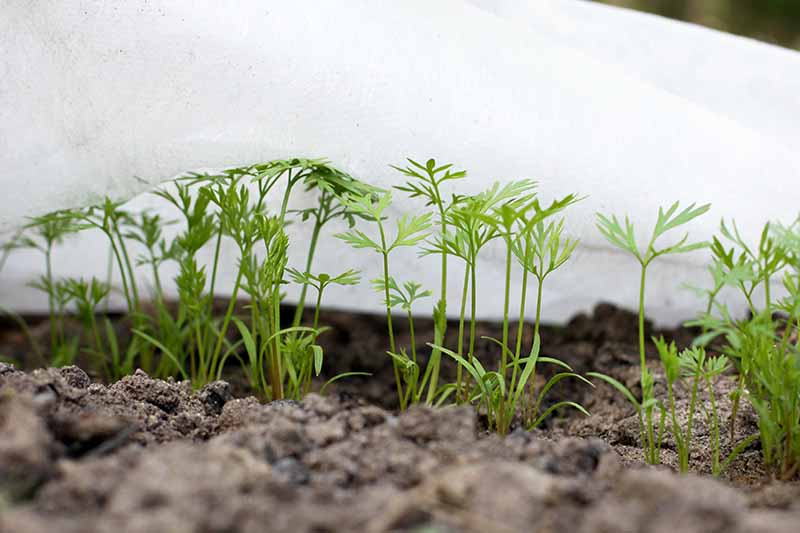
After your seeds have transformed into proper seedlings, mulch lightly around them. Once the roots begin to grow, cover any crowns that bulge above the soil level with mulch or soil to keep them from turning green and bitter. Mulching will also help to prevent weeds from taking up room and resources in your beds.
Weeding
Keep the area weed free, but weed carefully so as not to disturb the carrots’ roots. To avoid accidentally pulling up your seedlings, cut the tops off neighboring weeds instead of pulling them up.
Once the plants are established, make sure to stay on top of the weeds or they will pull valuable nutrients away from your crop.
Growing Tips
Interplant with radish seeds as nurse plants. Radishes grow faster than carrots, and their roots loosen the soil and prevent weeds. Cover your newly seeded area with burlap to keep the soil moist. Check daily, and remove when seeds germinate. Grow in raised beds or containers if your soil is too heavy. Succession plant every 4-6 weeks for a continuous harvest. Homegrown carrots are known to split and crack; we have a guide to help you to prevent this from happening.
Managing Pests and Disease
Carrots are such a simple, wholesome vegetable. But growing them can be a bit complex since they are a target for many pests and diseases. You can handle these problems with a holistic strategy, as outlined in our guide to Integrated Pest Management.
Soil Depth
There are two main groups of carrots in terms of soil depth needs: the long and thin ones, and the short blocky ones.
The long, thin ones – Nantes and Imperator varieties – need a foot of loose soil to grow in, while the short blocky ones – Danvers and Chantenay varieties – will do well in more shallow soil.
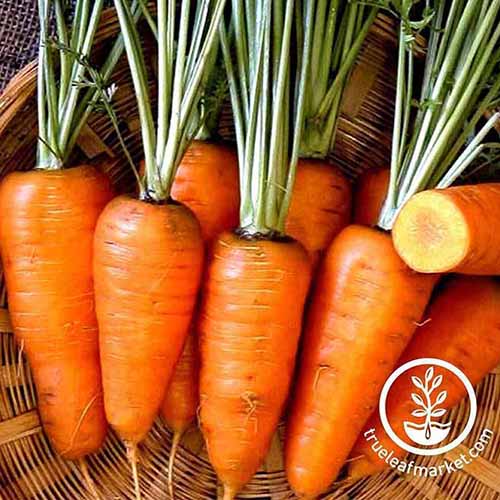
Chantenay Red Core
This sweet and tender orange variety with a red core will prove to be a good selection if your soil is heavy and contains a lot of clay.
‘Chantenay Red Core’ ‘Chantenay Red Core’ roots only grow up to 6 inches long. This cultivar matures in 68 days, and seeds can be found at True Leaf Market.
Early vs. Late
When choosing your carrot seeds, you’ll also want to consider how many days are required to bring your crop to maturity. If you have a long growing season, you can go with one of the later maturing types, while those of us with shorter seasons may want to rely on early maturing types.
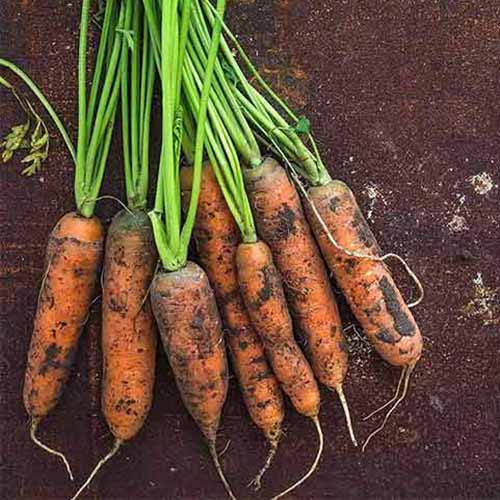
Little Finger
‘Little Finger’ is a Nantes type that looks like – you guessed it – a little finger.
‘Little Finger’ This orange, fast-maturing variety grows up to 4 inches long and will be ready to harvest in 55 days. Seeds are available in various packet sizes from True Leaf Market.
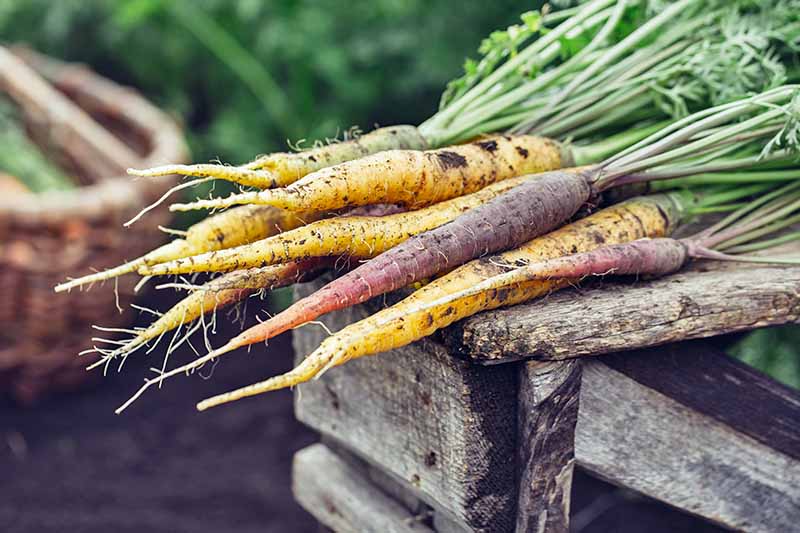
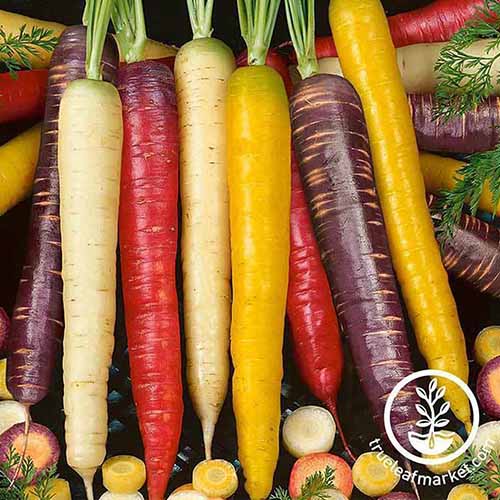
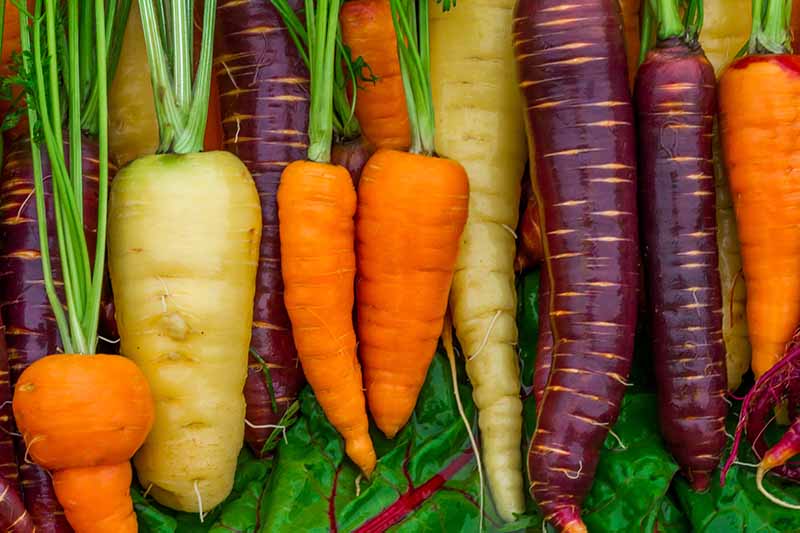
Nearly Every Color of the Rainbow
Once you narrow down your soil depth needs and preferences for early versus late varieties, then you can get to the fun part – choosing your colors. Carrots can be found in various shades of orange – of course – but also yellows, reds, purples, whites, and even black! If you can’t decide which colors of carrots you like the best, a seed blend is a good way to experiment. This rainbow blend includes five colorful varieties to provide you with a full palette. You’ll pull a bright bunch of 7-inch carrots from the ground in 65-75 days. Varieties included are ‘Atomic Red,’ ‘Bambino Orange,’ ‘Cosmic Purple,’ ‘Lunar White,’ and ‘Solar Yellow.’
Rainbow Blend Packets of 19,000 seeds per ounce are available from True Leaf Market – you’ll have plenty to go around! If you want even more choice in your selection, read our article on 13 of the best carrot varieties to grow at home.
Herbivores
If you see signs of damage to your carrots, do a little investigating before you jump to place the blame. Do you see any droppings nearby? How about any tracks? Deer and rabbits might both appreciate a munch on your carrot tops, while mice and moles might nibble on the crowns.
Interplanting your crops will make select vegetables less obvious to deer. Deer fencing will also keep them out. Fencing with a tight grid will help keep smaller nibblers like rabbits out of the veggie patch.
Insects
The main risk to your roots comes from underground. Various larval pests such as carrot rust fly, carrot weevil, and wireworms can burrow into the carrot root, causing extreme damage to your crop. Above the ground, some insects will chew the leaves. These include flea beetles and aster leafhopper. Most of these won’t cause widespread damage – unless you live in an area where grasshoppers are prevalent, in which case they will chew your greens down to the nub. There are many different insect pests that can target these plants, but these will vary depending on your region. You can find a comprehensive list in our “How to Identify and Control Carrot Pests” guide. To prevent insect problems, there are various steps you can take:
Interplant carrots with aromatic herbs such as rosemary, sage, or wormwood, or surround them with leeks or onions. The odor of these plants can confuse insects that rely on smell to find their favorite foods.
Use floating row covers.
If carrot rust flies are a problem for you, avoid leaving your carrots in the ground over winter. Beneficial nematodes are the main recourse for dealing with this type of pest. Learn more about controlling carrot rust flies here.
And always, always, rotate your crops. Rotating crops – or not planting the same crop in the same location year after year – keeps the soil healthy, by not constantly depleting the same nutrients. It also prevents pests that feed on a particular crop from taking hold. For example, planting nitrogen fixers such as legumes replenishes levels of this nutrient and improves soil quality for future plantings.
Disease
Carrots can also be affected by many different diseases, but don’t let this dissuade you. If you follow good practices, such as interplanting, planting resistant cultivars, and rotating your crops, you may never have to worry about these. Diseases can be caused by bacteria or fungi. If you see dark gray spots with yellow halos appearing on older leaves, this can be due to Alternaria leaf blight. Bacterial leaf blight presents small yellow spots that rapidly get bigger, distorting the leaves. Both of these are seed borne diseases which spread in water. Carrot black rot can look similar to Alternaria leaf blight, but it can kill seedlings and decay the root. Crater rot presents as brown lesions on the root, though the first you’ll probably notice is decay on the crown. Prevention is definitely better than cure for all these diseases. Keeping the crops moist but not waterlogged, with good airflow between them, and weeding regularly should keep your vegetables healthy and disease free. Just as they protect your crops from insects, floating row covers will also offer protection from the diseases that certain insects commonly spread.
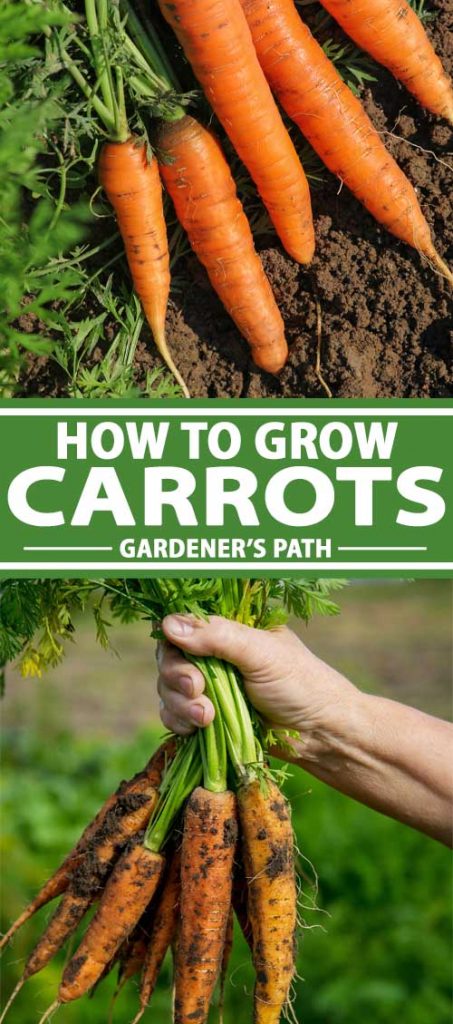
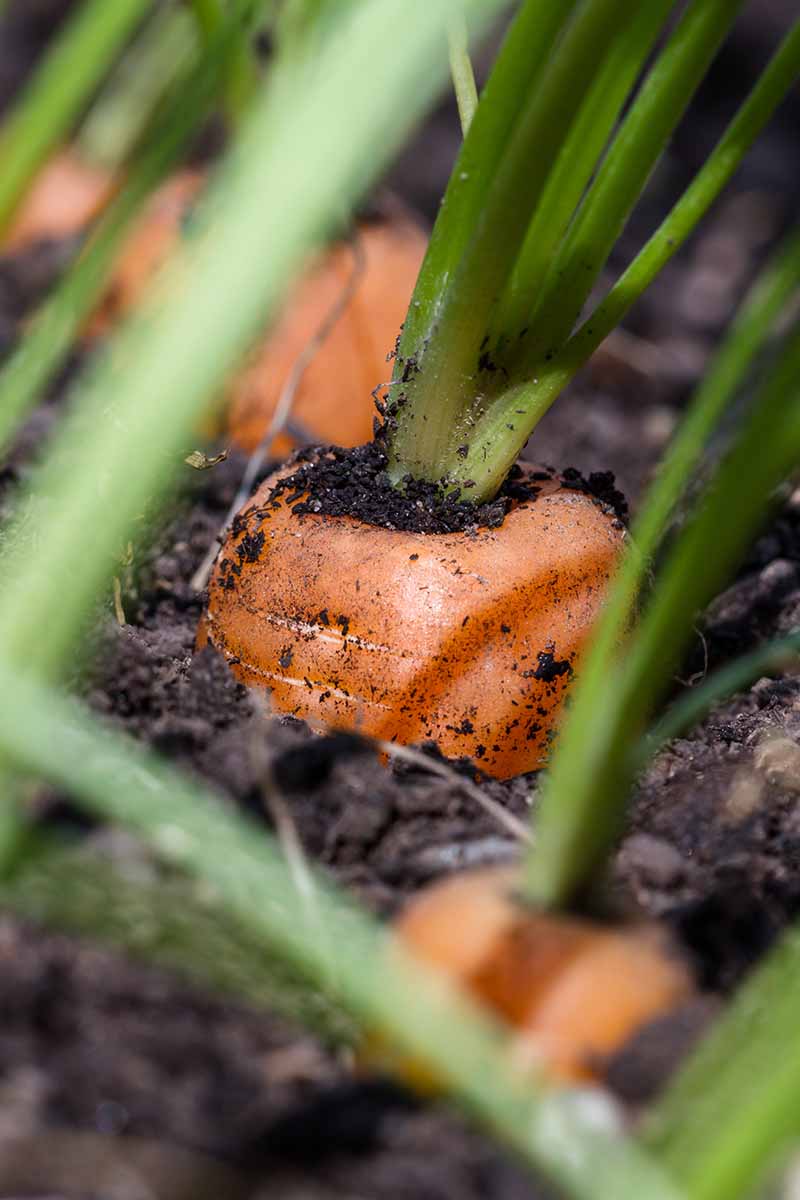
Harvesting
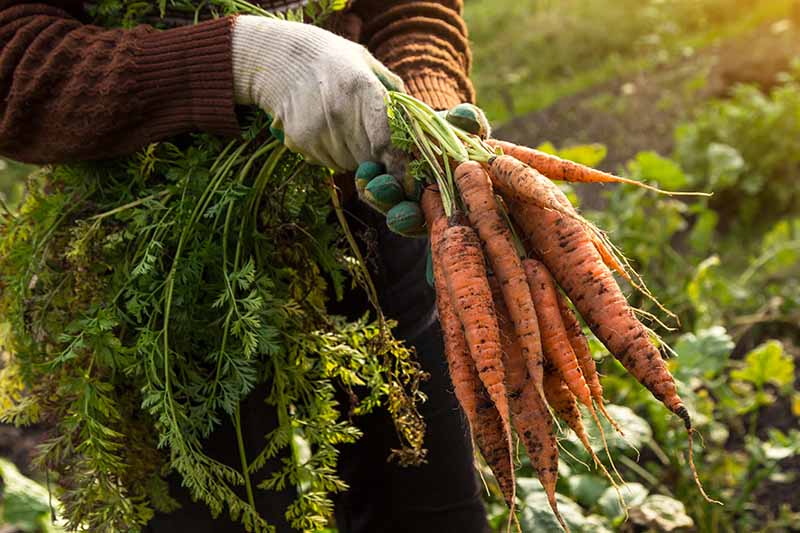
To get a general idea of when your carrots will be ready for harvest, refer to the days to maturity info on your seed packet. Rather than relying solely on this average timeframe, also inspect your plants. Most cultivars are mature and ready to harvest when the crowns grow to be at least 1/2 inch in diameter. If the roots aren’t bulging from the ground, brush back some of the dirt around the crowns to see how big they are. If they need more time, cover them back up and check again in a couple of weeks. For spring plantings, harvest your crop before the summer heat sets in to avoid bolting – bolting greens produce fibrous, inedible roots. For fall gardens, harvest after a few light frosts, which will sweeten the roots. If you are growing heirloom varieties, you might want to consider leaving a few in the ground and allowing seed development for a seed harvest.
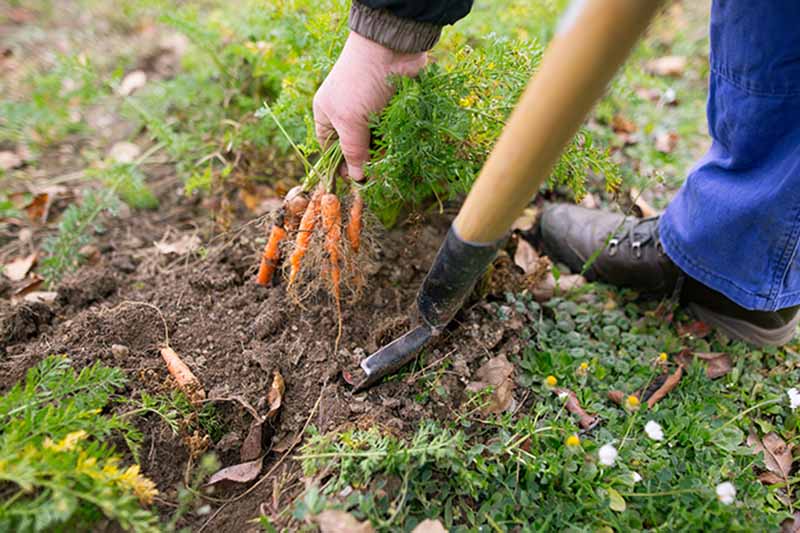
When you’re ready to harvest, first loosen the soil with a shovel, garden fork, or broadfork, being careful not to damage the roots, so that you can pull them up without breaking them. Wipe off excess soil and cut off greens to prepare for storage.
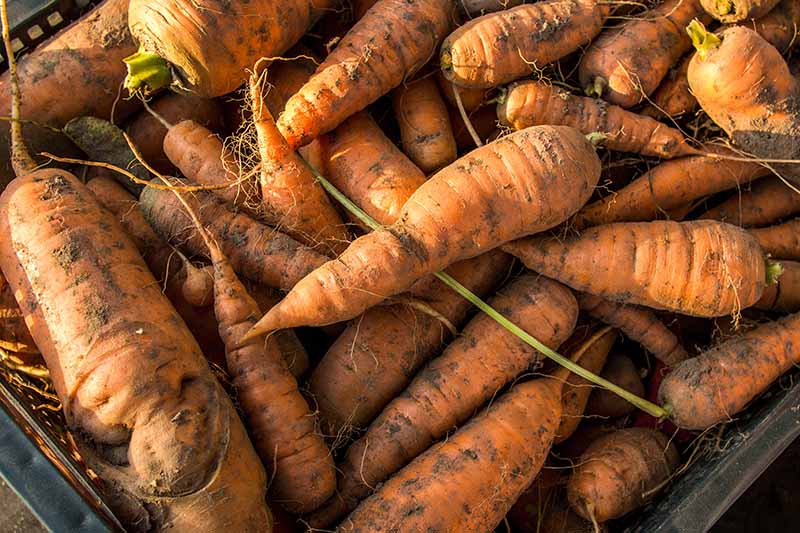
For long term storage, either leave fall crops in the ground and mulch heavily, or place them in a bucket of moist sand in a cool cellar. For short term storage, clean the roots thoroughly and place them in a perforated bag in the fridge.
Some varieties are bred for long storage, so if you are planning for a bumper crop that you won’t use all at once, make sure you choose one of these. Find out more about harvesting carrots here.
Preserving
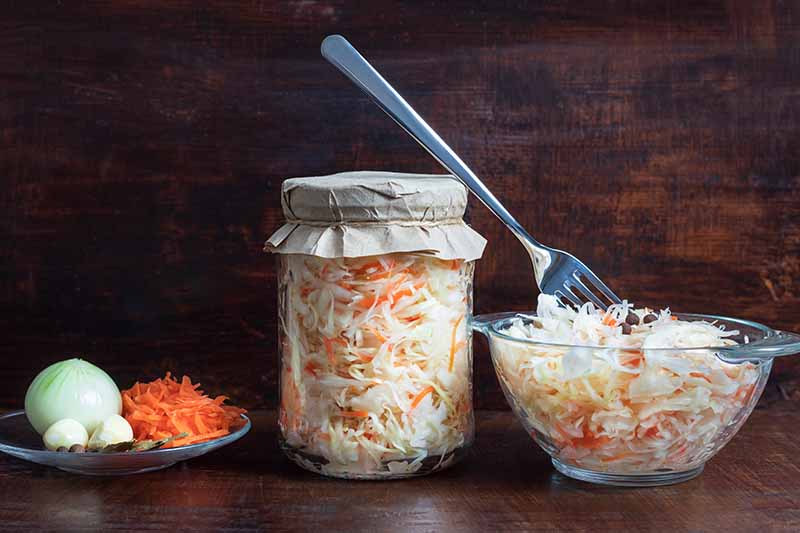
Now that you are a carrot gardening master, it won’t be long until you’re ready to turn your homegrown carrots into culinary delicacies. Carrots can be canned, pickled, or preserved by fermentation, frozen, dried, or even cooked down into jam. Freezing is easy. Just cut off the green tops, then cut them into the size you require. Briefly blanch in boiling water before plunging into ice water. Dry thoroughly on a paper towel then pop them in the freezer. When you want to use them, there’s no need to defrost, just cook straight from the freezer. It’s possible to freeze carrots without blanching them first, but be sure to clean them thoroughly beforehand to remove any bacteria, and use within 3 months. To dehydrate, cut them into small chunks or slices, blanch briefly (1 minute, depending on the size) then put them in a dehydrator or oven at 125°F until dry and crispy. Store them in an airtight container until you’re ready to use them.
Add them to sauerkraut, kimchi, or if you’re in a hurry make a quick pickle with apple cider vinegar. Cut into thin slices, and place in a heatproof jar. Heat up a cup of apple cider vinegar, about a tablespoon each of mustard seeds and salt, and a quarter cup of sugar in a pan, stirring frequently. Bring it to the boil and pour into the jar over the carrot slices. Cool to room temperature then cover and refrigerate. They’ll last for 2-3 weeks in the fridge. Learn more about fermented foods on our sister site, Foodal.
Recipes and Cooking Ideas
I love goat cheese with just about any fall vegetable. If you do too, why not head over to Foodal and try the recipe for herb-roasted carrot tartines with pesto and goat cheese? It’s delicious! One of my favorite ways to showcase the flavor of homegrown vegetables is with a simple soup. This carrot soup recipe on Foodal will certainly warm you up when it’s chilly outside. And don’t forget dessert. How about some paleo cupcakes with coconut whipped cream? They’re also gluten-free. You can find the recipe on Foodal.
Quick Reference Growing Guide
Black Is the New Orange?
Good work, gardener. You are ready to create magic under the soil! Now all you have to do is make the hard choice of selecting a few varieties of carrot seeds to include in your next veggie garden.
Are you going to be tempted by a black variety or will you stick to the traditional orange? Will you try long and straight or short and blocky? Let us know in the comments. And once your carrots are harvested, show us your pics! If you found this growing guide helpful, why not root around and find even more helpful gardening tips here for growing your own root vegetables:
Troubleshooting and Preventing Carrot Growing Problems Planting Parsnips: One Taste and You’ll Want to Grow Your Own Gimme Those Potatoes: A Spud Growing Guide How to Grow and Care for Bulb Onions
Photos by Nikki Cervone and Raquel Smith © Ask the Experts, LLC. ALL RIGHTS RESERVED. See our TOS for more details. Product photos via True Leaf Market. Uncredited photos: Shutterstock. Additional writing and editing by Natasha Foote, Clare Groom, and Allison Sidhu.