A cold frame, however, is like a foot locker to a greenhouse’s locker room. Their functions are the same, but their sizes are drastically different. We link to vendors to help you find relevant products. If you buy from one of our links, we may earn a commission. In this guide to overwintering plants in a cold frame, you’ll learn everything you need to get started. Here’s everything that’s in store, up ahead:
Cold Frames 101
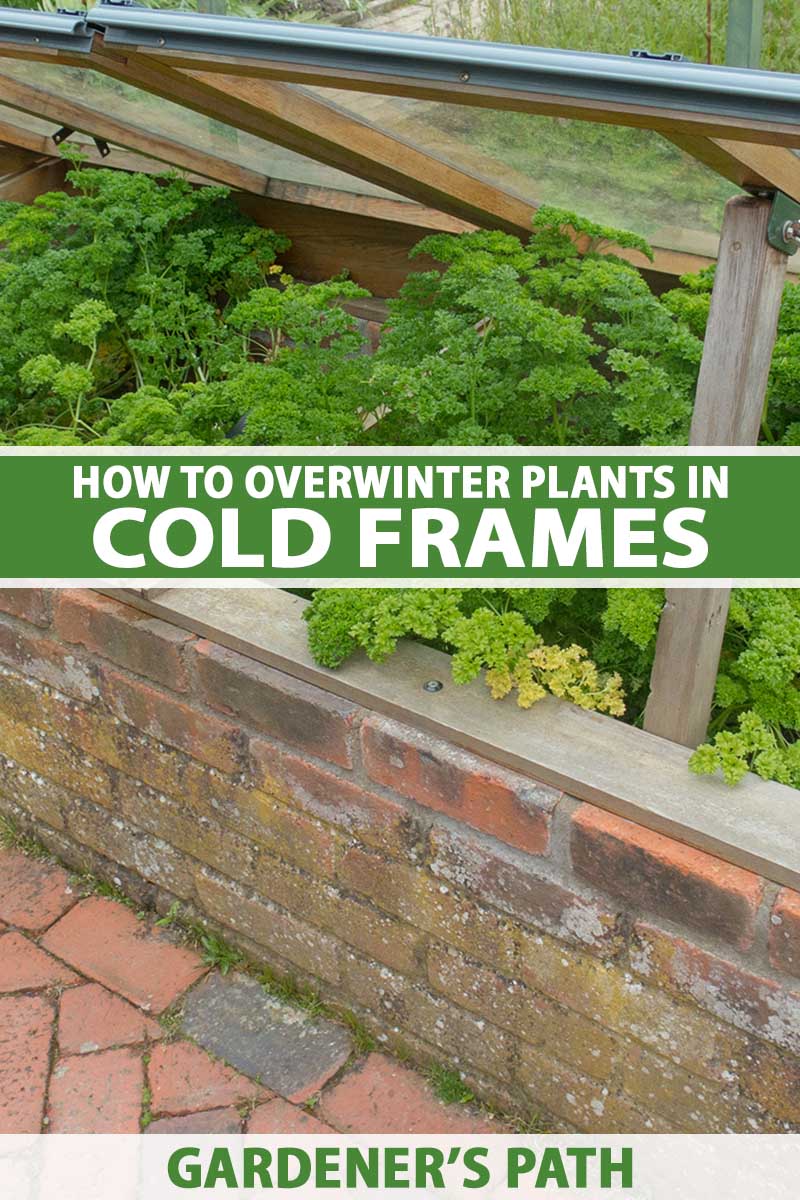
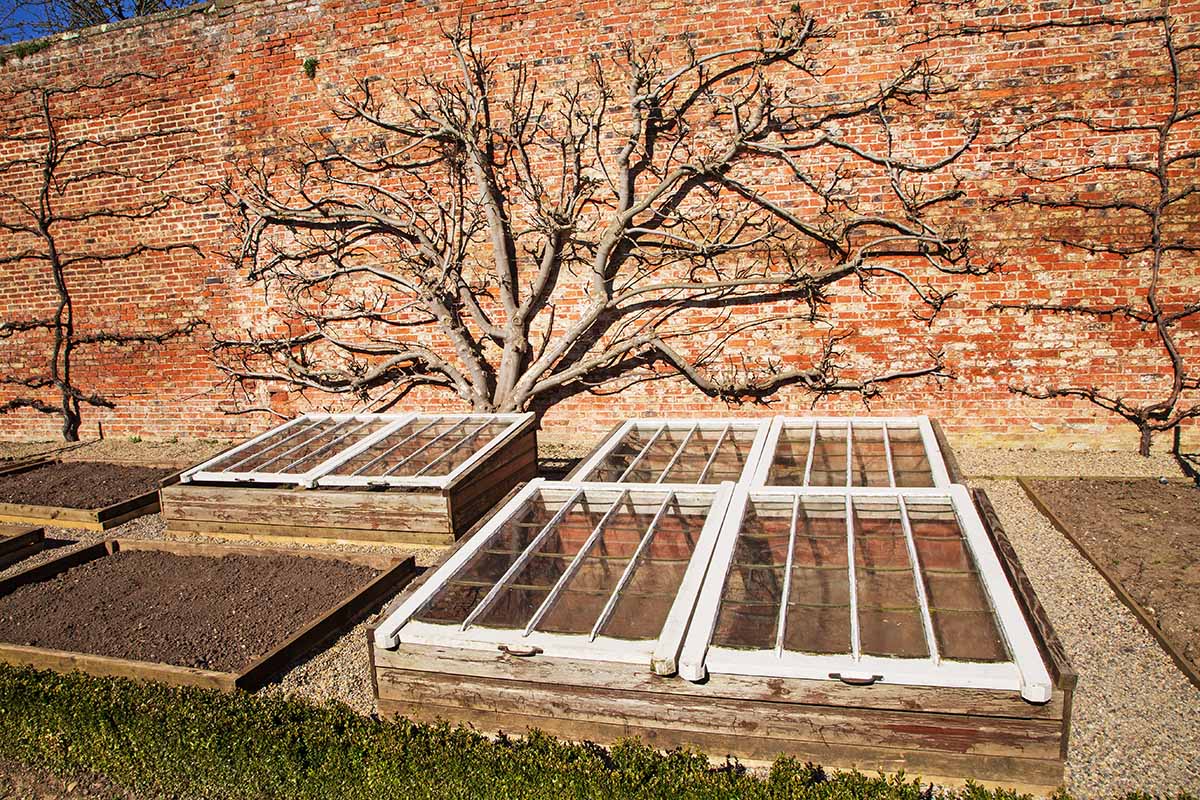
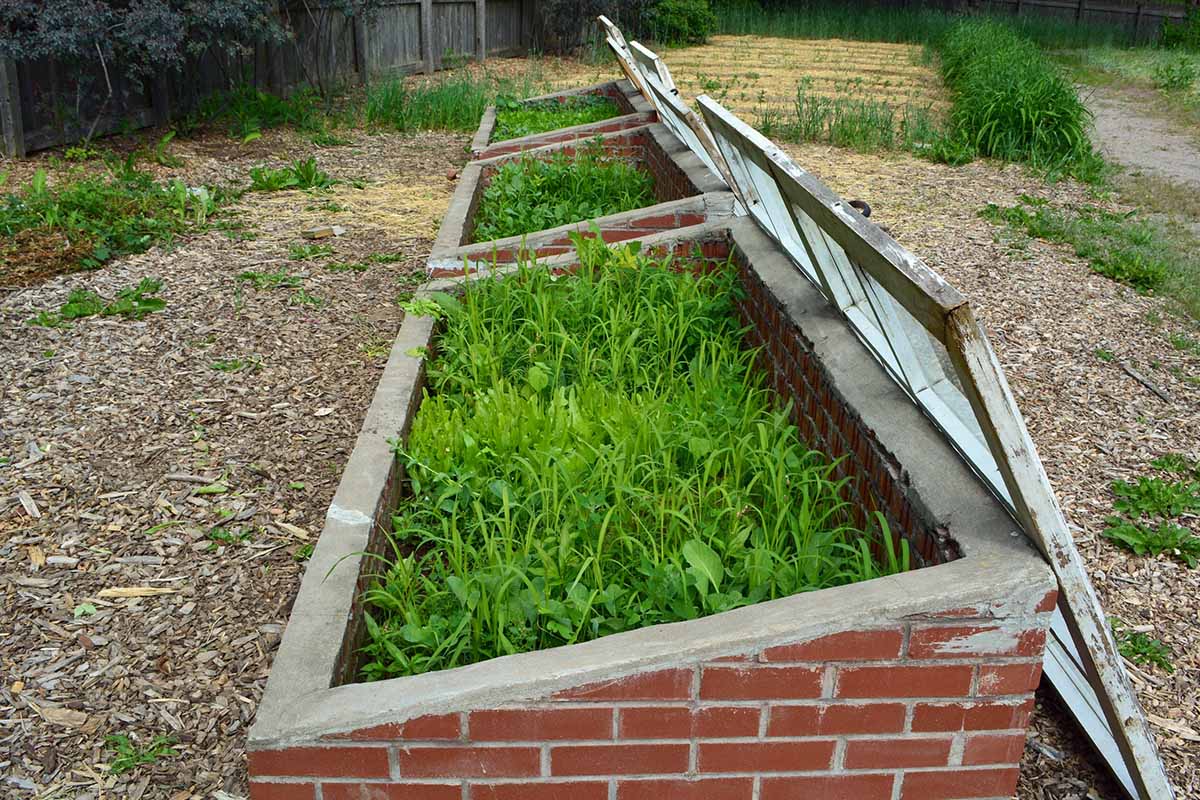
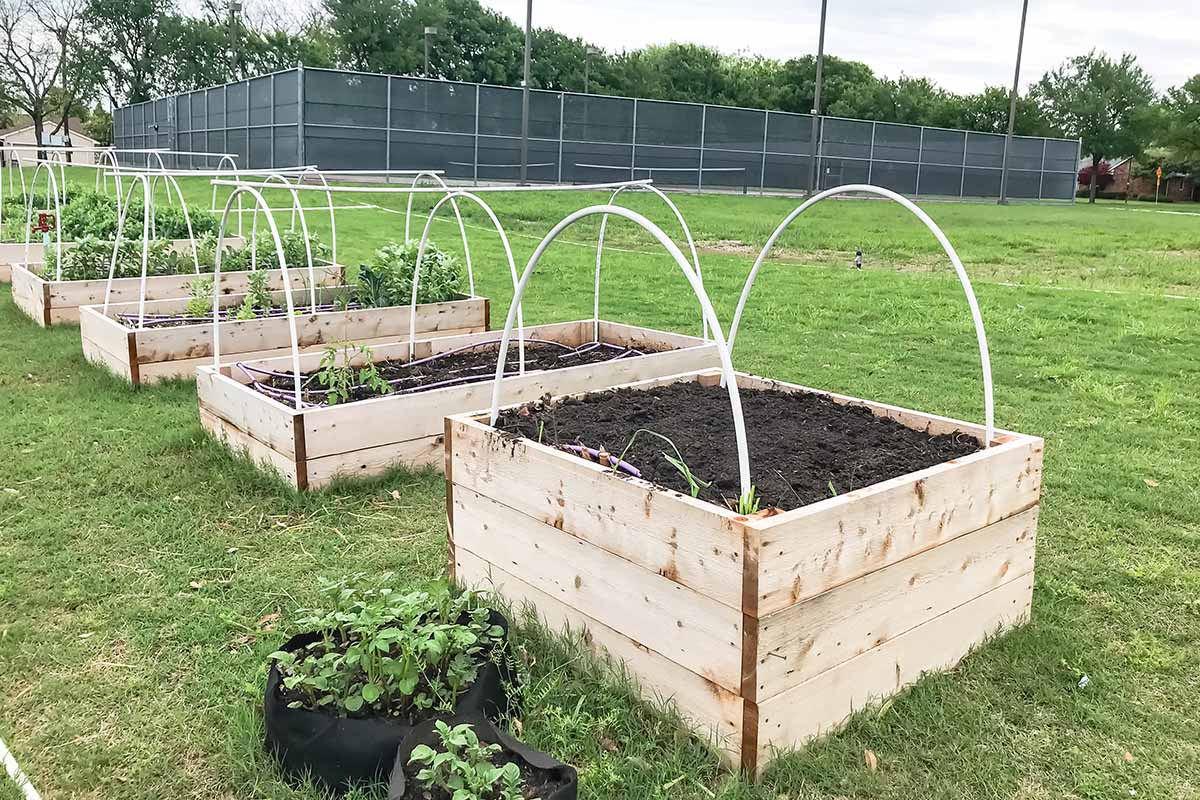
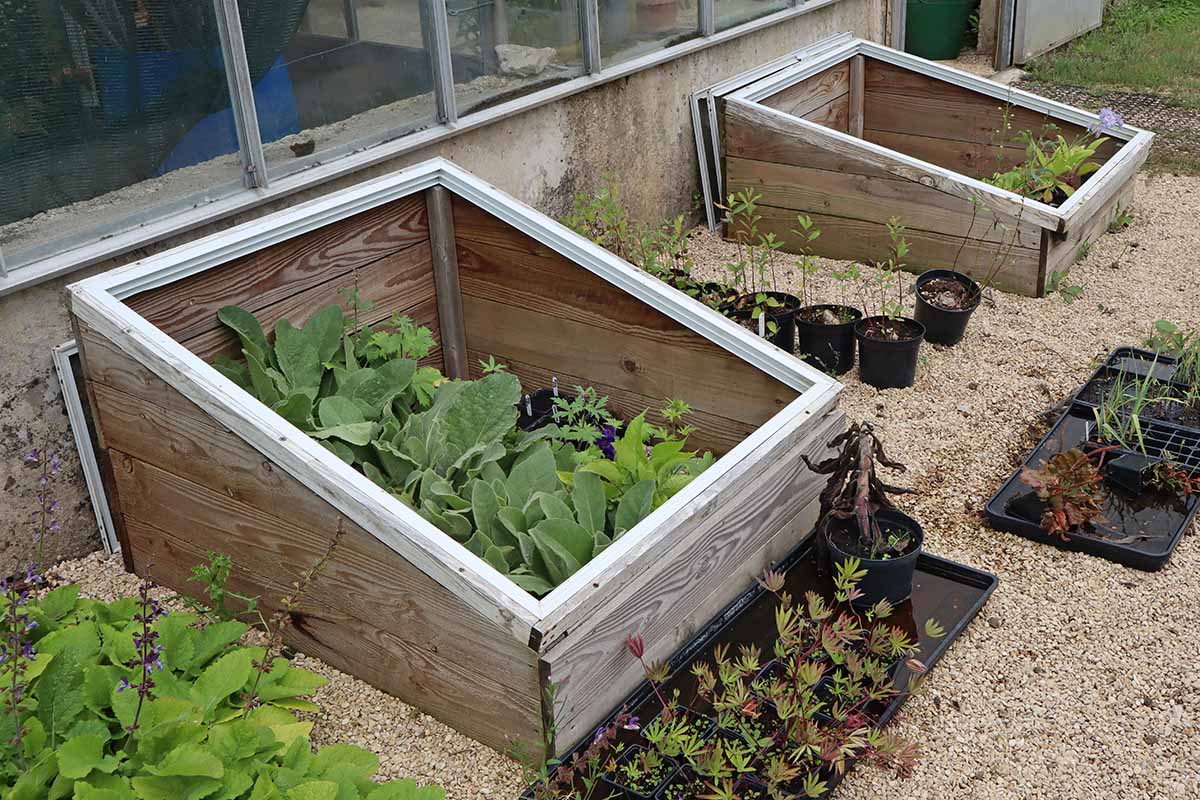
A cold frame operates similarly to a greenhouse – sunlight penetrates a transparent lid, which is absorbed by the flora and non-living material inside. The sunlight is converted into heat energy that’s trapped within the structure, which raises its internal ambient temperature by about five to 10°F, on average. It’s important to keep in mind that this will only allow you to achieve a minimal increase in temperature – this isn’t a structure that’s going to allow you to overwinter cucumbers in Alaska or anything like that. While greenhouses are typically much larger in scale and often have supplemental heating systems, these structures are smaller and pretty spartan, relying only on the sun and maybe an external covering such as a mat or blanket for warmth. In order to access, add, or remove plants, these mini-greenhouses should have a lid that’s constructed with a translucent material, which allows light to shine through. Glass and thickened plastics are usually the go-to glazing materials. They don’t even have to have a base… although if they do, it’s important that said base allows excess water to drain. The sides of the cold frame – what I’ll refer to as the “skeleton” of the structure – can be wood, concrete, masonry, or metal. Versions without a base can be placed over existing planters or raised beds, which allows for non-portable plantings to be overwintered.
Benefits of Overwintering Plants in a Cold Frame
This a strange-enough gardening contraption to prompt the question of “what’s the point?” Here are some pros to housing your plants in one of these structures with the arrival of cold weather, and during the dormant season.
Extend the Growing Season
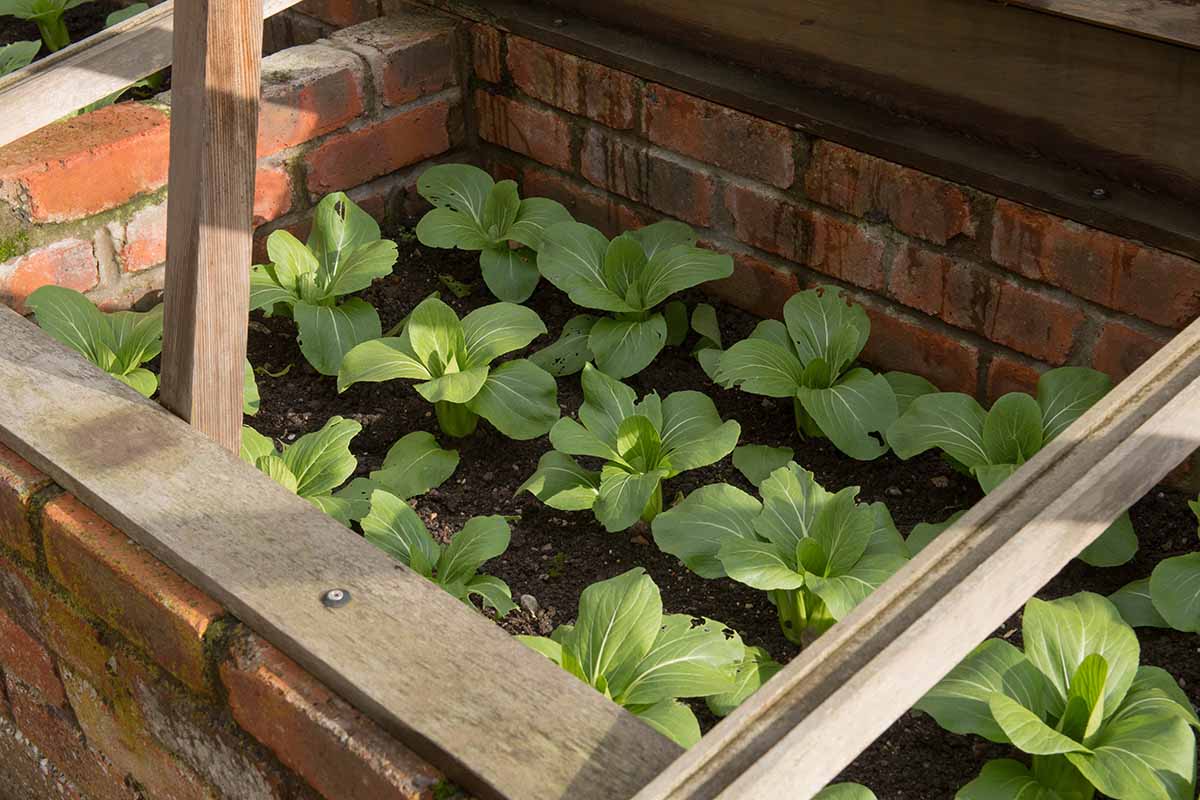
When plants start to go dormant, it’s because temperatures in the surrounding environment signal that the growing season is ending – not because it’s now a certain specific point in the calendar year. Just because the calendar ticks over to the last week in September, for example, doesn’t mean the first frost has necessarily arrived in your neck of the woods. By keeping plants warm in a cold frame, however, some may continue to grow and develop, because the warmth from their environment is physiologically tricking them into functioning as they would during the growing season. For ornamentals, this means their beauty will continue to develop for a little while longer. For vegetables, particularly cold-tolerant ones, you might get another harvest or two out of them before they stop producing yields. This also works on the back end, leading up to the arrival of spring – seeds or starts will start growing earlier than they would if they were left exposed to the harsh conditions of the dormant season. You can find more information on extending the growing season in our guide. All of this adds up to more blooms, more veggies, and more time for growing!
Provide Frost Protection
Sometimes, the seasons can be a bit finicky. There could be a late frost in spring, or an early frost in fall. Either way, these surprise bouts of cold can really do a number on unprotected plantings, rupturing cell walls due to the physical expansion of the frozen water within. But any vegetation kept warm and cozy is protected against these unusually-timed frosts!
Provide Physical Protection
Besides extreme temperatures, other environmental stressors can damage plants in the garden. Whether it’s the physical damage caused by buffeting winds, precipitation, or herbivores and insects, garden plantings are exposed to a plethora of damage-causing agents. In addition to providing warmth, cold frames act as a protective structure. As long as the lid isn’t left wide open for long periods, this means no severe weather or flying pests can harm the specimens inside.
Location and Construction
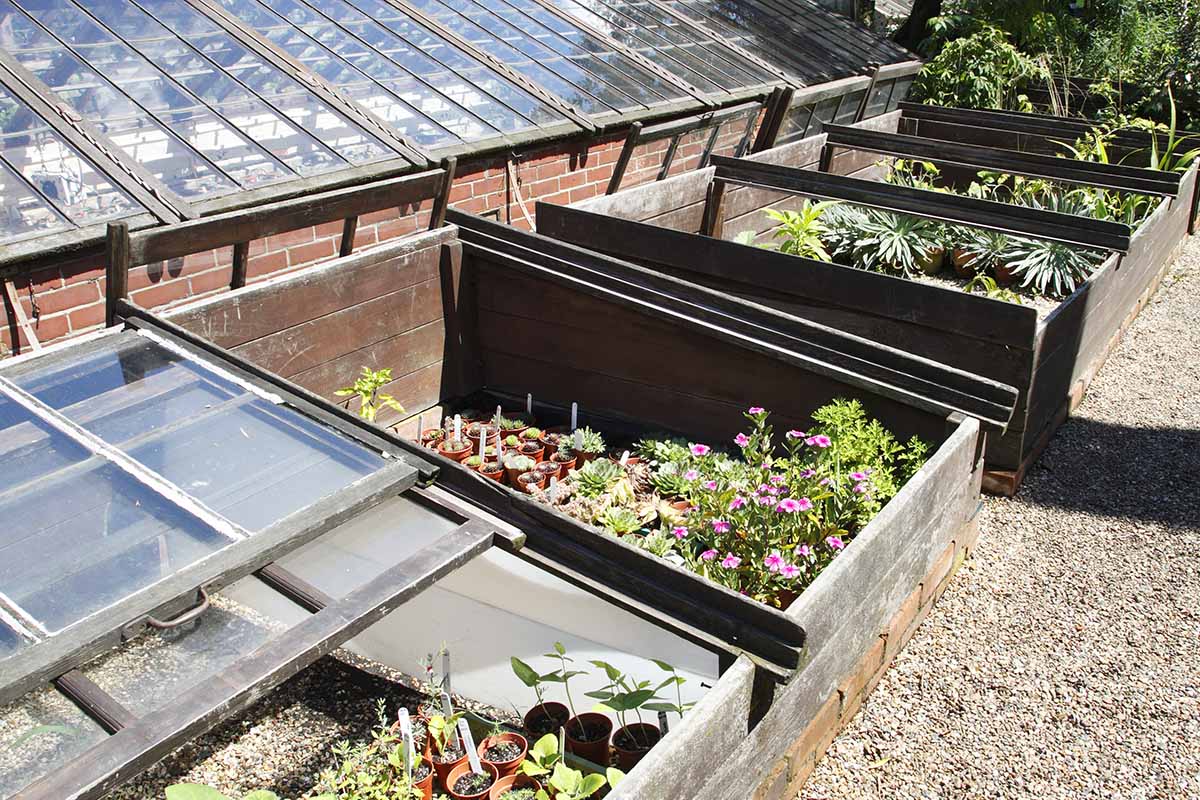
Before construction even begins, you’ll need to decide on a location. To best utilize winter sunlight, you’ll want to point the slanted lid of the structure towards the south. You should also provide windbreaks – such as hedges or adjacent buildings – to the north and west of the cold frame, but make sure to provide enough space so that the windbreaks don’t cast shadows over the structure. It’s also important to provide well-draining soil underneath the structure, along with making sure that it’s not sitting at a lowered point of elevation relative to the ground around it. Both of these provisions will ensure that the contents within the structure don’t sit in a pool of collected water. Let’s go over a few basic tenants of construction: For your first cold frame, select a size that’s appropriate for your space and the number of plants you wish to grow. It will also depend on the availability of construction materials – especially if you are using reclaimed windows or wood. A good starting size is about three feet wide and six feet long, with an 18-inch-tall back and 12-inch-tall front. You can always construct more or experiment with larger ones later on, if your space allows it. As stated earlier, the “skeleton” of the structure should consist of wood, masonry, metal, or concrete. Wood is definitely the most readily accessible material for the average home gardener, along with being the easiest to work with. Choose lumber with a high durability rating when possible, and be sure to select wood that hasn’t been treated with preservatives that may be toxic to botanical life – creosote and pentachlorophenol in particular are ones to avoid. Masonry, metal, and concrete will have greater longevity and durability than wood, but this heavy toughness comes with less portability and potential for modification. If you use metal, it must be insulated in order for this to be a feasible building material – lining the insides with styrofoam or foam insulation board are effective options. Regardless of what material you choose, make sure that the back of the frame is six inches taller than the front. This causes the top to sit at an angle, allowing for the maximum amount of light captured, and will prevent water from collecting on the surface of the lid. Speaking of the lid, you’ll want to build it out of old window glass, fiberglass panels, or polyethylene film. Attach it to the back of the frame with hinges, and provide a stand of some kind so you can leave it propped open as needed. Coat the inside of the sides of the frame with a white latex-based paint. This will reflect sunlight towards the plants within, along with adding a bit of visual aesthetics to the structure. Pile up a couple inches of soil around the outer and/or inner edges to insulate the structure, while maintaining its portability for the future if you want to move it in subsequent seasons. As an alternative, you could sink the cold frame four to eight inches deep into the soil – you’d lose some portability and some overall height from the ground while gaining some additional insulation. Exact schematics and step-by-step instructions are beyond the scope of this article, but you can find instructions in our DIY guide. (coming soon!)
How to Overwinter Plants in a Cold Frame
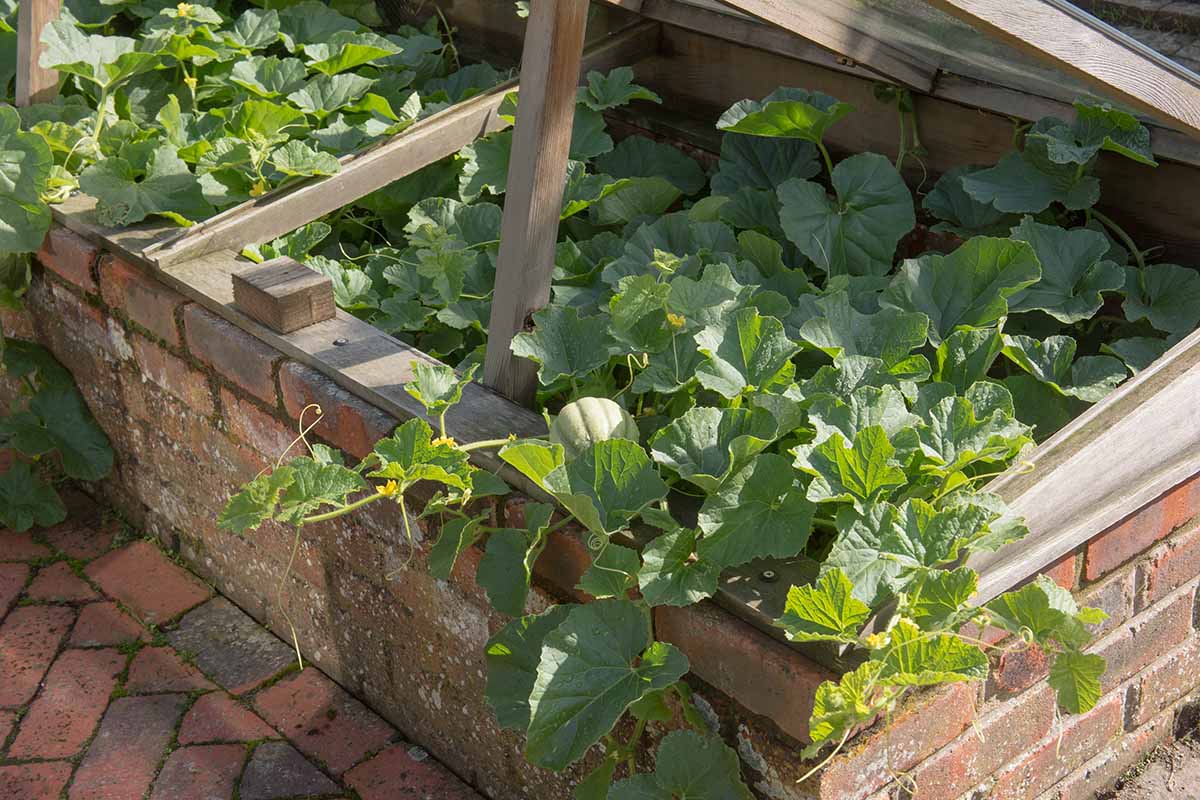
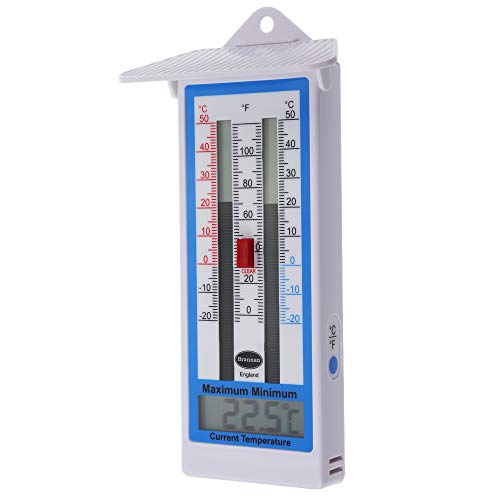
You’ll want to move your plants to a cold frame once temperatures start to dip below their recommended hardiness range. Much like with greenhouses, the temperatures within a cold frame must ideally be kept within a certain range for the plants inside to thrive. Too hot, and the plants may fry. Too cold, and they freeze. As a general rule, warm-season plants like daytime temperatures between 65 and 75°F and nighttime temperatures that don’t dip below 60°F. Plants that go dormant during the winter months can benefit from being placed in a cold frame to provide them a bit of additional protection during the cold season. Digital Thermometer To lower internal temperatures, it’s as simple as opening the lid more often and leaving it open for longer. For raising them during the day, you simply close the lid. This helps to capture the sun’s rays ahead of a chilly night ahead. After the sun has set, placing hay, blankets, or other coverings on top of the lid will help to conserve heat at night. And of course, you don’t want to forget watering. Since the temperatures within these mini-greenhouses can easily oscillate, checking the moisture regularly of your overwintered plants is essential. The plants can be brought outside once temperatures are consistently within the plants’ preferred range.
I Do Proclaim the Worth of a Cold Frame
Using a cold frame is a fantastic way of squeezing out some more growing time from your cool-season plantings. It’s inexpensive, portable, and the efforts you put forth in constructing it will help to make you a more handy person! What’s not to like? The process of keeping temperatures relatively steady takes some trial and error to master, but once you have it down, you’ll be able to overwinter plants with ease. Trust the process! Any personal anecdotes or questions involving a cold frame can go into the comments section below. Feel free to flaunt your own acquired knowledge! For more information on greenhouses and cold frames, check out these guides next:
Avoid the Most Common Greenhouse Mistakes with These TipsHow to Grow Plants Year-Round in an Unheated GreenhouseHow to Use a Cold Frame for Fall Gardening