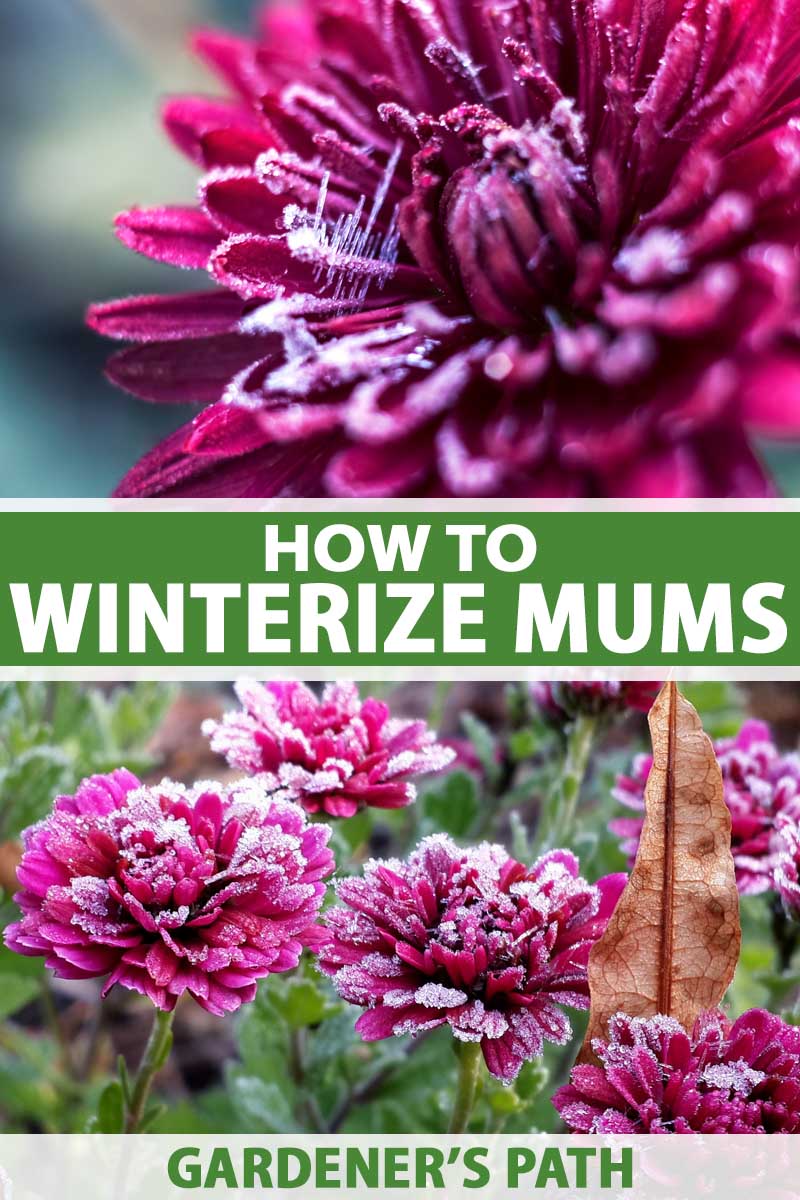
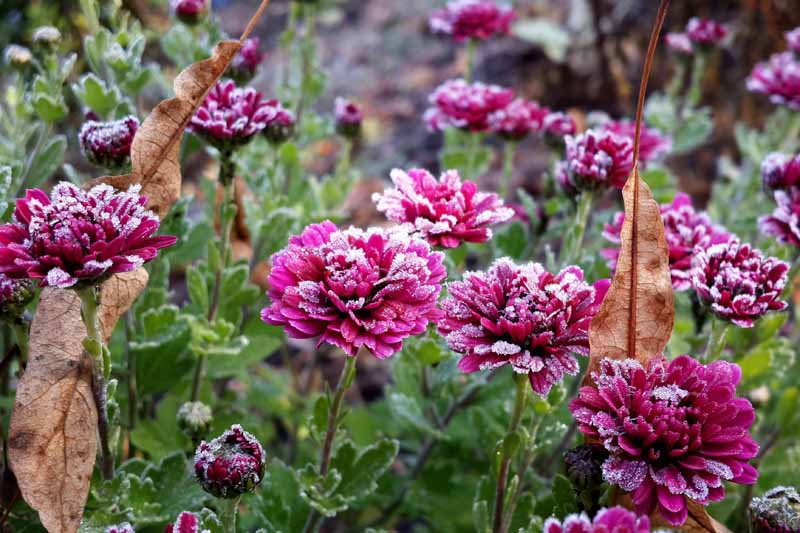
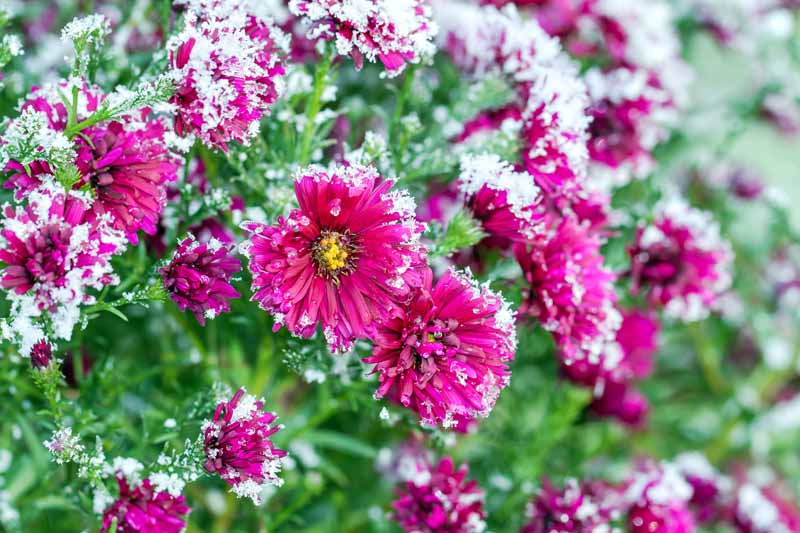
There’s probably an overgrown pumpkin vine off in the corner, perhaps some yellow and red leaves on the trees. And some bright chrysanthemums sit near the front door, right? Hardy mums are an icon of fall. When most of the garden is calling it a day, they’re brighter and bolder than ever. We link to vendors to help you find relevant products. If you buy from one of our links, we may earn a commission. But if you’re like me, there’s something gut-wrenching about the thought of enjoying their vibrant blossoms for a month or two, only to toss the perfectly healthy plants out when winter rolls around.
This year, instead of saying goodbye to your mums, I’m going to teach you how to winterize them so you can enjoy them again next year. Not only will you save a bit of cash and avoid some needless waste, mums can actually grow to be quite large in the ground, with an impressive presence in following years if you are able to nurture them through the winter. That’s a pretty big payoff for not too much effort. Here’s what we’ll cover so you can make it happen: Before we jump in, if you want to learn more about general care for these lovely plants, we have an entire guide to help get you started. Ready to get going? Let’s winterize those mums!
A Bit About Mums
To winterize mums, there are a few things you should know about these plants. First, you will need to make sure you have the type that can live outdoors as a perennial, even when freezing weather hits.
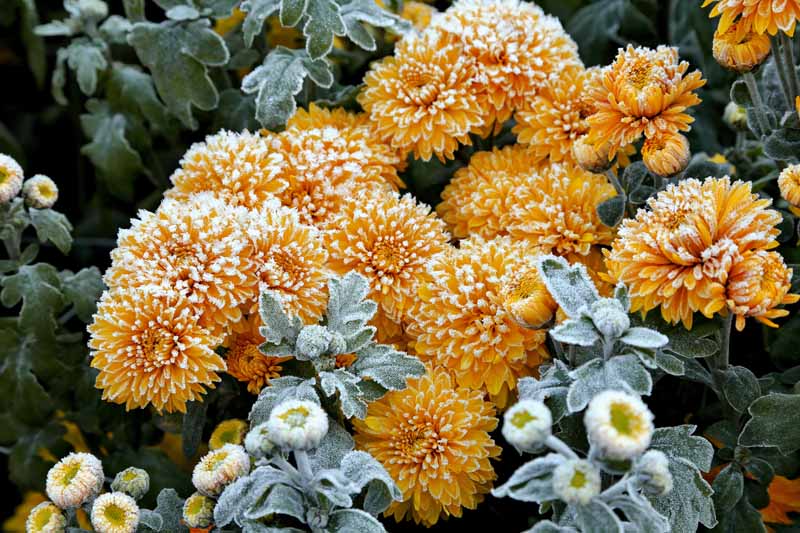
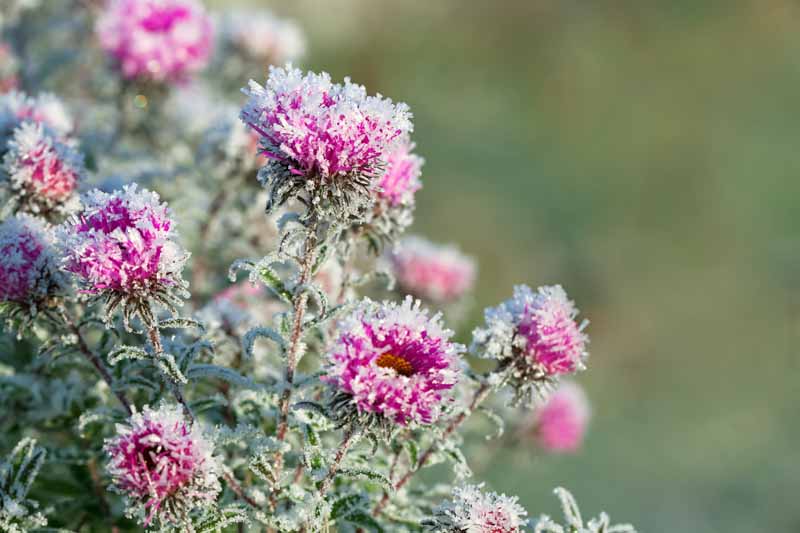
There are many types of mums, but some of them aren’t as hardy as others. More broadly, you can group the Chrysanthemum genus into hardy and exhibition types. Exhibition mums generally have shallow roots and require staking to hold up their massive flower heads. These are the types that you see winning blue ribbons at flower shows, and they can’t be overwintered outdoors. Hardy mums (generally hybrid Chrysanthemum × morifolium, though you will often find the genus name on plant labels without a specific species) are the ones you start to see all over the place in the late summer, just begging to be added to a fall flower garden, autumn table setting, or harvest arrangement on the front porch. These are also often referred to as garden mums. Next, you need to be sure you can provide the plants with the conditions they like during the growing season. That means a full sun location and well-drained soil.
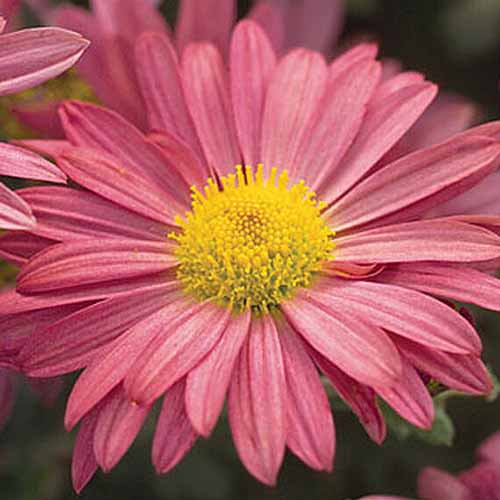
‘Mammoth Daisy Coral’ It has beautiful coral-colored daisy-type flowers on plants that can grow up to three feet tall and four feet wide. You can pick one up for your own garden at Burpee. ‘Mammoth Daisy Quill Yellow’ is also considered extra hardy, and it can survive the winter outdoors in Zone 3.
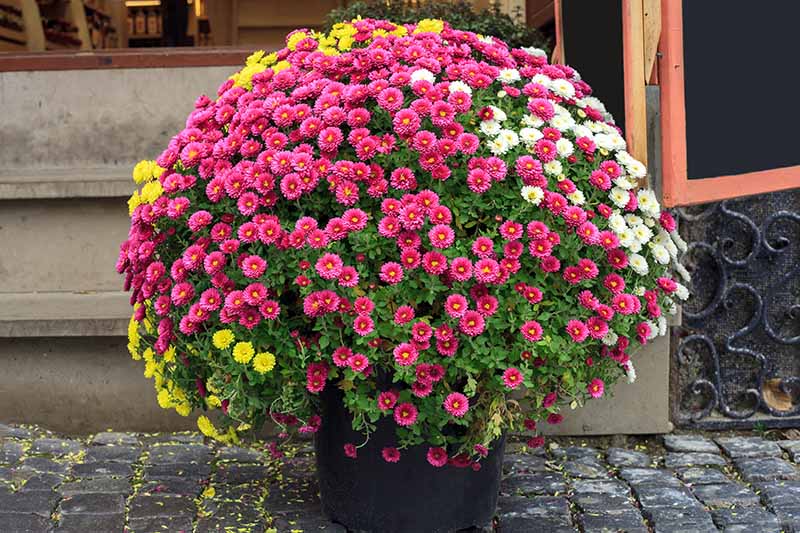
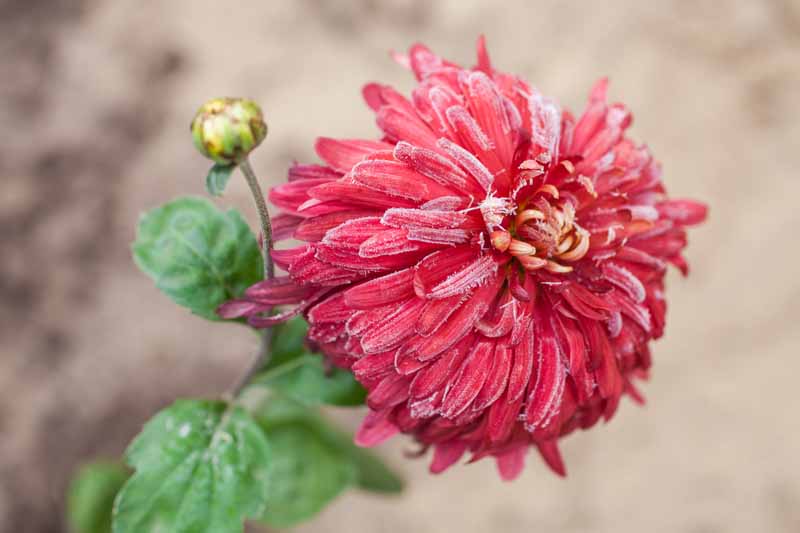
‘Mammoth Daisy Quill Yellow’ It has unique petals that resemble little paddles surrounding yellow centers. Burpee carries these beauties as well. But the garden mums that you find seasonally at the garden center don’t always resemble daisies with petals surrounding a center disk. Available in various shades of maroon, rust, red, orange, yellow, pink, lavender, and white, these beautiful autumn bloomers are hardy down to Zone 4 – if you know how to care for them. But there’s a catch – you don’t want to put new potted plants that you’ve purchased or received as a gift this fall into the ground right away if your aim is to ensure their best chances of survival as perennial flowers.
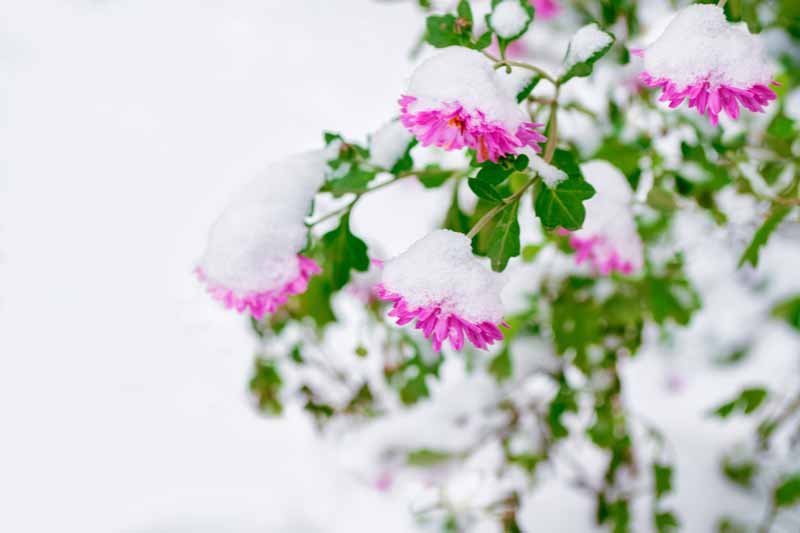
Once the growing season is over in USDA Hardiness Zones 4-7, you either need to move the potted plants indoors, or provide adequate winter protection for established plants growing in the ground. In Zones 8 and above, you can generally let the plants do their thing if they’re planted in the ground. That’s because you won’t typically get a deep, extended freeze in these regions. If frost is in the forecast in warmer zones however, you’ll want to provide some extra protection. Burlap or an overturned cardboard box can work in a pinch, and mulching is recommended as well. I’ll go into this in more detail below. No matter which type of mum you’re growing, container plants are more susceptible to cold winter weather than those grown in the ground. These need to be winterized in Zones 7 and below if you want them to survive.
When to Plant
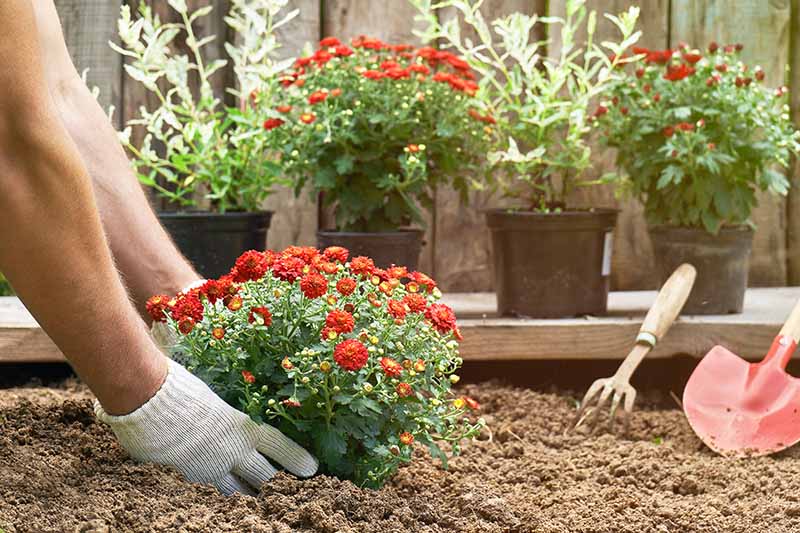
It’s hard to resist those vibrant and oh-so-affordable lovelies beckoning to you from the store shelves in the fall. But if you’re hoping to keep your plants in the ground year-round, you should really wait to plant them out until the spring.
If you plant in the fall, your lovely mums may not be able to establish roots quickly enough to stay alive through the cold winter. Add to that the fact that you likely purchased a plant that was in its full-color glory, which means it was putting all its effort into producing gorgeous blossoms rather than establishing a robust root system. Plan to bring any hardy mums that were gifted to you or that you purchased in the fall indoors in the winter. You can plant them in the ground the following spring if you wish to do so. You’ll also want to repot them, removing your new mums from the container that they came in, whether you plan to keep them in pots or ultimately plant them in the ground. Commercial growers often let them become rootbound, so they will appear healthy and robust at the nursery, overflowing from their containers.
If you live in a warmer area with mild winters, in Zones 8 and up, you can plant your mums in the late summer or early fall. But keep in mind that spring planting is still best to give your plants a chance to become established.
Necessary Preparations
As the winter approaches, you want to give any plants that you put in the ground in the spring or in prior years the best possible chance of survival.
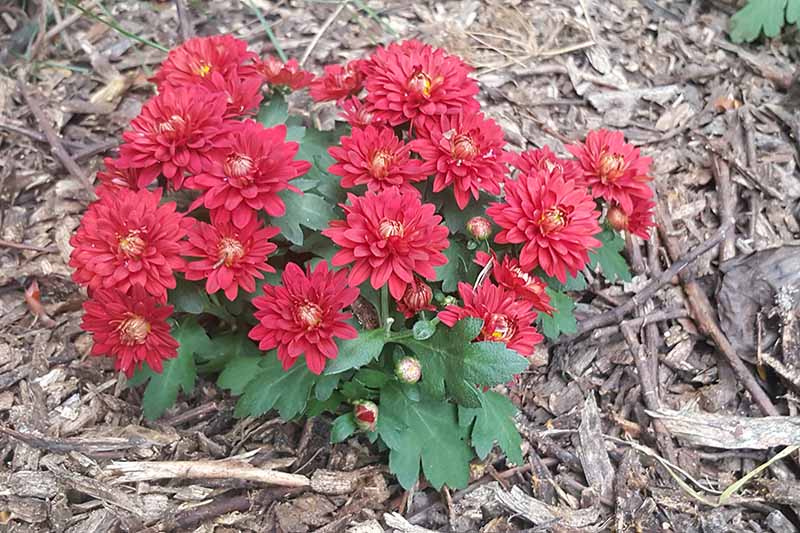
For new plants that you acquired in the fall, check out the section below on potted mums, or our guide to growing mums indoors (coming soon!). If you have plants that are already in the ground, begin deadheading any spent flowers in early to mid-fall. Mums naturally start to blossom in the late summer and begin to fade in the fall once the first frost hits. Early in the season, deadheading will encourage continual blooms. Prune any dead flowers away entirely at the end of the season. Once the first frost hits, the foliage is going to turn brown. I know it’s hard, but resist the urge to trim away the dead stuff. You want to leave it there to give your plant some protection.
Mulch, Mulch, and More Mulch
In case you didn’t get the picture from the heading, I’ll try to be more clear: mulch is key. Six inches of an organic mulch material such as leaves or straw will go a long way to providing insulation for your in-ground plants. Think of it as a big, cozy down quilt for your garden.
This is where leaving that dead foliage in place comes in handy. Those dead leaves will help to hold the mulch in place, so it won’t blow away. Don’t bury the leaves, though. Just tuck lots of mulch around the base of your plants, and spread it out twice as far in all directions as the foliage. This helps to protect the roots when the hard freeze comes. Throughout the winter, come back and check to make sure the mulch is still in place. Replace it as needed. When the plant starts sending up new shoots in the spring, you can remove the mulch, and replace it around your plants for moisture retention if you wish.
Protect Your Plants
As an added layer of protection, you can place some conifer branches over your plants. Don’t use pine needle mulch, because the needles can become compacted and smother your plants.
You shouldn’t put your conifer branches in place until after the first hard freeze. If you happen to live in an area where the temperatures don’t get that cold until after the holidays, you can reuse your live boughs or spent Christmas trees when you’ve finished using them for decorating. They make a nice upcycled added protective layer through the remaining months of the long, cold winter.
Check them throughout the season to make sure they stay in place. Once the temperatures are consistently above freezing or you start to see green shoots poking out, you can remove the branches.
Winter Care for Potted Mums
Potted mums won’t survive outdoors in most areas when the weather gets cold. Plants that are growing in the ground can handle air temperatures below 20°F because the roots are insulated by the surrounding earth. But plants that are growing in containers don’t have this protection.
To avoid exposing container-grown plants to freezing temperatures, you’ll need to overwinter them indoors. Before moving them, repot your plants into slightly larger containers. You want them to have enough room to be comfortable and able to start growing in the spring before you put them back outside. Make absolutely sure that pots have one 1/2-inch drainage hole for every square foot of soil surface. Watch the weather report. When you see the first hard frost heading your way, take your chrysanthemum into your basement or an unheated garage. You want to place it somewhere where the temperature stays between 32 and 55°F, so your plant can go dormant. Miracle-Grow Performance Organics Fertilizer Water it lightly. You don’t want the soil to be too wet. The moisture level you should be aiming for is roughly similar to that of a well-wrung-out sponge. Put a few inches of straw or leaf mulch around the base of the plant and cover the whole thing with a piece of burlap or a cotton sheet. Check the pot about once a week through the winter, to make sure the soil isn’t too dry. Water only if the soil feels dry about two inches down. Sometime in the spring, you’ll start to see little green shoots forming in the soil as the plant emerges from winter dormancy. When you see new growth, it’s time to remove winter mulches, and gently prune away dead foliage. Then apply a 5-10-5 (NPK) fertilizer. This is also the time to start introducing potted plants to the outdoors again. Pinch off new shoots at the tips when they reach about four to five inches in length, to encourage bushy growth.
Re-Acclimate to Outdoor Conditions
After all risk of frost has passed in the spring, potted plants can be hardened off outdoors. Move the plant outside and place it in a shaded spot for an hour, then bring it back inside. The next day, leave it outside for two hours. On the third day bring it outdoors for three hours, four hours on the fourth day, and so on. When you are able to keep the plant outside for eight hours a day, it’s time to gradually acclimate it to its sunny permanent location. Move the plant back to an area overnight that is shaded during the day. Move it into direct sun for an hour the next day, and then back into the shade. Gradually add an hour of full sun exposure each day until the plant can sit in direct sun for eight hours. Now it’s ready to go into the ground. To put your plant in its new home, dig a hole that is about one and a half times as wide as the size of the container it was growing in.
Make Hardy Mums a Part of Your Garden Year-Round
That wasn’t too hard, right? It always seems daunting to me to try to keep a plant alive over the winter when I can’t just let nature do its thing. But once you’ve tried it, if you’re like me, you’ll realize that winterizing your mums for perennial enjoyment wasn’t so hard after all.
After a few years of protecting my mums, I ended up with the biggest plants in the neighborhood, and my neighbors were constantly complimenting my massive display. After I told them the secrets to my success, my neck of the woods became a mum paradise. Don’t forget that you can divide your plants every few years, so it’s like getting a bunch of new chrysanthemums for free! What are your favorite ways to decorate with mums in autumn? Have you had success growing your fall decorations as perennials? Share your stories and photos in the comments section below! Want to learn more about growing chrysanthemum plants? These guides should set you on the right path:
How Long do Chrysanthemums Last? How to Use Chrysanthemums for Pest Control in the Garden Fusarium Wilt in Chrysanthemums: Identify and Control This Disease
© Ask the Experts, LLC. ALL RIGHTS RESERVED. See our TOS for more details. Product photos via Burpee and Miracle-Gro. Uncredited photos: Shutterstock. With additional writing and editing by Allison Sidhu.