These hybrids were once classified under the Geranium genus and despite their reclassification to Pelargonium in the 1700s, common vernacular never adopted the new nomenclature. Today, we still refer to this typically red iconic suburban window box flower as a geranium. We link to vendors to help you find relevant products. If you buy from one of our links, we may earn a commission. This article is for the folks who are cultivating geraniums as annuals in locations where the ground freezes in winter. I will offer an alternative to watching your plants wither and die at the end of the season and provide easy instructions for indoor storage to save them for planting again the following year. Here’s the short and sweet lineup: Let’s get started before those north winds begin to blow!
Ways to Winterize
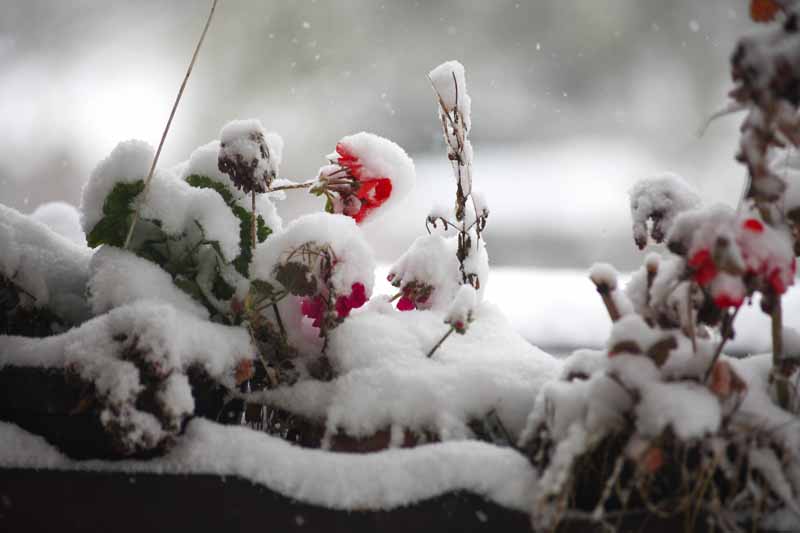
There are a variety of ways to keep your plants over the winter months. The key is to act before the first frost or they will turn to mush and die before you have a chance to salvage them.
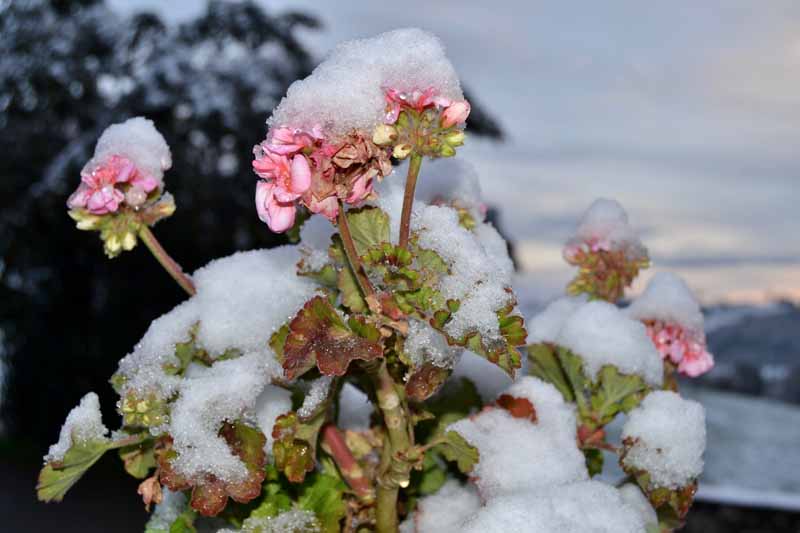
If you’re having an unusually warm fall, you may be able to enjoy blooms right up to Thanksgiving. The timing may vary from year to year, so listen to the weather forecasts and don’t be caught out by a surprise coating of white you hadn’t expected. Let’s look at how to winterize your plants before the cold weather sets in with a vengeance.
Bare Root Storage
As tender perennials, geraniums will naturally go through a period of dormancy in the winter, so you can dig them up and store them in a cool place ready for planting out in the spring. For this method, dig up your plant and shake as much dirt off the roots as you can.
If the root ball feels damp, lay it on newspaper in a dry area out of direct sunlight for a day or so, and shake it again to remove any remaining soil. Trim off flower heads, buds, discolored or damaged leaves and stems, and any especially long roots. Suspend the bare root plant upside down in a dry, well-ventilated basement, garage, or shed where the temperature does not exceed 55-65°F. Place it over a nail or use twine over a hook as needed. Alternatively, place the top of the plant in a paper bag with the root end sticking out. Tie the bag loosely around the root end and suspend it upside down as described above. Another way to store a bare root plant is in a cardboard box with a loose-fitting lid. To do this, simply lay your plant inside the box and close the lid, but don’t seal it shut. You may store more than one plant together but it’s important to avoid overcrowding, as this can lead to moisture buildup which may cause rot. Some gardeners like to take the time to remove all of the leaves and retain only the bare stems and bare roots for storage, because the less foliage there is, the better the air circulation. This is a good option if you are storing multiple plants together. For best results with this method, make sure that your plants are dry prior to storage, and your chosen location is cool, dry, and rodent-free. Check your plants periodically over the winter months and remove any foliage that has started to go moldy or stems that look black or rotten. In spring, about four weeks before your average last frost date, you can pot up your bare root geraniums in well-draining potting soil and acclimate them to a warm, sunny area indoors. Bury the entire root ball, plus one to two inches of the stem and give the plants a deep watering. Be sure to keep an eye on your plants and water when the top of the soil dries out but don’t allow it to become oversaturated. After all risk of frost has passed, you can harden them off over the course of a week or ten days and transplant them out into the garden or into permanent containers. If you don’t have room to keep them indoors, you can transplant the bare roots directly into the garden a couple of weeks after last frost.
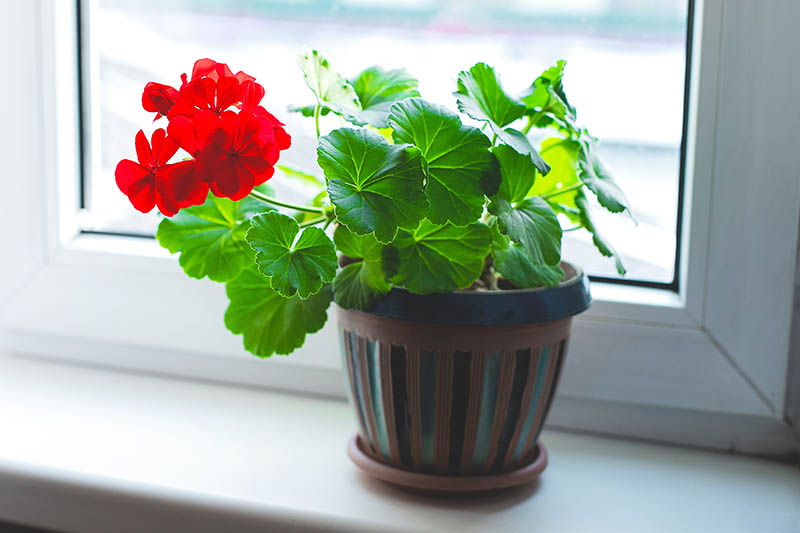
Bring Your Geranium Indoors
If you are growing your flowers in pots and have a sunny window in your home, you can bring it indoors. You can also pot up those growing in the garden for overwintering.
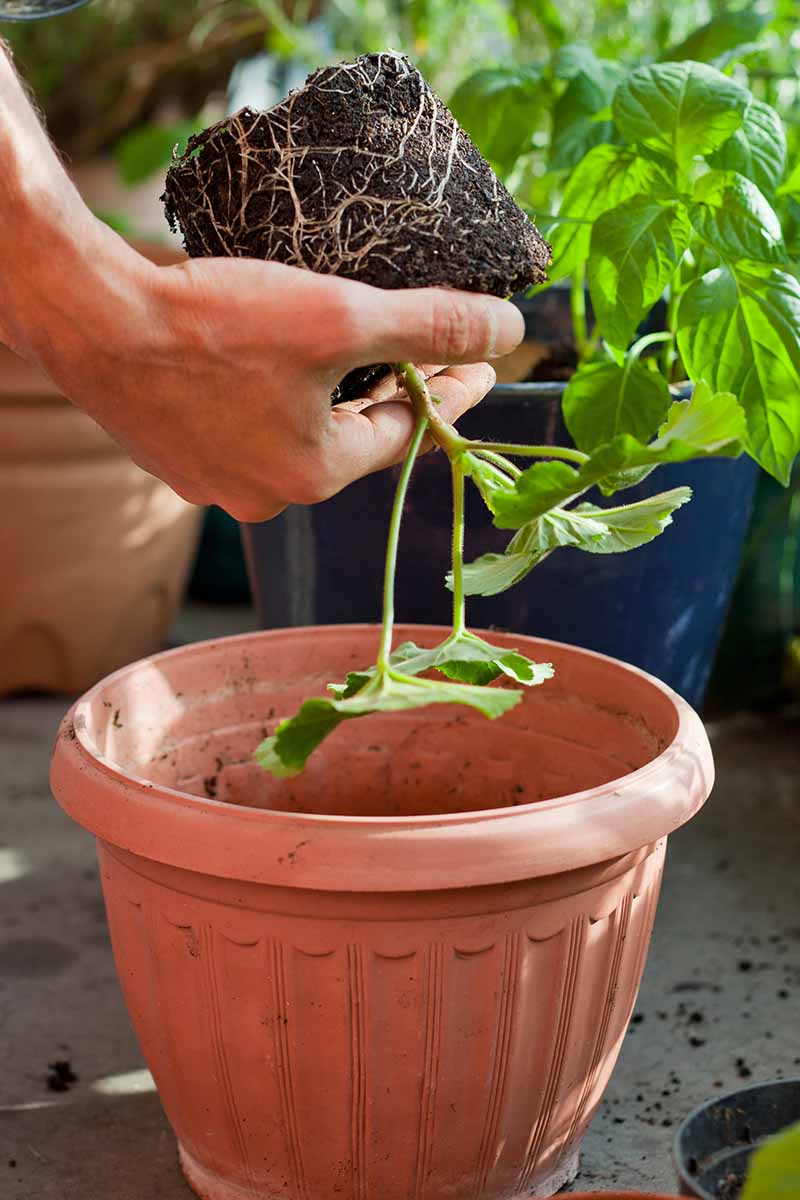
Before bringing your geranium indoors, check it for signs of disease or pest damage. Remove any discolored or damaged leaves and stems, and any spent flower heads. Spray the plant with neem oil to address potential fungal and pest issues and let it dry before bringing it inside. Another way to transition an outdoor plant to an indoor one is to rejuvenate it by pruning and replacing the potting soil. To do this, start by cutting the stems down by one-third. Remove any discolored or damaged leaves and stems, as well as spent flower heads. Lift the plant out of its pot and trim off any especially long roots, to create a more compact root mass. Wash the container and refresh the potting medium, filling it to one inch below the rim of the container. Reset the plant to its original depth and water in well. It is now primed for fresh foliar growth. The process of rejuvenation works equally well with a plant growing in the garden. Simply dig it up, shake off the soil from the root ball, prep it as above, and transplant it to a fresh, clean container filled with potting medium. As your geranium grows during the winter, you can pinch back new growth to promote a more compact shape. Water before the soil completely dries out but don’t allow the soil to become oversaturated. Fertilizer is not required during the winter months. After all risk of frost has passed, you can acclimate them to life outdoors over the course of a week or so before transplanting into the garden or moving your containers outdoors.
Cold Storage
Another option is to prune deeply, leaving about two inches of root length and four inches of aboveground height.
Then set one or more plants into potting medium, making sure that they do not touch, water deeply, and store them in a very cool, dark location with temperatures in the 40 to 50°F range. The advantage of this method is that you give the geraniums one deep watering and then set them in place and forget them until spring, when you can pot them up or transplant into the garden.
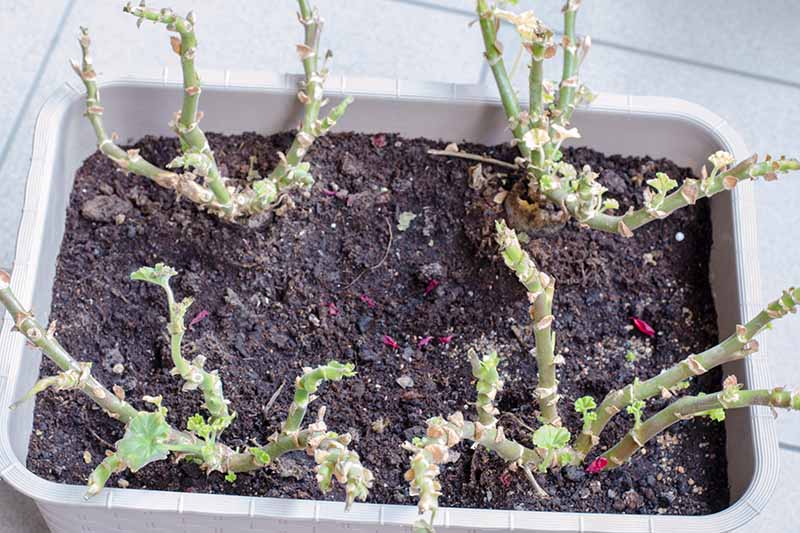
Take Some Cuttings
If you have too many large geraniums to dig up, or storage just isn’t feasible, you may make cuttings to root indoors. They’ll take root over the winter months and will be ready for transplanting outdoors come spring.
A Rewarding Option
Living in the Northeast where winters mean freezing conditions, I’m always elated when I can grow a tropical perennial as an annual. And being able to winter it over is a huge bonus in terms of saving time and money when the next gardening season rolls around.
With the arrival of spring, and all risk of frost has passed, you can awaken your plants by acclimating them to the outdoors for a few hours each day, a process called hardening off, before the growing season gets underway. And when you see those first rounded flower heads loaded with blooms perched above robust mounds of foliage, you’ll welcome your favorite geraniums back for another spectacular spring to frost display. Are you growing geraniums in your garden and do you have any winterizing tips to share? Let us know in the comments below! If you have additional flowers to winterize, check out these guides next:
How to Care for Calendula (Pot Marigold) in Winter How to Prepare Your Delphinium Plants for Winter How to Prepare Coreopsis for Winter
© Ask the Experts, LLC. ALL RIGHTS RESERVED. See our TOS for more details. Uncredited photos: Shutterstock.